How do you stop smudging pencil drawings?
Short answer
To prevent smudging in pencil drawings, use a protective sheet of paper under your hand while working and apply a professional-grade fixative spray upon completion. Additionally, utilize harder graphite leads for initial sketches, maintain a clean workspace, and avoid resting your palm directly on the surface of the drawing paper.
On this page
Why pencil smudging happens
Smudging occurs because graphite is a soft, friable material that sits on the surface of the paper rather than bonding with the fibers. When your hand, sleeve, or a stray tool brushes against the graphite, the particles lift and transfer to unintended areas. This is particularly problematic with softer leads, such as 2B, 4B, or 6B, which contain a higher ratio of graphite to clay. The more graphite deposited on the page, the more susceptible the drawing is to accidental displacement.
Environmental factors also play a role in how easily graphite moves across a sheet. High humidity can soften paper fibers, making them more likely to trap loose graphite dust, while overly smooth papers like Bristol board offer little "tooth" for the graphite to grip. Understanding that graphite is essentially a fine powder is the first step in managing your workflow. By treating your drawing as a delicate, unstable surface, you can proactively implement habits that minimize physical contact and airborne dust.
How to prevent smudging while drawing
The most effective way to keep a drawing clean is to control your physical interaction with the paper. Professional artists often use a "bridge" or a simple sheet of scrap paper to act as a barrier between their hand and the artwork. This prevents oils from your skin—which can darken the paper and make graphite stick—from transferring to the surface. Furthermore, oils can create a waxy barrier that makes it difficult to add more layers of graphite later.
- Place a clean sheet of smooth paper or tracing paper under your drawing hand.
- Move this barrier frequently as you progress across the page to ensure you are not dragging graphite from one section to another.
- Work from the top left corner to the bottom right if you are right-handed, or top right to bottom left if you are left-handed.
- Keep your tools and workspace free of graphite dust by tapping your pencils over a trash bin rather than blowing on the paper.

Best fixatives for pencil drawings
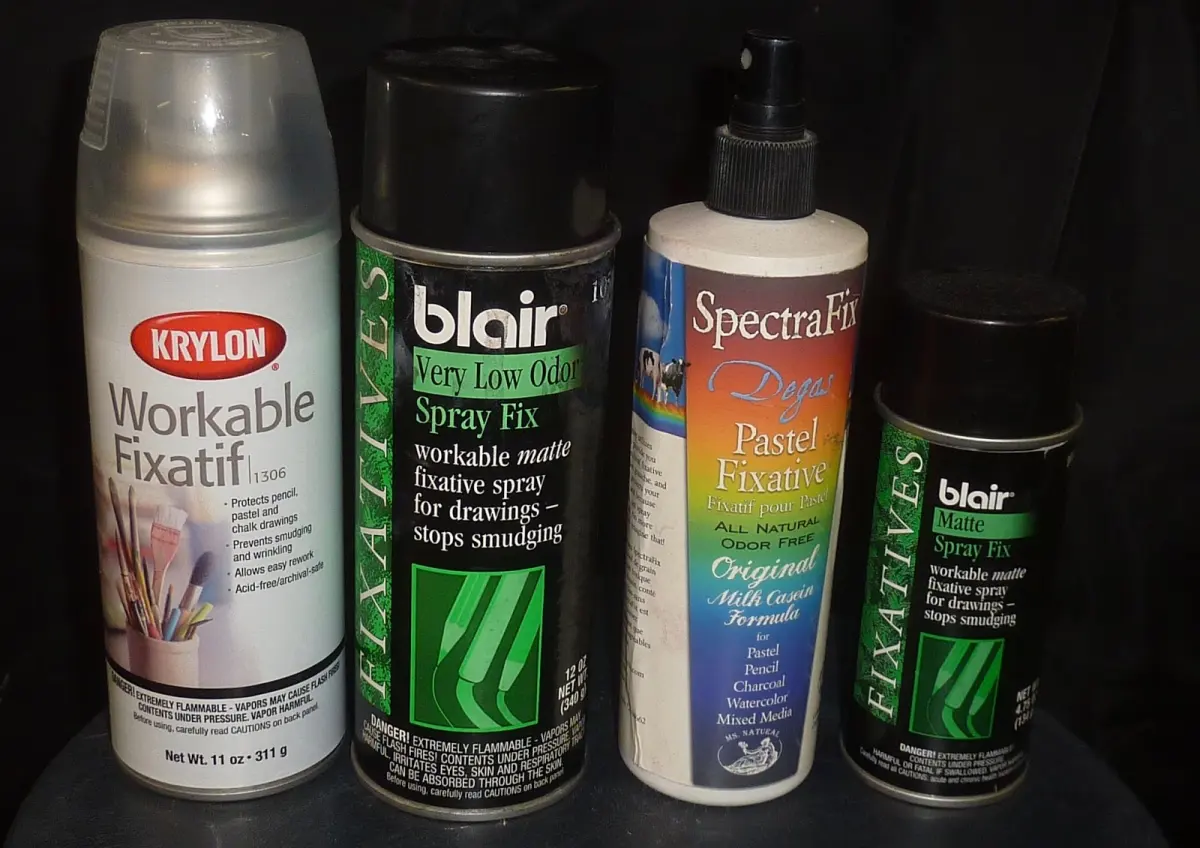
Fixatives are chemical sprays designed to bind graphite particles to the paper fibers, creating a permanent, smudge-proof layer. These products typically come in aerosol cans and are available in matte, satin, or glossy finishes. For most pencil drawings, a matte finish is preferred because it does not alter the appearance of the graphite or create unwanted glare. Brands such as Krylon and Winsor & Newton offer reliable archival-quality sprays that are widely used by illustrators and fine artists.
When applying a fixative, distance and technique are critical to achieving an even coat. Always work in a well-ventilated area or outdoors to avoid inhaling fumes. Hold the can approximately 10 to 12 inches away from the drawing and use a sweeping, side-to-side motion. Avoid holding the can in one spot, as this can cause the liquid to pool and create dark spots on your work. Allow the first light coat to dry completely for about 15 minutes before deciding if a second, light layer is necessary for full protection.

Common mistakes when drawing with graphite
Many beginners inadvertently ruin their work by using the wrong tools or failing to manage their graphite buildup. One frequent error is using a very soft pencil for the entire duration of a drawing. Soft pencils deposit heavy amounts of graphite that are nearly impossible to keep clean. Instead, start with an H or HB pencil for light structural lines and save the 4B or 6B pencils for the final, darkest values. This layering technique ensures that the bulk of your drawing remains stable.
Another mistake is failing to clean your tools regularly. Graphite dust accumulates on the sides of your pencils, on your erasers, and within your pencil sharpeners. If you use a dirty kneaded eraser, you are essentially spreading graphite back onto the paper. Keep your erasers clean by kneading them until the graphite is folded into the center. Similarly, keep your drafting table clear of shavings, as these can be crushed into the paper under your hand or your barrier sheet, leaving permanent, unsightly streaks that are difficult to remove.
How to store and protect finished drawings
Once your drawing is complete and the fixative has cured, proper storage is essential to prevent long-term damage. Graphite is sensitive to friction, so stacking drawings directly on top of one another will eventually lead to smudging, even if a fixative was applied. Use glassine paper, a smooth, acid-free, and translucent material, to interleave between your drawings. This provides a non-stick surface that protects the graphite from rubbing against the back of the next sheet in your portfolio.
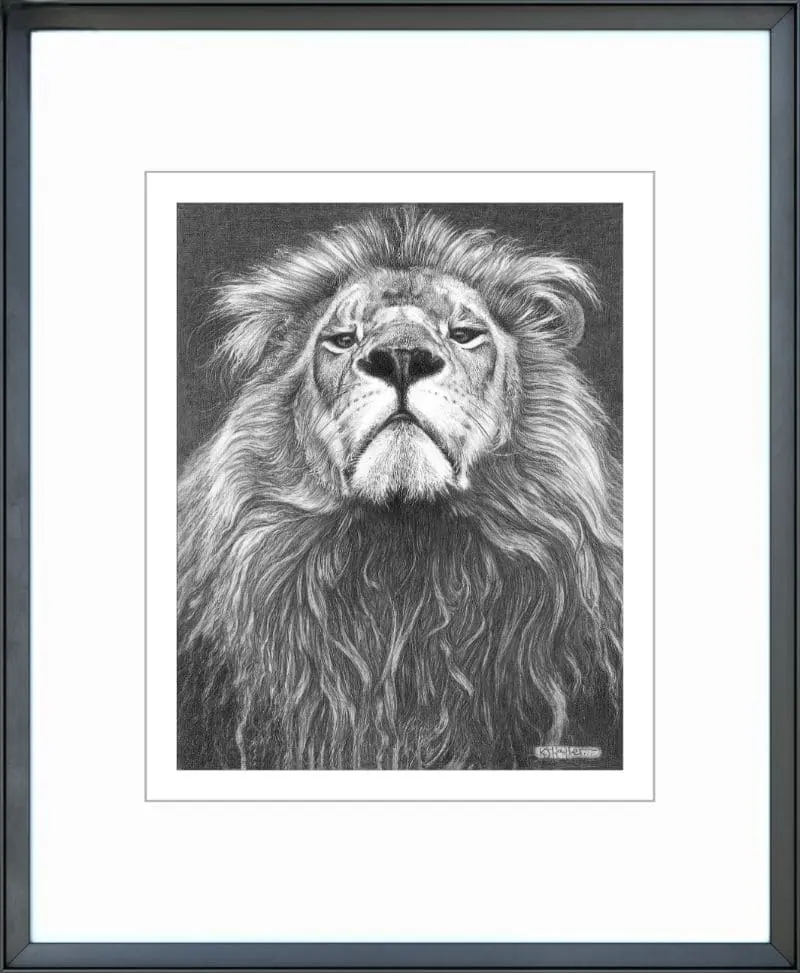
For long-term preservation, consider mounting your drawings behind glass or using archival-quality sleeves. If you choose to frame your work, ensure there is a mat board between the drawing and the glass. This prevents the drawing from touching the glass surface, where condensation or static electricity could cause the graphite to lift or adhere to the frame. By treating your finished pieces with the same care you used during the creation process, you ensure that your work remains as crisp and clear as the day you finished it.
Key facts
- Graphite smudges because it is a dry, powdery medium that sits on top of the paper fibers rather than bonding with them.
- Use a "bridge" or a piece of scrap paper under your drawing hand to prevent skin oils and friction from dragging graphite across the page.
- Apply a professional-grade fixative spray in a well-ventilated area, holding the can at least 10 to 12 inches away from the artwork.
- Work from the top-left corner to the bottom-right if you are right-handed to avoid resting your hand on finished sections.
- Choose harder pencil leads, such as 2H or 4H, for initial sketching because they contain less wax and clay, making them more resistant to smearing.
- Store completed drawings in acid-free glassine paper sleeves to protect the surface from abrasion during transport or archival storage.
The bottom line
Preventing smudges in pencil drawings requires a combination of disciplined technique and proper material handling. By using a bridge to protect the surface, selecting appropriate paper textures, and applying professional fixatives in thin, controlled layers, you can preserve the crispness of your lines. Avoiding skin contact and working systematically across the page ensures your final artwork remains clean, professional, and durable for years to come.
People also ask
Does hairspray work as a fixative for pencil drawings?
While some artists use hairspray as a makeshift fixative, it is not recommended for long-term preservation. Most hairsprays contain chemicals that can yellow the paper or turn brittle over time, potentially damaging your artwork permanently.
Can I use a regular eraser to clean up smudges?
You can use a kneaded eraser to gently lift graphite smudges without damaging the paper surface. Avoid using hard rubber erasers, as they may grind the graphite deeper into the fibers or tear the paper.
Should I draw with my hand hovering above the paper?
Hovering your hand is an effective technique to prevent smudging, though it can be physically tiring. Many professionals use a drafting bridge, which is a raised platform that spans across the paper, allowing you to rest your hand without touching the drawing.
Do different types of paper affect how much a drawing smudges?
Yes, smoother papers like Bristol board hold less graphite on the surface, which can lead to easier smudging. Textured papers, such as cold-press watercolor paper, trap graphite particles in their "tooth," offering slightly more resistance to accidental smears.
When is the best time to apply fixative?
Apply fixative only after the drawing is completely finished and you are certain no further adjustments are needed. Once a fixative layer is applied, it becomes very difficult to erase or add more graphite to the treated area.
Is it better to spray fixative in one thick coat or multiple thin ones?
Always apply fixative in several light, mist-like layers rather than one heavy coat. A single heavy application can cause the graphite to bead up, run, or create dark, glossy patches that ruin the drawing's texture.
This answer was created with the help of AI research tools and reference sources. Spotted an error? Let us know — we correct mistakes quickly. See our editorial policy.