How do you color with markers without streaks?
Short answer
Achieving a streak-free finish with markers requires maintaining a wet edge, using high-quality bleed-proof paper, and employing consistent, circular strokes. By keeping the ink flowing and overlapping your lines before they dry, you prevent the buildup of pigment that creates visible, darker bands across your artwork or coloring pages.
On this page
Why do markers leave streaks?
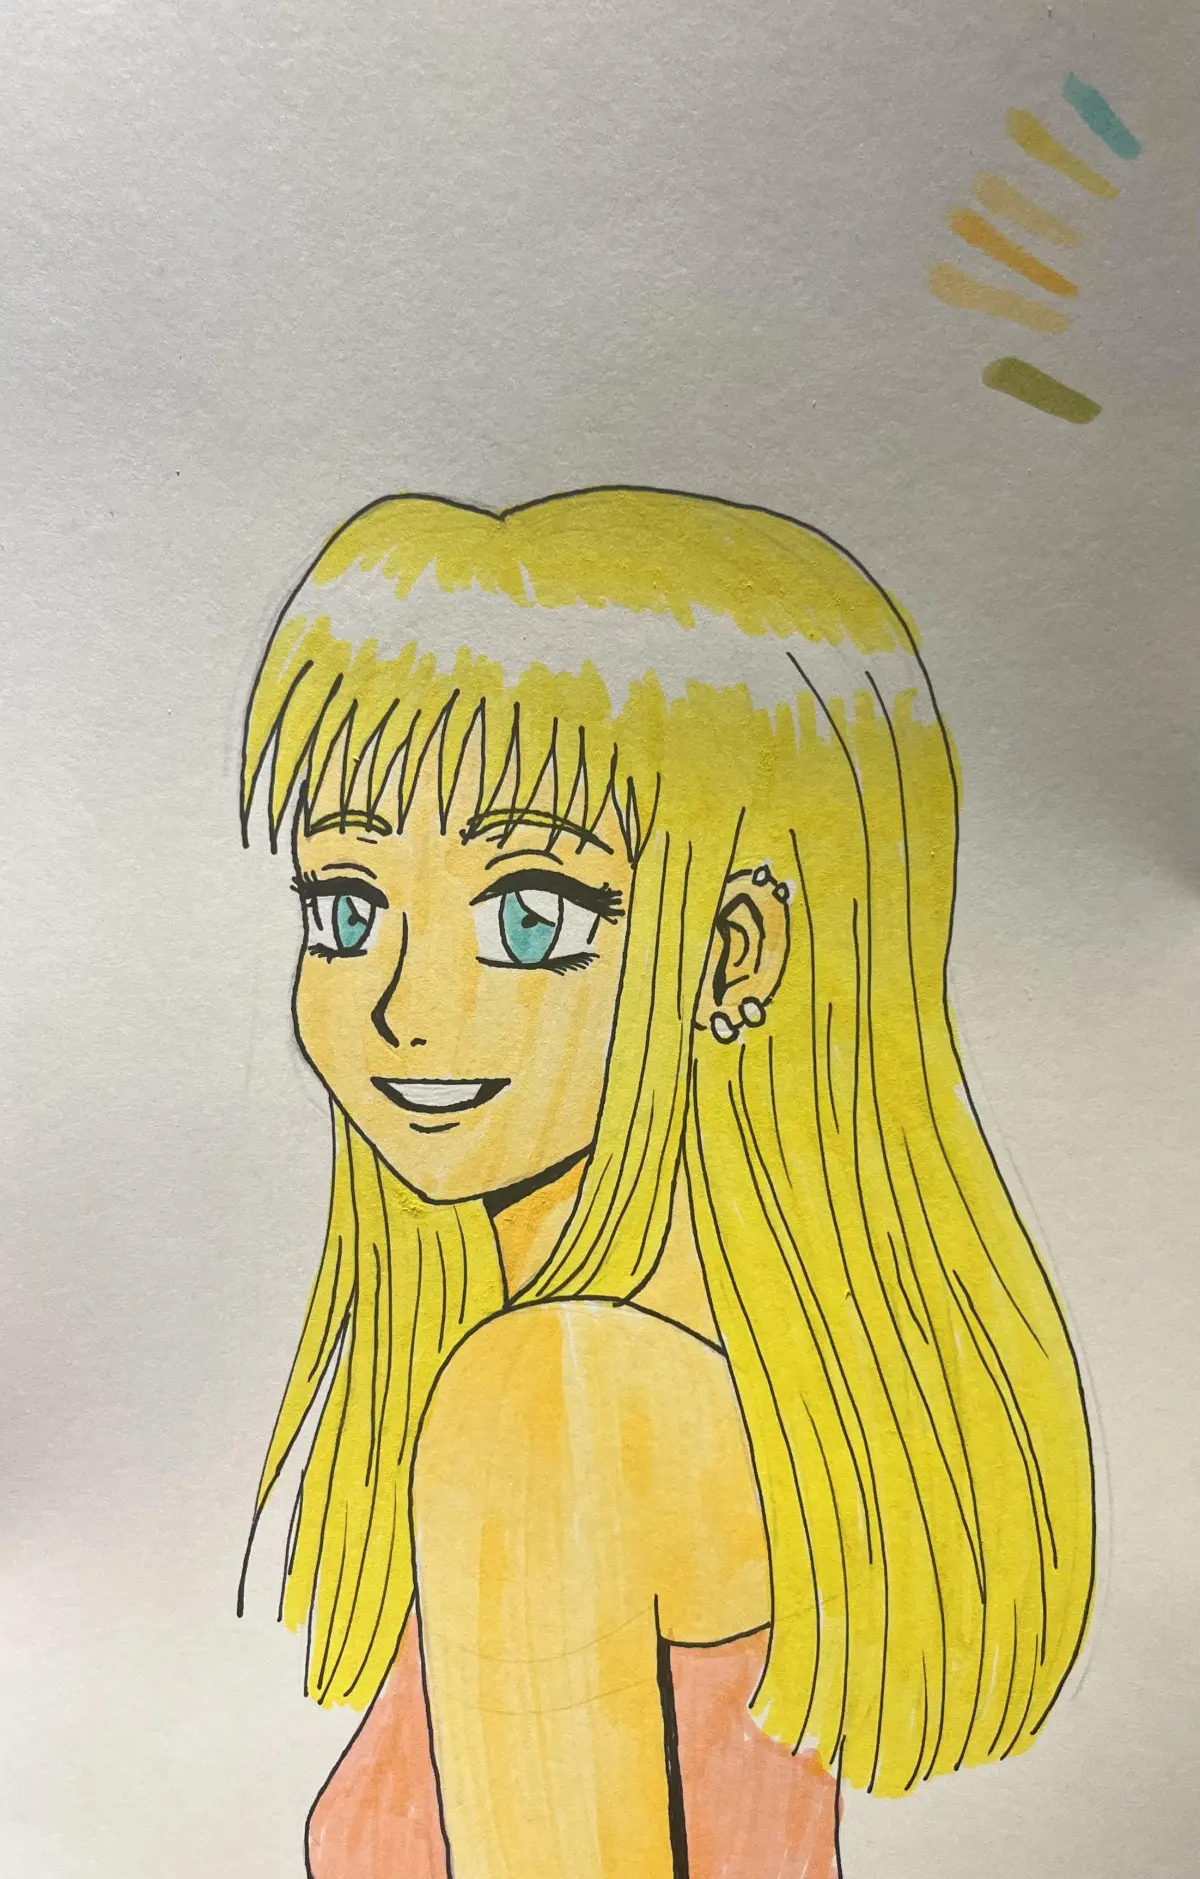
Streaks occur primarily because of the way marker ink dries on paper. Most markers, particularly alcohol-based ones, are designed to be translucent; when you overlap a dry layer of ink with a new stroke, the two layers combine to create a darker, concentrated area of pigment. This is known as "banding." If you lift your marker off the page mid-stroke or pause too long, the ink begins to set, making it impossible to blend the subsequent stroke seamlessly into the previous one.
The type of paper you choose is just as important as your technique. Standard printer paper is porous and thin, causing it to absorb ink unevenly and dry almost instantly. Because the ink cannot move across the surface, it settles exactly where it lands, highlighting every stroke. To avoid this, you must understand the relationship between your ink flow and the paper’s absorption rate.
How to choose the right paper for markers
Using the correct surface is the most effective way to eliminate streaks. You should look for specialized marker paper or heavy-weight cardstock that features a smooth, non-porous coating. This coating prevents the ink from soaking deep into the fibers immediately, allowing it to sit on the surface for a few seconds. This extra "open time" gives you the window needed to blend edges before the ink dries permanently.
When shopping for supplies, keep these factors in mind:
- Look for paper labeled "bleed-proof" or "marker specific," which prevents ink from feathering or soaking through.
- Choose a weight of at least 100 to 150 grams per square meter (gsm) to ensure the paper remains flat.
- Avoid textured watercolor paper, as the "tooth" of the paper will catch the marker tip and create uneven, choppy lines.
- Test your markers on a small corner of the paper to ensure the ink spreads smoothly without bleeding outside your intended lines.
How to use proper coloring techniques
The secret to a professional finish is maintaining a "wet edge." This means you must apply the next stroke while the previous one is still damp. By working in small sections rather than trying to color an entire shape at once, you keep the ink fluid. Using a circular or flicking motion rather than back-and-forth scrubbing helps distribute the pigment more evenly across the surface of the paper.
Follow these steps to improve your application:
- Start by outlining the edges of your shape with the marker tip to define your boundaries.
- Fill in the interior using consistent, overlapping strokes that are slightly wider than the marker tip itself.
- Keep the marker moving at a steady pace; stopping mid-stroke is the fastest way to create a dark, visible line.
- If you are coloring a large area, work quickly to ensure the entire section remains wet until the final stroke is finished.
Common mistakes when coloring with markers
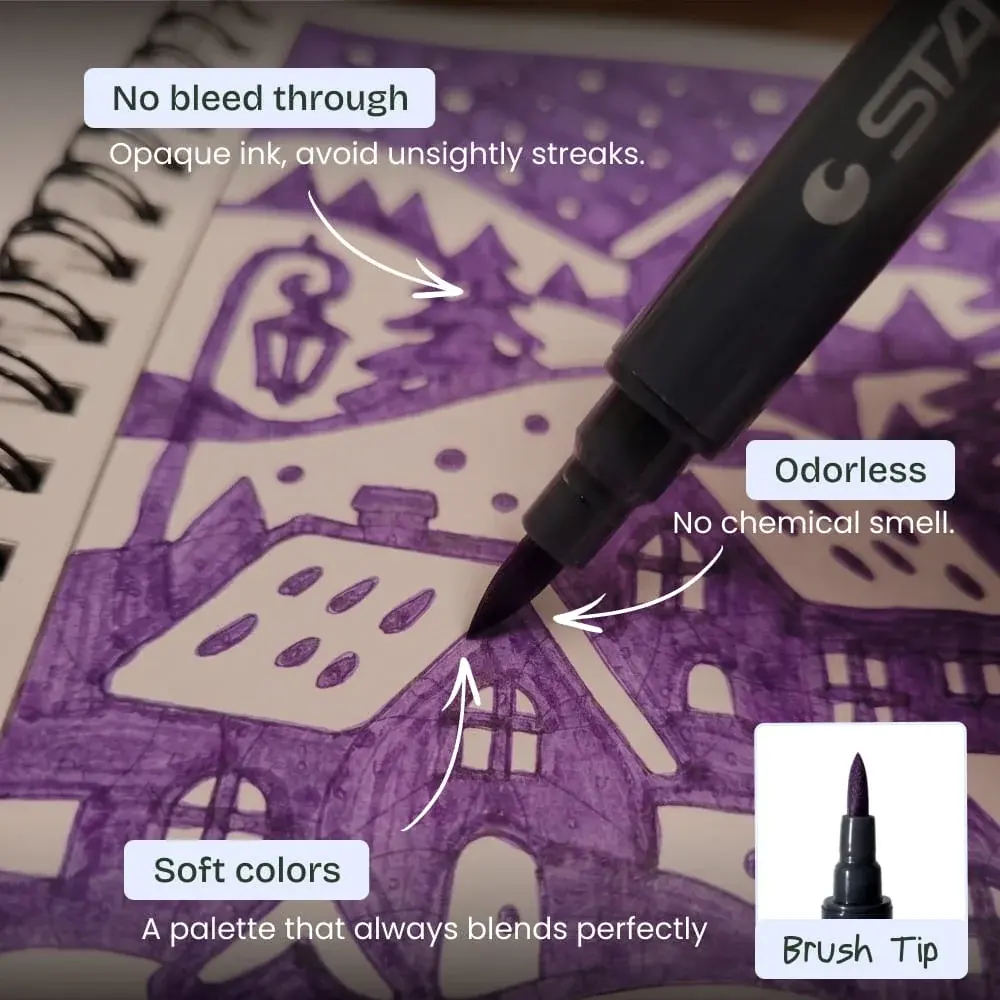
Many beginners make the mistake of pressing too hard or coloring too slowly. Heavy pressure forces more ink out of the nib than the paper can absorb, leading to puddling and oversaturation. Conversely, moving too slowly allows the ink to dry in patches, which creates the very streaks you are trying to avoid. Another common error is overworking an area; once you have filled a space, leave it alone.
Avoid these frequent pitfalls to maintain a clean look:
- Do not go over the same spot multiple times once the ink has started to dry, as this will darken the area and create muddy, uneven patches.
- Avoid using markers that are running low on ink, as the uneven flow will inevitably result in inconsistent color density.
- Do not use a back-and-forth "scrubbing" motion, which damages the paper fibers and creates a rough, textured appearance.
- Avoid holding the marker at an extreme angle, which can cause the nib to fray and distribute ink unevenly.
How to blend colors for a smooth finish
Blending is the final step to achieving a streak-free, professional look. If you notice slight variations in your color, use a colorless blender marker to soften the transitions. A colorless blender contains the same solvent as your colored markers but lacks pigment, effectively reactivating the dry ink and allowing you to push it around the page. This technique is particularly useful for gradients or large, solid-colored backgrounds.
To master the blending process, consider these professional tips:
- Always work from the lightest color to the darkest color to keep your lighter markers clean.
- Use a "flicking" motion to pull color from the edge of a dark area into a lighter area, creating a smooth, feathered transition.
- Clean your marker tips by scribbling on a piece of scrap paper if they become stained with a darker color during the blending process.
- Practice your blending on a separate sheet before applying it to your final artwork to ensure you have the right amount of pressure and ink flow.
Key facts
- Use high-quality alcohol-based markers rather than water-based ones for smoother blending.
- Apply ink while the previous layer is still wet to prevent harsh edges from forming.
- Choose heavy-weight, bleed-proof marker paper to prevent ink from soaking through and feathering.
- Work in small, circular motions to distribute the pigment evenly across the surface.
- Keep a light touch to avoid damaging the paper fibers, which causes uneven ink absorption.
- Store markers horizontally to ensure the ink remains evenly distributed between both nibs.
The bottom line
Achieving a streak-free finish requires the right combination of materials and technique. By selecting alcohol-based markers and bleed-proof paper, you create a surface that supports smooth blending. Focus on working while the ink is wet, using circular motions, and maintaining a light, consistent touch. These habits prevent the ink from pooling or drying prematurely, ensuring your final artwork looks professional, vibrant, and perfectly uniform throughout.
People also ask
Can I fix streaks after the ink has already dried?
Generally, once alcohol-based ink dries, it is difficult to reactivate without creating dark spots. You can try layering a lighter shade over the area to soften the transition, but complete removal of streaks is rarely possible.
Why does my paper pill or tear when I color?
You are likely using paper that is too thin or applying too much pressure. Use specialized marker pads with a smooth, non-porous coating designed to withstand multiple layers of ink without breaking down.
Should I color in straight lines or circles?
Circular motions are superior for large areas because they prevent the noticeable "start and stop" marks created by straight strokes. Straight lines should be reserved for small details or defining edges.
Do I need to use a blender marker?
A colorless blender is an excellent tool for pushing pigment around and softening hard edges. It works by re-wetting the ink, allowing you to smooth out transitions between light and dark colors.
How do I prevent ink from bleeding outside my lines?
Leave a tiny gap between your marker tip and the edge of your outline. The ink will naturally spread toward the boundary, filling the space without crossing the line.
Does the speed of my hand movement matter?
Yes, moving too slowly allows the ink to pool and soak into the paper, creating dark spots. Maintain a consistent, steady speed to keep the ink flow uniform across the page.
This answer was created with the help of AI research tools and reference sources. Spotted an error? Let us know — we correct mistakes quickly. See our editorial policy.