How do you shade with markers?
Short answer
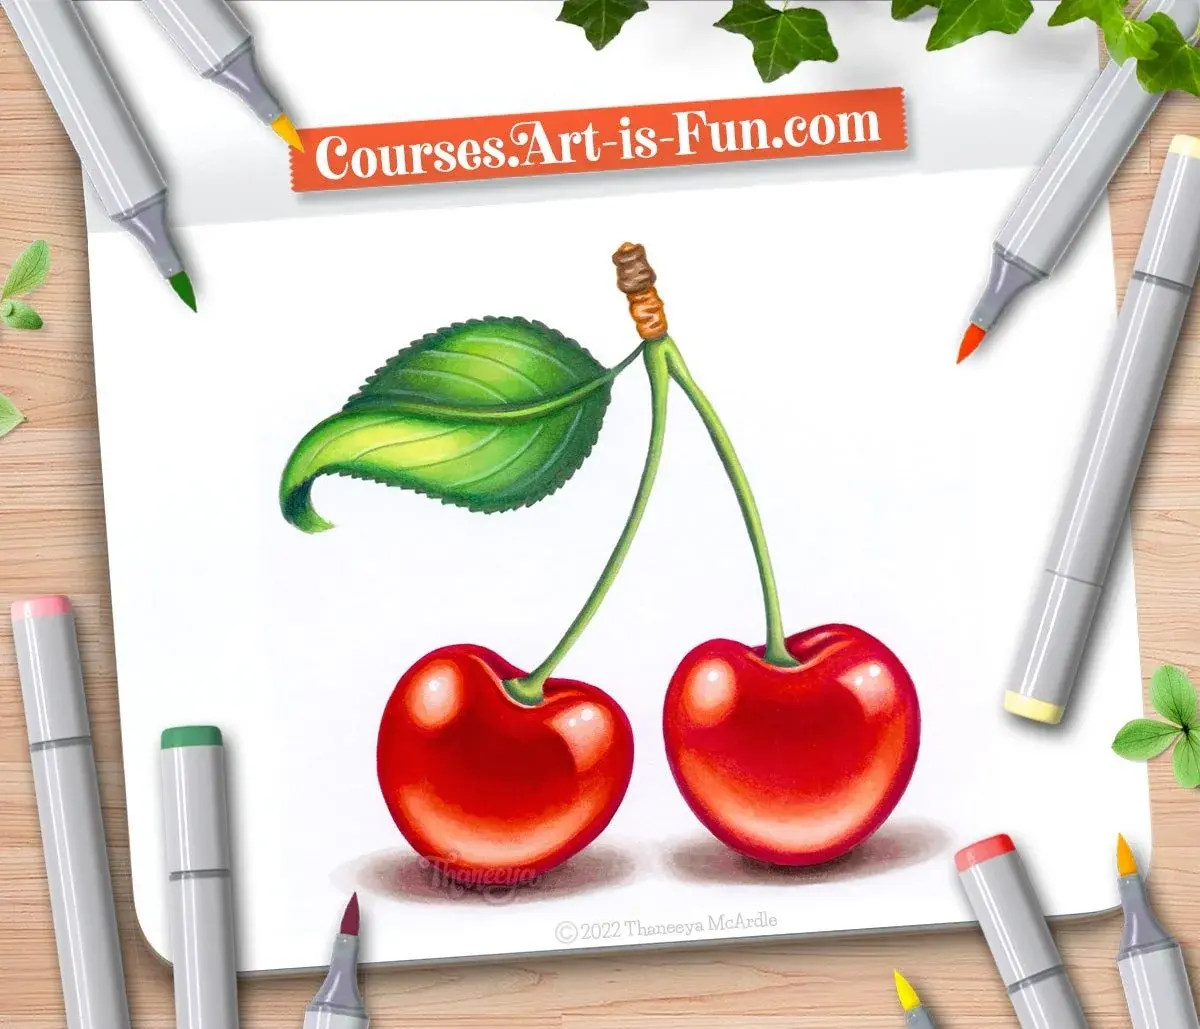
Shading with markers involves layering translucent inks to build depth, value, and smooth transitions. By working from light to dark colors, utilizing the wet-on-wet technique, and controlling pressure, artists create gradients that mimic light sources. Consistent motion and high-quality, bleed-proof paper are essential for achieving professional-looking, seamless color blending results.
On this page
How to blend markers for smooth gradients
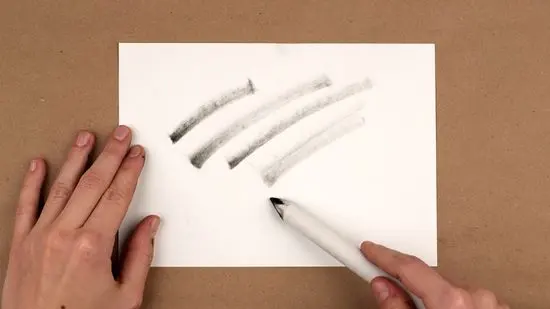
Achieving a smooth gradient requires keeping the ink wet while you work. If the ink dries before you add the next layer, you will see harsh lines rather than a soft transition. Start by applying your lightest color over the entire area you intend to shade. While that base layer is still damp, apply your mid-tone color to the area where the shadow begins. Quickly go back over the edge where the two colors meet with your lightest marker again. This process, often called "pushing" the ink, forces the colors to intermingle on the paper surface.
For more complex gradients, follow these steps:
- Lay down the lightest base color across the entire shape.
- Apply the medium-tone marker starting from the darkest edge and moving toward the center.
- Use the light marker to blend the transition zone between the light and medium colors.
- Add the darkest accent color at the very edge of the shadow.
- Blend again with the medium marker to soften the transition into the light base.
Best markers for shading and blending
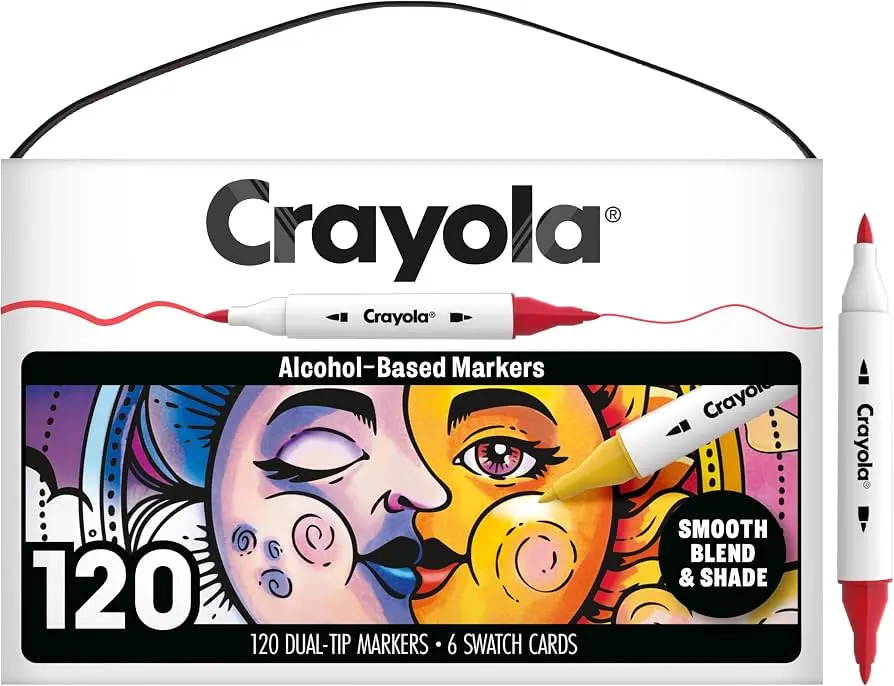
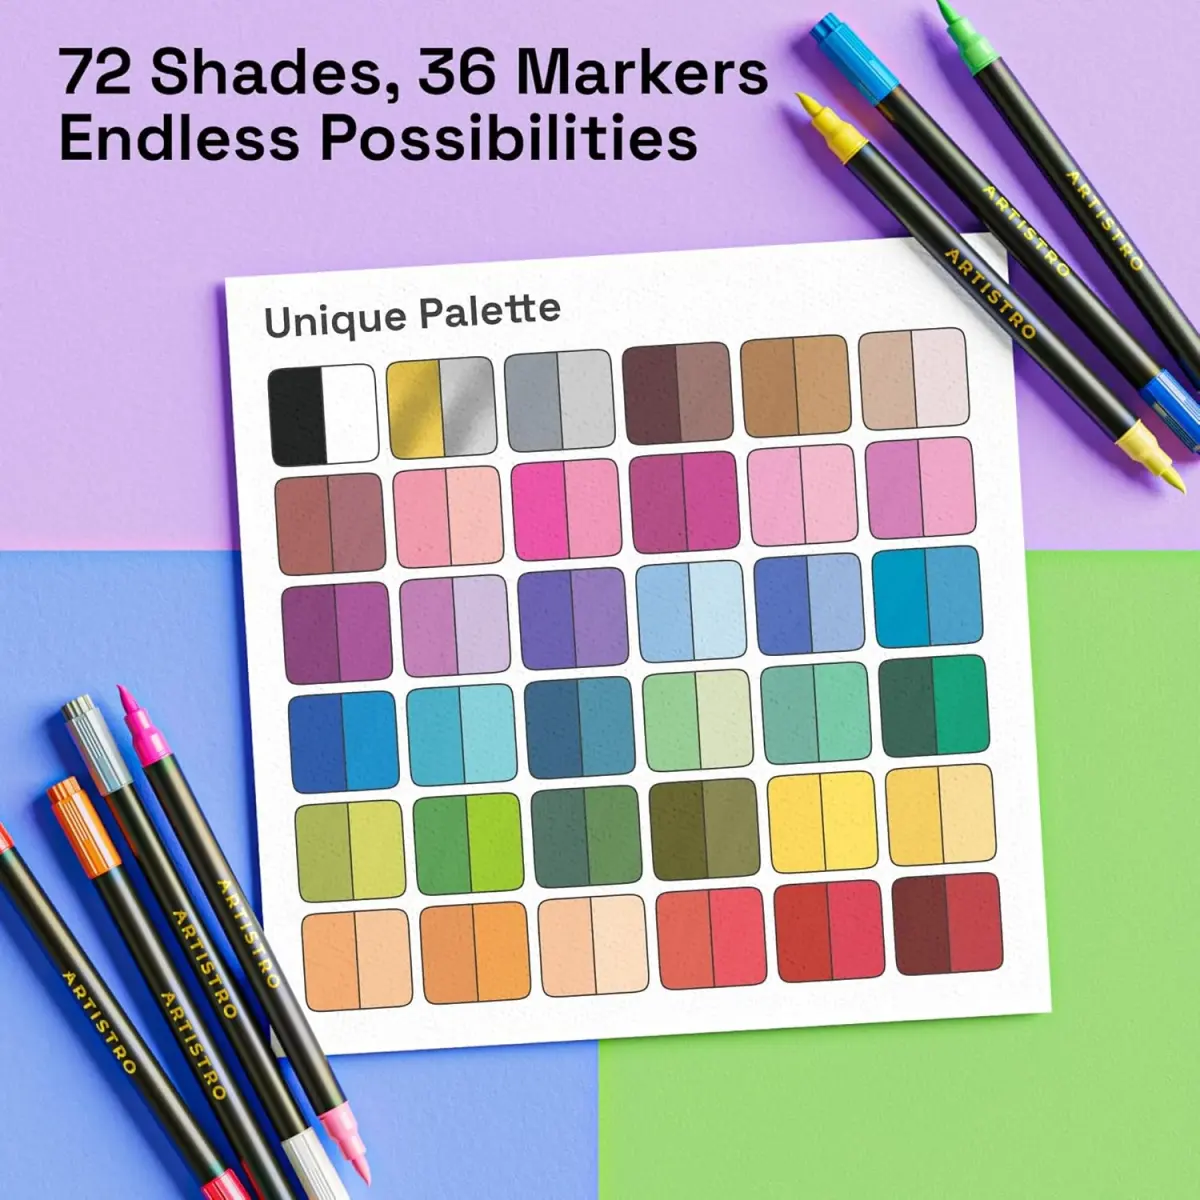
Not all markers are created equal, and the type of ink you use significantly impacts your ability to shade. Alcohol-based markers are the industry standard for illustrators because they remain wet longer than water-based markers. Brands like Copic, Ohuhu, and Winsor & Newton provide highly pigmented, translucent inks that allow for multiple layers without damaging the paper. These markers are designed to be refillable and often feature replaceable nibs, which is vital for artists who shade frequently.
Water-based markers, such as Tombow Dual Brush Pens, offer a different experience. They are often used like watercolors and can be blended using a water brush or a blending palette. While they do not blend as seamlessly as alcohol markers, they are excellent for hand-lettering and illustration styles that require a more textured, painterly look. Always check the label to ensure your markers are "blendable," as some permanent markers are designed to be opaque and will not layer effectively for shading purposes.
How to choose the right paper for markers
The surface you draw on is just as important as the markers themselves. Standard printer paper is too thin and porous, causing ink to bleed uncontrollably and feather at the edges. Instead, look for marker-specific paper, which is coated to prevent ink from soaking through to the other side. This coating keeps the ink sitting on the surface for a few extra seconds, giving you the necessary time to blend colors before they set permanently.
When selecting your sketchbook, consider these factors:
- Weight: Look for paper labeled between 70lb and 100lb to ensure durability.
- Coating: Ensure the paper is "bleed-proof" to keep your lines crisp.
- Texture: Choose smooth, hot-pressed surfaces to prevent your marker nibs from fraying.
- Opacity: Use a thick cardstock or dedicated marker pad to prevent the ink from staining the desk underneath.
Common mistakes when shading with markers
One of the most frequent errors beginners make is starting with a color that is too dark. Because alcohol ink is translucent, you can always darken an area, but you cannot easily lighten it once the pigment is down. Always start with your lightest shade and build up to the darkest. Another common mistake is working too slowly. If you pause for too long, the ink will dry in a distinct shape, creating a "streak" that is difficult to fix without adding more ink than the paper can handle.
Avoid these common pitfalls to maintain control:
- Over-saturating: Applying too much ink can cause the paper to warp or the colors to bleed outside your lines.
- Ignoring light sources: Always decide where your light is coming from before you start, or your shading will look inconsistent.
- Using the wrong nib: Use the chisel tip for large areas and the brush tip for fine blending and gradients.
- Forgetting to test: Always test your color combinations on a scrap piece of the same paper before applying them to your final artwork.
Why streaks happen and how to fix them
Streaks occur when ink is applied unevenly or when the paper begins to dry before the blending process is complete. If you notice streaks in your work, try working in smaller sections rather than trying to shade an entire large shape at once. You can also try a "flicking" motion, where you lift the marker off the paper at the end of each stroke to create a tapered, soft edge. This technique helps hide the start and stop points of your pen strokes.
If you have already created a streak, you can often "reactivate" the dry ink by applying more of the lightest color in your sequence directly over the harsh line. The fresh solvent in the marker will soften the dried pigment, allowing you to move it around again. If the area is already heavily saturated, stop immediately and let it dry completely before attempting a correction. Trying to fix a saturated area while it is still wet will only push the ink further into the paper fibers, creating a permanent blotch.
Key facts
- Use alcohol-based markers like Copic or Prismacolor for the smoothest blending capabilities.
- Work from light to dark colors to build depth and maintain control over your transitions.
- Apply a second layer of the light color over the edge of the dark color to soften the seam.
- Keep the paper damp with ink while blending to prevent harsh lines from drying prematurely.
- Use high-quality marker paper or heavy cardstock to prevent ink bleeding and paper pilling.
- Avoid over-saturating the paper, as this causes ink to feather outside your intended lines.
The bottom line
Mastering marker shading requires patience and the right materials. By selecting alcohol-based inks and high-quality paper, you create the ideal environment for smooth transitions. Always work from your lightest colors to your darkest, keeping the surface damp to blend edges effectively. With consistent practice and careful control over ink saturation, you can achieve professional-looking gradients and depth that bring your illustrations to life with vibrant, seamless color.
People also ask
Can you blend markers with water?
You can only blend markers with water if they are water-based, such as Tombow Dual Brush Pens. Alcohol-based markers will not react to water and require a colorless blender pen instead.
What is a colorless blender?
A colorless blender is a marker filled with the solvent base but no pigment. It is used to push existing ink around on the page to create gradients or fix mistakes.
Why do my markers leave streaks?
Streaking often occurs when the ink begins to dry before you have finished blending the area. Work in smaller sections to ensure the ink remains wet enough to transition smoothly.
How do I prevent ink from bleeding through the page?
Place a scrap piece of paper or a plastic sheet underneath your drawing surface. This protects your desk and prevents excess ink from staining the next page in your sketchbook.
Is it better to shade in circular motions or straight lines?
Circular motions are generally better for shading organic shapes and skin tones as they distribute ink evenly. Straight, overlapping strokes work best for architectural subjects or hard-edged objects.
How do I create a dark shadow using light markers?
You can darken an area by layering the same color multiple times. As the ink builds up, it becomes more opaque and creates a deeper tone on the paper.
This answer was created with the help of AI research tools and reference sources. Spotted an error? Let us know — we correct mistakes quickly. See our editorial policy.