How do you blend markers?
Short answer
Blending markers involves layering wet ink to soften transitions between colors. You can achieve this by applying a lighter color over a darker one, using a colorless blender, or working while the ink remains wet. The technique relies on the solvent base of the marker, typically alcohol, to reactivate and move pigment.
On this page
How to blend alcohol markers effectively
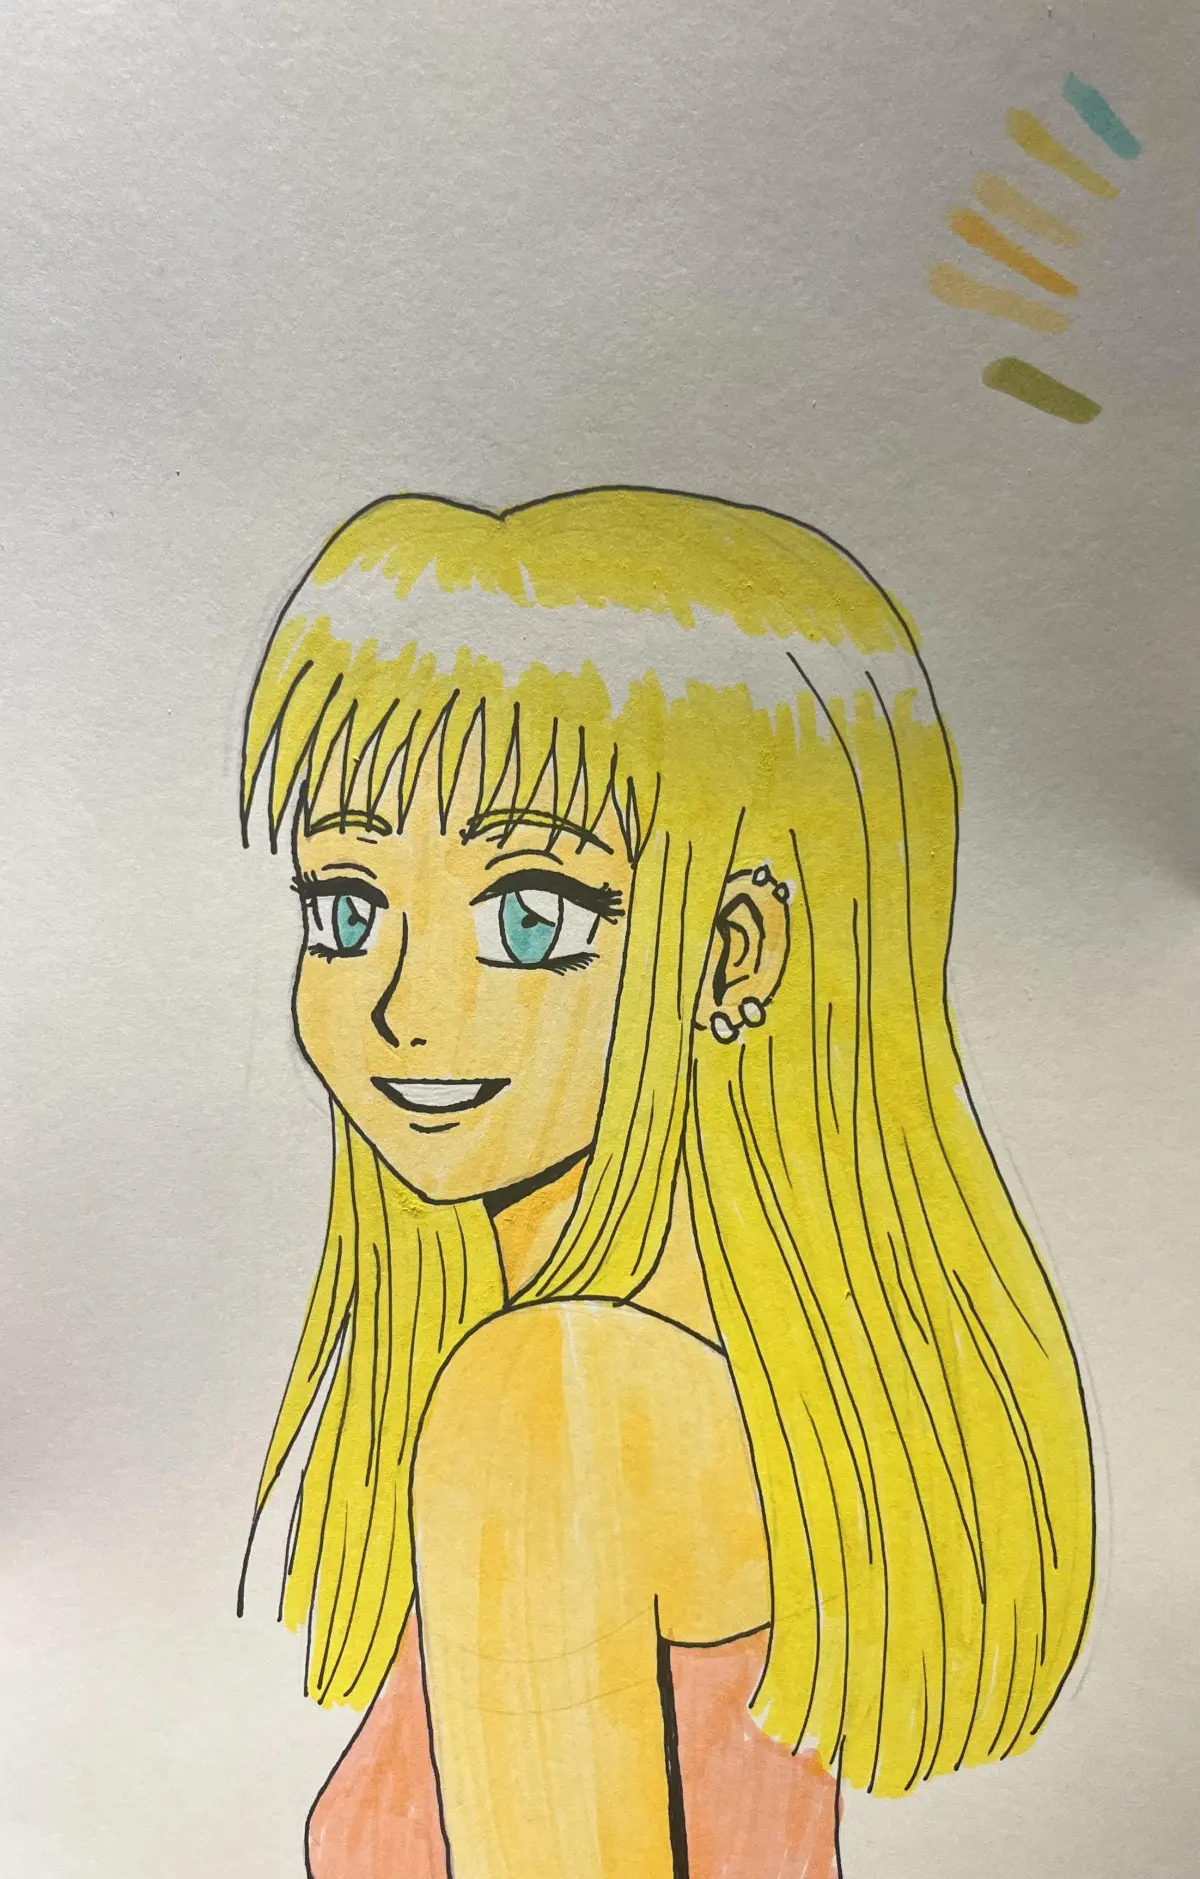
Alcohol-based markers are the industry standard for blending because the solvent keeps the ink wet longer than water-based alternatives. To create a smooth gradient, you must work quickly before the ink dries on the paper. The most reliable method is the "light-to-dark" approach, where you lay down a base of your lightest color, then apply a medium tone, and finally add the darkest shade.
By overlapping these layers while the surface is still saturated, the pigments intermingle to form a seamless transition. If you find the colors are not merging, try adding another layer of the lightest color over the junction where the two shades meet. This reactivates the dried pigment and pushes it into the surrounding fibers. Always use high-quality, bleed-proof marker paper, as standard printer paper absorbs ink too quickly, preventing the necessary flow required for professional-looking gradients.
Best markers for beginners to learn with
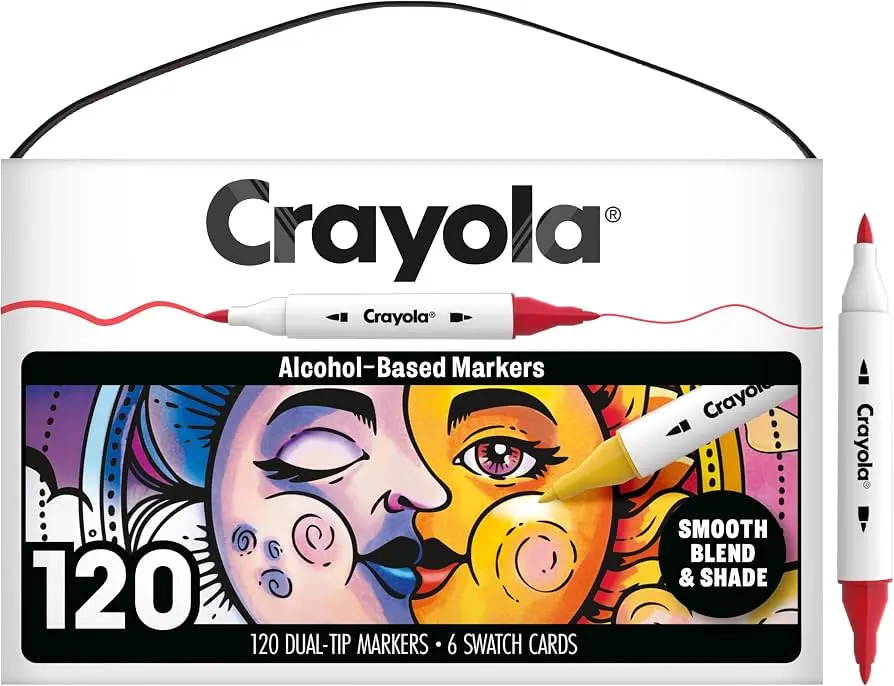
For those just starting, choosing the right tools is essential for success. Professional-grade brands like Copic, Ohuhu, and Winsor & Newton offer consistent ink flow and a wide range of complementary hues. Beginners should start with a small set of three related tones—a light, a medium, and a dark version of the same color family—to practice basic shading.
- Select a light, medium, and dark marker from the same color family.
- Apply the light color to the entire area you intend to color.
- Add the medium color to the shadowed side of the shape.
- Use the dark color sparingly in the deepest part of the shadow.
- Go back over the transitions with the lighter markers to smooth the edges.
Investing in a colorless blender is also highly recommended. This tool contains only the solvent and is used to push ink around or lighten areas that have become too dark.
Why streaks happen during the blending process
Streaking is the most common frustration for artists and usually results from working too slowly or using improper paper. When ink dries before you have a chance to blend it, you create a harsh line that is difficult to remove. This is often called "working on a dry edge," which prevents the pigments from migrating into one another.
Another frequent cause is ink starvation or using a paper that is too thin or porous. If the paper is not thick enough, it will soak up the ink instantly, leaving you with no "working time" to manipulate the color. To avoid this, ensure your paper is specifically labeled for markers, which usually features a non-porous coating. This coating forces the ink to sit on the surface for a few seconds longer, giving you the necessary window to soften your transitions and eliminate visible strokes.
Common mistakes when blending markers
Even experienced artists encounter issues when they rush the process or use the wrong technique. One major error is applying too much pressure, which can damage the marker nibs and cause the paper to pill, ruining the texture of your drawing. You should always use light, circular, or flicking motions to distribute the ink evenly across the page.
- Pressing too hard and fraying the marker nibs.
- Using colors from different families that create "muddy" results.
- Forgetting to clean your nibs by scribbling on scrap paper after blending.
- Leaving marker caps off, which causes the ink to evaporate.
- Working in a room that is too warm, as this accelerates the drying time.
Avoid mixing alcohol markers with water-based markers, as the different solvents will not interact correctly and will likely result in a patchy, uneven finish that looks unprofessional.
How to fix blending errors after drying
If you have already finished a section and notice a harsh line, you can often fix it by "re-wetting" the area. Take your lightest marker or your colorless blender and apply a generous amount of ink over the transition line. The fresh solvent will reactivate the dried ink, allowing you to nudge the pigment back into place.
Be careful not to oversaturate the paper, as this can cause the ink to bleed outside your intended lines. If you have made a mistake that is too dark to blend out, you can sometimes use a white gel pen or an opaque white paint marker to add highlights over the top. This technique masks the error and adds a sense of depth to your work. Practice these recovery methods on scrap paper first to understand how much ink your specific paper can handle before it begins to buckle or tear under the moisture.
Key facts
- Alcohol-based markers are the industry standard for blending because they remain wet longer than water-based alternatives.
- Always apply your lightest color first to establish a base layer before introducing darker pigments.
- Use a "flick" motion to pull color from the edge of a shape toward the center to create a smooth gradient.
- A colorless blender pen acts as an eraser or a tool to push pigment around, softening harsh lines between colors.
- Work on high-quality marker paper, which is coated to prevent ink from bleeding through and drying too quickly.
- Saturate the paper fibers until they look slightly wet to ensure the inks physically mix together on the surface.
The bottom line
To achieve professional-grade marker blends, prioritize speed and paper quality. By laying down a base of light ink and working while the surface remains saturated, you allow the pigments to fuse naturally. Use a colorless blender to soften edges and correct mistakes. With consistent practice, you will master the flicking technique required to create smooth, vibrant gradients that elevate your artwork from flat to three-dimensional.
People also ask
Can I blend markers on regular printer paper?
Printer paper is too porous and will cause your markers to bleed excessively, feather at the edges, and dry out your nibs. Use marker-specific paper that is smooth, non-absorbent, and thick enough to handle heavy ink saturation.
Why do my markers look streaky after I blend them?
Streaking usually occurs when the ink begins to dry before you have finished layering or when the paper is not saturated enough. Work quickly while the ink is still wet and apply a second layer of the lighter color over the transition zone.
What is the difference between alcohol and water-based markers?
Alcohol markers are solvent-based, allowing for seamless blending and layering without damaging the paper fibers. Water-based markers dry faster and are prone to pilling or tearing the paper if you attempt to blend them too aggressively.
Do I need to buy a colorless blender for every brand?
Most brands include a colorless blender, but they are generally interchangeable as they contain the same solvent base without pigment. You can use a blender from one brand to move the ink of another, provided both are alcohol-based.
How do I fix a dark color that is too intense?
You can lighten an area by using a colorless blender to push the excess pigment toward the edges of your drawing. If the color is still too dark, you can carefully lift some ink by dabbing the area with a clean paper towel while it is still wet.
Should I blend from light to dark or dark to light?
Always start with your lightest color to map out the area and provide a medium for the darker colors to travel through. Adding dark colors into a wet light base creates a smoother transition than trying to lighten a dark block of color.
This answer was created with the help of AI research tools and reference sources. Spotted an error? Let us know — we correct mistakes quickly. See our editorial policy.