How do you draw a chocolate bar?
Short answer
Drawing a chocolate bar involves creating a rectangular prism and dividing its surface into a grid of smaller, raised segments. By utilizing consistent perspective lines and strategic shading, you can mimic the three-dimensional appearance of molded confectionery. Focus on defining the rounded edges and the glossy highlights to achieve realism.
On this page
How to draw the basic shape of a chocolate bar
The foundation of a realistic chocolate bar begins with a simple geometric construction. Start by drawing a long, thin rectangle using a light pencil stroke to serve as the outer boundary. To give the bar depth, draw a slightly smaller rectangle inside the first one and connect the corners with diagonal lines, creating a three-dimensional prism. This perspective is essential for ensuring the bar looks like a solid object rather than a flat piece of paper.
Once the prism is established, you must decide on the orientation of your bar. If the bar is lying flat, the top surface should be parallel to the bottom edge of your paper. If you prefer a more dynamic look, tilt the rectangle at a slight angle to create a sense of movement. Keeping your initial lines faint allows for easier adjustments before you commit to the final, darker outlines of the chocolate segments.
How to divide the chocolate segments
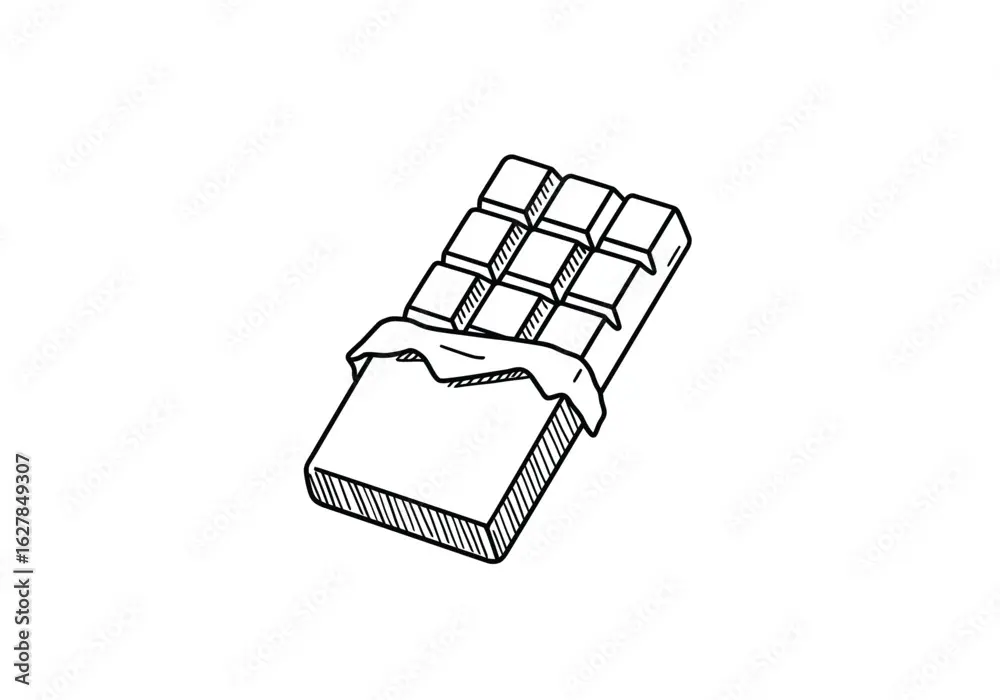
Most chocolate bars consist of a grid of individual squares or rectangles. To create these, use a ruler to draw light vertical and horizontal lines across the top surface of your prism. Aim for an even spacing between these lines to ensure the segments appear uniform. If you are drawing a standard bar, a 2x4 or 3x6 grid is the most common configuration found in commercial confectionery.
After marking the grid, you need to add the characteristic "puff" to each square. Instead of drawing sharp, flat squares, slightly round the corners of each segment. This mimics the way chocolate is molded, where the edges are soft and rounded due to the cooling process. Follow these steps to refine the grid:
- Draw light guidelines across the top surface to establish the grid.
- Use a rounded stroke to trace the edges of each individual chocolate square.
- Erase the original straight grid lines, leaving only the soft, rounded segment shapes.
- Add a small gap between each segment to represent the indentations where the bar breaks.
How to shade a chocolate bar for realism
Shading is the most critical step in making your drawing look like edible chocolate. Because chocolate has a high cocoa butter content, it often appears glossy and reflective. Identify where your light source is coming from—for example, the top-left corner—and keep the highlights on the opposite side of each segment bright. Use a soft graphite pencil to apply darker tones to the sides of the segments that face away from the light.
To enhance the three-dimensional effect, apply a gradient to each individual square. The center of each segment should be the lightest point, while the edges near the indentations should be the darkest. This creates the illusion that each square is slightly domed. Use a blending stump or a piece of tissue to smooth out your pencil marks, as this helps replicate the smooth, uniform texture of molded chocolate.
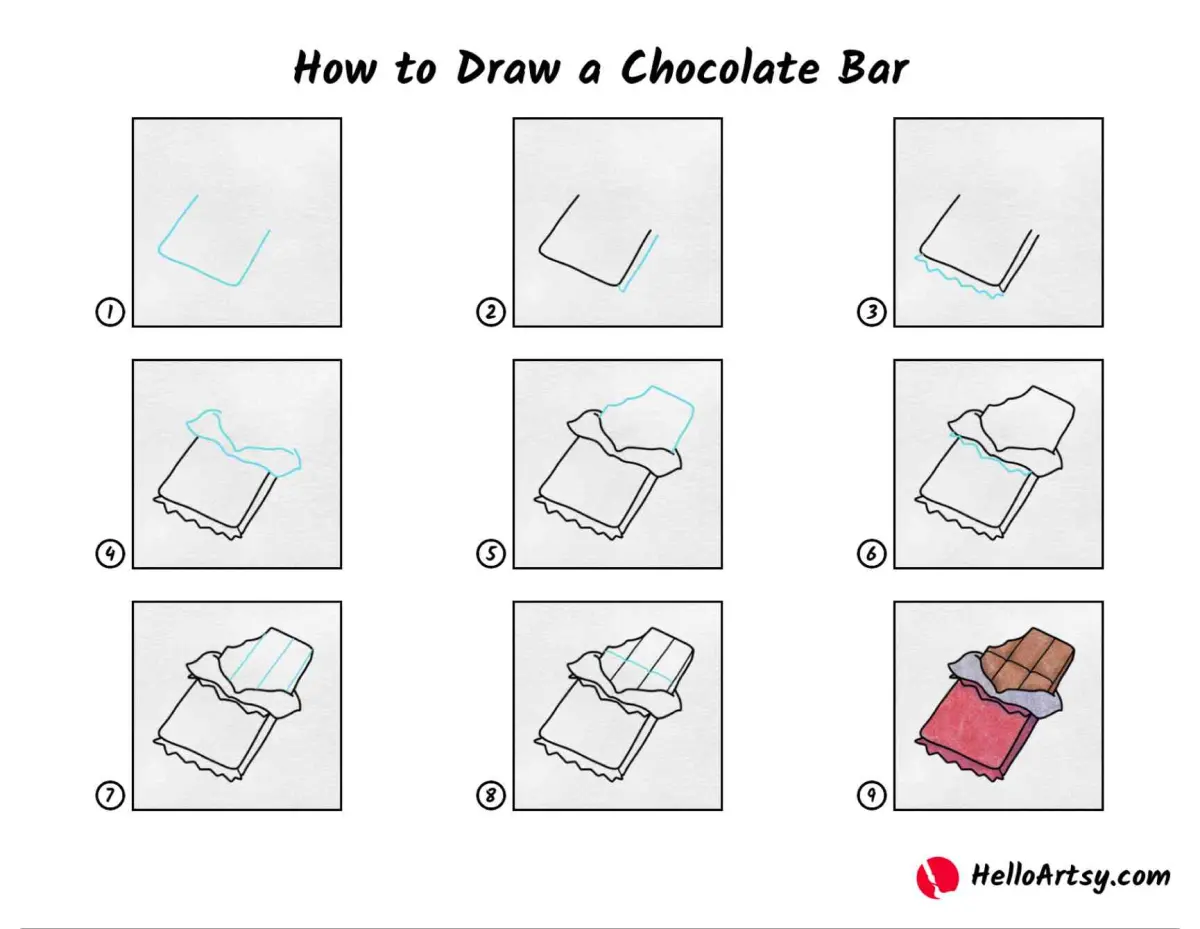
Best shading techniques for beginners
Beginners often struggle with making chocolate look "flat" rather than solid. The key is to avoid using uniform gray tones across the entire surface. Instead, focus on high contrast by leaving the brightest spots—the highlights—completely white. These highlights should be placed on the rounded edges of the segments where the light hits most directly, mimicking the reflective nature of a tempered chocolate finish.
When layering your shading, start with the darkest shadows first. These are typically located in the deep grooves between the segments and along the side of the bar that is furthest from the light source. By establishing these deep shadows early, you provide a reference point for the lighter mid-tones. Remember these tips for better results:
- Use a 2B or 4B pencil for the darkest shadows to get a rich, deep black.
- Keep your highlights sharp by using a kneaded eraser to lift graphite off the page.
- Apply pressure gradually, moving from dark to light to create a smooth, professional-looking transition.
Common mistakes when drawing chocolate bars
A frequent error is drawing the segments as perfectly flat, sharp-edged squares. Real chocolate bars are molded, meaning the edges are always slightly curved or beveled. If your segments look too rigid, the object will appear more like a stone or a piece of wood than a treat. Another mistake is failing to account for the thickness of the bar; ensure the side profile of the bar is shaded darker than the top to emphasize its volume.
Finally, avoid making the surface texture too rough or grainy. Chocolate should look smooth and polished, so avoid heavy cross-hatching unless you are specifically trying to depict a textured bar with nuts or crisps. If you find your drawing looks messy, use a clean eraser to sharpen the edges of your highlights and ensure the indentations between the squares are consistent. Consistent focus on the curvature of the segments will ensure your drawing remains accurate and visually appealing until the very last detail is complete.
Key facts
- A chocolate bar is essentially a rectangular prism, which serves as the foundational shape for your drawing.
- Use a ruler to ensure your initial lines are perfectly straight, as chocolate bars are manufactured with precise, sharp edges.
- Adding depth is achieved by drawing a smaller rectangle inside the main one and connecting the corners with diagonal lines.
- Dividing the surface into a grid creates the iconic segment pattern found on most commercial chocolate bars.
- Use cross-hatching or soft shading on the sides to indicate thickness and give the object a three-dimensional appearance.
- Highlights along the top edges suggest a smooth, glossy surface typical of tempered chocolate.
The bottom line
Drawing a chocolate bar is an exercise in geometric precision and light management. By starting with a simple rectangular prism and adding a structured grid, you establish the basic form. The transition from a flat shape to a realistic object relies on careful shading and the addition of highlights. With practice, you can master the texture of molded chocolate and the crinkled appearance of its packaging.
People also ask
How do I make the chocolate look realistic?
Focus on light reflection by leaving thin, white streaks along the top edges of the segments. This simulates the sheen found on high-quality, tempered chocolate.
Should I use a pencil or ink for drawing candy?
Start with a light graphite pencil for your construction lines so you can easily erase mistakes. Once the proportions are correct, use a fine-liner pen to define the edges and add permanent shading.
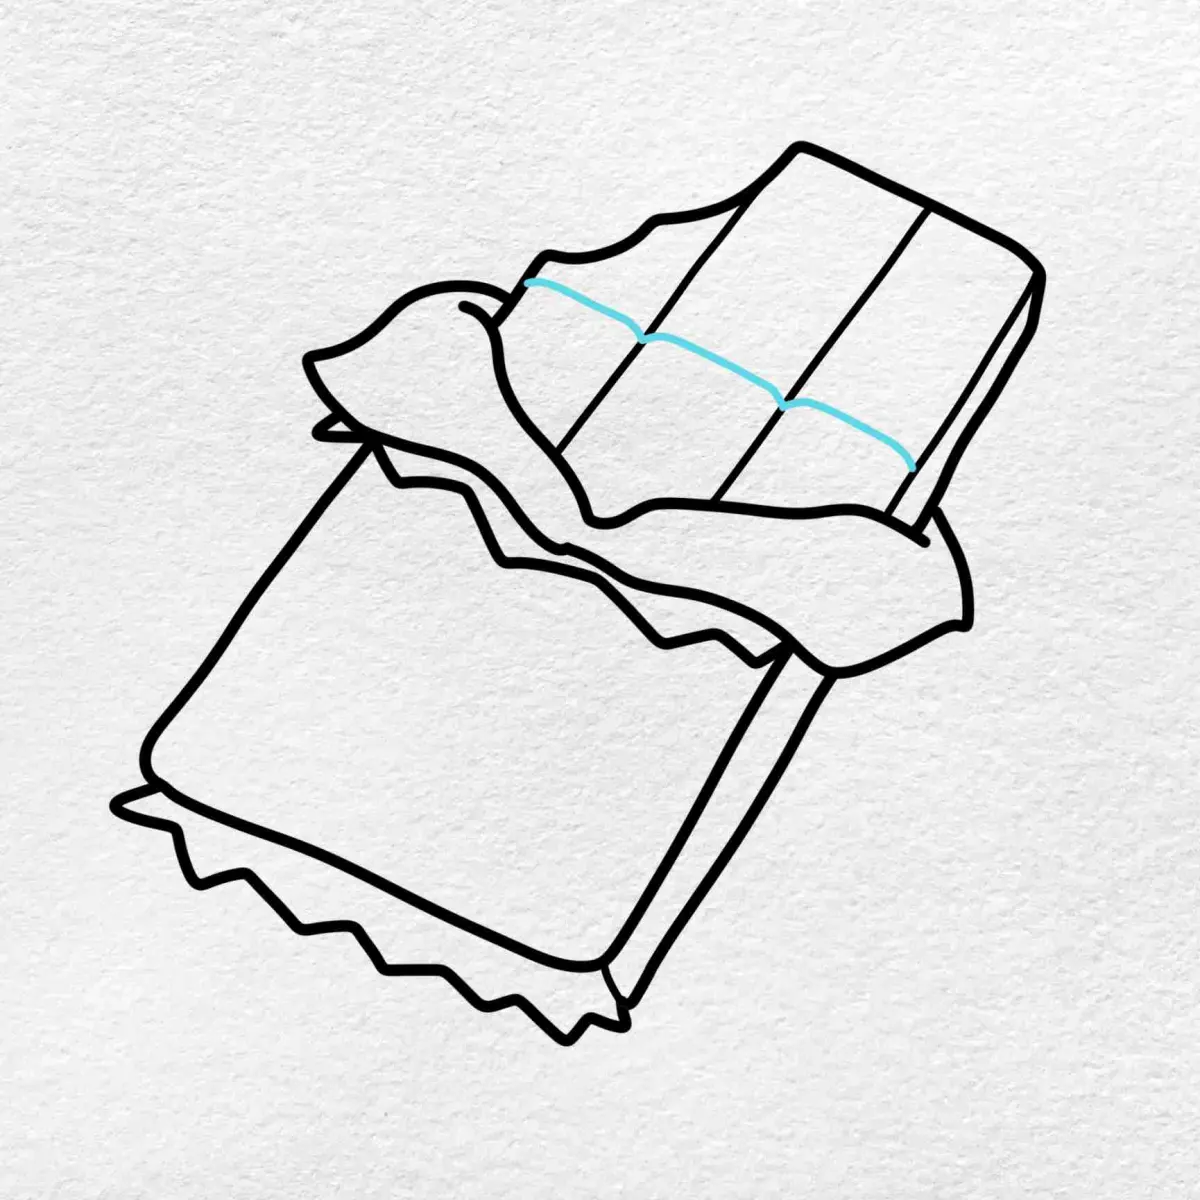
How do I draw a wrapper that is partially open?
Draw jagged, irregular lines at one end of the bar to represent torn foil or paper. Extend these lines outward to show the material peeling away from the chocolate.
What is the best way to shade the segments?
Use a blending stump or a soft tissue to smudge your pencil marks within each square. Keep the center of each segment slightly lighter to create a rounded, molded look.
How do I draw a broken piece of chocolate?
Replace the straight grid lines with irregular, jagged cracks across the surface. Ensure the broken edge has a rough, uneven texture rather than a smooth, flat line.
Can I use color to make the drawing stand out?
Yes, use varying shades of brown for the chocolate and metallic grays or bright colors for the wrapper. Layering darker browns in the crevices adds significant depth and realism.
This answer was created with the help of AI research tools and reference sources. Spotted an error? Let us know — we correct mistakes quickly. See our editorial policy.