How do you draw an armadillo?
Short answer
Drawing an armadillo requires capturing its signature armored shell and tapered snout. Begin by sketching overlapping ovals to form the torso and head, then add a long, pointed tail. Focus on the segmented bands of the carapace, using rhythmic, repetitive lines to suggest the overlapping plates of the animal’s unique, protective exoskeleton.
On this page
How to sketch the basic armadillo shape
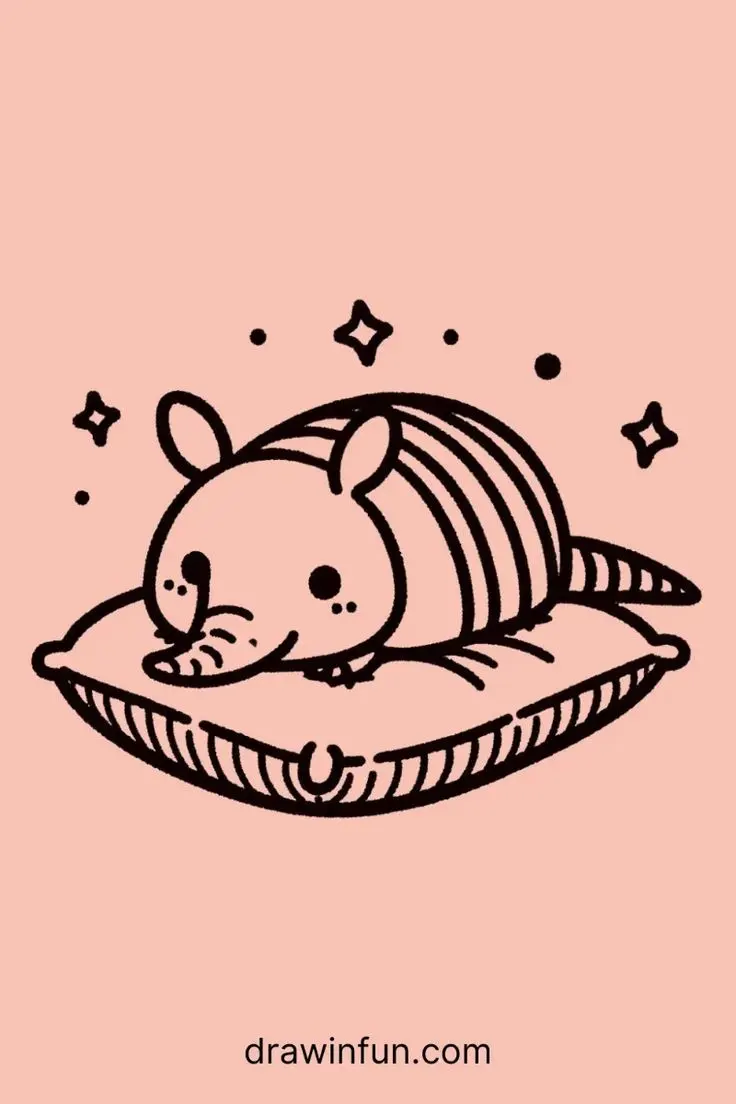
The armadillo’s silhouette is defined by its low-slung, oval body and distinct, elongated snout. Start by drawing a large, rounded oval for the main body and a smaller, slightly tilted oval for the head. Connect these with a curved line to represent the neck, ensuring the transition is smooth rather than angular. Aim for a posture that sits close to the ground, as armadillos are notoriously short-legged creatures.
When building your initial frame, keep your pencil strokes light and loose. You are establishing the volume of the creature before committing to the intricate details of its armor. Remember these proportions to maintain accuracy:
- The head should be roughly one-third the length of the body.
- The tail is often as long as the entire body length.
- The legs are short, stout, and positioned underneath the heavy shell.
By establishing these proportions early, you prevent the common error of making the limbs too long or the head too small for the body.
How to draw the armadillo shell plates
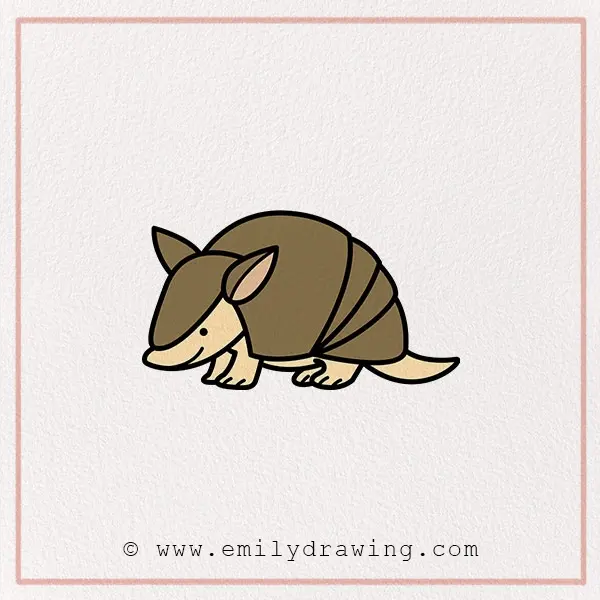
The most recognizable feature of an armadillo is its carapace, which is composed of leathery, bony plates called scutes. To draw these, divide the main body oval into three distinct sections: the shoulder shield, the central bands, and the pelvic shield. The central section is the most important, as it features the flexible, overlapping bands that allow the animal to move.
Draw these bands using parallel, slightly curved lines that wrap around the circumference of the body. As you move toward the edges of the shell, the lines should follow the contour of the oval shape, creating a three-dimensional effect.
- Sketch the shoulder and hip sections as solid, rounded blocks.
- Fill the middle space with 7 to 9 parallel bands.
- Add small, repetitive squares or hexagons within each band to represent individual scutes.
This grid-like texture provides the necessary detail to distinguish the armadillo from other mammals with smooth fur or skin.
How to detail the head and claws
The armadillo’s head is long and tapered, ending in a snout that is well-adapted for rooting through soil. Draw the eye as a small, dark circle placed near the base of the ears, which are long and often stand upright. The snout should be slightly flattened at the tip, with a small, moist-looking nose area. Keep the lines around the snout clean to emphasize its pointed, alert appearance.
The feet are equally important for a realistic drawing, as they are equipped with strong, curved claws for digging. When drawing the feet, focus on these specific characteristics:
- Each foot has four or five toes with thick, blunt claws.
- The front claws are significantly longer and more curved than the back ones.
- The feet themselves are broad and flat, designed to support the weight of the heavy shell.
Avoid drawing thin, delicate paws, as these would not support the rugged nature of the armadillo’s lifestyle.
Common mistakes when drawing armadillos
A frequent error is failing to account for the thickness of the shell, making the animal look like it is wearing a thin, tight-fitting suit. In reality, the shell is heavy and sits slightly above the body, creating a slight overlap at the edges. Another common mistake is drawing the tail as a smooth, tapered cone. The tail is actually covered in a series of rings, similar to the body, which should be indicated with faint, circular lines.
Perspective issues often arise when artists try to draw the armadillo from a side profile but fail to show the depth of the shell. Ensure that the lines of the shell bands curve toward the viewer, which gives the drawing a sense of volume. If the bands are drawn as perfectly flat, vertical lines, the armadillo will appear two-dimensional and lifeless. Always cross-contour your lines to match the rounded shape of the animal’s back.
Best shading techniques for armor
Shading is essential for bringing the armadillo’s armor to life, as it highlights the texture and hardness of the scutes. Use a soft lead pencil to create a gradient across the rounded back, keeping the top of the shell lighter to simulate a highlight. As you move toward the belly, increase the pressure to create deeper shadows, which emphasizes the roundness of the body. Use a fine-tipped pen or sharp pencil to define the edges of the individual scutes.
To enhance the texture, apply cross-hatching in the gaps between the bands. This mimics the leathery skin that connects the bony plates. By varying the density of your shading, you can create a realistic contrast between the hard, reflective surface of the shell and the softer, shadowed areas underneath. Focus your darkest shadows near the ground and under the belly to ground the creature firmly in its environment, ensuring the final drawing looks substantial and anatomically correct.
Key facts
- Armadillos are defined by their armored shells, which consist of bony plates called osteoderms covered by leathery skin.
- Focus on the "tri-part" body structure: a large shoulder shield, a series of flexible bands in the middle, and a large pelvic shield.
- The head is narrow and elongated, often resembling a shovel or a spade, with small, pointed ears.
- Their claws are exceptionally long and curved, designed for digging, which is a defining feature of their silhouette.
- When drawing the tail, remember it is thick at the base and tapers significantly toward the tip, often covered in ringed scales.
- Avoid drawing the legs too long; armadillos have short, sturdy limbs that keep their bellies close to the ground.
The bottom line
Drawing an armadillo effectively requires balancing their rigid, armored exterior with their soft, burrowing anatomy. By focusing on the three main sections of the shell and the distinct, tapered shape of the snout and tail, you can create a recognizable likeness. Remember to keep the limbs short and the claws prominent, as these features define the armadillo’s unique posture and its specialized role as a digger.
People also ask
How do you capture the texture of the armadillo's shell?
Use a cross-hatching technique to represent the hexagonal or rectangular plates. Vary the pressure of your pencil to create depth, making the plates appear smaller as they curve around the animal's body.
Should I draw an armadillo standing or curled into a ball?
Drawing them standing allows you to showcase their distinct armor bands and claws. If you choose the ball position, focus on drawing concentric circles to represent the tightly tucked shell.
What is the most common mistake when drawing the snout?
Artists often draw the snout too blunt or rounded. Remember that the armadillo has a tapered, elongated nose that helps them forage for insects in the soil.
Do all armadillos have the same number of bands?
No, the number of flexible bands varies by species. The nine-banded armadillo is the most common, so using nine distinct lines across the midsection is accurate for that species.
How do I make the legs look realistic?
Draw the legs as thick, muscular cylinders. Ensure the front feet have four or five prominent, sharp claws, as these are essential for their survival and burrowing habits.
What kind of shading works best for an armadillo?
Use high-contrast shading to emphasize the hard, reflective nature of the bony plates. Keep the underside of the body slightly darker to ground the animal in the environment.
This answer was created with the help of AI research tools and reference sources. Spotted an error? Let us know — we correct mistakes quickly. See our editorial policy.