How do you draw mittens step by step?
Short answer
Drawing mittens involves creating a rounded, thumb-protruding shape that mimics the human hand inside a protective shell. By starting with a simple oval base and adding a distinct thumb compartment, you can easily build the structure. Refine the outlines with soft curves and add details like cuffs for a realistic finish.
On this page
How to draw a basic mitten shape
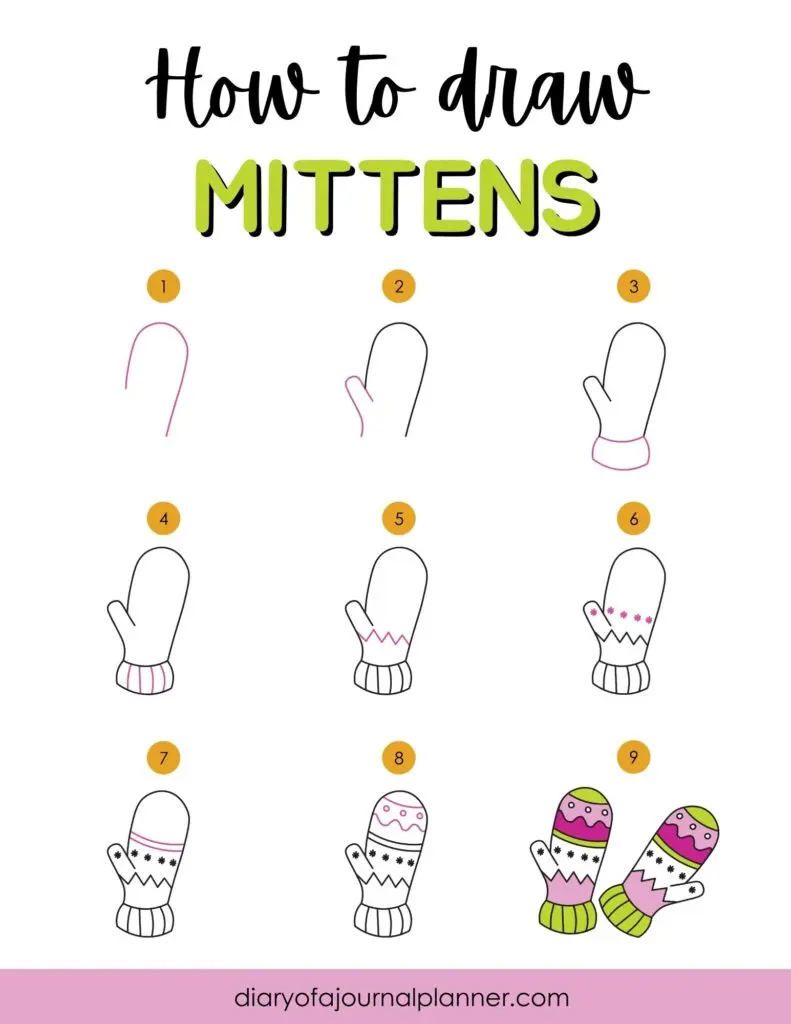
To begin drawing a mitten, start by sketching a large, vertical oval that serves as the main body for the four fingers. Ensure the top of the oval is rounded rather than pointed, as this mimics the natural shape of a hand inside a glove. Leave enough space on the side of the oval to attach the thumb section later.
Once the main body is established, draw a smaller, separate oval or a curved "C" shape attached to the lower side of the main body. This represents the thumb compartment. Connect these two shapes with smooth, continuous lines to create a unified silhouette. Avoid making the thumb too long or thin, as mittens are designed for warmth and typically feature a bulky, rounded thumb area.
- Sketch a tall, rounded oval for the palm and fingers.
- Add a smaller, curved shape on the side for the thumb.
- Connect the shapes with soft, flowing lines to remove internal intersections.
- Erase any overlapping lines to create a clean, singular outline.
How to add realistic details to mittens
Adding details transforms a basic shape into a recognizable piece of winter apparel. Start by drawing a horizontal line across the bottom of the mitten to create the cuff. This cuff should be slightly wider than the main body, suggesting a ribbed or folded fabric texture. You can add vertical lines within the cuff area to simulate the appearance of elastic knitting.
Beyond the cuff, consider adding subtle shading to suggest the thickness of the material. Use light, curved strokes along the edges of the mitten to create a three-dimensional effect. If you want to show that the mitten is made of wool, add small, irregular marks or "fuzz" along the outer edges. These small additions provide visual interest and make the drawing appear more tactile and professional.
- Draw a horizontal band at the base for the cuff.
- Add vertical hatching lines inside the cuff for texture.
- Use soft, curved shading along the sides to indicate volume.
- Add small, short lines around the perimeter to suggest wool or fleece.
Best tools for drawing mittens
For beginners, a standard graphite pencil is the best tool to start with because it allows for easy corrections. Use an HB pencil for initial light sketches and a 2B or 4B pencil for darkening the final outlines. A soft white eraser is essential for removing construction lines without damaging the paper surface, ensuring your final drawing remains clean and professional.
If you prefer working with digital tools, a pressure-sensitive stylus and tablet are ideal. These allow you to vary the line weight, which is crucial for showing the thickness of the fabric. Whether using traditional or digital media, always maintain a light touch during the initial phase. This prevents deep indentations in the paper and makes it much easier to refine the shape as you progress toward the final design.
Why mittens look lopsided or unnatural
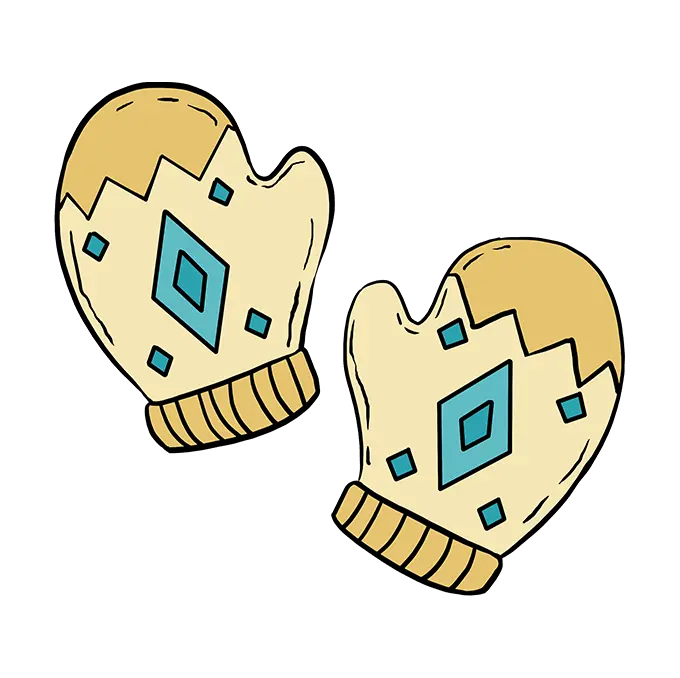
A common issue when drawing mittens is creating a thumb that looks detached or incorrectly positioned. The thumb should emerge from the side of the mitten at a natural angle, usually about one-third of the way up from the bottom of the palm. If the thumb is placed too high or too low, the mitten will appear anatomically impossible to wear, which ruins the overall credibility of the illustration.
Another reason mittens look unnatural is a lack of curvature. Mittens are soft, rounded objects, not rigid containers. If your drawing features sharp, straight lines, the mitten will look like a stiff wooden block rather than a cozy garment. Always prioritize rounded corners and gentle, sweeping curves. If the mitten looks too flat, increase the curvature on the outer edges to imply that there is a hand inside pushing against the fabric.
Common mistakes when drawing mittens
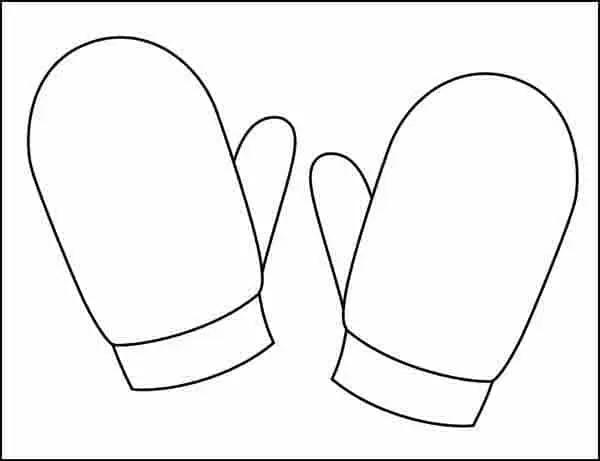
One of the most frequent mistakes is making the mitten too symmetrical. While both mittens in a pair share a similar shape, they are mirror images of each other. Beginners often draw two identical shapes facing the same direction, which is impossible since a pair of mittens requires a left and a right version. Always ensure the thumb compartments are on opposite sides when drawing a full pair.
Another error involves neglecting the weight of the fabric. Mittens are meant to be thick and insulating, so the outline should look substantial. Avoid drawing the lines too thin or too close to the center, as this can make the mitten look like a thin rubber glove. By allowing the outline to have a slight "puffiness," you convey the necessary warmth and bulk that defines the classic winter mitten. Keep your lines fluid and confident to avoid a shaky, uncertain appearance.
Key facts
- Mittens are defined by a single compartment for the four fingers and a separate pouch for the thumb.
- The basic shape of a mitten resembles a rounded, asymmetrical oval or a mitten-shaped balloon.
- Always draw the thumb attachment on the inner side of the hand, pointing slightly upward toward the wrist.
- Use a curved line to separate the thumb from the main hand section to indicate the seam.
- Adding a cuff at the bottom creates the opening where the wrist enters the garment.
- Sketching light construction lines first allows you to refine the proportions before finalizing the outline.
The bottom line
Drawing a mitten is a straightforward process that begins with a simple, rounded oval shape. By adding a distinct thumb pouch on the inner side and a ribbed cuff at the base, you create a recognizable winter accessory. Focus on smooth, continuous curves to capture the soft, insulated nature of the garment. With these basic steps, you can easily illustrate mittens in various positions and styles.
People also ask
Should I draw the mitten fingers inside the shape?
No, mittens are designed to keep fingers together for warmth, so you should draw a smooth, rounded top rather than individual finger slots.
How do I make the mitten look like it is made of wool?
You can add short, soft hatch marks or small dots along the edges of your drawing to simulate the texture of knit fabric.
What is the best way to show the thickness of the fabric?
Draw a double line along the cuff or the outer edge to represent the hem and the bulk of the material.
How do I draw a pair of mittens that are connected by a string?
Draw a curved, loose line connecting the two cuffs, ensuring the line has a slight dip to suggest it is hanging between them.
Can I draw mittens on a person's hands?
Yes, ensure the mitten shape is slightly larger than the hand to account for the padding and insulation layers inside.
Why does my mitten drawing look like a boxing glove?
If the thumb is too large or the top is too square, it loses the soft, rounded appearance of a winter mitten.
This answer was created with the help of AI research tools and reference sources. Spotted an error? Let us know — we correct mistakes quickly. See our editorial policy.