How do you draw a snail?
Short answer
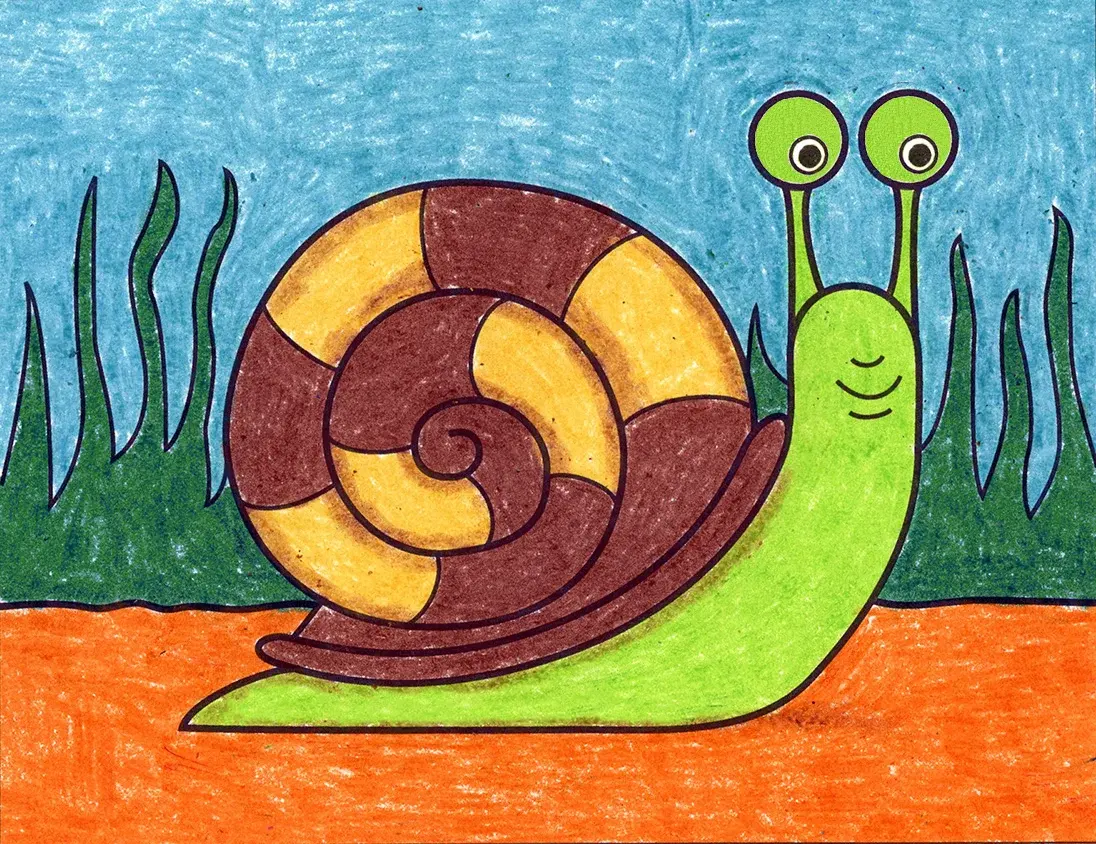
Drawing a snail involves sketching a spiral shell atop a soft, muscular foot. Begin by forming a coiled shell shape, then attach a curved body extending from beneath it. Add two pairs of tentacles on the head, one for eyes and one for sensing, to complete the recognizable anatomy of the gastropod.
On this page
How to draw a snail step by step
To begin your drawing, start with the shell, which is the most distinct feature of the snail. Place a small dot near the center of your paper to act as the core of the spiral. From this point, draw a continuous, widening line that coils outward to create the rounded, dome-like shape of the shell. Once the shell is outlined, draw a long, horizontal shape beneath it to represent the muscular foot. This foot should be slightly pointed at the tail end and rounded at the front where the head resides.
- Sketch a small circle for the center of the shell.
- Spiral outward, ensuring the lines get further apart as you move away from the center.
- Draw an elongated oval shape underneath the shell to form the base.
- Add a small, curved protrusion at the front for the head.
- Place two pairs of lines on the head to represent the tentacles.
- Add small circles at the tips of the upper tentacles for eyes.
Best drawing tools for beginners
For those new to drawing, using a graphite pencil with a medium hardness, such as an HB or 2B, is ideal. These pencils allow for light initial sketching that can be easily erased if you make a mistake. Once the basic structure is established, you can move on to a darker 4B pencil to add depth, shadows, and texture to the shell. Using a kneaded eraser is also highly recommended, as it can be molded into precise shapes to lift graphite and create highlights on the shell's surface.
- HB Pencils: Best for light outlines and initial structure.
- 2B or 4B Pencils: Ideal for adding shading and dark contrast.
- Kneaded Eraser: Excellent for cleaning up lines and creating highlights.
- Smooth Bristol Paper: Provides a consistent surface that is easy to shade on.
- Blending Stump: Helps smooth out graphite transitions for a professional look.
Why snail shells have different patterns
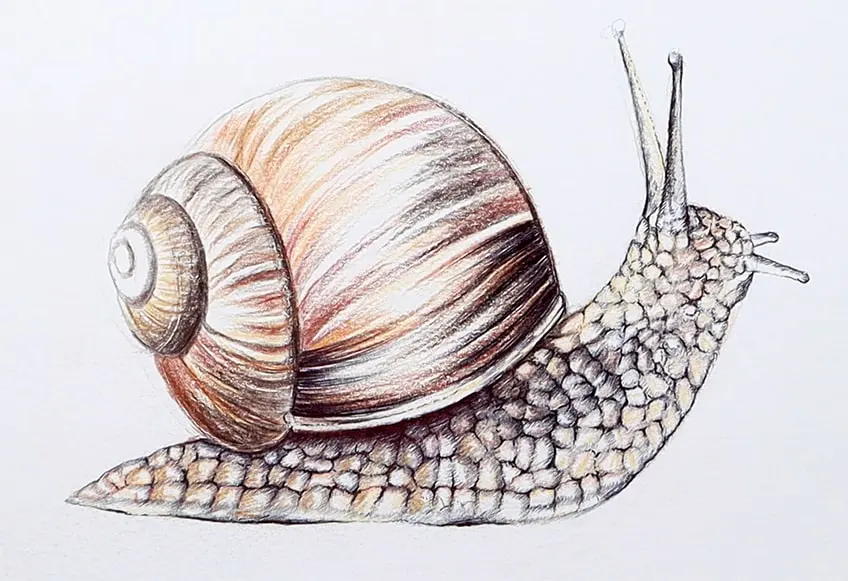
Snail shells are not uniform in appearance, and understanding their natural variations can help you add realism to your art. Many species exhibit intricate patterns, such as spirals, stripes, or mottled spots, which serve as camouflage against predators. When drawing these patterns, follow the curvature of the shell rather than drawing straight lines across it. This technique, known as cross-contouring, helps maintain the three-dimensional illusion of the shell's volume. Observing real-world examples, like the Garden Snail (Cornu aspersum), reveals how these markings follow the growth lines of the shell.
Focusing on the texture of the shell can significantly elevate your drawing. Use varied line weights to indicate the thickness of the shell's edge. Adding small, irregular bumps or ridges along the spiral can suggest age and wear, making the snail look more organic and lifelike. Remember that the shell is a hard, calcified structure, so it should have sharper highlights compared to the soft, moist appearance of the snail's body.
Common mistakes when drawing snails
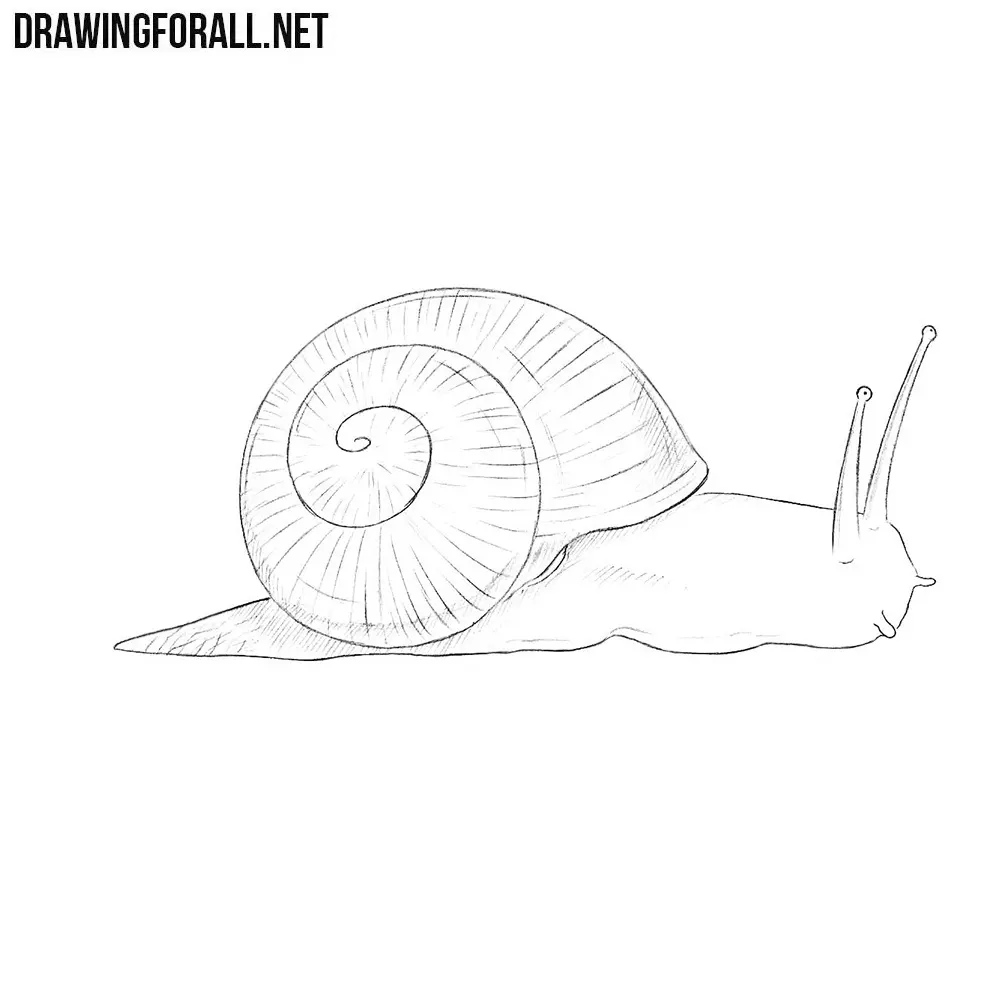
A frequent error is drawing the snail’s tentacles as straight, rigid sticks rather than flexible, tactile organs. In nature, these tentacles are soft and can bend or retract entirely when the snail feels threatened. To make your drawing more convincing, give the tentacles a slight curve or taper them toward the ends. Another common mistake is failing to connect the body properly to the shell. The body should appear as if it is emerging from beneath the shell's opening, rather than just being placed next to it.
Proportions are also critical; if the shell is too small, the snail looks unbalanced and unrealistic. Ensure that the shell is large enough to reasonably house the snail’s internal organs, which is its primary biological function. Additionally, beginners often neglect the "slime trail" or the moist texture of the foot. Adding a subtle, reflective sheen or a slight shadow beneath the foot can ground the snail in its environment and provide a sense of movement across a surface.
How to add shading and texture
Shading is the final step to bring your snail to life, providing the necessary depth to make it appear three-dimensional. Start by identifying the light source; if the light comes from the top right, the shadows should fall to the bottom left of the shell and beneath the body. Use soft, circular shading strokes to mimic the rounded surface of the shell. For the body, use a lighter touch and smooth transitions to capture the soft, fleshy texture of the gastropod's skin.
- Establish the light source before you begin shading.
- Use hatching and cross-hatching to build up dark areas under the shell.
- Leave a small white space on the shell to represent the highlight, which indicates a shiny, moist surface.
- Use a blending tool to soften the transition between light and shadow on the body.
- Add a cast shadow directly underneath the foot to anchor the snail to the ground.
By following these steps and paying close attention to the interaction between light and form, you will create a highly accurate and detailed drawing of a snail.
Key facts
- Snails have a distinct anatomy consisting of a spiraled shell and a muscular foot used for locomotion.
- Start by drawing a large, flattened oval for the body and a circular shape for the shell to establish basic proportions.
- The shell spiral should begin at the center and expand outward in a continuous, widening line.
- Snails possess two pairs of tentacles; the upper pair holds the eyes, while the lower pair is used for sensing the environment.
- Use soft, curved lines for the body to emphasize the snail's fluid, slug-like movement.
- Common mistakes include drawing the shell too small or failing to connect the body smoothly to the underside of the shell.
The bottom line
Drawing a snail is an exercise in mastering simple organic shapes and fluid lines. By starting with the shell as a central focal point and extending the soft, muscular foot underneath, you create a balanced composition. Focus on the curvature of the tentacles and the texture of the skin to add realism. With practice, you can easily capture the unique, slow-moving charm of these gastropods.
People also ask
Should I draw the shell first or the body?
It is generally easier to draw the shell first, as it acts as the anchor for the rest of the creature's anatomy. Once the shell is placed, you can extend the muscular foot from beneath it.
How do I make the snail look like it is moving?
Draw the front of the body slightly elongated and curved upward to suggest forward momentum. Adding a faint, wavy line behind the snail can represent the mucus trail it leaves while traveling.
Are there different types of snail shells to draw?
Yes, shells vary from tall, conical shapes to flat, disc-like spirals. Researching specific species like the garden snail or the marine cone snail will provide different visual inspirations.
How do I shade a snail shell to make it look round?
Focus your light source on one side of the shell and apply darker shading to the opposite side. Blending your pencil strokes along the curve of the spiral will create a three-dimensional effect.
What is the best way to draw the texture of the snail's skin?
Use light, stippled dots or very fine, short lines to suggest the moist, bumpy texture of the snail's skin. Avoid heavy, dark lines, which can make the body look too rigid.
Can I add patterns to the shell?
Absolutely, as many snails have natural stripes or spots on their shells. Draw these patterns following the direction of the spiral to ensure they look integrated with the shell's form.
This answer was created with the help of AI research tools and reference sources. Spotted an error? Let us know — we correct mistakes quickly. See our editorial policy.