How do you draw the human figure?
Short answer
Drawing the human figure requires understanding underlying anatomy, proportions, and gesture. You begin by establishing the skeletal structure and core masses, then refine the silhouette through observation. Consistent practice with life drawing, focusing on the relationship between joints and muscle groups, allows you to represent the body’s complex three-dimensional form accurately.
On this page
How to learn figure drawing basics
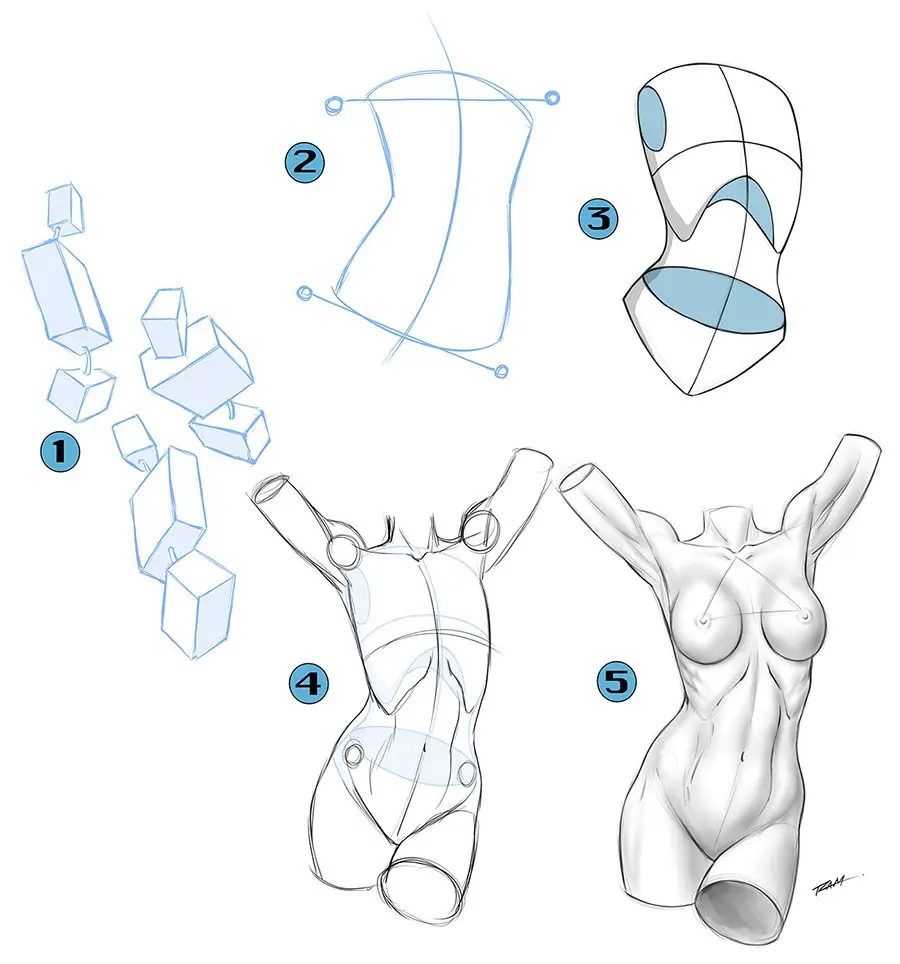
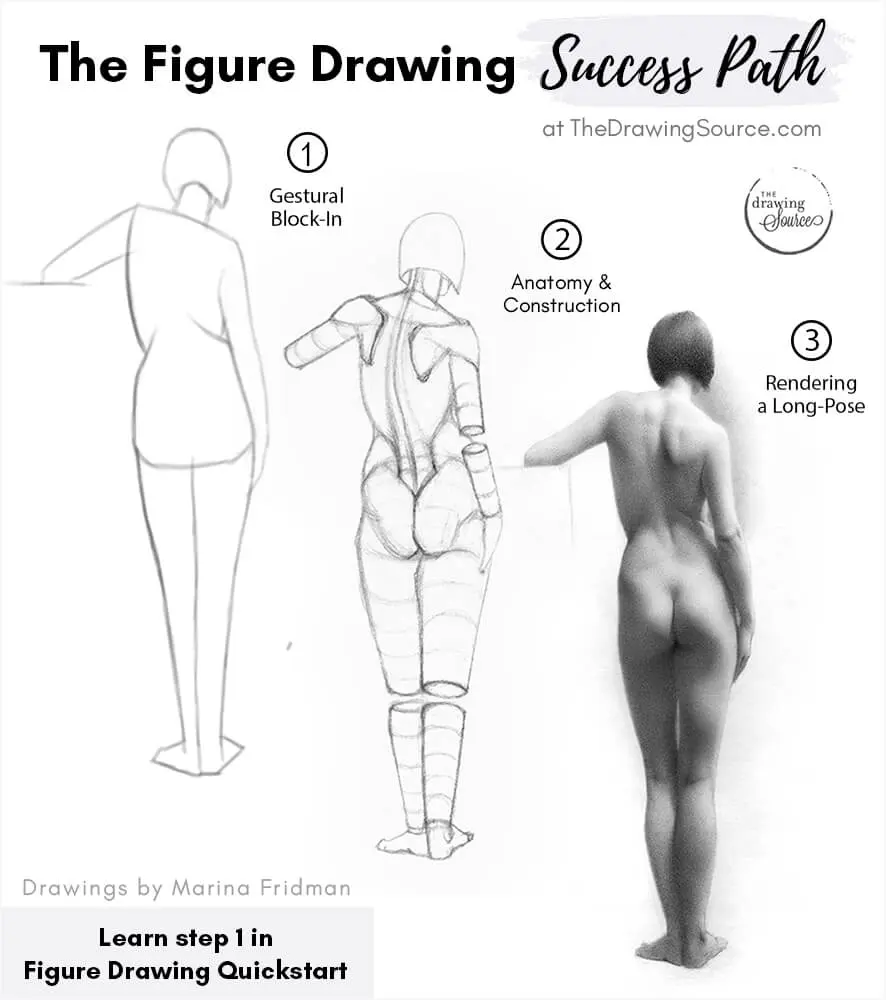
The foundation of figure drawing lies in simplifying the complex human form into basic geometric shapes. Beginners should start by visualizing the torso as a rib cage and a pelvis, connected by a flexible spine. These two masses are the primary anchors of the body, and their orientation dictates the overall pose and balance of the figure. By treating these parts as rigid boxes or spheres, you can quickly establish the perspective and tilt of a subject before adding limbs.
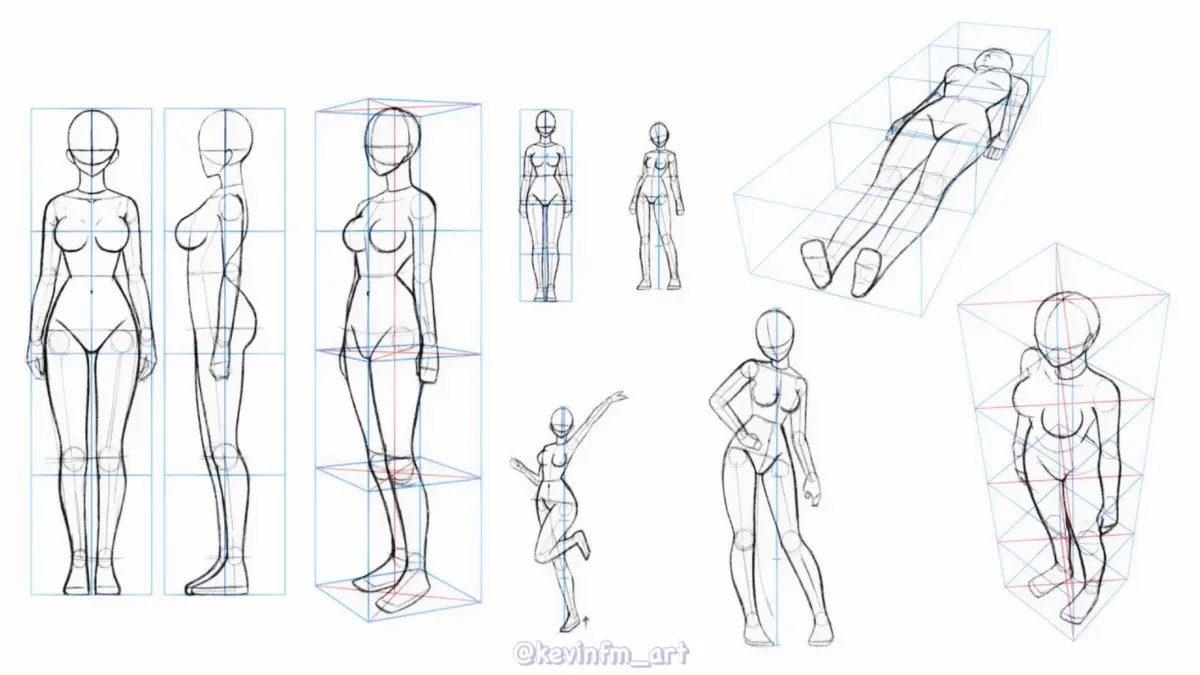
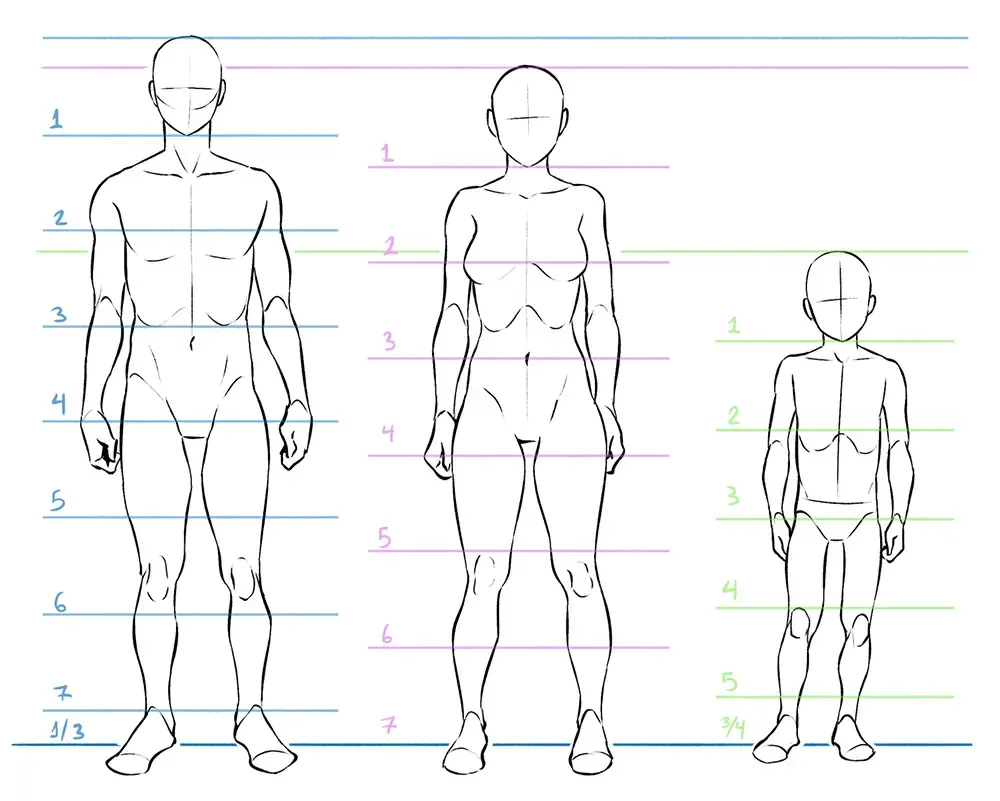
Mastering proportions is the next critical step for any aspiring artist. A standard academic measurement uses the height of the head as a unit of scale. An average adult figure is typically seven to eight heads tall. While individual variations exist, adhering to these ratios helps maintain structural integrity. Use these steps to build your initial sketch:
- Draw a light vertical line to act as the center of gravity.
- Mark the head, the bottom of the rib cage, the pelvis, and the feet.
- Connect these landmarks with simple lines to define the gesture.
- Add volume to these lines by drawing cylinders for the arms and legs.
Why anatomy is important for artists
Understanding anatomy goes beyond memorizing muscle names; it involves recognizing how skeletal structures influence surface contours. When you draw a shoulder, you are actually drawing the interaction between the clavicle, the scapula, and the humerus. If you ignore these bony landmarks, your drawings will likely appear soft or structurally unsound. Studying the skeleton allows you to predict how the body will compress or stretch during movement.
Focusing on the major muscle groups—such as the pectorals, deltoids, and quadriceps—helps you add realistic weight to your figures. You do not need to be a medical expert, but you should understand how muscles attach to bones. This knowledge allows you to draw convincing foreshortening, where limbs appear to recede into space. When a muscle contracts, it shortens and bulges; when it relaxes, it flattens. Observing these subtle shifts in surface tension is what separates a flat, cartoonish sketch from a dynamic, lifelike study of the human form.
How to capture gesture and movement
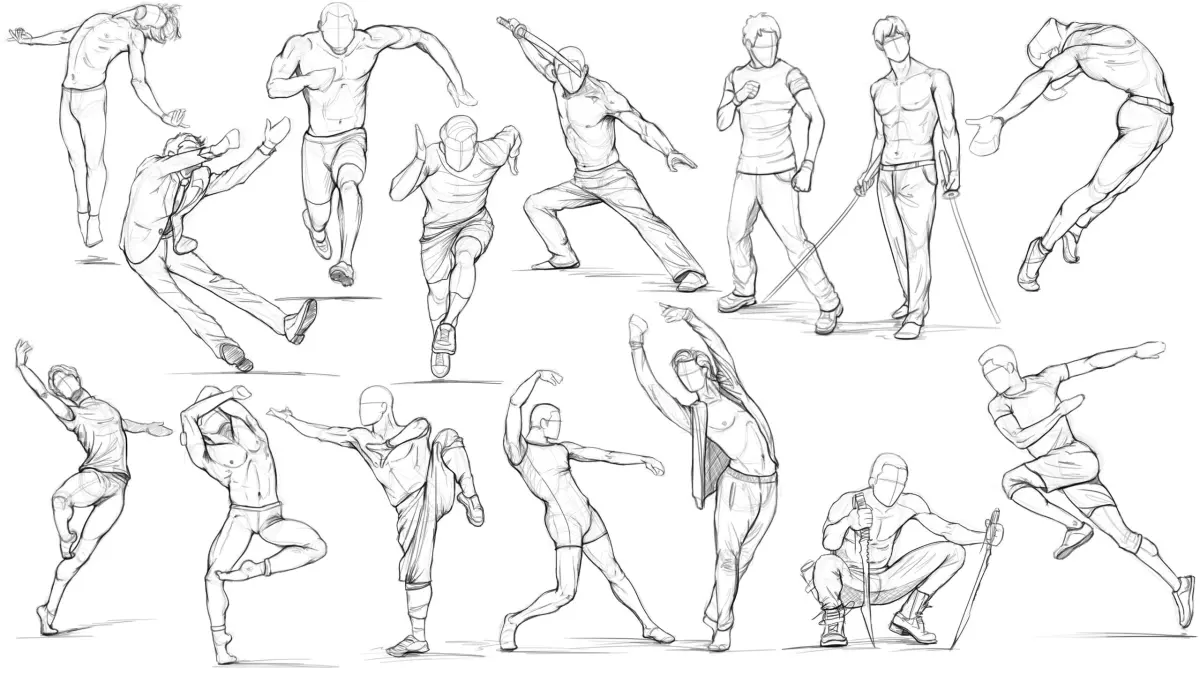
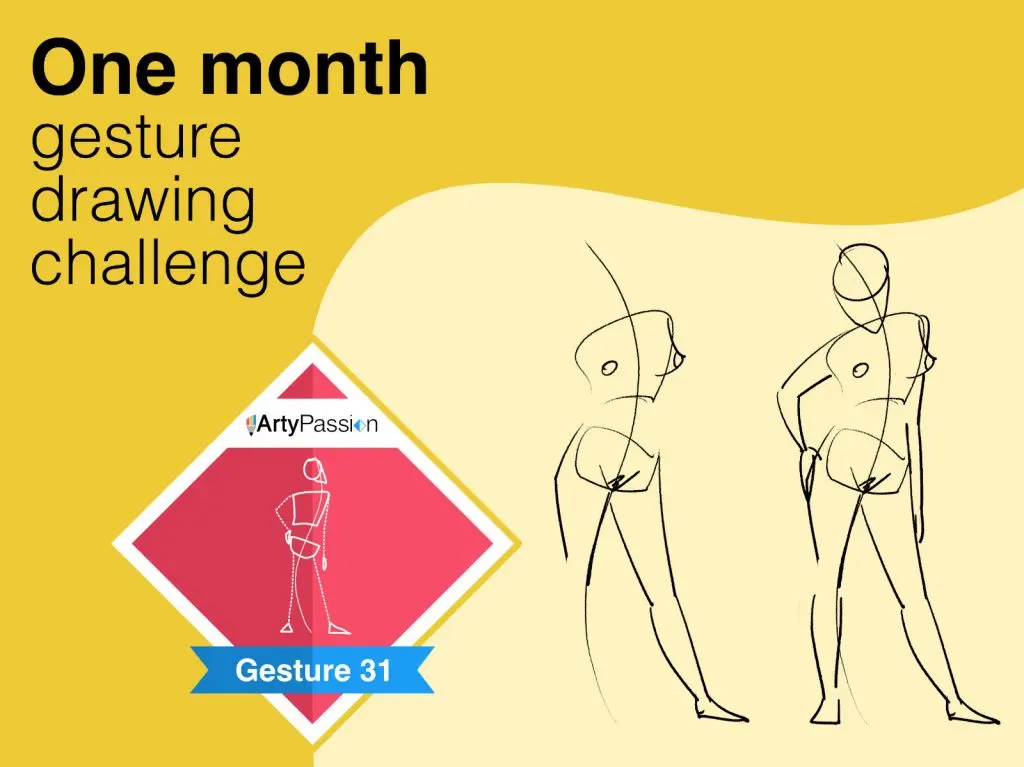
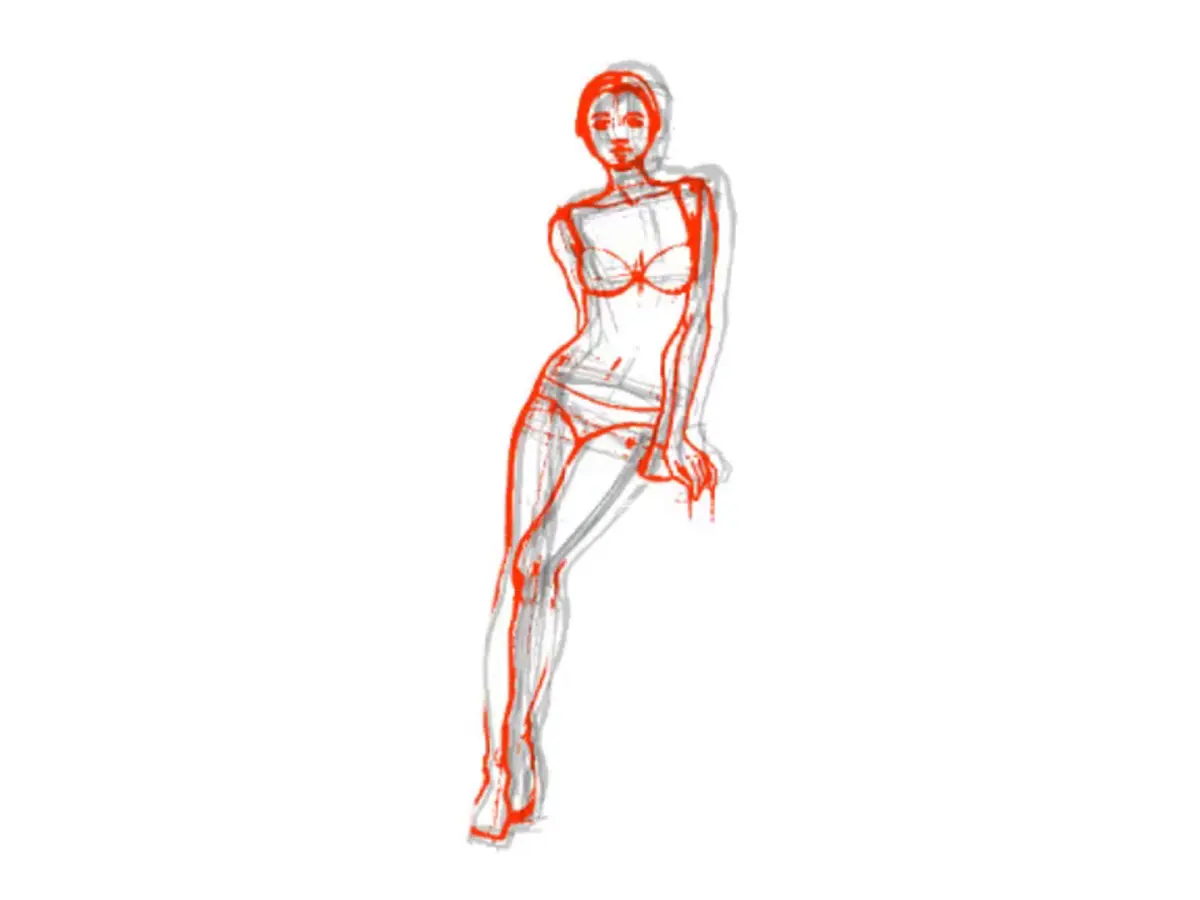
Gesture drawing is the practice of capturing the essence and energy of a pose in a very short amount of time. Instead of focusing on details like fingers or facial features, you should prioritize the "line of action." This is an imaginary curve that flows through the spine and the limbs, representing the primary direction of the movement. By spending only 30 seconds to two minutes on a sketch, you force your brain to prioritize the most important shapes and silhouettes.
To improve your gesture drawing skills, try these techniques:
- Use long, sweeping strokes rather than short, choppy lines to maintain fluidity.
- Focus on the tension between the body parts, such as the pull on one side of the torso versus the compression on the other.
- Exaggerate the pose slightly to make the movement feel more intentional and powerful.
- Keep your pencil moving constantly to prevent yourself from becoming fixated on minor details or erasing mistakes.
Common mistakes when drawing figures
One of the most frequent errors for beginners is "symbol drawing," where you draw what you think a body looks like rather than what you actually see. For example, many people draw eyes as almond shapes or hands as mittens because these are the symbols stored in their memory. To overcome this, you must train your eyes to observe negative space—the empty areas around the figure—and the specific angles of the limbs. If you draw the shape of the space between the arm and the torso, the arm itself often falls into place correctly.
Another common mistake is neglecting the weight distribution of the figure. A figure that does not look like it is standing on the ground will appear to float or fall over. Always ensure that the pit of the neck is aligned vertically over the supporting foot. If the figure is leaning, the center of gravity must shift accordingly. Avoid drawing limbs that look like limp tubes; instead, show how the joints bend and how the weight of the body shifts from one leg to the other, creating a natural, grounded appearance.
Best tools for figure drawing practice
The best tools for figure drawing are those that allow for speed and broad, expressive marks. Graphite pencils in softer grades, such as 2B or 4B, are excellent because they allow for both light, structural sketching and darker, more defined contour lines. Charcoal is also a favorite among professional artists because it can be easily smudged, erased, and layered, which mimics the organic, soft nature of human skin and muscle. Experiment with different materials to see which provides the level of control you prefer for your specific style.
For your workspace, use a drawing board that allows you to stand or sit at a comfortable angle. If you are working from life, position your paper so that you can see both your subject and your drawing without turning your head excessively. This helps you maintain a consistent perspective. Whether you are using a sketchbook, newsprint, or digital tablets, the most important factor is consistency. Dedicate time to drawing from observation regularly, as the hand-eye coordination required for figure drawing is a skill that only improves through repetitive, focused effort and careful study of the human form.
Key facts
- The average adult human figure is approximately 7.5 to 8 heads tall.
- Place the halfway point of the entire figure at the pubic bone, not the navel.
- Shoulders are typically two to three head-widths wide in a standard adult frame.
- Use a "gesture drawing" approach to capture the flow of the spine before adding anatomical details.
- Align the elbows with the waistline and the wrists with the crotch area when the arms hang at the sides.
- Keep the feet roughly one foot-length apart to establish a stable center of gravity for standing poses.
The bottom line
Drawing the human figure is a skill built on understanding proportions and structural geometry. By mastering the "eight-head" rule and practicing gesture drawing, you can translate complex forms into simple, rhythmic shapes. Avoid focusing on minute details too early; instead, prioritize the overall balance and posture of your subject. Consistent observation and daily practice remain the most effective ways to develop your artistic eye and technical precision.
People also ask
How do I improve my understanding of human anatomy?
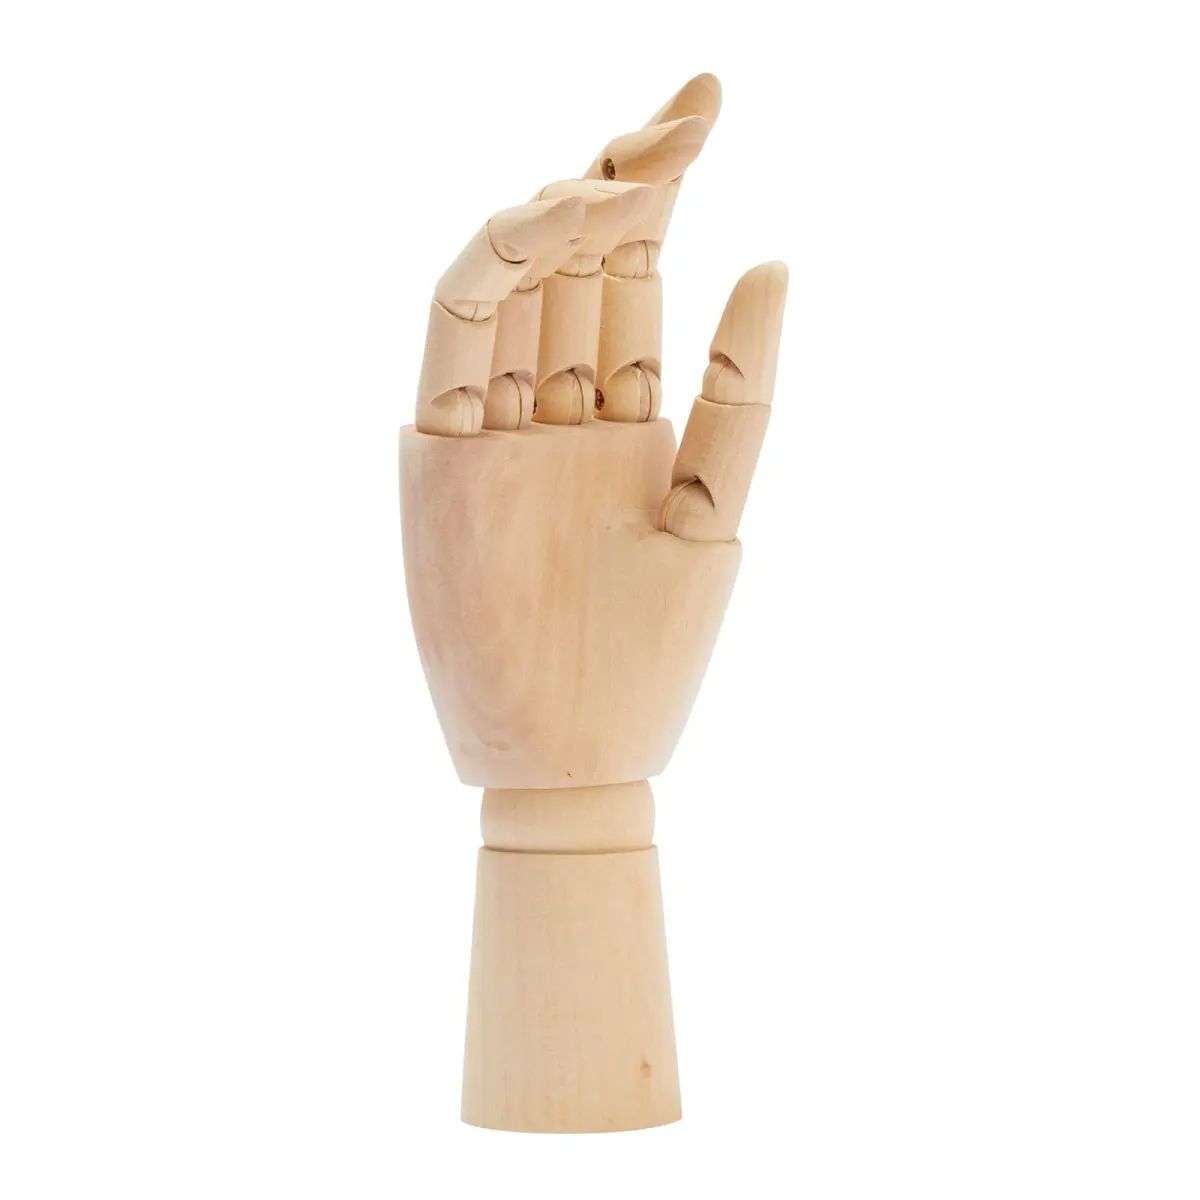
Study the skeletal structure and major muscle groups, such as the pectorals, deltoids, and quadriceps. Using anatomical reference books or plastic models helps you visualize how deep structures influence surface forms.
What is the best way to practice drawing people?
Attend life drawing sessions where you can observe live models in various poses. If that is unavailable, draw friends or family members who are willing to sit still for short intervals.
Should I use circles and boxes to build the body?
Yes, this is known as the "mannequin method" and is highly effective for beginners. It helps you establish volume and perspective before refining the contours of the skin and clothing.
How do I draw hands and feet accurately?
Treat hands as a simplified block for the palm with cylinders for the fingers. For feet, visualize a wedge shape that accounts for the heel, the arch, and the ball of the foot.
Why do my drawings look stiff or unnatural?
Stiffness often results from drawing straight, rigid lines instead of capturing the rhythmic curve of the spine. Focus on the "line of action" that runs through the body to create a sense of movement.
How can I measure proportions without a ruler?
Hold your pencil at arm's length and use your thumb to mark a distance on the shaft. Use this unit to compare the size of the head to the torso or limbs across the entire figure.
This answer was created with the help of AI research tools and reference sources. Spotted an error? Let us know — we correct mistakes quickly. See our editorial policy.