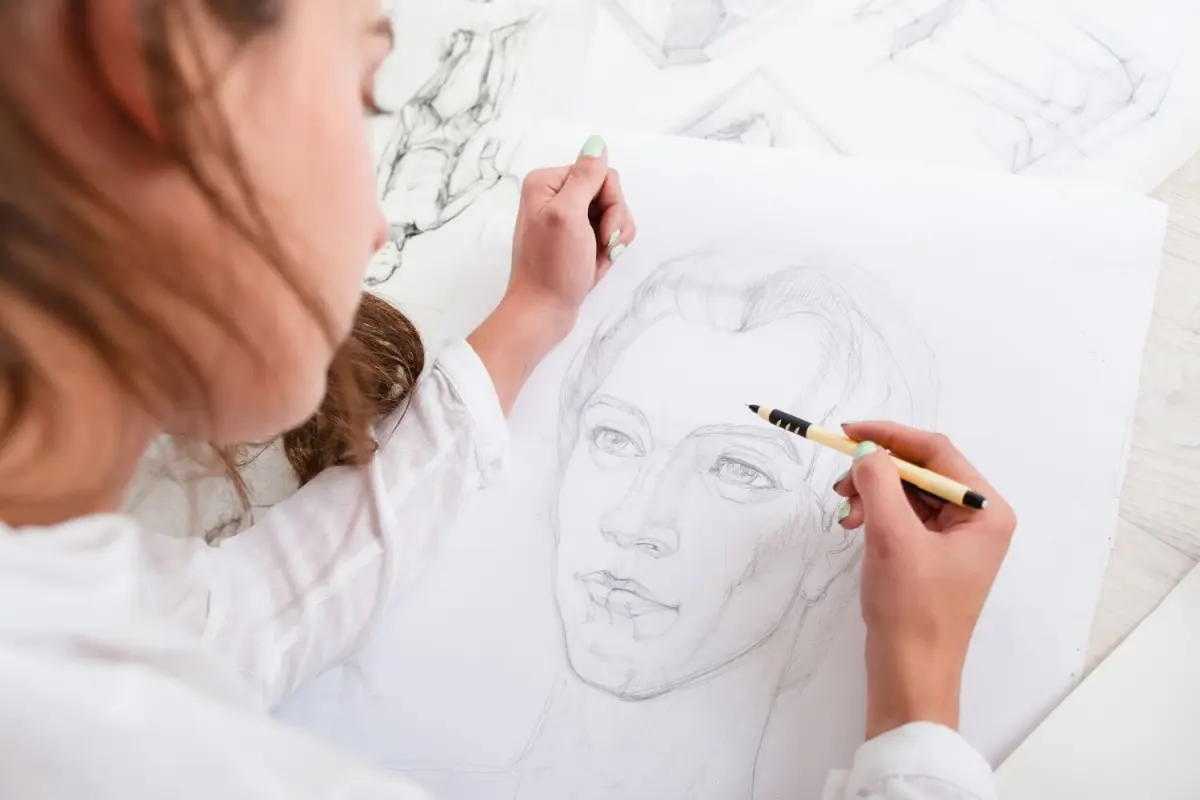
How do you draw a boy step by step?
Short answer
Drawing a boy involves establishing basic proportions using a head-centered grid, then layering anatomical shapes to define the torso and limbs. By focusing on simple geometric forms like ovals and cylinders, you can construct a believable figure. Consistent practice with perspective and gesture lines will refine your ability to capture human movement.
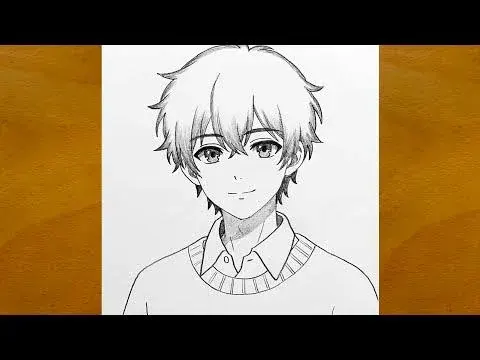
On this page
How to draw a boy step by step
To begin a drawing, start by sketching a vertical line to serve as the spine, which helps maintain balance. Use an oval for the head and divide it into sections to place the eyes, nose, and mouth accurately. The body of a young boy is typically about five to six heads tall, depending on his age.
Follow these steps to construct the basic frame:
- Draw an oval for the head and a slightly larger, inverted trapezoid for the chest area.
- Place a smaller circle below the chest for the pelvis, connecting them with a curved line for the torso.
- Use simple lines to mark the placement of the shoulders, elbows, and wrists.
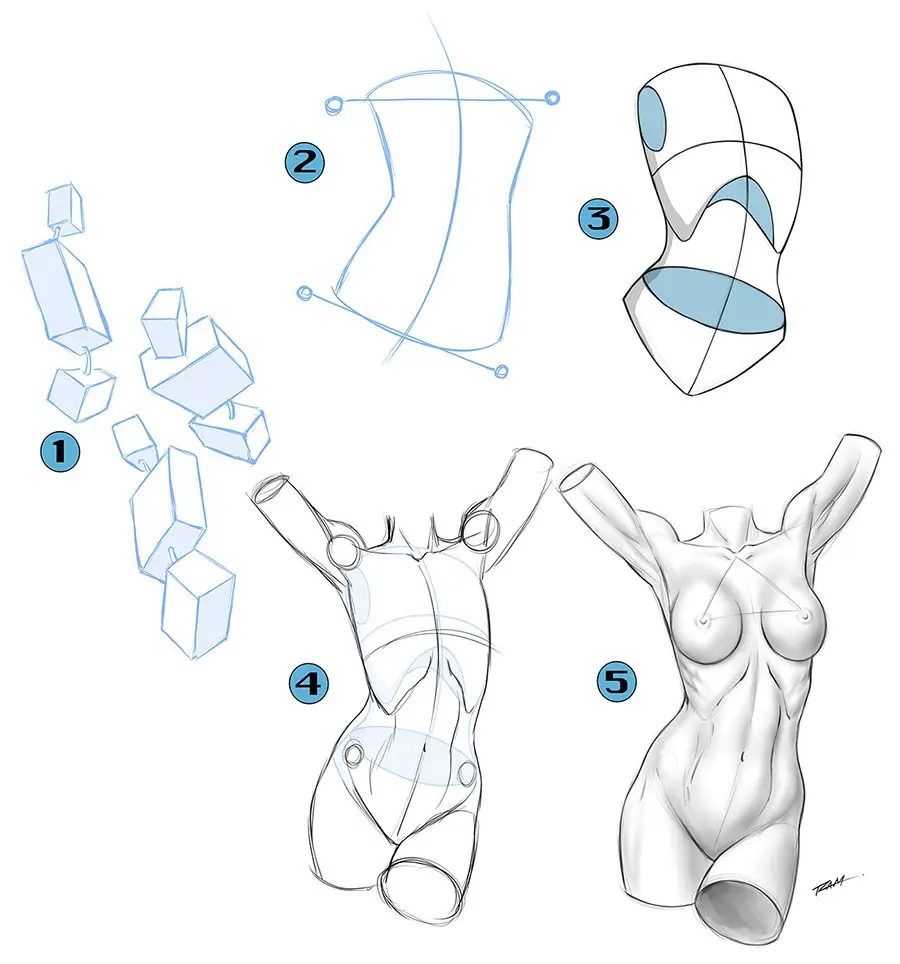
- Add cylinders for the arms and legs, ensuring the joints are marked with small circles to indicate flexibility.
- Connect these shapes with fluid lines to create the outer contour of the body, refining the silhouette as you go.
Best drawing tools for beginners
For those starting out, a standard HB graphite pencil is the most versatile choice for initial sketching. It allows for light lines that can be easily erased or adjusted without damaging the paper surface. Using a kneaded eraser is highly recommended because it lifts graphite gently and can be shaped to reach small, detailed areas.
When you are ready to add depth, consider using 2B or 4B pencils to create shadows and darker outlines. Smooth-finish drawing paper or a sketchbook with a weight of at least 70 pounds works best for graphite work. Avoid using pens or markers until you have fully finalized your sketch, as these are permanent and do not allow for the iterative process necessary when learning human anatomy. Keep a sharpener nearby, as a dull tip often leads to muddy, imprecise lines that obscure your initial structural work.
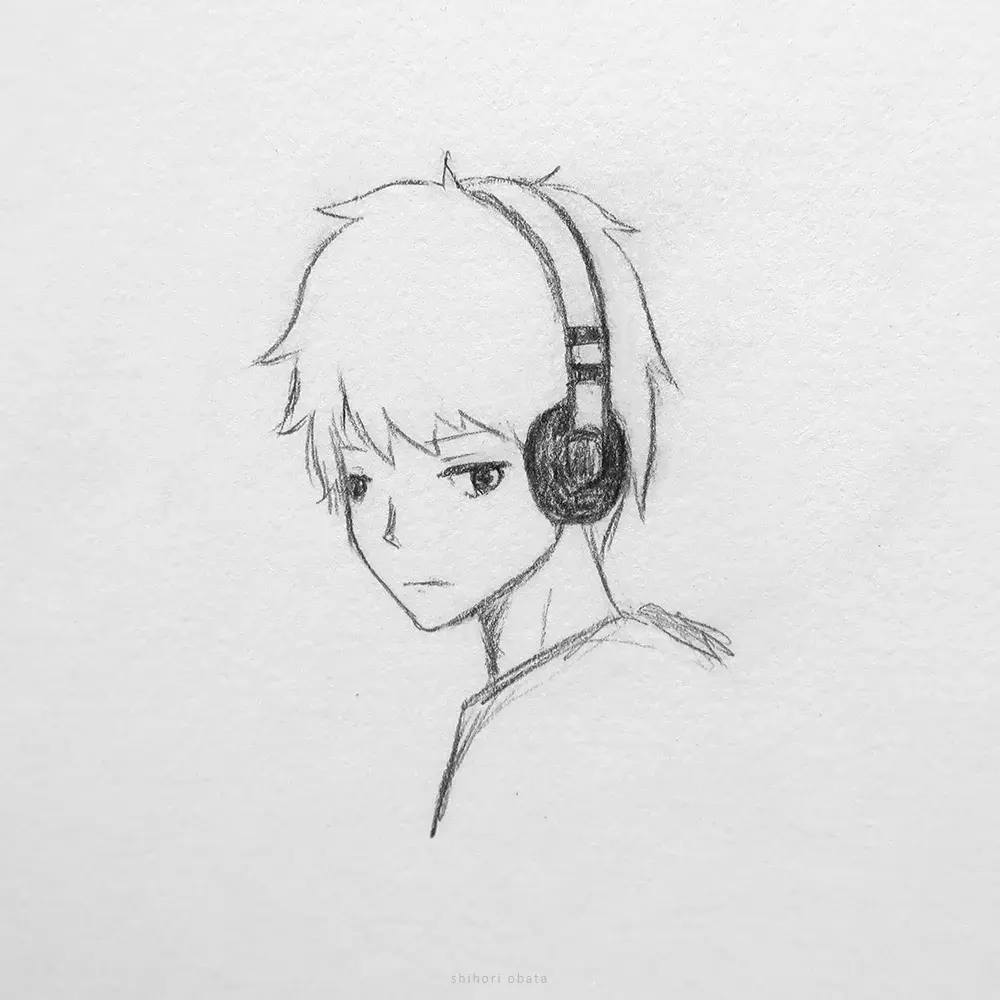
How long does it take to learn figure drawing
Mastering the human form is a lifelong pursuit, but most beginners can produce a recognizable figure within a few weeks of consistent daily practice. Dedicating 30 minutes each day to gesture drawing—sketching figures in under two minutes—will significantly improve your speed and accuracy. This method trains your eye to see the primary movement of the body rather than focusing on unnecessary details.
Progress usually occurs in stages, starting with simple stick figures and moving toward volumetric shapes. After three months of regular practice, you will likely notice a marked improvement in your ability to render foreshortening and complex poses. Remember that artistic development is not linear; some days will feel more productive than others. Patience is essential, as the goal is to build muscle memory that allows your hand to translate what your eyes perceive onto the page naturally.
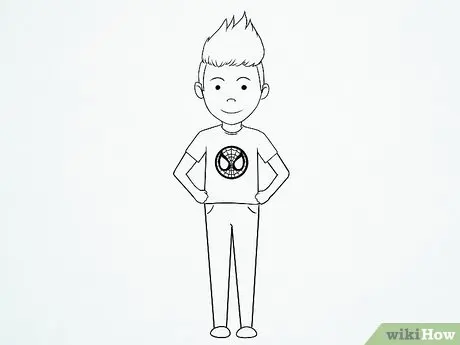
Common mistakes when drawing boys
One frequent error is making the head too large in proportion to the rest of the body, which can make the character look like a toddler regardless of the intended age. Always check the head-to-body ratio by physically measuring your drawing with your pencil. Another common mistake is neglecting the weight distribution of the figure, which often results in a drawing that looks stiff or like it is about to fall over.
To avoid these issues, pay attention to the "line of action." This is an imaginary curve that follows the spine and dictates the flow of the pose. If the line of action is straight and rigid, the drawing will look lifeless. Additionally, beginners often draw limbs as perfectly straight tubes. Instead, incorporate slight curves to represent muscles and joints, which adds a sense of realism and vitality to the character. Always step back from your work periodically to view the entire composition from a distance.
Why anatomy matters for character design
Understanding the skeletal and muscular structure underneath the skin is what separates a novice sketch from a professional-looking illustration. Even in stylized drawings, knowing where the collarbone, rib cage, and hip bones sit allows you to draw clothing that drapes correctly over the body. This knowledge prevents you from placing limbs in impossible positions that defy human biology.
Study basic anatomy charts to see how muscles connect to bones, specifically focusing on the deltoids, biceps, and quadriceps. When you understand these connections, you can draw a boy in any action pose, such as running or sitting, with confidence. You will begin to see the body as a collection of interlocking parts rather than a flat surface. This shift in perspective transforms your drawings from simple outlines into three-dimensional characters that occupy physical space. By mastering these foundational concepts, you gain the freedom to exaggerate features for stylistic effect while maintaining the structural integrity that makes your drawings look grounded and believable.
Key facts
- Start with a light pencil sketch of an oval for the head to establish proportions before adding details.
- Use the "rule of thirds" for the face, placing the eyes on the horizontal midline of the head.
- Keep neck width roughly one-third the width of the head to maintain a natural appearance.
- Sketch a simple "stick figure" frame first to ensure the body’s pose and limb length are accurate.
- Draw the ears so they align vertically between the level of the eyebrows and the bottom of the nose.
- Avoid pressing too hard with your pencil early on, as light guidelines are easier to erase later.
The bottom line
Drawing a boy effectively requires mastering basic geometric shapes and anatomical proportions. By starting with light construction lines and a stick-figure frame, you ensure the body remains balanced before adding detail. Focus on the relationship between facial features and the overall volume of the hair. With consistent practice and careful attention to light and shadow, you can develop the skills to create expressive and well-proportioned figures.
People also ask
How do I make the eyes look realistic?
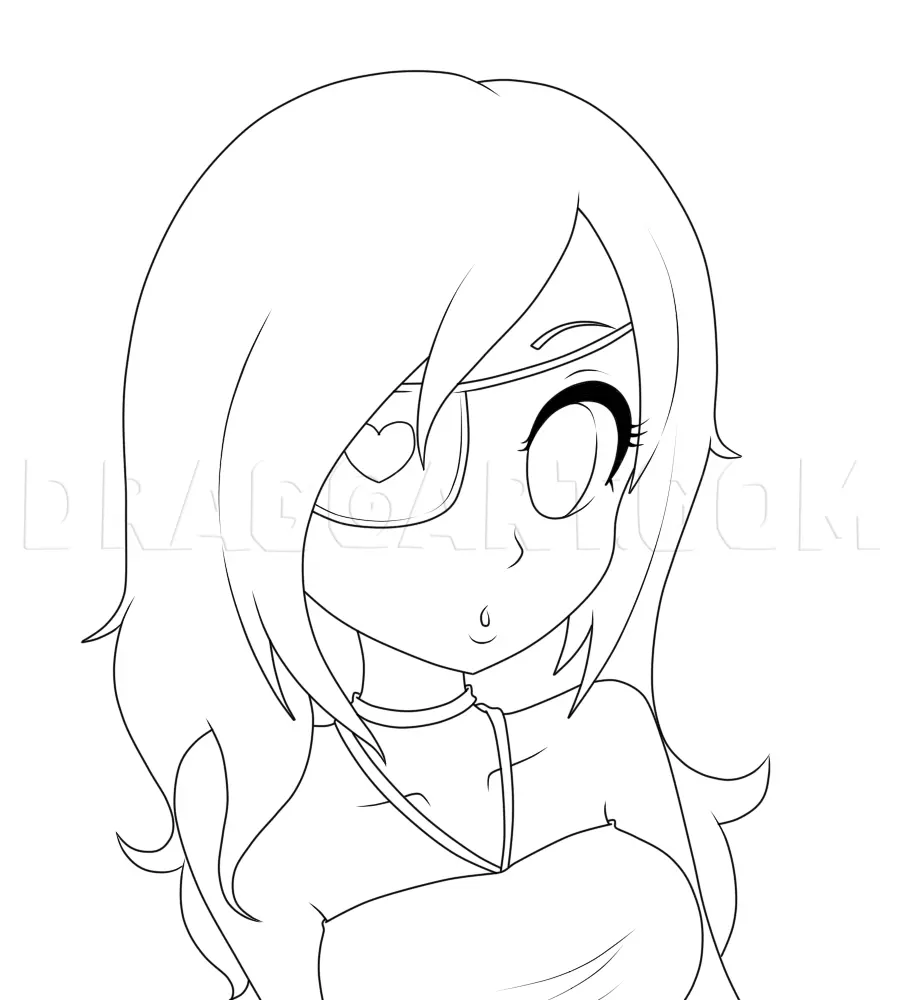
Draw an almond shape and ensure the iris is a circle partially covered by the upper eyelid. Adding a small white highlight inside the pupil creates a sense of depth and life.
What is the best way to draw hair?
Instead of drawing individual strands, sketch the hair as large, flowing shapes or clumps. Focus on the overall volume and direction of the hair rather than every single detail.
How do I get the proportions of the body right?
A standard human figure is typically seven to eight heads tall. Use this measurement to mark out the torso and legs before adding muscle or clothing.
Why do my drawings look flat?
Drawings often lack depth if they do not account for light and shadow. Identify a light source and add shading to the opposite side of the face and body to create a three-dimensional effect.
Read the full answer →Should I use a specific type of pencil?
Use an HB or 2B pencil for sketching because they are easy to erase. Harder leads like 4H are better for light construction lines that you intend to remove later.
How do I draw hands?
Break the hand down into a simple pentagon shape for the palm and cylinders for the fingers. Remember that the middle finger is the longest, and the thumb attaches lower than the other fingers.
This answer was created with the help of AI research tools and reference sources. Spotted an error? Let us know — we correct mistakes quickly. See our editorial policy.