How do you draw anatomy?
Short answer
Drawing anatomy requires understanding the skeletal and muscular structures beneath the skin. You must master basic geometric shapes to represent bones, then layer muscle groups over that foundation. Consistent practice using life drawing, reference materials, and anatomical charts allows you to build a reliable mental library of human proportions and movement.
On this page
How to start learning anatomy for drawing
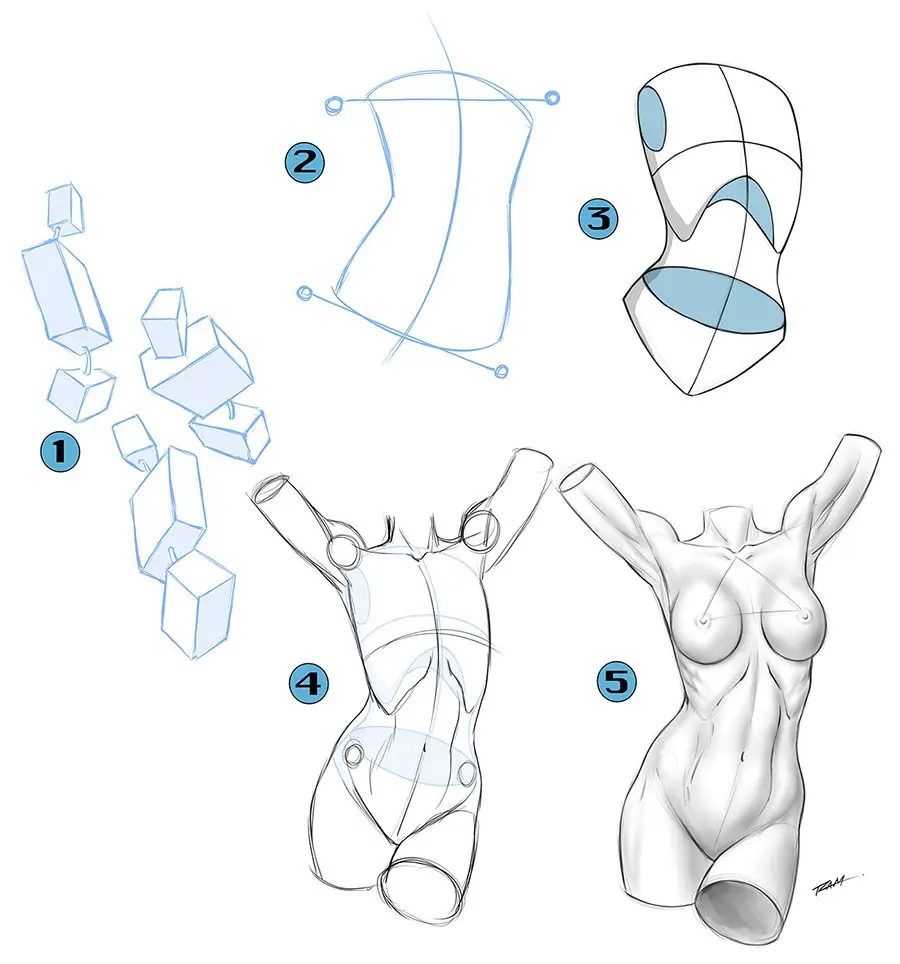
Begin by studying the skeleton, as it serves as the rigid framework for the entire body. Do not attempt to draw complex surface muscles before understanding the placement of major bones like the cranium, rib cage, and pelvis. These three forms are the primary anchors for all human movement and dictate the body’s overall posture. Use simple spheres, boxes, and cylinders to represent these parts in space rather than focusing on fine details immediately.
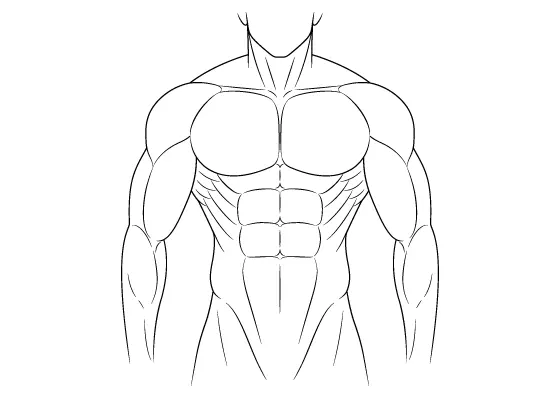
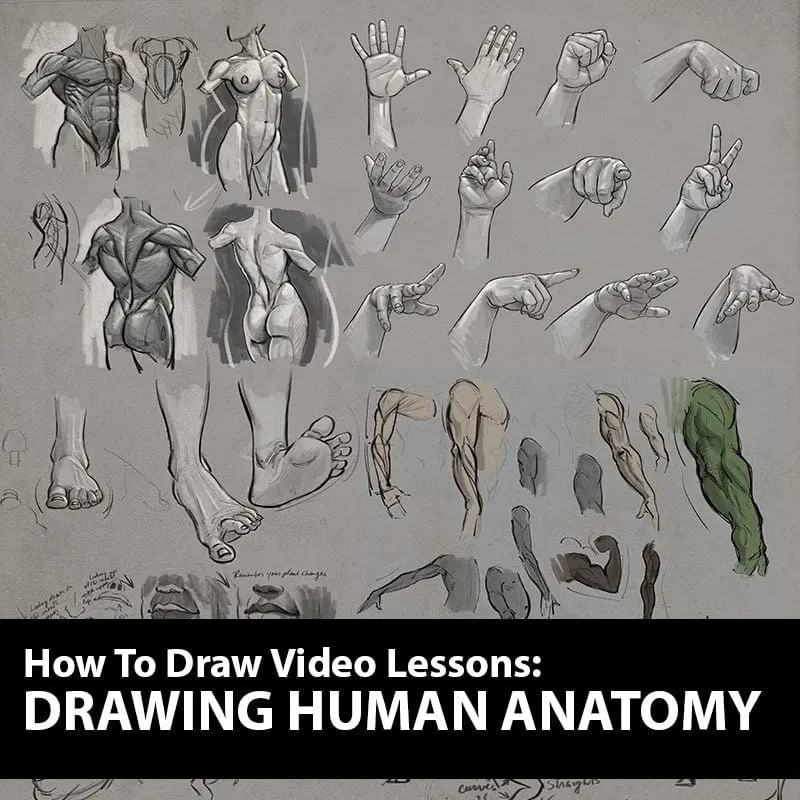
Once you grasp the skeletal structure, transition to studying the primary muscle groups that attach to these bones. Focus on the torso and limbs first, as these areas provide the most significant visual information regarding weight and tension. Keep a sketchbook dedicated solely to these studies, and try to draw the same body part from multiple angles. This repetition helps your brain translate two-dimensional shapes into three-dimensional forms on the page.
- Study the skull and its connection to the spine.
- Practice drawing the rib cage as a singular, solid volume.
- Map the pelvis as a bowl-like structure that connects the torso to the legs.
- Simplify limbs into cylinders to understand how they rotate at the joints.
How long does it take to learn anatomy
Mastering anatomy is a lifelong pursuit rather than a short-term goal. Most dedicated students begin to see significant improvements in their figure drawing after six months of consistent, daily practice. However, professional illustrators and fine artists continue to refine their anatomical knowledge throughout their entire careers. The speed of your progress depends heavily on the quality of your study time rather than the total number of hours logged.
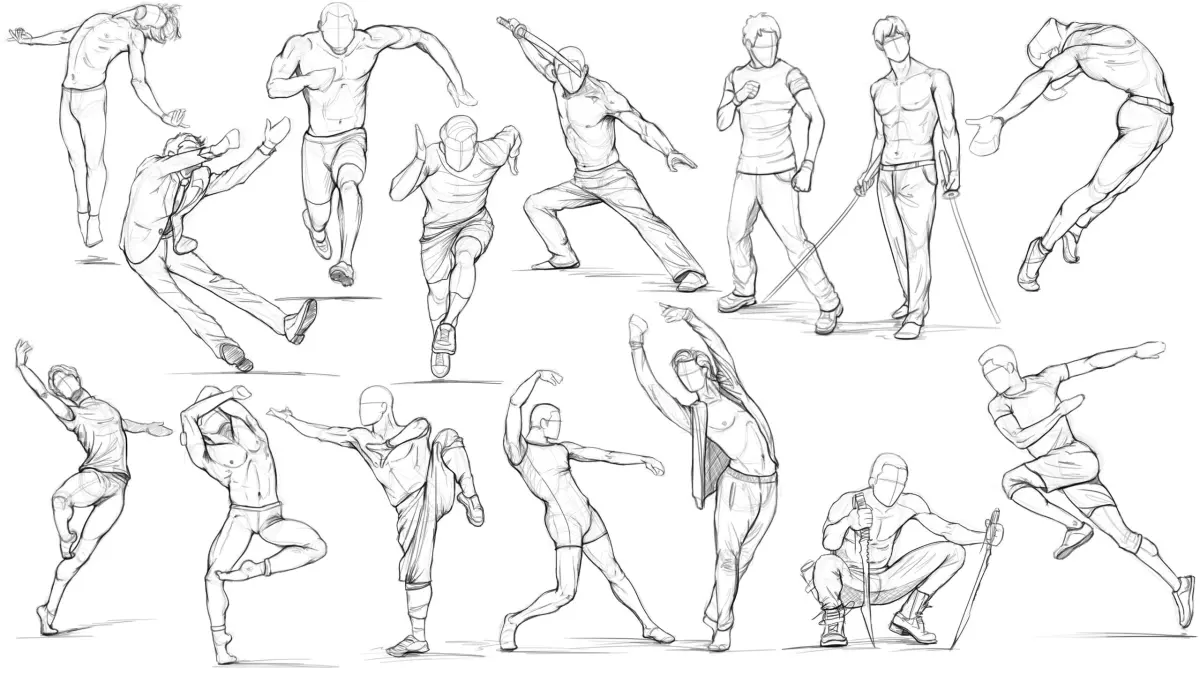
Effective practice involves alternating between analytical study and creative application. Spend half of your time copying medical illustrations or anatomical diagrams to understand the "why" behind the form. Spend the other half applying that knowledge to quick gesture drawings, which take between 30 seconds and five minutes to complete. This balance prevents you from becoming overly rigid in your drawings while ensuring your figures remain grounded in physical reality.
- Dedicate at least 30 minutes daily to focused anatomical study.
- Complete 10 to 20 gesture drawings every day to improve fluidity.
- Revisit fundamental bone structures once a month to ensure your foundation remains solid.
- Use a variety of references, including photos, statues, and live models.
Best tools for learning anatomy
You do not need expensive equipment to learn anatomy, but high-quality reference materials are essential. Start with a standard anatomy textbook, such as "Anatomy for Sculptors" by Uldis Zarins or the classic "Constructive Anatomy" by George Bridgman. These resources provide clear, simplified views of the body that are easier to digest than medical textbooks intended for surgeons. Digital resources, such as 3D model viewers, also allow you to rotate the body to see how muscles shift during movement.
For drawing, keep your tools simple to avoid distractions. A basic graphite pencil, a kneaded eraser, and smooth-surfaced paper are sufficient for most anatomical studies. Avoid using blending stumps or overly soft charcoal initially, as these tools can encourage "smudging" rather than clear, intentional line work. Clear lines are vital for understanding the contours and intersections of muscles, which are the core components of accurate anatomical representation.
- Use a 2B pencil for sketching to maintain control over line weight.
- Keep a sketchbook with a firm cover to protect your drawings.
- Utilize online 3D anatomy software to view muscle groups from obscure angles.
- Maintain a collection of printed reference images for easy access during practice.
Common mistakes when drawing anatomy
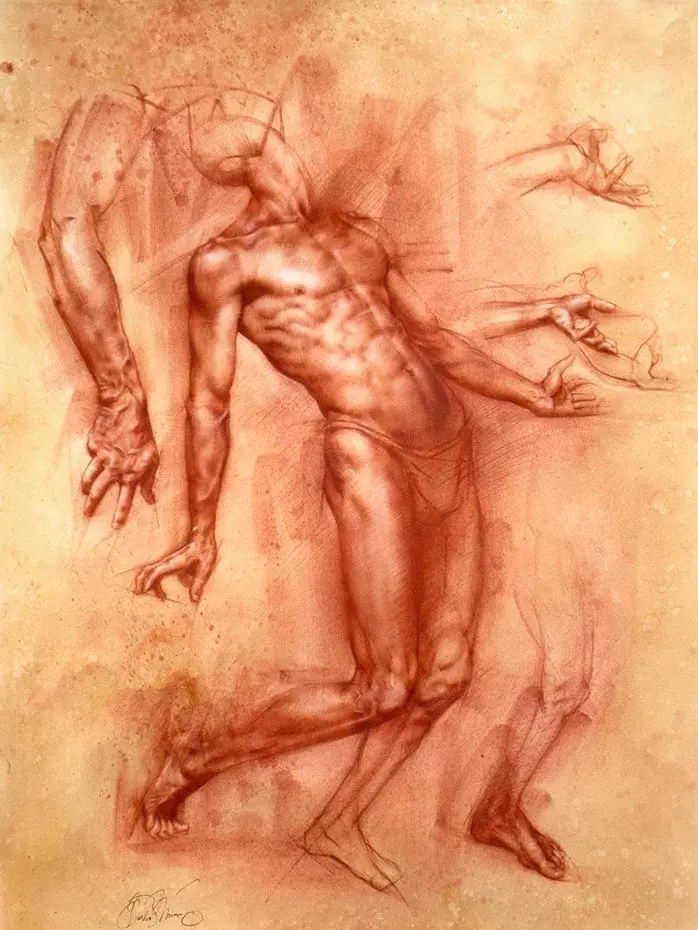
A frequent error is focusing on surface details like veins, skin folds, or individual muscle fibers before establishing the underlying structure. This often leads to drawings that feel "lumpy" or disconnected. If the underlying skeleton is incorrectly proportioned, no amount of muscle detail will make the drawing look correct. Always prioritize the "big shapes" first and ensure the balance and weight of the figure are accurate before adding secondary features.
Another common pitfall is relying on a single reference source or style. If you only copy one artist’s work, you will likely inherit their stylistic shortcuts and errors. Instead, look at a wide range of sources, including real-life photographs and medical diagrams. This helps you understand that anatomy is consistent across all humans, even if the surface appearance varies due to age, body fat, or muscle mass.
- Avoid "drawing the outline" only; always draw the volume of the forms.
- Do not ignore the tilt of the shoulders and hips, which creates a natural contrapposto pose.
- Stop trying to memorize every muscle name; focus on how they function and attach.
- Ensure your figures have a clear center of gravity to prevent them from looking like they are falling.
Why anatomy is important for artists
Anatomy provides the necessary logic to make a drawing look believable, even when you are working from your imagination. When you understand how a joint functions, you can draw it in any position without needing a reference photo for every single movement. This freedom allows you to create dynamic, expressive characters that possess a sense of weight and physical presence. Without this knowledge, figures often appear stiff, flat, or physically impossible.
Ultimately, anatomy acts as the bridge between observation and creativity. By internalizing the rules of the human body, you gain the ability to stylize or exaggerate figures while still maintaining a sense of realism. This is the hallmark of skilled figurative art, where the artist knows exactly which rules to follow and which to bend for the sake of the composition. Consistent study ensures that your work remains grounded in the fundamental truths of human biology.
Key facts
- The human body is roughly 7.5 to 8 heads tall in total height.
- The midpoint of the human body is located at the pubic bone.
- Elbows typically align with the bottom of the rib cage when arms are at the sides.
- Muscles should be drawn as simplified geometric volumes before adding surface detail.
- The clavicles form a slight "V" shape or a shallow arch, not a straight horizontal line.
- Foreshortening occurs when a limb points toward the viewer, causing it to appear shorter and wider.
The bottom line
Drawing anatomy is a disciplined practice of simplifying the complex human form into manageable geometric shapes. By mastering skeletal proportions, understanding the line of action, and prioritizing structure over surface detail, artists can create convincing, dynamic figures. Consistent practice with gesture drawing and observation of real-life movement remains the most effective path toward achieving accuracy and fluidity in your artistic work over time.
People also ask
Should I learn bone structure or muscle groups first?
You should always prioritize learning the skeletal structure first. Bones act as the rigid framework that dictates the placement and range of motion for muscles.
How do I make my drawings look less stiff?
Focus on the "line of action," which is a single, sweeping curve that defines the pose's energy. Avoid perfectly symmetrical or parallel lines, as natural human posture is rarely static.
What is the best way to practice anatomy?
Practice gesture drawing using timed sessions of 30 to 60 seconds. This forces you to capture the essence of a pose rather than getting bogged down in minor details.
How do I draw hands accurately?
Treat the palm as a flat, rectangular block and the fingers as cylinders. Avoid drawing fingers as individual sausages and instead group them by their shared knuckles.
Why do my drawings look distorted?
Distortion often happens because of inconsistent perspective or incorrect proportions. Use a "mannequin" method to map out the body in 3D space before adding skin or clothing.
Is it necessary to memorize every muscle name?
You do not need to memorize Latin names to draw well. It is more important to understand how muscles attach to bones and how they change shape when contracted.
This answer was created with the help of AI research tools and reference sources. Spotted an error? Let us know — we correct mistakes quickly. See our editorial policy.