How do you draw stairs?
Short answer
Drawing stairs requires establishing a vanishing point to create the illusion of depth. By sketching a series of repeating L-shaped polygons along a receding diagonal line, you define the treads and risers. Consistent perspective and parallel lines ensure the structure appears solid, realistic, and architecturally sound within your two-dimensional drawing space.
On this page
How to draw stairs in one-point perspective
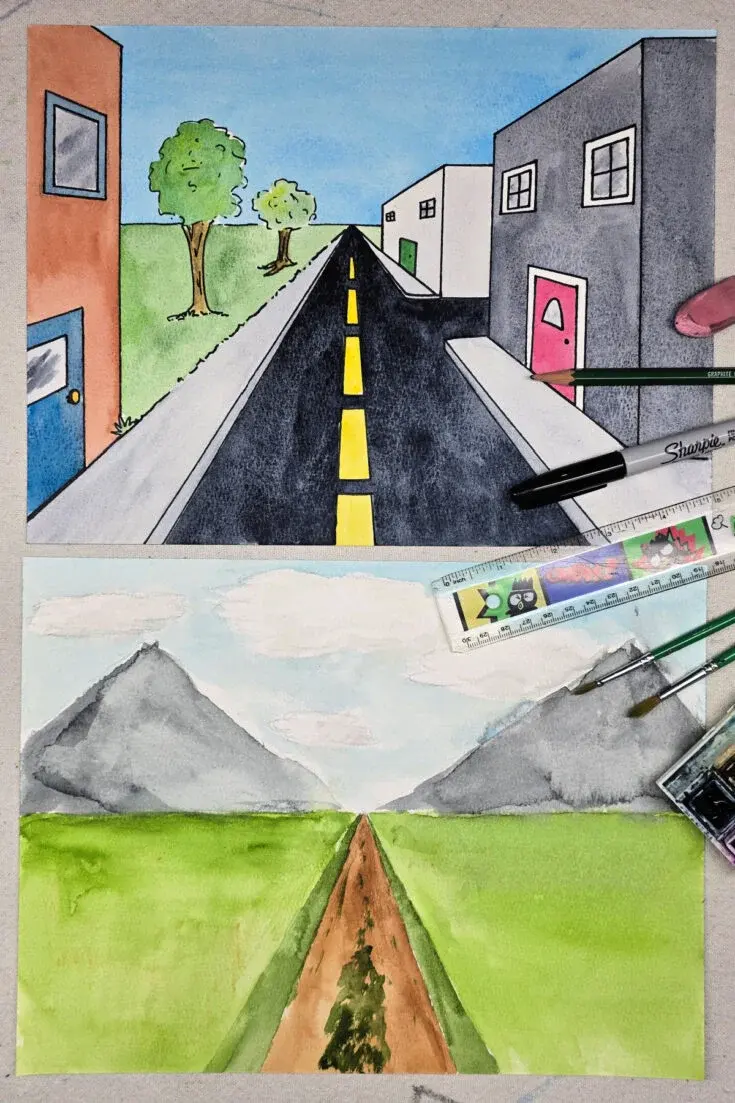
To draw stairs in one-point perspective, begin by drawing a horizon line and placing a single vanishing point in the center. Draw a diagonal line starting from the vanishing point that will serve as the guide for the angle of your staircase. This line dictates the slope of the stairs, ensuring all steps align toward the same distant focal point.
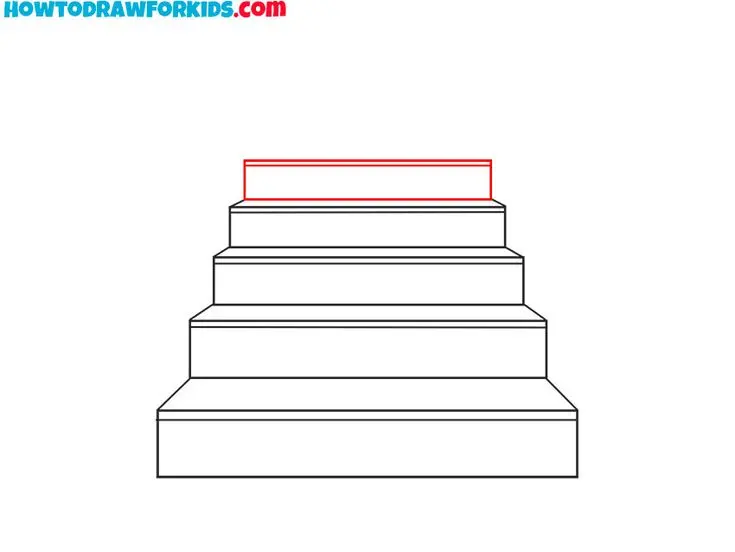
Once the diagonal guide is set, draw a series of vertical lines rising from the floor level. Connect these with horizontal lines to form the treads and risers, which are the flat and vertical parts of the step. By keeping your vertical lines perfectly perpendicular to the ground and your horizontal lines parallel to the horizon, you maintain the structural integrity of the staircase.
How to use the grid method for stairs
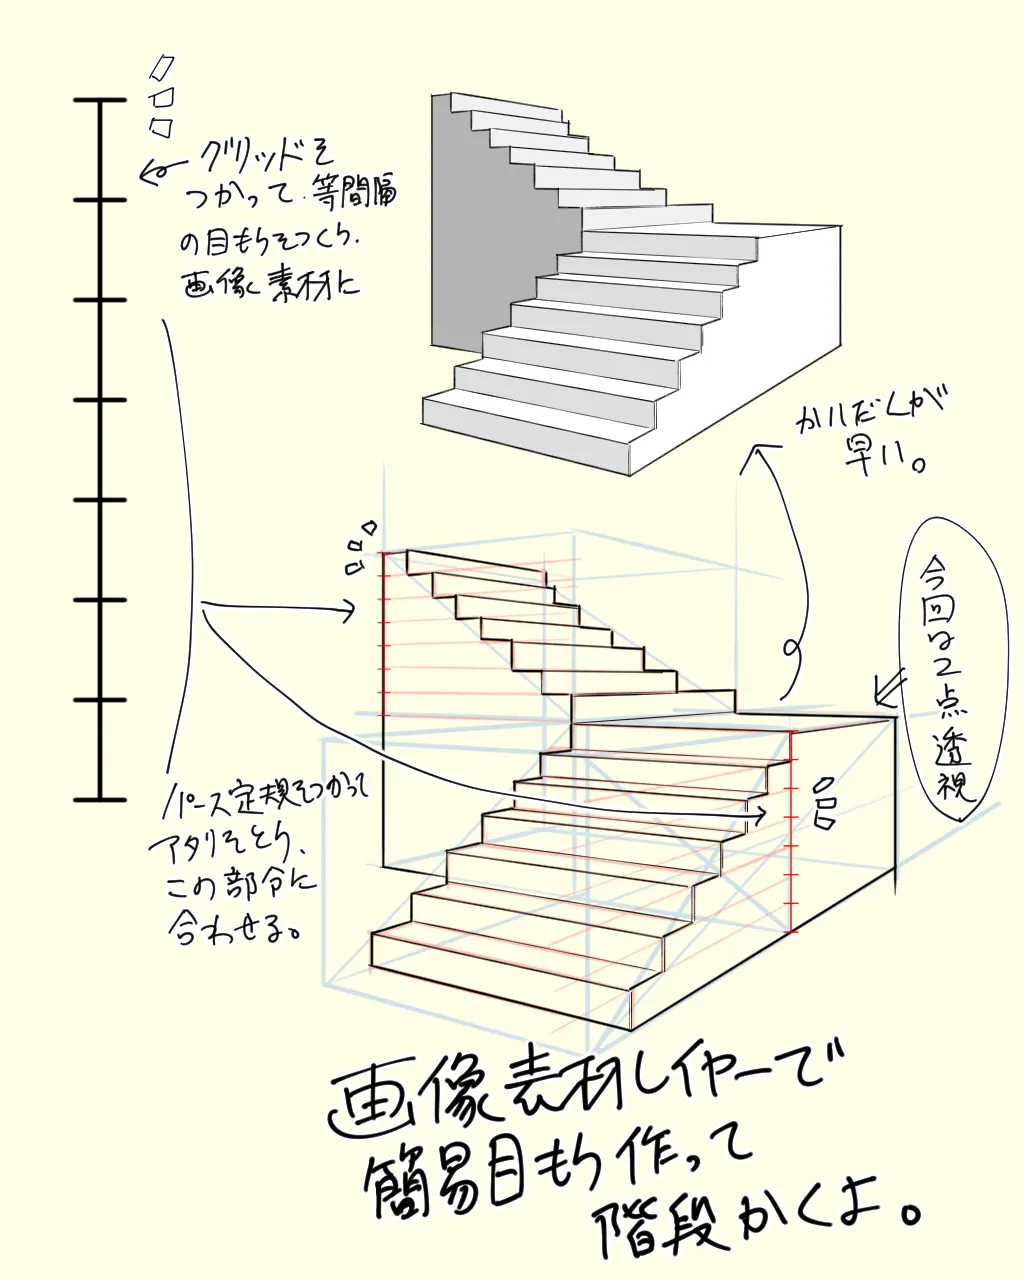
The grid method is an effective way to ensure uniform spacing between each stair. By lightly sketching a grid on your paper before drawing the stairs, you create a framework that prevents the steps from becoming distorted or uneven. Each square in the grid can represent a single tread and riser, helping you maintain consistent proportions throughout the drawing.
- Draw a light grid of squares across the area where the stairs will be located.
- Identify the diagonal path the stairs will take across these squares.
- Trace the L-shaped outlines of each step using the grid lines as a guide.
- Erase the grid lines once the final outline of the stairs is established.
This technique is particularly useful for beginners because it removes the guesswork involved in estimating the depth of each individual step.
Best drawing tools for accurate stairs
Precision is essential when drawing architectural features like stairs. Using a mechanical pencil with a 0.5mm lead allows for fine, sharp lines that are easier to control than standard wooden pencils. A metal ruler or a T-square is indispensable for ensuring your horizontal and vertical lines remain perfectly straight, which is the most critical factor in making stairs look realistic.
For those working on paper, a drafting triangle is also highly recommended. A 45-degree triangle helps you create consistent angles for the staircase slope, while an eraser shield allows you to remove mistakes without smudging surrounding lines. Using high-quality, smooth-surface paper prevents the graphite from catching on texture, resulting in cleaner edges and a more professional finish for your architectural sketch.
Common mistakes when drawing stairs
One of the most frequent errors is failing to keep the vertical lines perfectly parallel. If the vertical risers tilt inward or outward, the entire staircase will appear to collapse or lean, ruining the perspective. Another common mistake is neglecting the "thickness" of the steps. If you draw the stairs as simple lines without giving the treads depth, the structure will look like a flat ramp rather than a functional set of stairs.
- Ignoring the vanishing point, which causes the stairs to look disjointed.
- Making the steps too deep or too shallow, which creates unrealistic proportions.
- Forgetting to account for the thickness of the stair material.
- Failing to erase construction lines, which leads to a cluttered and messy final drawing.
Always check your work by holding the drawing at arm's length to see if the staircase looks stable and grounded.
How to add depth and detail to stairs
Once the basic structure is complete, adding shading and texture brings the drawing to life. Identify where your light source is located and apply shadows to the vertical risers that are hidden from the light. By darkening the underside of each tread, you create a sense of volume and weight, making the staircase look like a solid, three-dimensional object rather than an abstract shape.
You can also add architectural details like railings, balusters, or wood grain patterns to enhance the realism. A simple railing can be drawn by adding a series of thin vertical lines connected by a diagonal bar that follows the same perspective as the stairs. These small additions provide context and scale, turning a basic geometric exercise into a convincing architectural illustration that demonstrates a clear understanding of depth and form.
Key facts
- The standard riser height for residential stairs is typically between 7 and 7.75 inches.
- Tread depth, or the horizontal surface of the step, should be at least 10 inches deep.
- Use the "7-11 rule" as a baseline: a 7-inch riser combined with an 11-inch tread creates a comfortable, safe slope.
- Always ensure the total rise is divisible by the number of steps to achieve uniform riser heights.
- A handrail must be installed at a height between 34 and 38 inches measured from the tread nosing.
- Headroom clearance should be at least 80 inches vertically from the edge of any step to the ceiling above.
The bottom line
Drawing stairs requires precision to ensure both structural integrity and user safety. By adhering to standardized riser and tread dimensions, you create a rhythmic, comfortable ascent. Always verify your local building codes before finalizing your design, as requirements for width, headroom, and handrails can vary by region. Careful planning and consistent measurements remain the most essential elements for designing a functional and compliant staircase for any space.
People also ask
How do I calculate the number of steps needed for a staircase?
Divide the total vertical rise of the floor-to-floor distance by your target riser height, usually around 7 inches. Round this result to the nearest whole number to determine the total step count.
What is the purpose of a stair nosing?
The nosing is the edge of the tread that projects beyond the riser below it. It provides extra foot space and improves safety by preventing heels from catching on the riser.
Why must all risers in a flight be the same height?
Uniform riser height is critical for safety because human gait is rhythmic. Even a small variation of 0.5 inches can cause a person to trip or lose their balance.
What is the minimum width required for residential stairs?
Most building codes require a minimum clear width of 36 inches for residential stairways. This ensures enough space for an individual to navigate the stairs comfortably while carrying items.
How do I draw a flight of stairs on a floor plan?
Draw a series of parallel lines representing the treads, spaced at your calculated tread depth. Include an arrow indicating the direction of travel, starting at the bottom and pointing toward the top.
What is a landing and when is it required?
A landing is a flat platform used to break up a long flight of stairs or change direction. Codes often mandate a landing if a flight of stairs exceeds 12 feet in vertical rise.
This answer was created with the help of AI research tools and reference sources. Spotted an error? Let us know — we correct mistakes quickly. See our editorial policy.