What is the easiest way to draw muscles?
Short answer
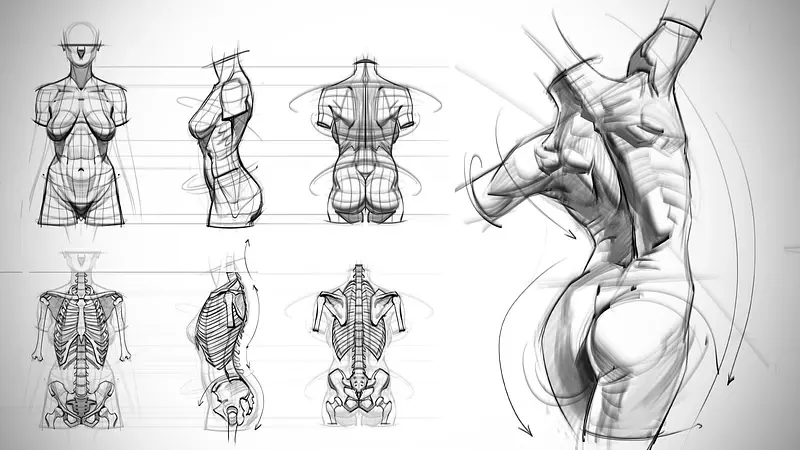
The easiest way to draw muscles is to simplify the human form into basic geometric shapes like cylinders, spheres, and boxes. By mastering these foundational volumes before adding surface detail, you create a believable sense of depth. Focus on the skeletal landmarks and muscle groups as interconnected masses rather than individual lines.
On this page
How to simplify anatomy for drawing
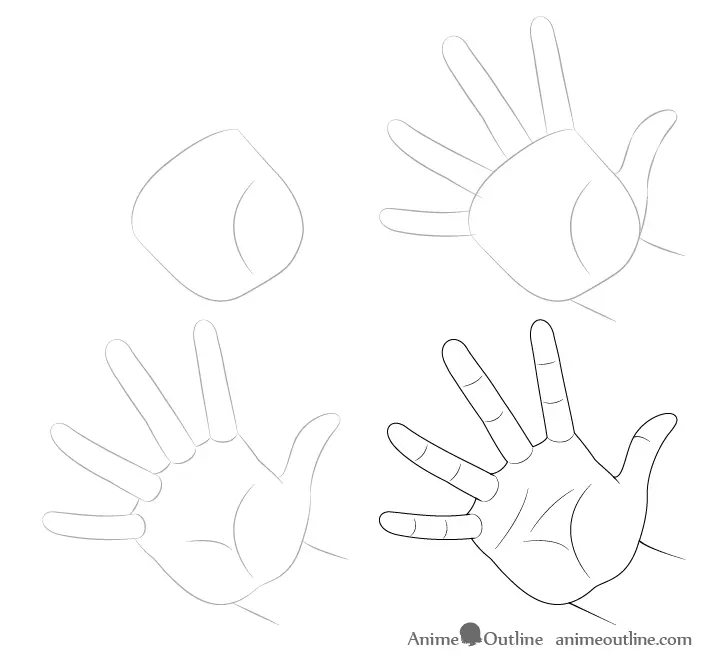
Drawing muscles effectively begins with understanding that the body is composed of simple, three-dimensional volumes. Instead of attempting to replicate every fiber, visualize the limbs as cylinders and the torso as a combination of a rib cage box and a pelvic box. This approach, popularized by artists like Andrew Loomis and George Bridgman, allows you to establish the correct proportions and perspective before tackling complex details. By reducing the human figure to these primitive shapes, you eliminate the intimidation factor of anatomical complexity.
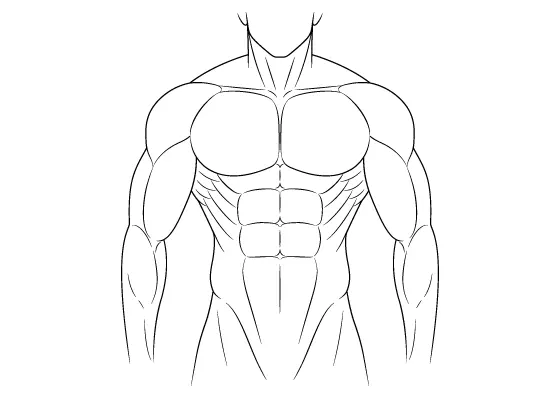
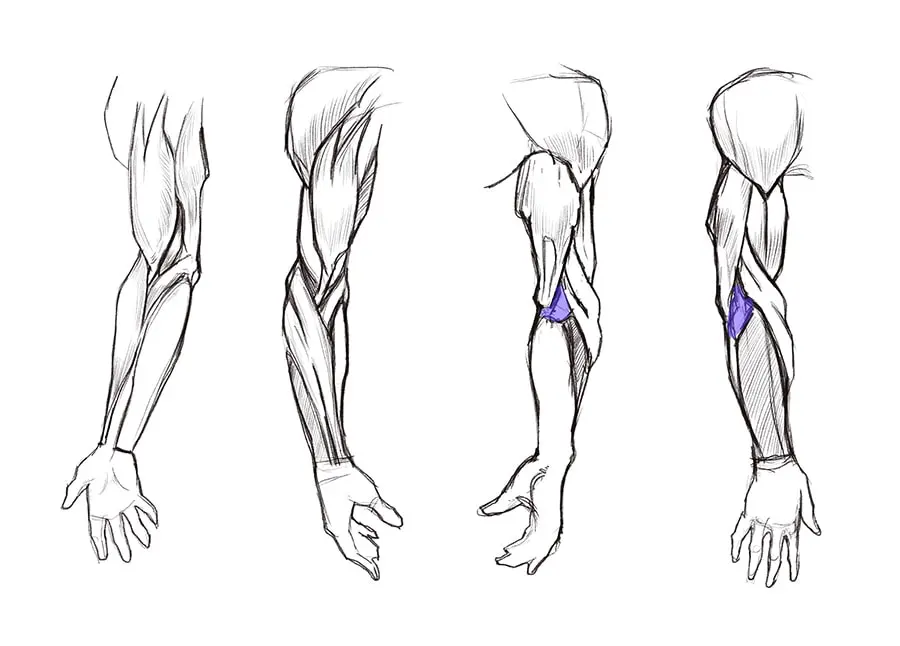
Once you have established the basic volumes, you can begin to map out the major muscle groups as "masses." Think of muscles as clay shapes that wrap around the skeletal structure. For example, the bicep is a single, elongated oval that sits on the humerus. By focusing on the silhouette and the way these masses overlap, you create a sense of weight and tension. This simplification ensures that your drawings remain structurally sound and anatomically plausible regardless of the pose.
Best techniques for beginners to learn muscles
For those just starting, the most efficient method is to study the "origin and insertion" points of major muscle groups. Every muscle attaches to bone at two specific points, and understanding this connection explains why muscles bunch up or stretch during movement. You do not need to memorize every Latin name immediately, but you should practice identifying the primary groups that define the human silhouette. Focusing on these high-impact areas provides the most significant visual return for your effort.
To build your skills, follow this structured practice routine:
- Start by drawing the skeleton to understand the underlying frame.
- Sketch the major muscle masses over the skeleton using simple ovals.
- Use directional lines to indicate the flow of the muscle fibers.
- Compare your drawings against reference photos to check for accuracy.
- Practice drawing the same muscle group from at least three different angles.
Why muscles look different in motion
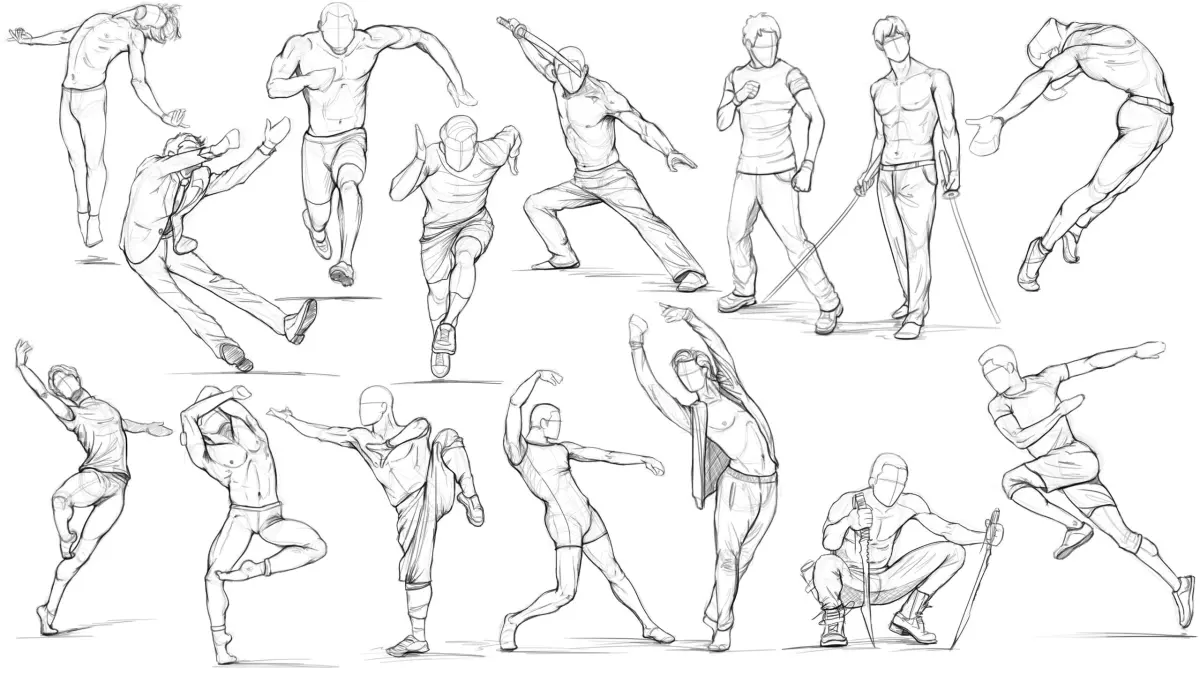
Muscles are dynamic structures that change shape based on contraction and gravity. When a muscle contracts, it shortens and thickens, creating a distinct bulge that pulls on the skin. Conversely, when a muscle is relaxed or stretched, it flattens out and becomes less prominent. Understanding this "push and pull" relationship is essential for creating drawings that feel alive rather than stiff or static. Observing how the body shifts during common activities like walking, lifting, or reaching will reveal these natural transitions.
A common observation is that muscles often appear more defined when they are under tension. This is because the muscle belly expands, pushing against the skin and creating sharper shadows. To capture this, pay close attention to the light source in your drawing. Shadows are your best tool for defining the volume of a muscle; a well-placed shadow can make a flat oval appear to be a powerful, three-dimensional bicep. Always prioritize the shadow shape over the outline to suggest depth.
Common mistakes when drawing muscles
One of the most frequent errors is "over-detailing," or drawing every visible line on a bodybuilder’s physique. This often results in a cluttered, confusing image that lacks a clear focal point. Beginners frequently mistake skin folds or veins for muscle definition, which can make the drawing look aged or messy. Instead, focus on the primary muscle groups and keep the secondary details to a minimum. A clean, simplified drawing is almost always more readable and aesthetically pleasing than one burdened with unnecessary lines.
Another common mistake is neglecting the underlying skeletal structure. If the bones are not positioned correctly, the muscles will appear to float or attach in impossible locations. Always ensure that your joints, such as the elbows and knees, are clearly defined before you add the muscle mass. If you find your drawings look "rubbery" or lack structural integrity, return to the skeletal phase. Ensuring that the bones are in the correct place provides the necessary anchor points for the muscles to look grounded and realistic.
How to use references for muscle anatomy
Using reference material is not cheating; it is a fundamental part of the artistic process. When using photos or live models, look for the "rhythm" of the body—the long, sweeping lines that connect one muscle group to another. Avoid copying a photo line-for-line, as this often leads to a flat, tracing-like quality. Instead, analyze the photo to understand how the muscles are interacting with the skeleton and then reconstruct that understanding on your own paper.
Follow these steps to effectively utilize reference images:
- Select a high-quality photo with clear lighting to see the muscle shapes.
- Trace over the photo lightly to identify the major geometric shapes.
- Put the photo away and attempt to draw the pose from memory using your simplified shapes.
- Compare your version to the original to identify where your proportions or muscle placements were off.
- Correct your drawing based on these observations, focusing on the specific areas that felt difficult to render.
Key facts
- Focus on the underlying skeletal structure before adding muscle mass to ensure correct proportions.
- Use simple geometric shapes like cylinders and spheres to represent muscle groups in 3D space.
- Muscles function through contraction and extension; always draw them in a state of tension or relaxation.
- Study the "origin" and "insertion" points, where muscles attach to bones, to understand how they pull limbs.
- Use contour lines that wrap around the form to emphasize volume rather than just outlining flat shapes.
- Keep a reference of the superficial muscles, such as the deltoids, pectorals, and biceps, to establish clear landmarks.
The bottom line
The most effective way to draw muscles is to master the foundational anatomy of the skeleton first. By treating muscles as geometric volumes that attach to specific bone points, you create a sense of weight and movement. Avoid drawing flat outlines; instead, focus on how muscle groups overlap and compress. Consistent practice with anatomical references will eventually allow you to render convincing, dynamic figures with ease.
People also ask
Do I need to memorize all 600+ muscles in the human body?
No, you only need to learn the major superficial muscle groups that create visible surface topography. Focus on the torso, shoulders, and limbs, as these define the overall silhouette.
Why do my drawings look like they have "lumpy" muscles?
This happens when you draw muscles as isolated blobs rather than connected, flowing forms. Ensure that muscle groups overlap naturally and follow the direction of the underlying bone structure.
Should I use a live model or photos?
Both are effective, but live models provide better spatial awareness of how muscles shift during movement. Photos are excellent for static anatomical study and breaking down complex poses.
How do I make muscles look realistic rather than like a cartoon?
Avoid using heavy, uniform outlines, which flatten the image. Instead, use soft shading and varying line weights to suggest the roundness and density of the muscle tissue.
Is it better to draw from imagination or reference?
Always start with references to build your "visual library" of how muscles look in different positions. Once you understand the mechanics, you will be able to draw them from imagination accurately.
What is the most common mistake beginners make?
Beginners often draw muscles as symmetrical, static shapes. Remember that muscles change shape significantly when contracted, so always consider the action of the limb you are drawing.
This answer was created with the help of AI research tools and reference sources. Spotted an error? Let us know — we correct mistakes quickly. See our editorial policy.