How do you draw a torso?
Short answer
Drawing a torso requires simplifying the complex anatomy into two primary masses: the rib cage and the pelvis. Connect these shapes with the flexible spine to establish movement. By focusing on the relationship between these bony structures and the surrounding musculature, you can create a realistic, three-dimensional figure with proper proportions.
On this page
How to structure the torso for beginners
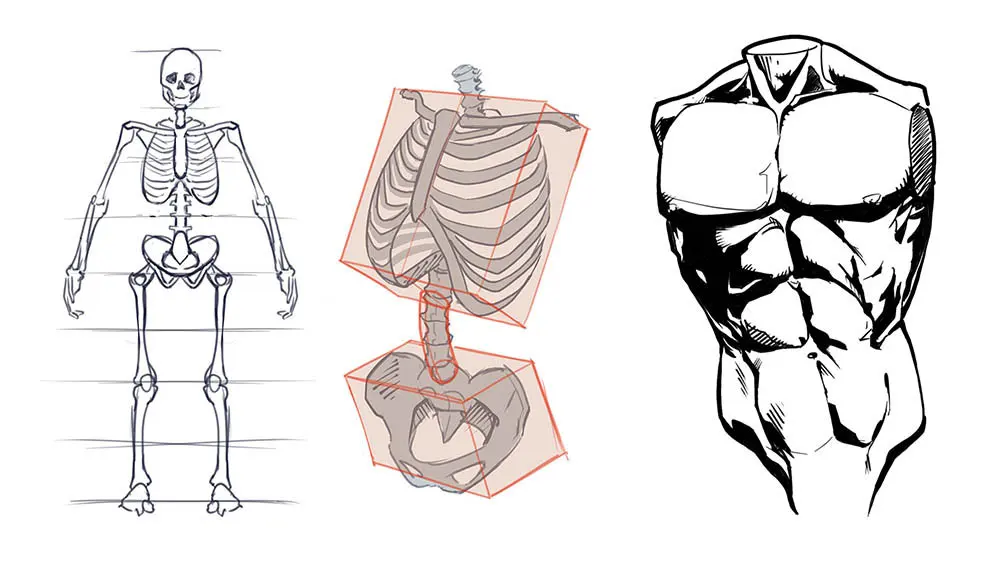
The torso is best understood as two distinct boxes connected by a flexible midsection. The upper box represents the rib cage, which is wider and more rigid, while the lower box represents the pelvis, which is more compact and tilted. Visualizing these as simple geometric forms helps maintain structural integrity before adding complex muscle groups.
To build your foundation, follow these steps:
- Draw an inverted egg shape for the rib cage, ensuring it is wider at the top.
- Draw a smaller, more rectangular box for the pelvis, noting that it often tilts in the opposite direction of the rib cage.
- Connect the two shapes with a central line representing the spine, which allows for bending and twisting.
- Use a centerline to establish the symmetry and orientation of the torso in space.
By keeping these shapes simple, you avoid the common trap of drawing a flat, featureless tube. Focus on the tilt of the shoulders versus the tilt of the hips to create a dynamic, natural pose.
What are the key anatomical landmarks
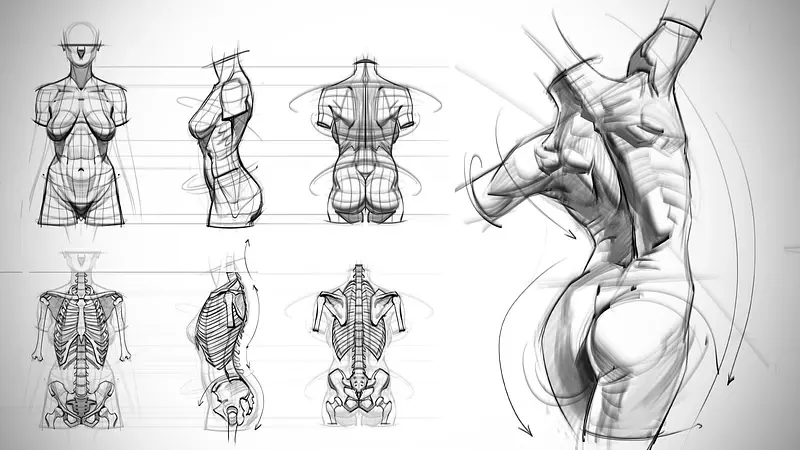
Anatomical landmarks are the bony points that remain visible beneath the skin regardless of muscle mass. Mastering these points allows you to anchor your drawing and ensure that the torso looks solid rather than rubbery. The most important landmarks include the collarbones, the sternum, the rib cage edge, and the hip bones.
Key landmarks to identify on your model include:
- The suprasternal notch: The small dip at the base of the neck between the collarbones.
- The acromion process: The bony point of the shoulder where the collarbone meets the arm.
- The iliac crest: The prominent upper edge of the pelvic bone, often visible at the waist.
- The pubic symphysis: The central bony point at the base of the pelvis.
These landmarks act as a structural map. When you draw them accurately, the muscles and fat layers will naturally fall into their correct positions, providing a professional level of anatomical accuracy.
How to draw the torso muscles
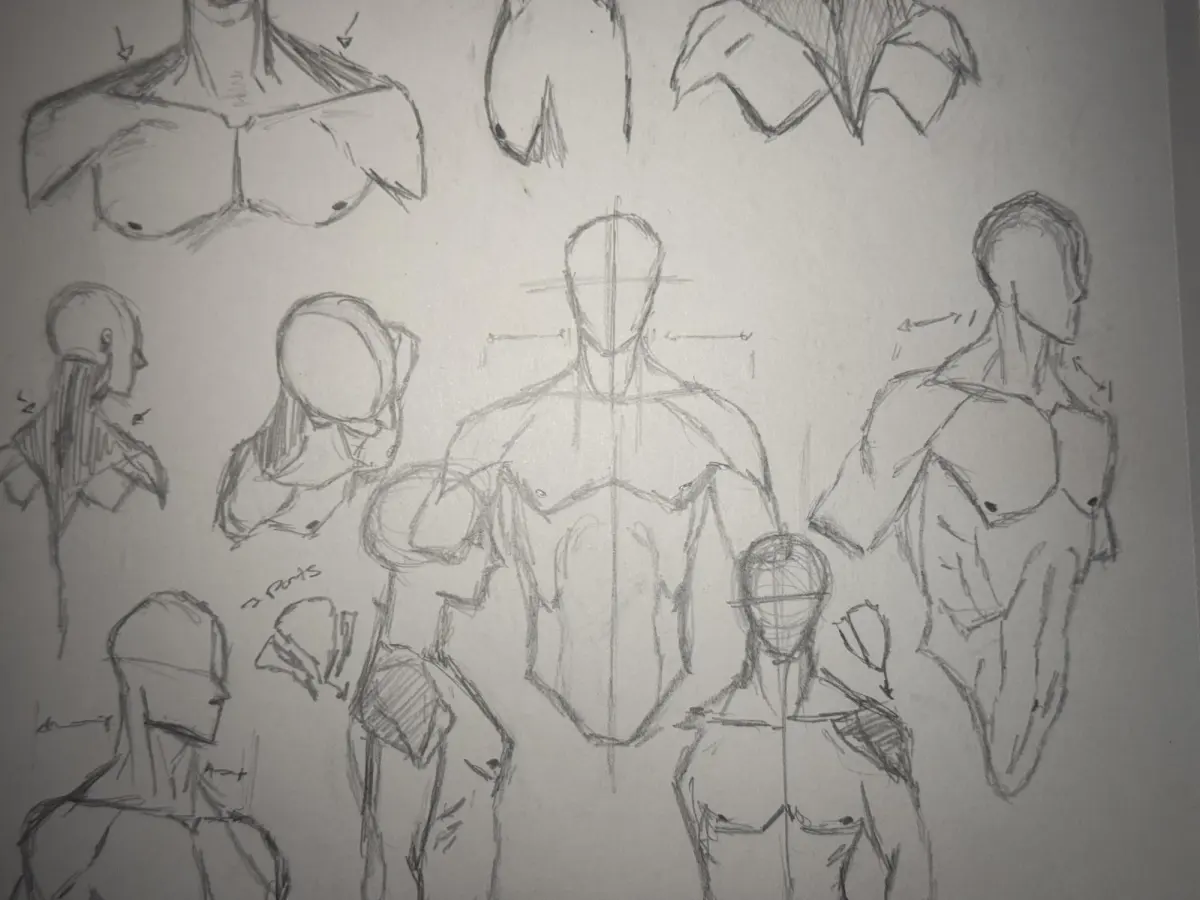
Once the skeletal structure is established, you can layer the primary muscle groups over the frame. The most prominent muscles are the pectorals on the chest, the rectus abdominis in the center, and the obliques on the sides. Think of these muscles as wrapping around the rib cage and pelvis rather than sitting on top of them like flat stickers.
When drawing the musculature, keep these principles in mind:
- Pectorals: These attach to the upper arm and fan out toward the sternum, creating a wedge shape.
- Abdominals: These are divided by the linea alba, a vertical line running down the center, and horizontal tendons that create the "six-pack" appearance.
- Obliques: These muscles wrap diagonally from the rib cage to the pelvis, defining the waist and providing rotational strength.
Always consider the tension of the pose. If the torso is stretching, the muscles on one side will lengthen and flatten, while the muscles on the opposite side will contract and bunch up.
Common mistakes when drawing the torso
A frequent error is drawing the torso as a perfectly straight cylinder, which makes the figure appear stiff and lifeless. Another mistake is ignoring the tilt of the shoulders and hips. In a natural standing pose, if the right shoulder is higher, the left hip is usually higher to compensate for balance. This is known as contrapposto.
Avoid these common pitfalls to improve your work:
- Neglecting the thickness of the torso: Many beginners draw the front view well but fail to account for the depth of the rib cage from the side profile.
- Misplacing the waist: The waist is not a straight line but a dynamic area that changes shape based on the movement of the rib cage and pelvis.
- Over-detailing: Do not rush to draw every abdominal muscle before the overall gesture and proportions of the torso are correct.
Focusing on the "big shapes" first will save you time and prevent the need for extensive erasing later. If the foundation is incorrect, no amount of surface detail will fix the drawing.
How to practice torso drawing effectively
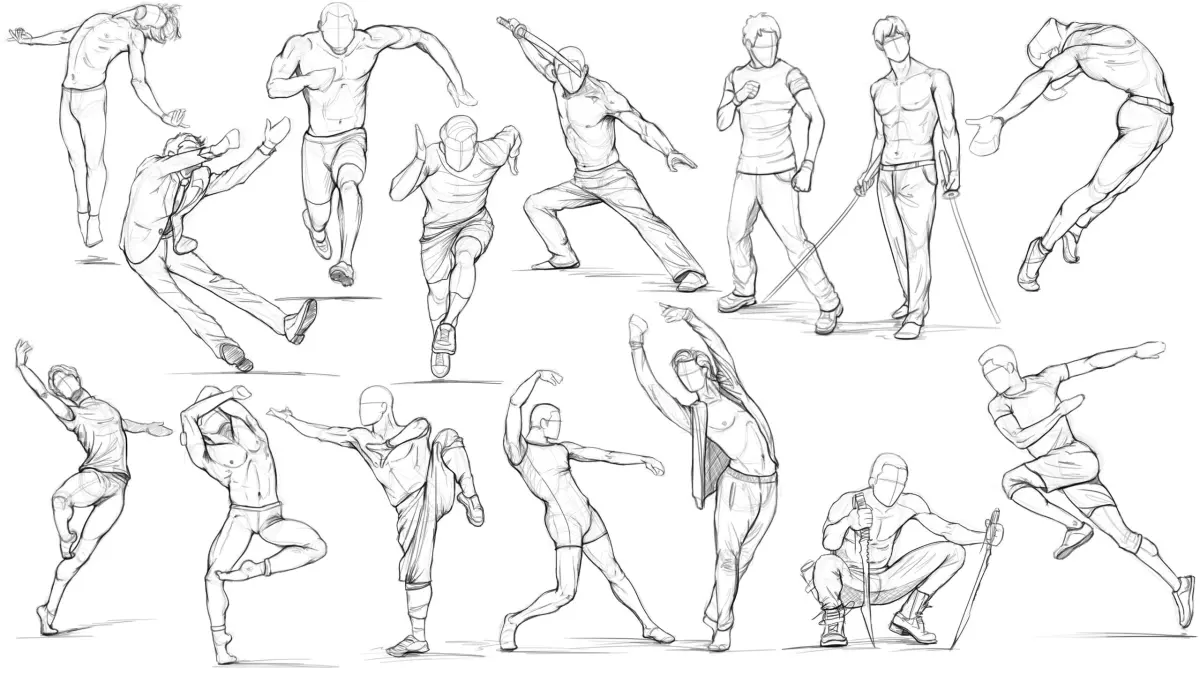
Consistent practice is the only way to internalize the complex forms of the human body. Start by sketching from life or high-quality anatomical photographs for 15 to 30 minutes daily. Focus on "gesture drawing," which involves capturing the movement and flow of the torso in under two minutes, rather than obsessing over minute details.
Try these exercises to accelerate your progress:
- Trace over professional figure drawings to understand how artists simplify complex anatomy.
- Draw the torso from multiple angles, including top-down and bottom-up perspectives, to understand three-dimensional volume.
- Use a mannequin or a wooden model to study how light hits the different planes of the rib cage and pelvis.
By rotating your perspective, you will learn how the torso changes shape as it moves through space. Over time, you will develop a mental library of forms that allows you to draw the human figure from your imagination with confidence and precision.
Key facts
- The torso is essentially a flexible box defined by the rib cage and the pelvis, connected by the spine.
- Use a "bean" shape to represent the torso, which allows for natural curves and realistic bending.
- The rib cage spans from the collarbone to the bottom of the floating ribs, roughly the top half of the torso.
- The pelvis is a rigid, bowl-shaped structure that provides the anchor for the legs and lower spine.
- Always establish the center line (the sternum and navel) to ensure the torso maintains proper symmetry and perspective.
- Avoid drawing the torso as a stiff, rectangular block, as this removes the fluid motion of the human spine.
The bottom line
Drawing a convincing torso requires understanding the relationship between the rib cage and the pelvis. By simplifying these complex structures into manageable geometric shapes, you can capture the essential volume and movement of the human form. Focus on the spine's flexibility and the tilt of the hips to avoid stiff, unnatural results. With consistent practice of these foundational proportions, your figure drawings will gain significant depth.
People also ask
How do I measure the proportions of a torso?
A common artistic standard is that the torso, from the collarbone to the pubic bone, is roughly two head-lengths tall. Use your pencil to measure the height of the head and apply that unit to the torso to maintain consistency.
Should I draw the muscles before the basic shapes?
No, always establish the underlying skeletal structure and primary volumes first. Adding muscle detail too early often leads to distorted anatomy and poor proportions.
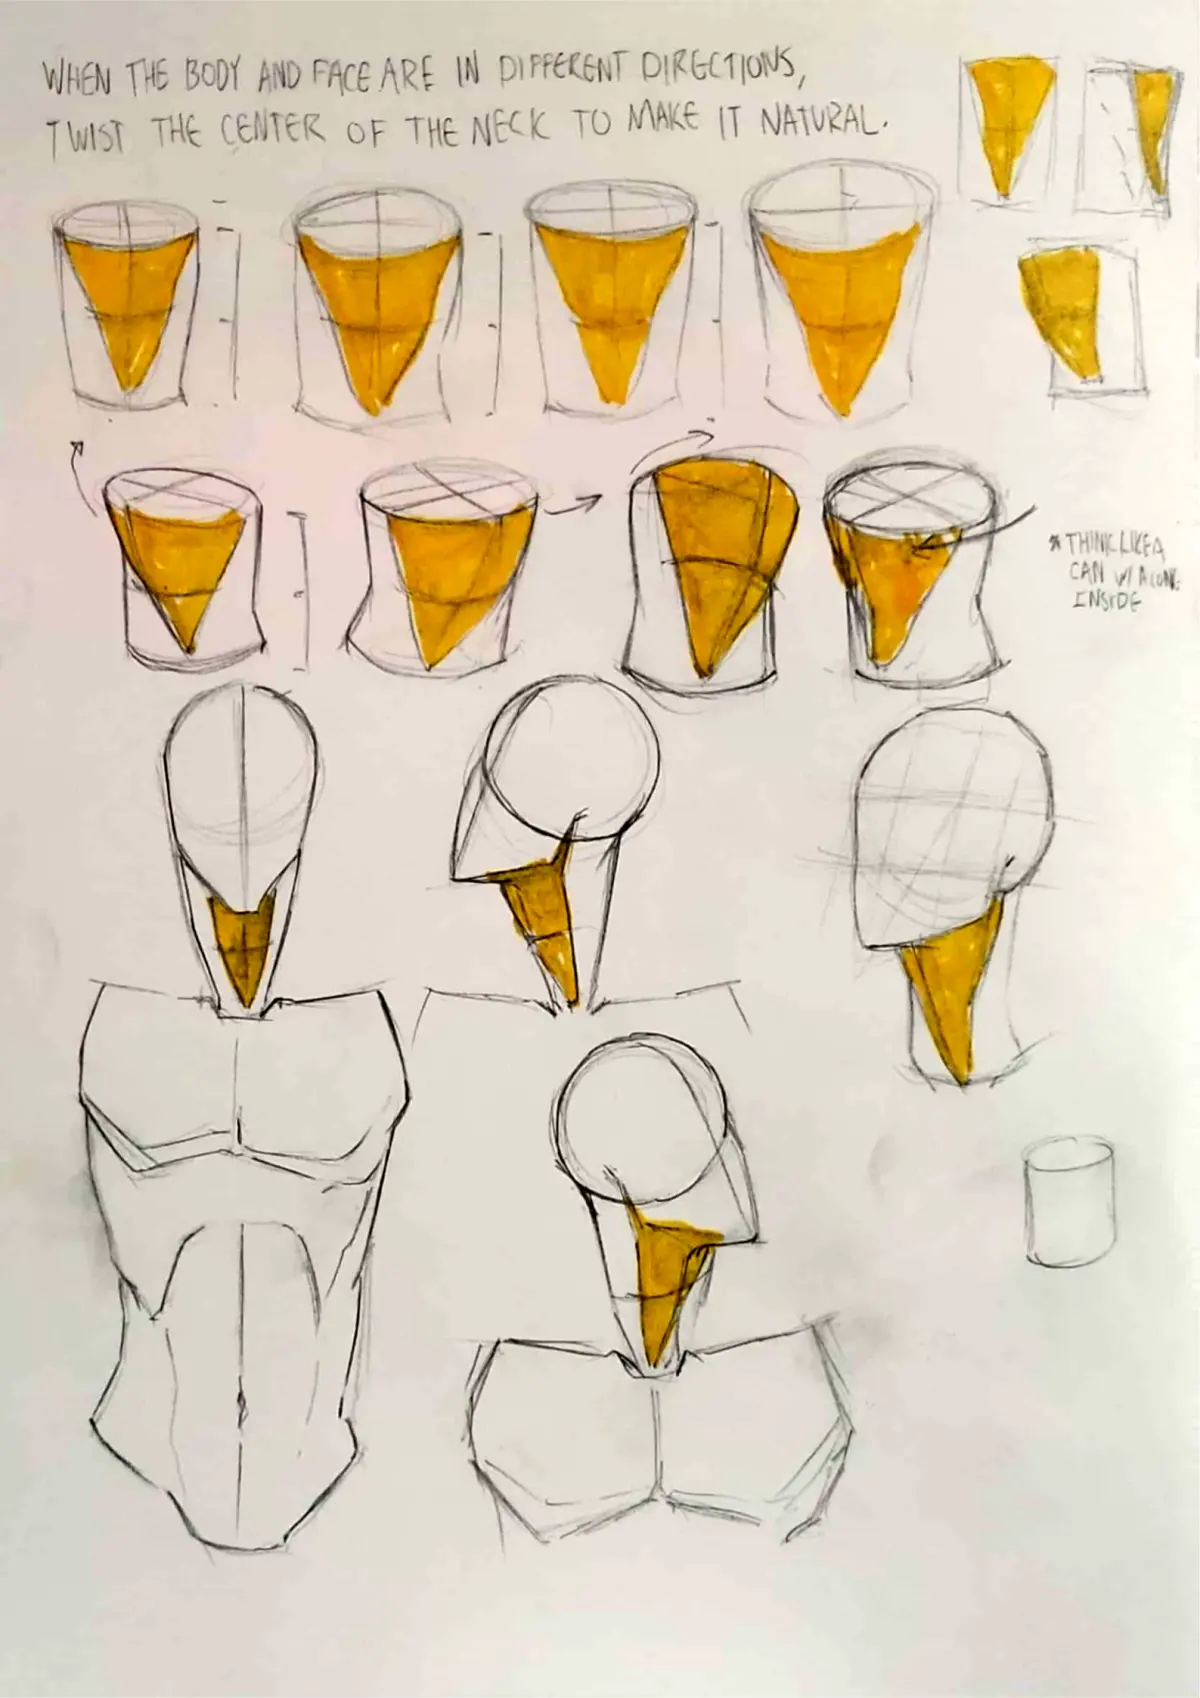
How does the torso change when the body twists?
When the body twists, the rib cage and pelvis move in opposing directions. This creates a diagonal line between the two, which is essential for capturing dynamic, realistic poses.
What is the best way to practice drawing the torso?
Study skeletal anatomy charts to understand where the bones sit under the skin. Practice drawing simple 3D primitives like spheres and cylinders to represent the chest and hips before adding surface details.
Why does my torso drawing look flat?
Flatness usually occurs when you ignore the curvature of the rib cage and the tilt of the pelvis. Use cross-contour lines to wrap around the forms, which helps define their three-dimensional volume on a two-dimensional page.
How do I draw the transition between the chest and the waist?
The waist is the narrowest part of the torso, located between the rib cage and the pelvis. Focus on the inward curve of the obliques to define this transition, ensuring you account for the soft tissue that sits between the two rigid bone structures.
This answer was created with the help of AI research tools and reference sources. Spotted an error? Let us know — we correct mistakes quickly. See our editorial policy.