How do you draw a gift box?
Short answer
Drawing a gift box begins with creating a three-dimensional cube using perspective lines. By sketching a central rectangle and adding parallel diagonal lines, you establish depth. Complete the structure by connecting these points, then add a lid and a decorative ribbon to provide the iconic appearance of a wrapped present.
On this page
How to draw a gift box in simple steps
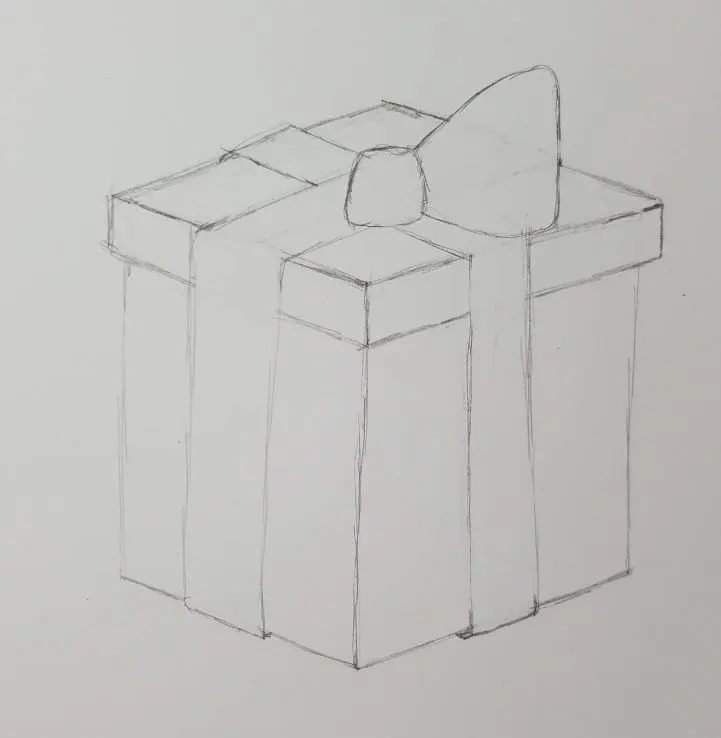
To draw a realistic gift box, you must first master the basic cube structure. Start by sketching a square in the center of your page to represent the front face of the box. From each corner, draw short, parallel diagonal lines moving toward the upper right to create the illusion of depth. Connect the ends of these lines with two additional segments to form the top and side faces of your cube.
Once the primary box shape is established, it is time to add the lid. Draw a slightly wider rectangle that overlaps the top of your cube, extending just past the edges to give it a realistic overhang. Adding these subtle details transforms a flat geometric shape into a recognizable object. Follow these steps to ensure your proportions remain accurate throughout the process:
- Sketch a light square for the front face.
- Draw parallel diagonal lines from the corners for depth.
- Connect the lines to complete the box structure.
- Add a slightly larger rectangle on top to serve as the lid.
Best drawing techniques for beginners
When learning to draw boxes, perspective is your most important tool. Beginners often struggle with making the box look tilted or distorted, which usually stems from inconsistent diagonal lines. To keep your perspective accurate, try using a ruler to ensure all depth lines are parallel to one another. If the lines converge or diverge incorrectly, the box will appear to warp rather than sit flat on a surface.
Another helpful technique is to use light construction lines that can be erased later. By keeping your initial sketches faint, you can easily refine the edges and add details like ribbons or bows without leaving dark, messy marks on your paper. Focus on the "vanishing point" concept, where lines appear to move toward a distant point on the horizon, as this creates a professional look. Practicing these foundational steps repeatedly will build the muscle memory required for more complex illustrations.
Why gift boxes look three-dimensional
The three-dimensional look of a gift box relies on the interplay of light, shadow, and perspective. When you add shading to the side of the box that faces away from your light source, you create volume. Choose one side of your drawing to be the "dark" side and apply light pencil strokes or hatching to that area. This simple contrast signals to the human eye that the object occupies physical space.
Additionally, the way you draw the ribbon can enhance the 3D effect. Instead of drawing a flat cross, curve the lines of the ribbon slightly as they wrap over the edges of the box. This curvature mimics how fabric behaves when draped over a solid object. By combining linear perspective with subtle shading and curved details, you move beyond simple geometry and create a drawing that feels tangible and ready to be opened.
Common mistakes when drawing gift boxes
One of the most frequent errors is failing to account for the thickness of the box material. Many beginners draw the lid as a flat line resting on the box, which makes it look like a sticker rather than a physical cover. To avoid this, draw a thin "lip" or vertical edge on the lid to show that it has depth. This small addition makes the lid look like it is resting securely on top of the base.
Another common mistake involves the placement of the ribbon. If the ribbon lines are perfectly straight, they often look disconnected from the box's surface. Always follow the contours of the box; if a ribbon crosses a corner, the line should change direction to match the angle of the edge. Taking the time to observe how real objects wrap around corners will prevent your drawings from looking flat or disjointed.
How to add details to your drawing
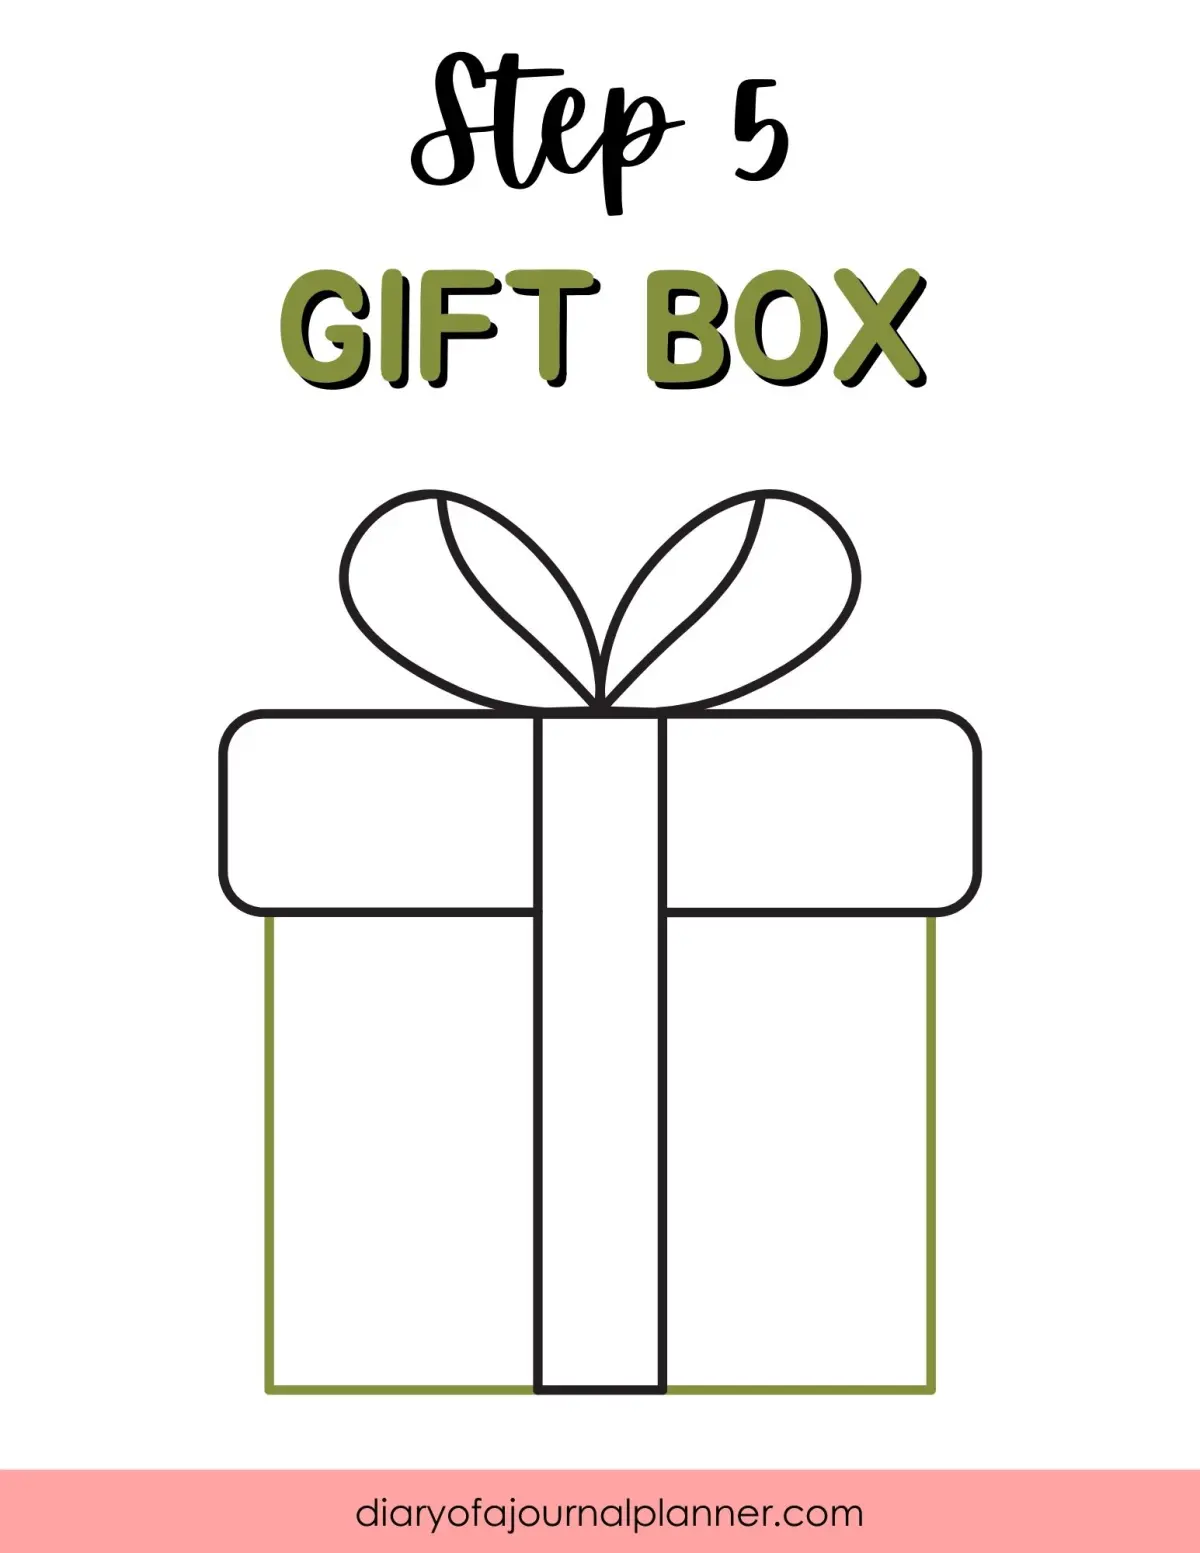
Once the core structure is complete, you can customize your gift box to make it look more festive. Adding a bow is the most effective way to finish the drawing, which can be done by sketching two loops on top of the lid. Use soft, rounded lines for the loops to contrast with the sharp, straight edges of the box. These organic shapes add a sense of softness that balances the rigid structure of the container.
You can also add texture or patterns to the wrapping paper to make the box more interesting. Simple polka dots, stripes, or cross-hatching can represent different paper designs. If you are using colored pencils or markers, consider adding a highlight on the top edge of the box to represent light reflecting off the paper. These final touches, combined with a clean outline, will result in a polished and professional illustration that captures the spirit of a beautifully wrapped gift.
Key facts
- A gift box is fundamentally a rectangular prism, which requires drawing three visible faces to create a 3D effect.
- Use a ruler to ensure your parallel lines are perfectly straight, as slight deviations will make the box look distorted.
- Start by drawing a square or rectangle; then, draw an identical shape slightly offset to the side and above the first.
- Connect the corresponding corners of the two shapes with straight lines to create the depth of the box.
- Adding a bow requires drawing two loops and two trailing ribbons, which should follow the contours of the box lid.
- Use shading on the side and bottom faces to create a sense of volume and make the object appear solid.
The bottom line
Drawing a convincing gift box relies on mastering basic geometric perspective. By creating two identical shapes and connecting their corners, you establish the structure of a three-dimensional prism. Refine the drawing by adding a ribbon and subtle shading to define the light source. With practice, these simple techniques allow you to render realistic packages that serve as a perfect foundation for more complex artistic illustrations.
People also ask
How do I make the box look like it is sitting on a flat surface?
Draw a horizontal line behind the box to represent the horizon or the back edge of a table. Adding a small, dark shadow directly beneath the base of the box will anchor it to the surface.
What is the best way to draw a ribbon wrapping around the box?
Draw two parallel lines that cross the center of the top face and continue down the vertical sides. Ensure these lines meet at the corners to suggest the ribbon is physically wrapping around the structure.
Why does my box look flat instead of three-dimensional?
This usually happens because the connecting lines between the front and back faces are not parallel. Double-check that your perspective lines are angled consistently to create a realistic vanishing point effect.
Should I use ink or pencil for the initial sketch?
Always start with a light graphite pencil so you can easily erase construction lines. Once the proportions are correct, you can go over the final outlines with a permanent pen or marker.
How can I add texture to the gift box?
You can draw subtle cross-hatching or small dots on the faces to simulate wrapping paper patterns. Keep the texture light so it does not distract from the overall shape of the box.
Can I draw a box that is open?
Yes, draw the lid as a separate, thinner rectangle floating above the box. Connect the lid to the back edge of the box with small vertical lines to show it is hinged or partially lifted.
This answer was created with the help of AI research tools and reference sources. Spotted an error? Let us know — we correct mistakes quickly. See our editorial policy.