How do you draw a pigeon?
Short answer
Drawing a pigeon requires breaking its complex form into simple geometric shapes like circles and ovals. By focusing on the bird's rounded chest, small head, and distinct neck, you can build a realistic structure. Use light pencil strokes to map the anatomy before refining the feathers and facial features for detail.
On this page
How to sketch the basic shapes of a pigeon
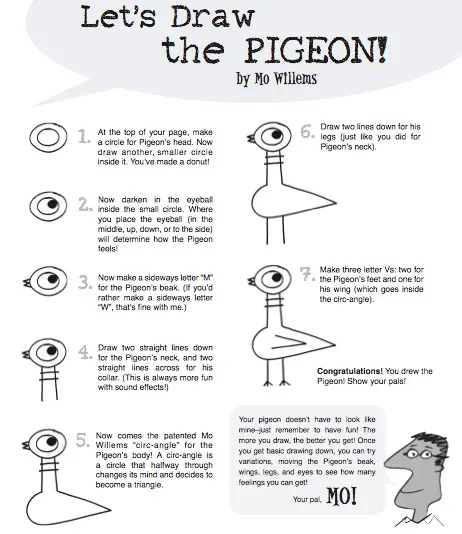
To begin your drawing, think of the pigeon as a collection of three primary shapes. Start by sketching a small circle for the head and a larger, egg-shaped oval for the body. Connect these two forms with two curved lines to represent the neck, which should be slightly thicker at the base. This foundational structure ensures your pigeon has the correct proportions before you add any specific details.
Focus on the positioning of these shapes to capture the bird's characteristic posture. Pigeons often hold their heads high, so place the head circle slightly above the body oval. Keep your initial lines very light, as these are merely guides that will be erased or covered later. Once the basic silhouette is established, you can refine the angles to match the specific pose you want to achieve.
What are the key features of a pigeon
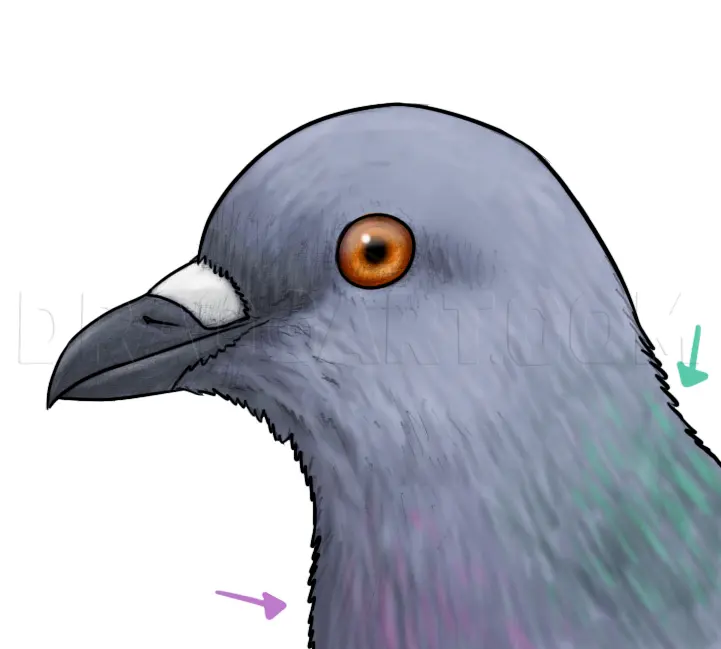
A pigeon's anatomy is defined by several unique characteristics that distinguish it from other birds. The beak is relatively short and features a fleshy, white growth at the base known as the cere. Their eyes are typically bright and circular, positioned on the sides of the head to provide a wide field of vision. When drawing the wings, remember that they fold neatly against the body, with the primary feathers extending toward the tail.
Pay close attention to the following anatomical details to increase the accuracy of your sketch:
- The cere: This bump at the top of the beak is often pale or white and gives the pigeon its distinct profile.
- The neck: Pigeons have a slightly iridescent, thick neck that often appears puffed out when they are displaying or walking.
- The tail: The tail feathers are usually compact and fan out slightly, ending in a squared-off or rounded shape rather than a sharp point.
- The feet: Pigeons have short, red or pinkish legs with three toes pointing forward and one small toe pointing backward.
How to add texture and feather detail
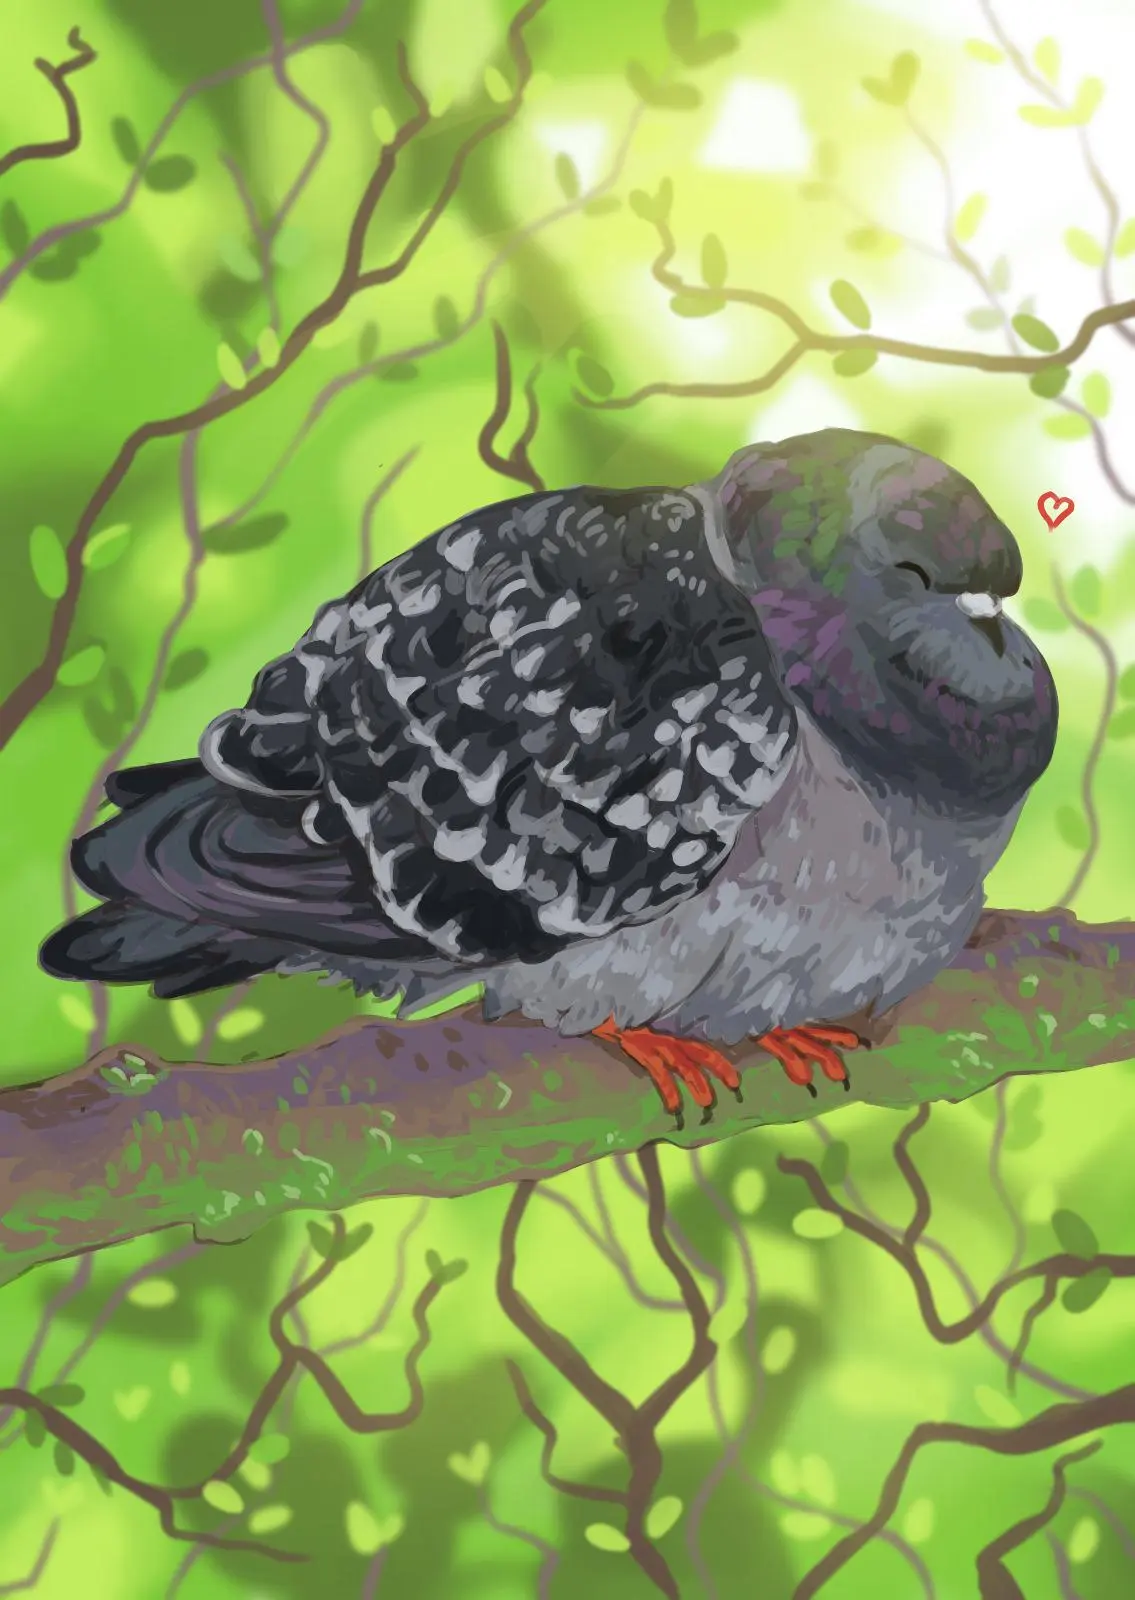
Feathers are the most challenging part of drawing a bird, but they can be simplified into layers. Instead of drawing every individual feather, focus on the "feather tracts" or groups of feathers that overlap like shingles on a roof. Use short, rhythmic strokes to suggest the texture of the wings and the smooth, sleek appearance of the chest feathers. Varying the pressure of your pencil will help create depth and shadows between these layers.
Follow these steps to build up the plumage effectively:
- Outline the main feather groups on the wing, starting from the shoulder and moving toward the tips.
- Use light, curved hatching marks to indicate the direction of the feathers along the back and chest.
- Darken the undersides of the wing feathers to create a sense of volume and weight.
- Add fine, short lines near the neck to suggest the soft, iridescent quality of the plumage found in that area.
Common mistakes when drawing pigeons
One of the most frequent errors is making the head too large or the neck too thin. Pigeons have a relatively small head compared to their plump, rounded bodies, and their necks are quite muscular. Another common mistake is drawing the beak as a sharp, straight triangle. In reality, the pigeon's beak is slightly curved and blunt at the tip, which is a vital detail for achieving a realistic look.
Avoid these pitfalls to improve your results:
- Do not draw the eyes too far forward; they should be centered on the side of the head.
- Avoid making the legs too long, as pigeons are ground-dwelling birds with short, sturdy limbs.
- Do not use harsh, dark outlines for the entire bird, as this makes the drawing look like a cartoon.
- Ensure the tail is not too long, as it should be proportional to the body length rather than extending excessively.
Best shading techniques for realistic birds
Shading is the final step that transforms a flat outline into a three-dimensional creature. Identify where the light source is coming from and apply darker tones to the opposite side of the bird's body. The underside of the chest and the area beneath the wings should be the darkest parts of your drawing. Use a blending stump or a soft tissue to smooth out your pencil marks, creating a soft transition between light and shadow.
Finally, add highlights to the eye and the beak to give the pigeon a sense of life. A small, white dot in the dark pupil of the eye creates a reflection that makes the bird look alert. Use a kneaded eraser to lift small areas of graphite if you have shaded too heavily, allowing you to regain highlights on the feathers. By consistently practicing these shading techniques, you will be able to capture the subtle beauty and soft volume of the pigeon's form with confidence.
Key facts
- Pigeons possess a distinct "plump" silhouette characterized by a rounded breast and a small, tapered head.
- Start your sketch by drawing an oval for the body and a smaller circle for the head to establish correct proportions.
- The beak of a pigeon is short and features a prominent, fleshy swelling at the base called a cere.
- When drawing the wings, remember that they are long and pointed, usually folding neatly against the body when the bird is perched.
- Pigeons have short, red or pinkish legs with four toes, three pointing forward and one pointing backward.
- Focus on the neck area, as pigeons have a unique iridescent patch of feathers that often catches the light.
The bottom line
Drawing a pigeon effectively requires capturing its iconic rounded body shape and the specific proportions of its small head. By starting with basic geometric forms like ovals and circles, you can maintain structural accuracy before adding details like the cere and iridescent neck feathers. Focus on the bird’s posture and fluid wing lines to create a realistic, balanced representation of this common urban bird in your art.
People also ask
Why do pigeons look so rounded when they sit?
Pigeons fluff their feathers to trap air for insulation, which creates their signature round, bulky appearance. When drawing, avoid making the bird look too angular or thin to maintain this natural look.
How do I draw the eyes of a pigeon?
Place the eye in the center of the head circle, slightly elevated. Use a small, dark circle with a tiny white dot to represent the highlight, which gives the bird a lifelike expression.
Should I draw individual feathers on the wings?
Avoid drawing every single feather, as this makes the bird look cluttered. Instead, draw a few long, sweeping lines to suggest the primary flight feathers and keep the rest of the wing smooth.
What is the best way to draw the pigeon's feet?
Keep the feet simple by using thin, slightly curved lines for the toes. Ensure the feet are positioned directly under the center of the body's mass to show balance.
How do I make the pigeon look like it is walking?
To depict motion, tilt the body forward slightly and draw one leg extended while the other remains bent. This shift in the center of gravity suggests forward momentum.
Is it better to use ink or pencil for drawing birds?
Pencils are ideal for beginners because they allow you to sketch light guidelines before committing to permanent lines. Once the proportions are correct, you can use ink to define the final silhouette.
This answer was created with the help of AI research tools and reference sources. Spotted an error? Let us know — we correct mistakes quickly. See our editorial policy.