How do you draw a rhino?
Short answer
Drawing a rhinoceros requires capturing its massive, armored silhouette through geometric shapes and heavy textures. Begin by sketching a large, rounded rectangle for the body and a smaller block for the head. Focus on the thick skin folds and the iconic horn placement to establish the animal’s powerful, prehistoric physical presence.
On this page
How to sketch the basic rhino anatomy
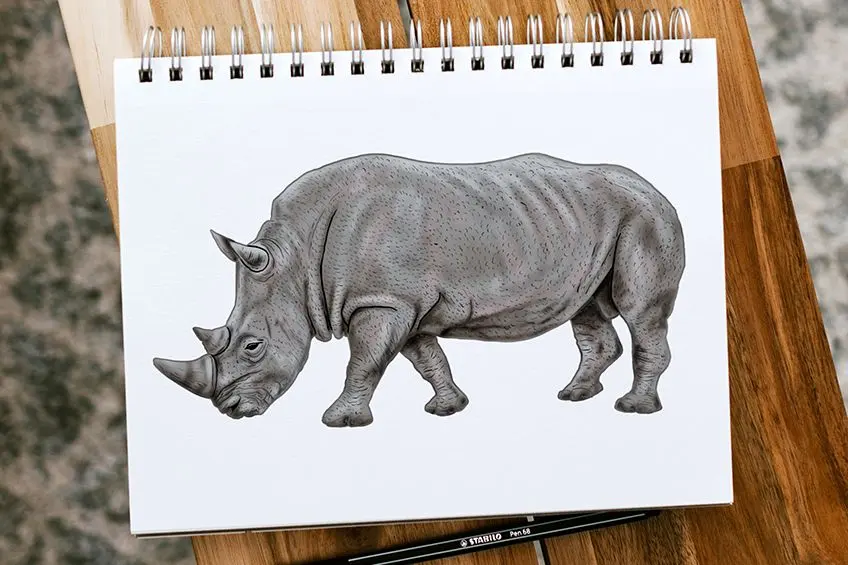
The rhinoceros is defined by its immense weight and low-slung, sturdy build. To begin, visualize the body as two primary geometric forms: a large, slightly elongated oval for the torso and a heavy, wedge-shaped block for the head. Connect these with a thick, muscular neck line that slopes downward. Keep your initial pencil strokes light, as these are merely structural guides to help you maintain the correct proportions before adding detail.
When placing the limbs, remember that a rhino’s legs are thick, column-like structures rather than slender appendages. They should be positioned at the four corners of the torso rectangle to support the animal's substantial mass. Aim for a stance that emphasizes stability. By focusing on these foundational shapes first, you ensure the final drawing conveys the rhinoceros's characteristic bulk and grounded, tank-like appearance.
What are the key features of a rhino
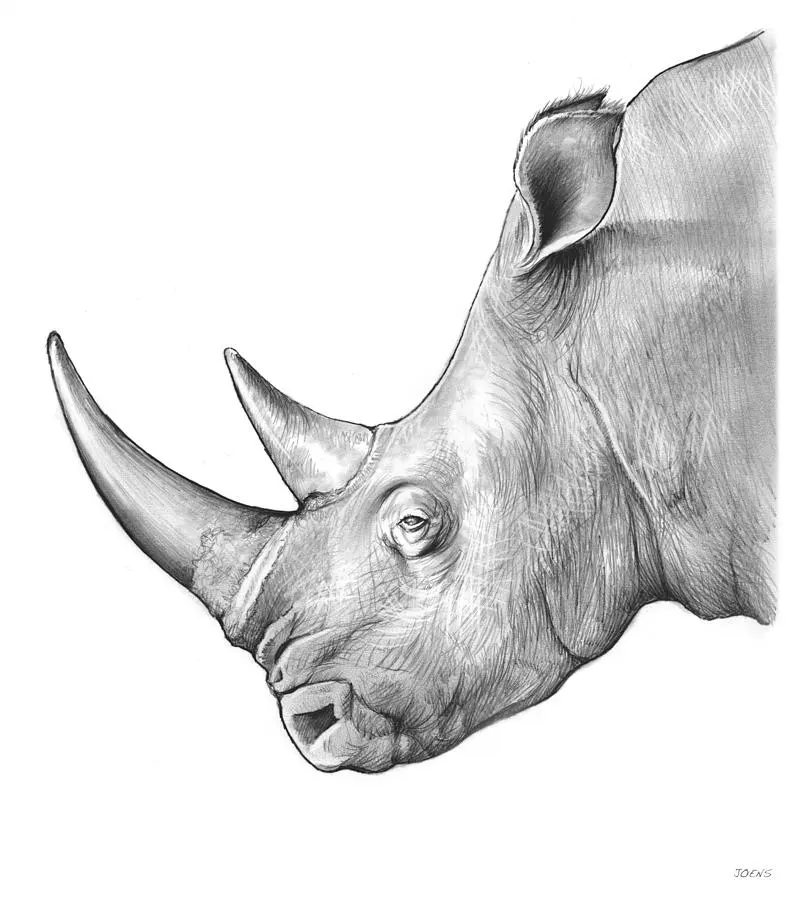
The most recognizable features of the rhinoceros are its horns and its unique, armor-like hide. When drawing the head, pay close attention to the horn placement, which sits atop the snout. Depending on the species, such as the white or black rhino, the shape of the mouth and the size of the secondary horn will vary significantly. The ears should be positioned near the back of the skull, often appearing small relative to the massive head.
Adding the skin texture is essential for a realistic depiction. Rhinos have thick, loose skin that forms deep folds, particularly around the neck, shoulders, and thighs. Use these steps to add detail:
- Outline the primary skin folds as deep, curved lines across the joints.
- Add smaller, irregular cracks and patches to the skin surface to suggest toughness.
- Use cross-hatching techniques to create shadow in the recesses of these folds.
- Keep the belly area relatively smooth to contrast with the rugged, armored plates of the back.
How to add depth and texture
Achieving a three-dimensional look requires careful shading and an understanding of light sources. Because the rhino is a large, solid object, shadows should be deep and consistent. Identify where the light hits the animal, usually on the top of the back or the side of the head, and keep those areas lighter. Use a soft graphite pencil to build up layers of tone in the shaded areas, ensuring the transition from light to dark is gradual rather than abrupt.
The skin texture should be treated as a series of plates rather than a uniform surface. Focus on the "armor" look by drawing overlapping shapes that mimic the way the skin bunches together when the animal moves. Avoid drawing every single wrinkle, as this can make the drawing look cluttered. Instead, focus on the major creases that define the rhino's silhouette. This selective detail draws the viewer's eye to the most important parts of the animal's muscular form.
Common mistakes when drawing a rhino
One of the most frequent errors is drawing the legs too thin or too long, which makes the rhino look fragile rather than powerful. Always check that the limbs look capable of supporting the animal's weight. Another common mistake is neglecting the slope of the back. A rhino’s back should not be perfectly flat; it usually has a slight dip or curve between the shoulders and the rump, reflecting the heavy bone structure beneath the skin.
Avoid these pitfalls to improve your accuracy:
- Drawing the horn as a perfectly straight cone; instead, give it a slight curve and a weathered, textured base.
- Making the eyes too large or human-like; rhino eyes are small and set deep within the skull.
- Using outlines that are too uniform; vary your line weight to indicate where the skin is thickest or where the shadow is deepest.
- Forgetting the tail, which is thin and often ends in a small tuft of hair.
Best drawing techniques for beginners
For those new to drawing large mammals, starting with a reference photo is the most effective way to understand the animal's anatomy. Observe how the light interacts with the skin folds and notice the specific angle of the head. Practice drawing the head from different perspectives before attempting the full body. This helps you get comfortable with the unique proportions of the snout and horn, which are the most challenging parts of the animal to render correctly.
Consistency is key to mastering the rhino’s form. Dedicate time to sketching just the legs or the head repeatedly until you feel confident in their structure. Once you have the individual parts mastered, combine them into a full-body composition. Remember that the goal is to capture the essence of the animal's strength, so focus on bold, confident strokes rather than timid, sketchy lines. With practice, you will be able to convey the majestic and formidable nature of the rhinoceros on paper with ease.
Key facts
- A rhinoceros is defined by its massive, barrel-shaped body and short, thick legs.
- Focus on the large, heavy head, which is often disproportionately large compared to the body.
- The most iconic feature is the horn, which is made of keratin, the same protein found in human hair and nails.
- Use simple geometric shapes like ovals for the torso and circles for the head to establish proportions before adding details.
- Rhinos have thick, armor-like skin folds, particularly around the neck and shoulders, which add texture to a drawing.
- Keep the ears small and pointed, positioned at the very top of the skull, to emphasize the animal's large head size.
The bottom line
Drawing a rhinoceros requires focusing on its massive, geometric proportions rather than delicate details. By starting with simple shapes to define the heavy torso and large head, you establish a strong foundation. Emphasize the unique skin folds and the iconic keratin horns to bring the creature to life. With practice, you can capture the raw power and distinct silhouette of this magnificent, endangered land mammal effectively.
People also ask
How do I draw the horn correctly?
Start by drawing a wide, curved cone shape at the tip of the snout. Ensure the base of the horn is broad and tapers to a blunt point, as rhino horns are not needle-sharp.
Should I draw the rhino with one or two horns?
This depends on the species, as white and black rhinos have two horns, while the Indian rhino has only one. Research your specific subject to ensure the horn count is anatomically accurate.
How do I make the skin look realistic?
Use heavy, jagged lines to indicate the deep folds of skin around the neck and joints. Avoid drawing smooth lines, as the skin should appear thick, leathery, and rugged.
What is the best way to draw the feet?
Draw the feet as thick, rounded stumps with three distinct, blunt toes at the front. Avoid drawing thin, hoof-like structures, as these animals have heavy, padded feet for support.
How do I capture the rhino's posture?
Position the head low to the ground, as rhinos spend much of their time grazing. A slight downward tilt of the head conveys the animal's natural, powerful stance.
What common mistake should I avoid when drawing the eyes?
Avoid drawing the eyes too large or expressive, as rhino eyes are quite small and set deep into the side of the head. Keep them simple and dark to maintain a realistic, focused look.
This answer was created with the help of AI research tools and reference sources. Spotted an error? Let us know — we correct mistakes quickly. See our editorial policy.