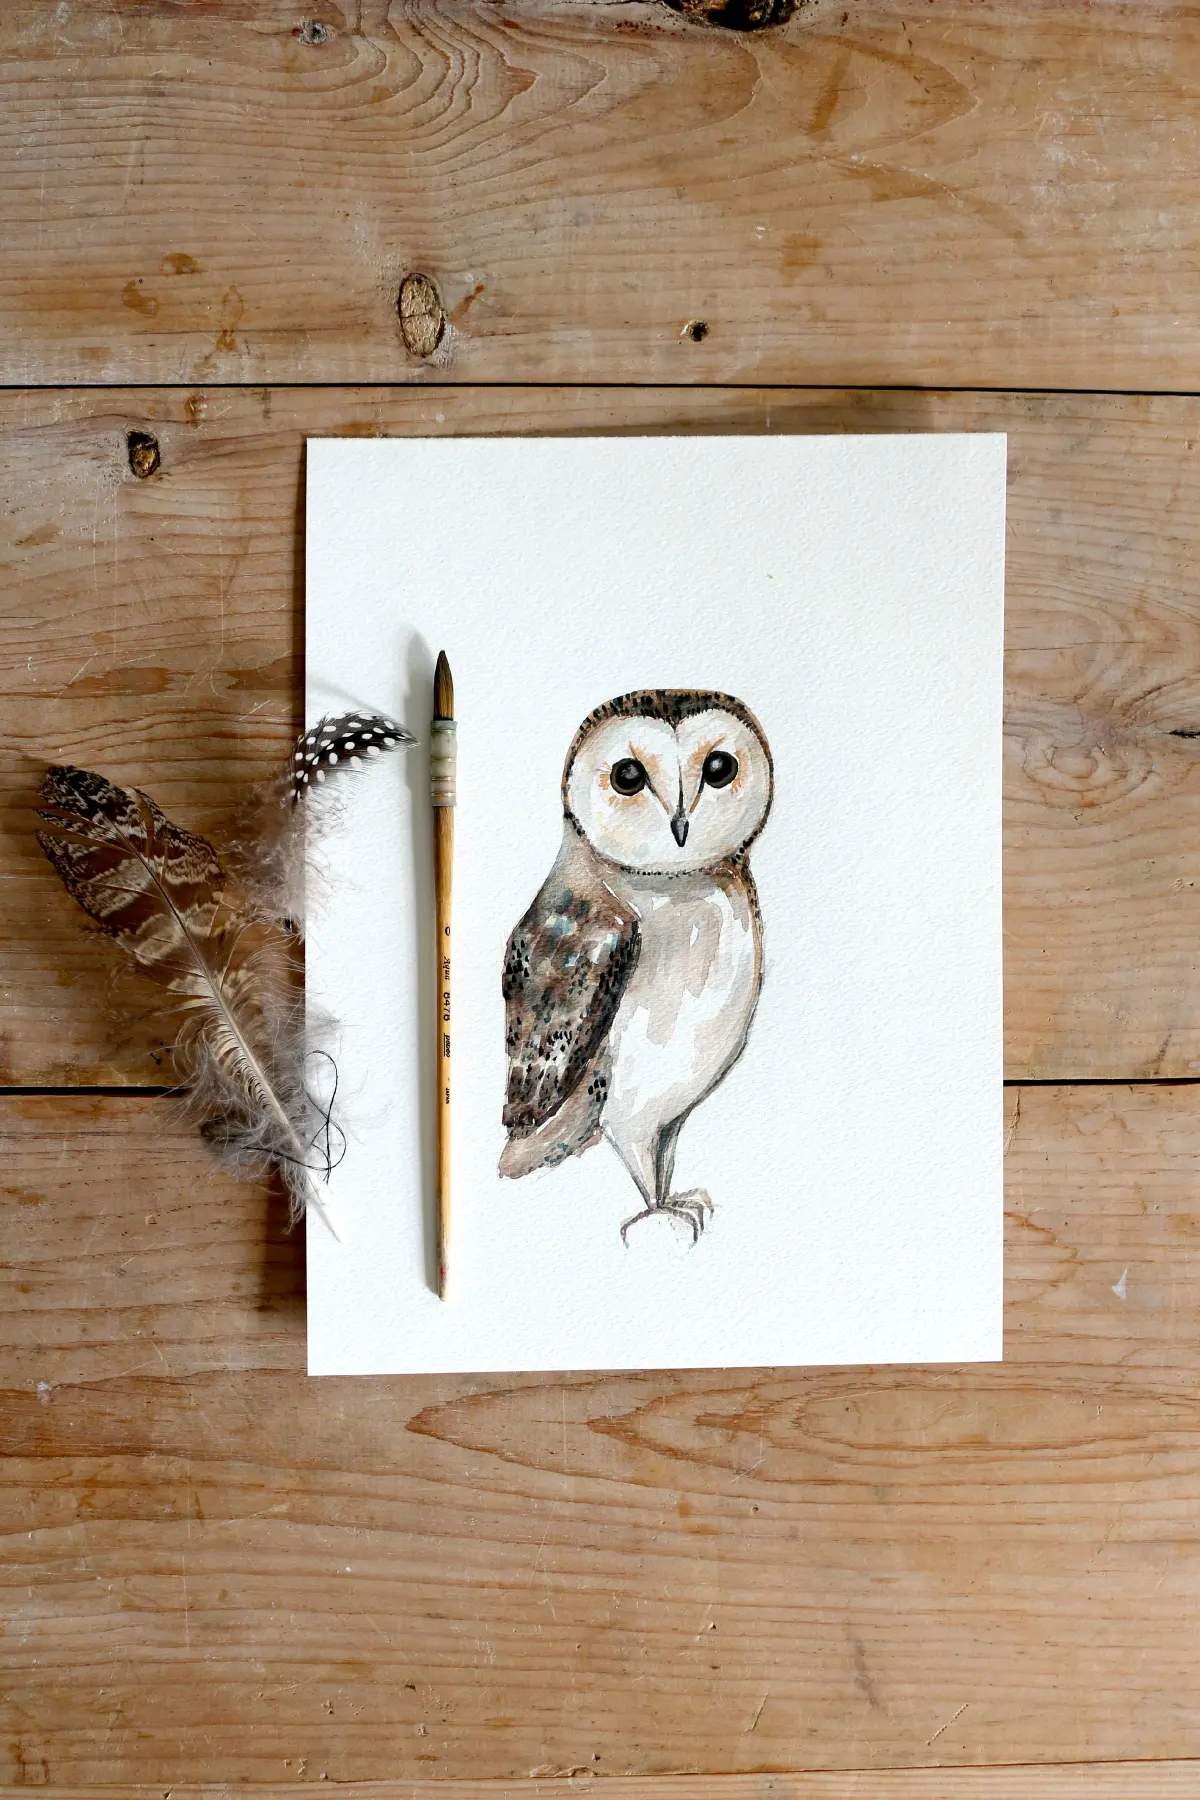
How do you draw an owl step by step?
Short answer
Drawing an owl involves constructing a basic skeletal framework using simple geometric shapes like circles and triangles. By layering these foundational forms, you establish the correct proportions for the head, body, and wings. Refine these outlines with feathers, facial features, and talons to create a realistic, balanced, and anatomically accurate illustration.
On this page
How to draw an owl step by step
To begin your owl, focus on the head and torso using basic geometry. Start by drawing a large circle for the head and a slightly larger, elongated oval below it for the body. These shapes act as a guide for the bird's posture, which is typically upright and compact. Ensure the head circle overlaps slightly with the top of the body oval to create a natural neck transition.
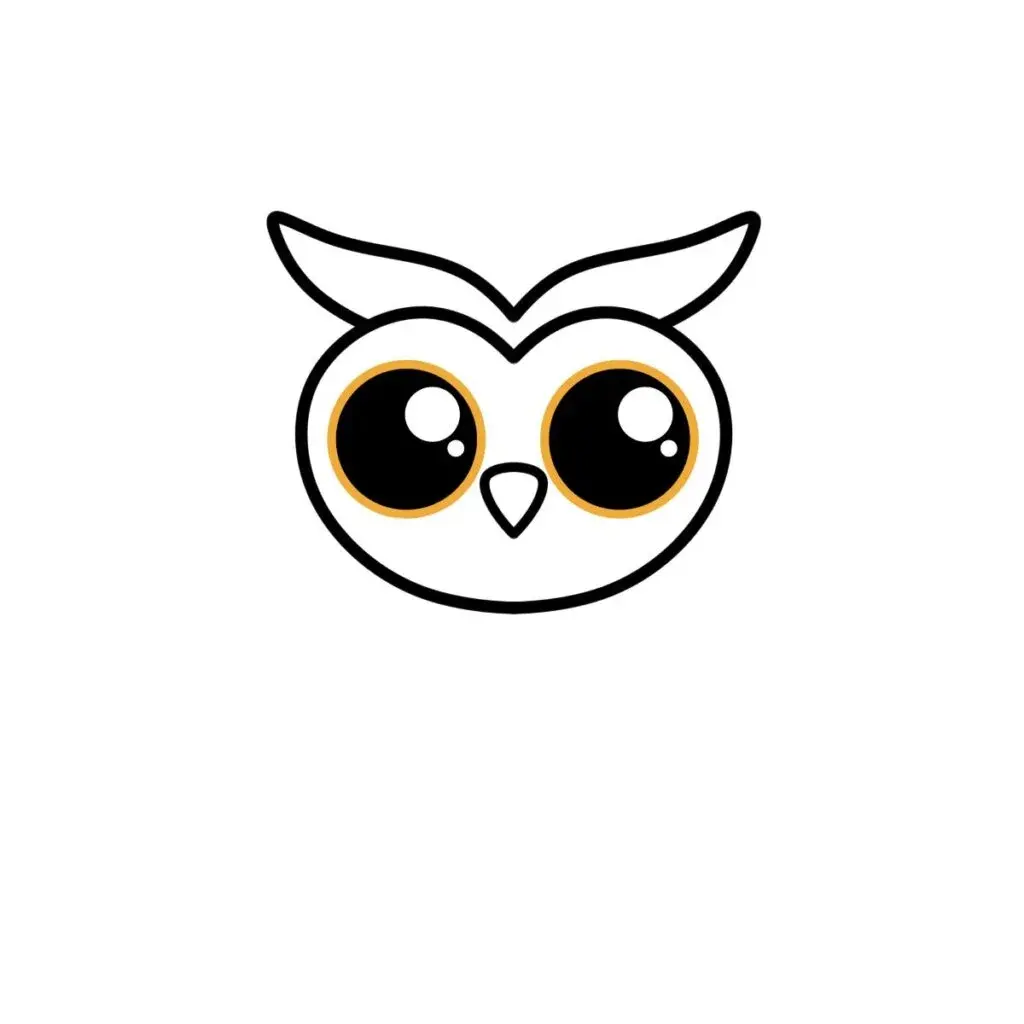
Once the main structure is set, add two smaller circles within the head to represent the eyes. Owls are known for their large, forward-facing eyes, so keep these circles prominent and centered. Add a small triangle pointing downward between the eyes for the beak. Finally, sketch two curved lines on the sides of the body to indicate the folded wings, keeping them tight against the torso to maintain the owl's characteristic silhouette.
Best drawing tools for beginners
For those just starting, graphite pencils are the most forgiving medium. Use an HB pencil for initial light sketching, as it allows you to erase guidelines without damaging the paper surface. A 2B or 4B pencil is ideal for adding depth, shadows, and the darker textures of the feathers once the primary structure is finalized. Keep a kneaded eraser nearby to lift graphite gently without smudging your work.
The choice of paper also significantly impacts your results. A medium-weight, acid-free drawing paper with a slight tooth, or texture, helps the graphite adhere better to the page. Avoid extremely smooth printer paper, as it can be difficult to layer shading effectively. Consider these essential items for your kit:
- HB and 2B graphite pencils for varied line weight.
- A kneaded eraser for precision lifting and highlighting.
- A sharpener to maintain fine points for feather detailing.
- A blending stump to smooth out transitions in the plumage.
Why owl proportions look off
Many beginners struggle with owl drawings because they fail to account for the bird's dense plumage. Owls often appear much larger than their actual skeletal structure due to their thick, fluffy feathers. If your drawing looks too thin or skeletal, you likely missed the volume that feathers add to the silhouette. Always draw your initial shapes slightly larger than you think they need to be to accommodate this bulk.
Another common issue is the placement of the eyes. Because owls possess a facial disc—a ring of feathers surrounding the eyes—the eyes often appear more recessed than they actually are. If the eyes look like they are floating on the surface, try drawing a circular frame around them to suggest the facial disc structure. This simple addition immediately grounds the eyes into the head and creates a more three-dimensional, realistic appearance that mimics natural biology.

Common mistakes when drawing owls
One frequent error is drawing the ears too high or too pointed. While many owls have "ear tufts," these are actually just feathers, not ears, and they should be drawn as soft, tapered extensions of the head's shape. Avoid making them look like sharp cat ears. Additionally, beginners often neglect the talons, drawing them as simple sticks. Remember that owl feet are powerful and complex; use these steps to refine them:
- Sketch three thick, curved toes pointing forward and one pointing backward.
- Add sharp, hooked claws at the end of each toe.
- Use small, overlapping shapes to represent the feathered "pants" that cover the upper legs.
- Add texture lines to the toes to suggest the scales found on most raptor feet.
How to add texture to feathers
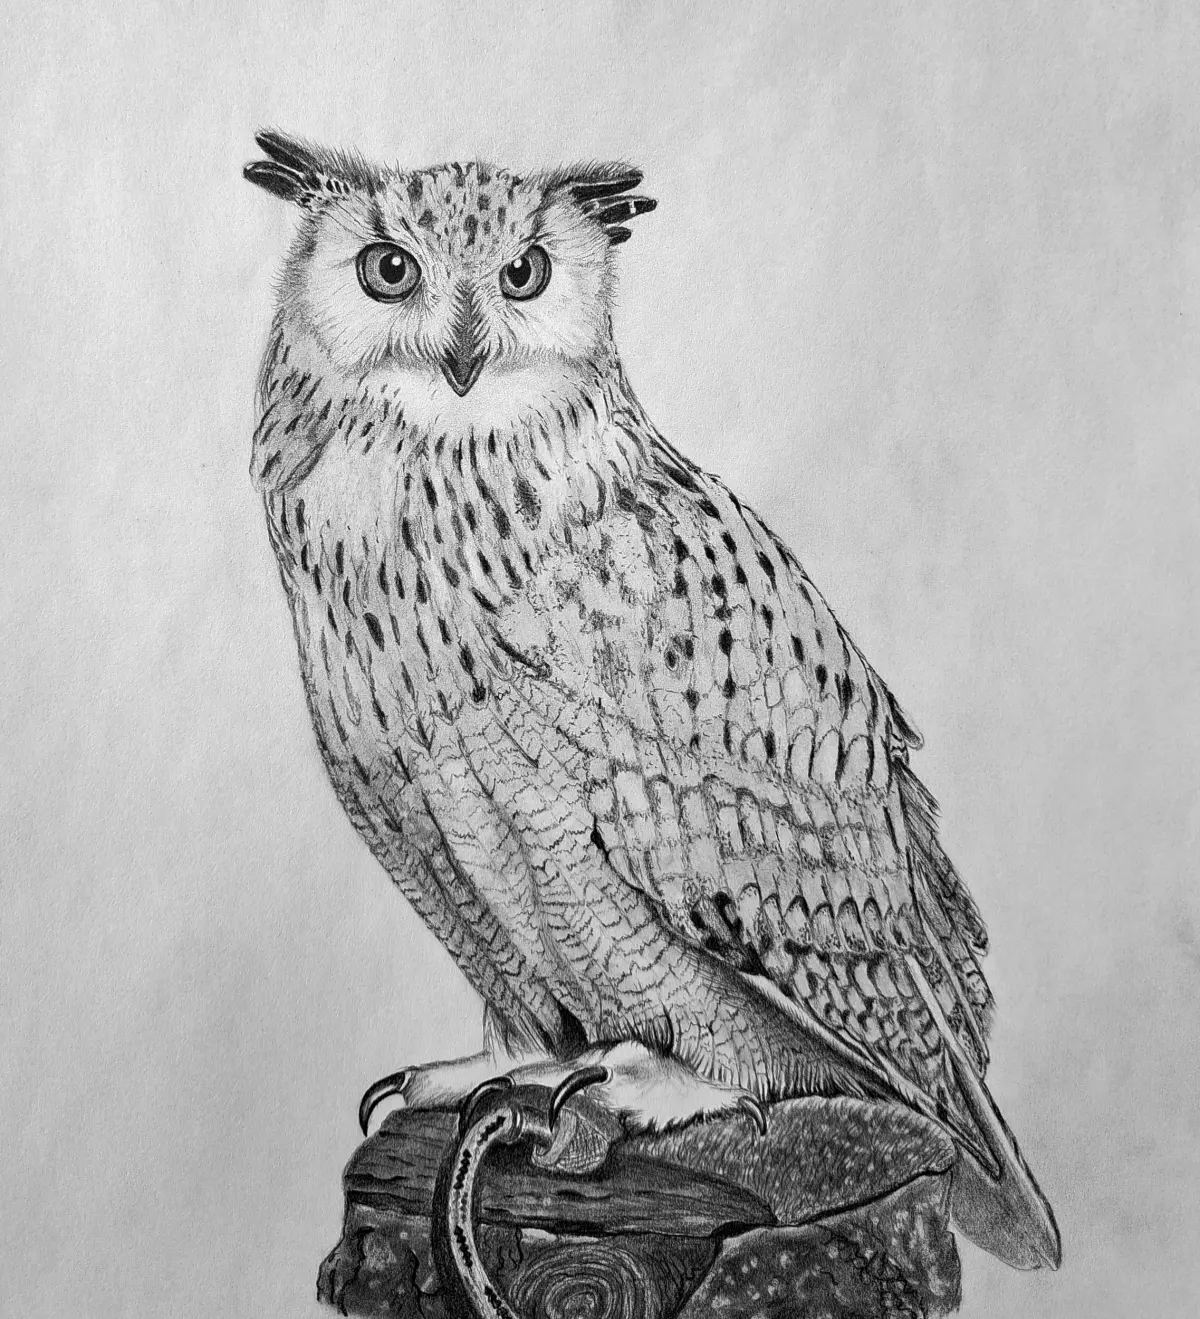
Feathers are the defining feature of an owl, and they require a systematic approach to look convincing. Do not try to draw every single feather individually; instead, focus on the pattern and direction of the plumage. Use short, overlapping "U" or "V" shaped strokes to create the appearance of layered feathers. Start from the top of the head and work your way down the body, following the natural curvature of the owl's form.
To create a realistic effect, vary the size of your feather strokes. Use smaller, tighter marks around the face and larger, broader strokes along the wings and back. Pay attention to the light source; apply darker shading beneath each layer of feathers to create a sense of depth and shadow. By consistently overlapping these marks, you will achieve a dense, realistic texture that brings your drawing to life and captures the intricate beauty of the bird.
Key facts
- Owls possess large, forward-facing eyes that are fixed in their sockets, requiring them to rotate their heads to see.
- Start your drawing by sketching two large, overlapping circles to serve as the foundation for the owl's head and body.
- Use a triangle shape for the beak, positioning it where the two circles meet to ensure proper facial proportions.
- Feathers are best represented by drawing small, overlapping "U" or "V" shapes rather than individual lines.
- Always include talons at the base of the body, as these are essential for the owl's predatory silhouette.
- Avoid drawing perfectly straight lines; owls are organic, soft-feathered creatures that benefit from curved, fluid strokes.
The bottom line
Drawing an owl successfully relies on establishing a solid foundation with basic geometric shapes before adding intricate details. By focusing on the characteristic large eyes, hooked beak, and layered feather textures, you can create a lifelike representation. Remember to prioritize curved lines over straight ones to capture the bird's natural soft form. With practice, these fundamental steps will allow you to sketch various owl species confidently.
People also ask
What is the most common mistake when drawing an owl's eyes?
Many beginners place the eyes too far apart or make them too small. Remember that owls have massive, expressive eyes that dominate the face, so they should be large and placed relatively close together.
Should I use a pencil or a pen for my first attempt?
Using a graphite pencil is recommended because it allows you to sketch light guidelines that can be erased later. Once you are satisfied with the basic structure, you can go over your lines with a pen or darker pencil.
How do I make the owl look like it is perched on a branch?
Draw a horizontal line across the lower section of your owl to represent the branch. Ensure the talons are curved around the wood to create a sense of weight and stability.
Why do my owl drawings look like cartoon characters?
If your drawing looks too cartoonish, you likely used overly simplified shapes and thick outlines. Try adding subtle shading and texture to the feathers to give the drawing a more realistic, three-dimensional appearance.
How do I draw the wings correctly?
Keep the wings tucked close to the body for a resting owl, using long, teardrop-shaped outlines. If you want the wings open, draw them extending outward with jagged edges to mimic the appearance of flight feathers.
How can I improve the texture of the feathers?
Use short, quick strokes to layer the feathers, starting from the neck and working downward. Varying the length and direction of your strokes will prevent the owl from looking like it is covered in fur.
This answer was created with the help of AI research tools and reference sources. Spotted an error? Let us know — we correct mistakes quickly. See our editorial policy.