How do you draw a goat step by step?
Short answer
Drawing a goat involves constructing a basic skeletal frame using simple geometric shapes like circles and rectangles. By layering details such as the rectangular muzzle, curved horns, and rectangular legs over this foundation, you can capture the animal's distinct profile. Focus on the triangular ears and beard to add realistic character.
On this page
How to draw a goat step by step
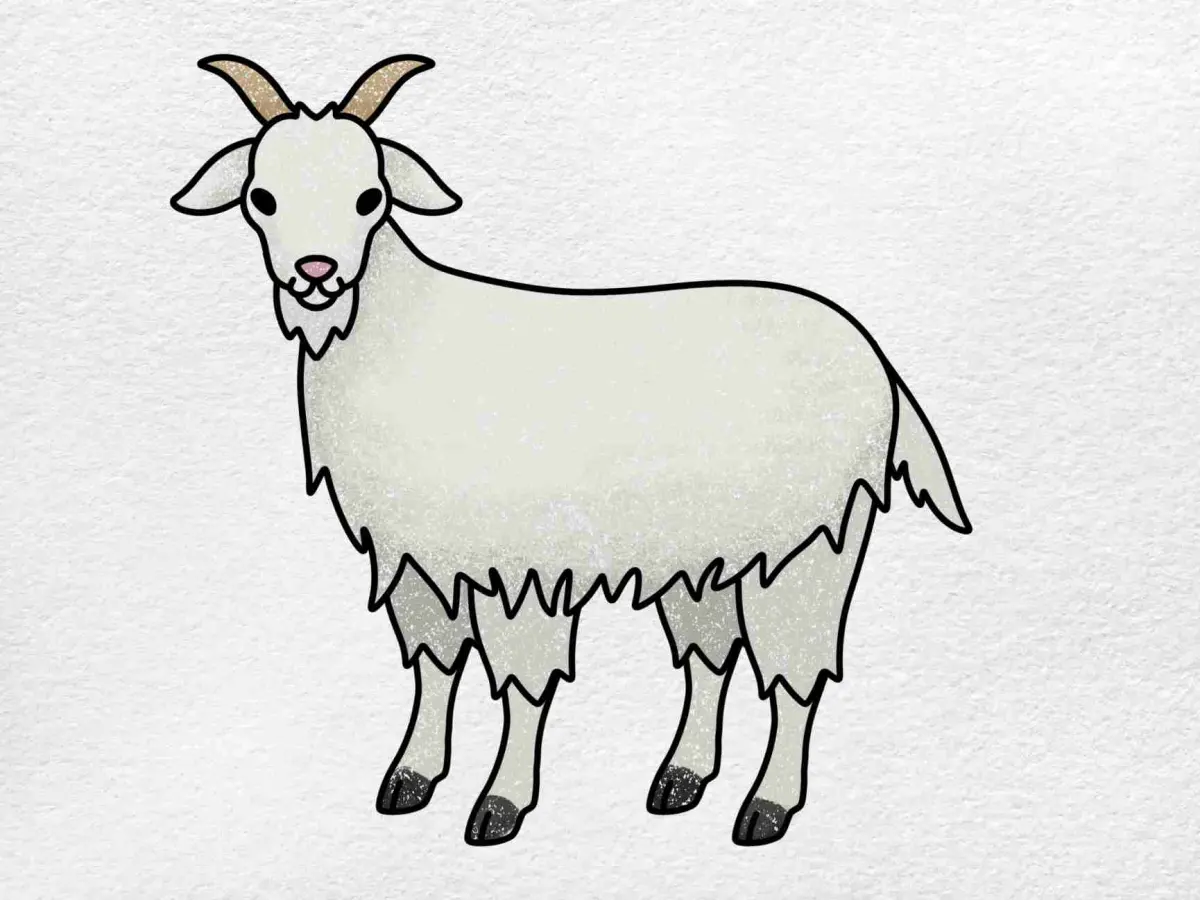
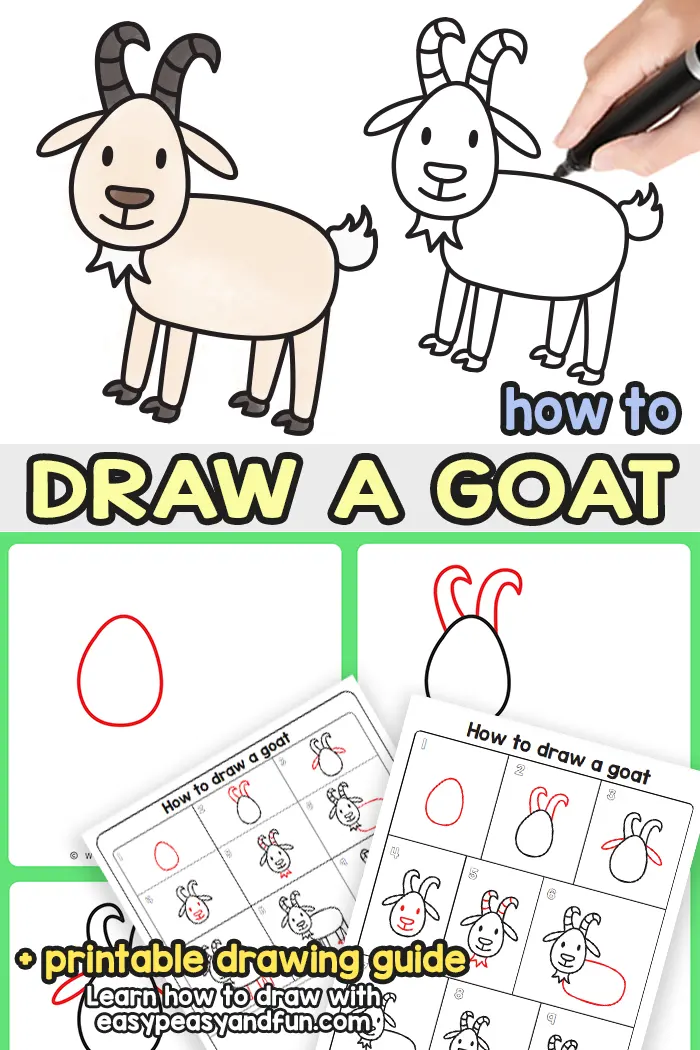
To begin your drawing, visualize the goat as a collection of basic shapes. Start by sketching a medium-sized circle for the chest and a slightly larger, oval-shaped body for the hindquarters. Connect these with two curved lines to form the back and the belly. Add a smaller circle for the head, positioned slightly above the chest area, and connect it to the body with two lines representing the neck.
Once your primary shapes are in place, refine the outline to create the goat's silhouette. Add a rectangular muzzle extending from the head circle and two small, triangular ears near the top of the skull. Sketch four thin, rectangular legs beneath the body, ensuring the back legs have a slight bend at the hock joint. Finally, add a small, tufted tail and a characteristic beard hanging from the chin to complete the basic structure.
Best drawing tools for beginners
For those just starting, graphite pencils are the most effective tools because they allow for easy erasure and layering. Use an HB pencil for the initial light sketches and a 2B or 4B pencil to darken the final outlines and add depth. A kneaded eraser is particularly useful, as it can be molded into small points to lift graphite from tight spaces without damaging the paper.
High-quality cartridge paper or a dedicated sketchbook is recommended to ensure your lines remain crisp. Avoid using standard printer paper, as it often lacks the tooth required to hold graphite effectively. If you want to add texture, consider using a fine-liner pen for the final details after you have finalized your pencil work. Keep your tools organized and your workspace well-lit to maintain focus throughout the drawing process.
How to add realistic goat features
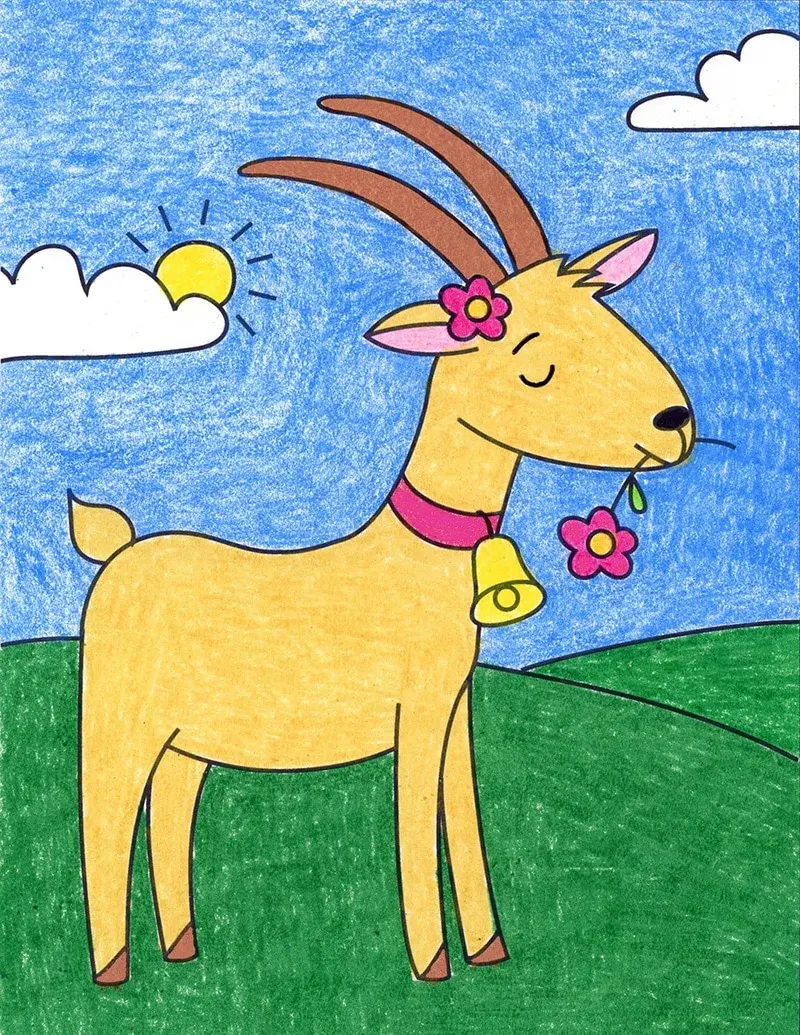
The defining characteristics of a goat are its rectangular pupils, curved horns, and textured coat. When drawing the eyes, place them on the side of the head and use a horizontal, rectangular shape rather than a circular one. For the horns, draw two sweeping, backward-curving shapes starting from the top of the head; remember that male goats often have larger, more rugged horns compared to females.
Texture is key to making your drawing appear lifelike rather than cartoonish. Use short, flicking pencil strokes to mimic the look of coarse hair, especially around the neck and chest. Follow these steps to refine the details:
- Draw the horizontal pupils within the eye sockets to capture the goat's unique gaze.
- Use jagged, uneven lines along the edges of the body to suggest a shaggy coat.
- Add subtle shading beneath the beard and the belly to create a three-dimensional effect.
- Define the hooves by drawing small, split-toe shapes at the base of each leg.
Common mistakes when drawing goats
One of the most frequent errors is failing to account for the goat’s specific skeletal proportions. Beginners often draw the legs too straight or too short, which makes the animal look stiff and unstable. Remember that a goat’s back legs should have a noticeable angle at the hock, which provides the animal with its characteristic agility and jumping ability. Always check your reference images to ensure the length of the legs is proportional to the body size.
Another common mistake is neglecting the neck's thickness. Goats have strong, muscular necks that support their heads and allow them to graze effectively. If the neck is drawn too thin, the head will appear disconnected and fragile. Additionally, avoid drawing perfectly smooth outlines; goats are naturally rugged animals, and a perfectly rounded contour will look unnatural. Use slight variations in line weight to suggest muscle and bone structure beneath the skin.
Why goat anatomy matters for artists
Understanding the underlying anatomy of a goat helps you draw it from any angle, not just the side profile. By learning how the joints move, you can depict the animal in dynamic poses, such as climbing rocks or standing on its hind legs. Study how the shoulder blades move under the skin and how the spine curves when the animal is in motion. This knowledge transforms your drawing from a flat imitation into a believable representation of a living creature.
Practicing these anatomical principles requires patience and frequent observation. If possible, watch videos of goats moving or visit a local farm to see how they interact with their environment. Pay attention to how their weight shifts when they walk and how their ears swivel to track sounds. By grounding your artistic process in these biological realities, you will develop the skills necessary to capture the essence of the animal with confidence and technical precision.
Key facts
- Goats have rectangular pupils, which provide them with a wide field of vision to spot predators.
- Start your drawing with two overlapping circles to establish the proportions of the head and body.
- A goat’s legs are relatively thin; draw them with slight angles at the joints to suggest movement.
- Always include the characteristic beard, which is a tuft of hair growing from the lower jaw.
- Use curved lines for the back to capture the goat's sturdy, slightly arched spine structure.
- Draw the ears pointing slightly downward or outward, as these are prominent features of most breeds.
The bottom line
Drawing a goat begins with defining its core mass through simple geometric shapes like circles and ovals. By focusing on the unique rectangular pupils, the signature beard, and the articulated, slender legs, you can capture the animal's distinct silhouette. Practice observing live goats or reference photos to refine your proportions, ensuring the neck and back remain sturdy while the facial features reflect the goat's curious, alert nature.
People also ask
What is the best way to draw goat horns?
Draw two curved, tapered shapes starting from the top of the head. Depending on the breed, these can be straight, spiraled, or swept back toward the neck.
How do I make the goat look realistic?
Focus on the texture of the fur by using short, overlapping strokes rather than solid outlines. Adding subtle shading around the muscles helps define the animal's physical form.
Should I draw the goat from the side or the front?
A side profile is the easiest way to learn because it clearly shows the shape of the snout, the neck, and the leg placement. Front-facing views require more complex perspective work.
What common mistakes should I avoid?
Beginners often make the legs too thick or place the eyes too far forward. Remember that a goat’s eyes are positioned on the sides of its head to aid peripheral vision.
How do I draw the hooves?
Draw two small, split-toe shapes at the base of each leg. These should look like small triangles or rounded blocks supporting the weight of the animal.
Do all goats have the same body shape?
No, body shapes vary significantly between dairy breeds, which are often rangy and angular, and meat breeds, which tend to be more muscular and compact.
This answer was created with the help of AI research tools and reference sources. Spotted an error? Let us know — we correct mistakes quickly. See our editorial policy.