How do you draw a woman step by step?
Short answer
Drawing a woman involves establishing accurate proportions using a basic skeletal framework, then layering organic shapes to define the figure. By focusing on the head-to-body ratio, typically seven to eight heads tall, and emphasizing graceful curves over rigid lines, you can create a realistic representation of the female form through systematic construction.
On this page
How to draw female proportions accurately
Establishing correct proportions is the foundation of realistic figure drawing. The standard academic approach uses the head height as a unit of measurement to determine the length of the body. Most figures are approximately seven and a half to eight heads tall. When drawing a woman, the shoulders are generally narrower than those of a male, and the hips are often wider, creating a distinct hourglass silhouette.
To begin, draw a light vertical line to act as the spine. Mark the head, the bottom of the rib cage, the pelvic line, and the knees. Keep these marks light so they can be erased later. Remember that the elbows usually align with the waist, while the fingertips reach down to the mid-thigh area. Maintaining these anatomical landmarks ensures that your drawing remains balanced and believable regardless of the specific pose you choose to depict.
How to use basic shapes for construction
Using simple geometric shapes allows you to build a complex form without getting overwhelmed by details. Start by sketching an oval for the head and a larger, inverted trapezoid for the rib cage. Connect the rib cage to a wider, rounded shape representing the pelvis. This framework helps you visualize the tilt of the torso, which is essential for creating a natural, non-rigid appearance in your final sketch.
- Draw a small circle for the head and a neck column.
- Sketch a rounded box for the chest and a wider, flatter shape for the hips.
- Connect these with a curved line to suggest the waistline.
- Add cylinders for the arms and legs, tapering them toward the joints.
- Use spheres to indicate the shoulders, elbows, and knees for better articulation.
By breaking the body down into these manageable components, you can adjust the posture and perspective before committing to the final contours.
How to refine the female silhouette
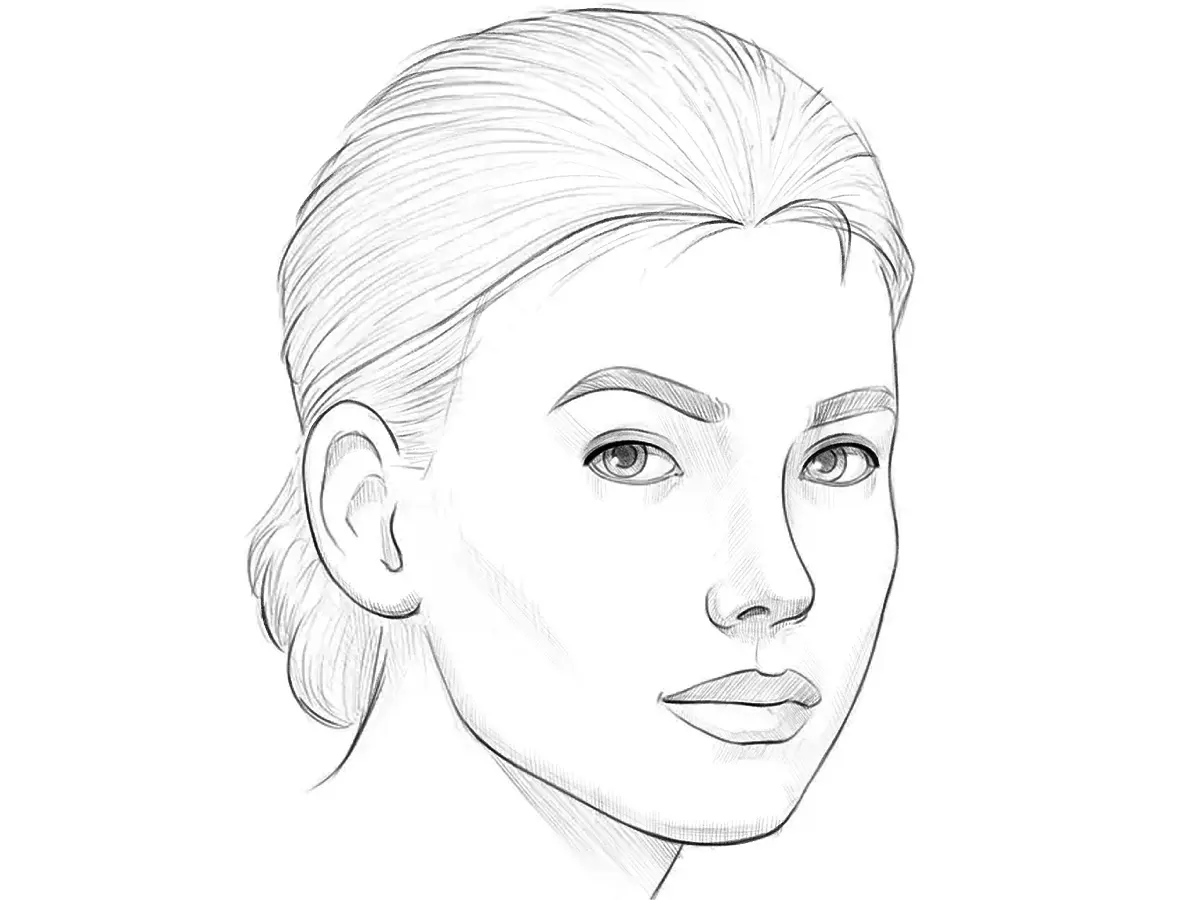
Once the skeletal structure is in place, you must transition from rigid geometry to organic, flowing lines. The female form is characterized by softer transitions between muscle groups compared to the more angular structure often associated with the male form. Focus on the "S-curve" of the spine and the gentle slope of the shoulders. Use long, continuous strokes to outline the outer edges of the arms and legs, avoiding harsh, jagged lines.
When drawing the torso, pay attention to the transition from the rib cage to the waist. The waist is the narrowest point of the torso, while the hips provide a wider base. Avoid drawing perfectly straight lines; instead, look for the subtle undulations caused by muscle and fat distribution. By softening the edges of your geometric shapes, you create a more lifelike appearance. Always keep your pencil pressure light during this phase so you can easily refine the curves.
Common mistakes when drawing women
Many beginners fall into the trap of over-emphasizing specific features while neglecting the overall flow of the body. A frequent error is making the shoulders too broad or the waist too thin, which can lead to an unnatural, distorted look. Another common mistake is failing to account for the weight distribution of the figure. If the character is leaning, the hips and shoulders should tilt in opposing directions to maintain the center of gravity.
- Neglecting the neck thickness, which should be slender but strong enough to support the head.
- Drawing hands and feet too small, which makes the figure appear fragile or childish.
- Placing the eyes too high on the skull; they should sit halfway down the head.
- Ignoring the natural curve of the spine, leading to a stiff, robotic posture.
- Using heavy, dark outlines too early, which makes it difficult to correct anatomical errors.
Focusing on these pitfalls will help you improve the structural integrity of your drawings significantly.
Best tools for beginners to start drawing
You do not need expensive equipment to master figure drawing. A simple graphite pencil, such as an HB or 2B, is perfect for the initial construction phase because it is easy to erase. Use a kneaded eraser, which allows you to lift graphite gently without damaging the paper surface. Smooth, medium-weight drawing paper provides enough tooth to hold the pencil marks without being too abrasive, making it ideal for practicing long, sweeping lines.
When you are ready to add detail, a softer 4B or 6B pencil can help you create depth through shading. Shading is vital for defining the volume of the limbs and the torso. Start by identifying the light source and applying shadow to the opposite side of your shapes. By practicing these techniques consistently, you will develop the muscle memory required to draw the female form with confidence and artistic flair. Keep your sketches loose and focus on the gesture of the pose before refining the anatomy.
Key facts
- Use the "head-unit" system where the average adult figure is seven to eight heads tall.
- Draw a vertical center line to maintain symmetry and balance across the body's pose.
- Focus on the "hourglass" silhouette by slightly tapering the waist and widening the hips.
- Place the elbows roughly at the level of the waistline when the arms are relaxed.
- Sketch basic geometric shapes like ovals and cylinders before adding muscle or clothing details.
- Practice drawing from live models or photographs to understand how light creates form and depth.
The bottom line
Drawing a human figure is a process of building structure from simple shapes to complex forms. By mastering the seven-head proportion rule and utilizing a central line of action, you can create balanced, realistic figures. Consistency in light, shadow, and anatomy is essential for depth. With regular practice and careful observation of real-world proportions, you will steadily improve your ability to capture the human form accurately.
People also ask
What is the best way to draw realistic facial features?
Start by placing the eyes halfway down the head, then measure the distance between them to ensure they are one eye-width apart. Use light guidelines to align the bottom of the nose with the bottom of the ears.
How do I make a drawing look more dynamic?
Incorporate a "line of action," which is a single curved line representing the flow of the spine or movement. This prevents figures from looking stiff or static on the page.
Should I start with the head or the feet?
Most artists begin with the head to establish the scale and proportions of the entire figure. Working from top to bottom helps you manage the space on your paper effectively.
How do I improve my shading technique?
Identify a single light source and keep it consistent across the entire subject. Use cross-hatching or smooth gradients to build up shadows on the side opposite the light.
Why do my drawings look out of proportion?
Beginners often make the head too large or the limbs too short. Use your pencil as a measuring tool to compare the length of the torso against the length of the legs.
Is it better to use graphite or charcoal?
Graphite pencils offer precision and are excellent for detailed sketches, while charcoal allows for expressive, bold marks and quick value shifts. Choose based on whether you prefer fine control or atmospheric shading.
This answer was created with the help of AI research tools and reference sources. Spotted an error? Let us know — we correct mistakes quickly. See our editorial policy.