How do you draw a magpie?
Short answer
Drawing a magpie requires capturing its distinct silhouette, characterized by a long, graduated tail and a stout, slightly curved beak. Focus on the bird’s bold black-and-white plumage, which features iridescent blue-green highlights on the wings and tail. By layering basic geometric shapes, you can accurately construct the anatomy before adding realistic feather textures.
On this page
How to sketch a magpie anatomy
To begin your drawing, establish the magpie's posture using simple geometric shapes. Start with an oval for the main body, tilted slightly forward. Add a smaller circle for the head and a long, narrow rectangle for the signature tail, which should be roughly the same length as the body. Connect these shapes with fluid lines to form the neck and back, ensuring the transition from the head to the body is smooth rather than abrupt.
Once the frame is set, refine the proportions by paying attention to the magpie's specific physical traits. The beak should be strong and slightly hooked at the tip, positioned midway up the head circle. The legs are relatively thin but sturdy, positioned slightly behind the center of the body to support the bird's weight. Observing these structural relationships ensures your drawing looks anatomically correct rather than cartoonish or distorted.
Best drawing techniques for beginners
For those new to bird illustration, start with light, sketchy pencil strokes that can be easily erased. Focus on the "line of action," which is the imaginary curve running from the beak through the spine to the tip of the tail. This line provides the energy and movement of the bird, preventing the drawing from appearing stiff or static. Use a 2B pencil for the initial layout to keep lines soft and manageable.
When moving from the outline to the details, follow these steps to build your bird:
- Sketch the primary outline using light, sweeping strokes.
- Define the eye, which should be dark, round, and placed high on the head.
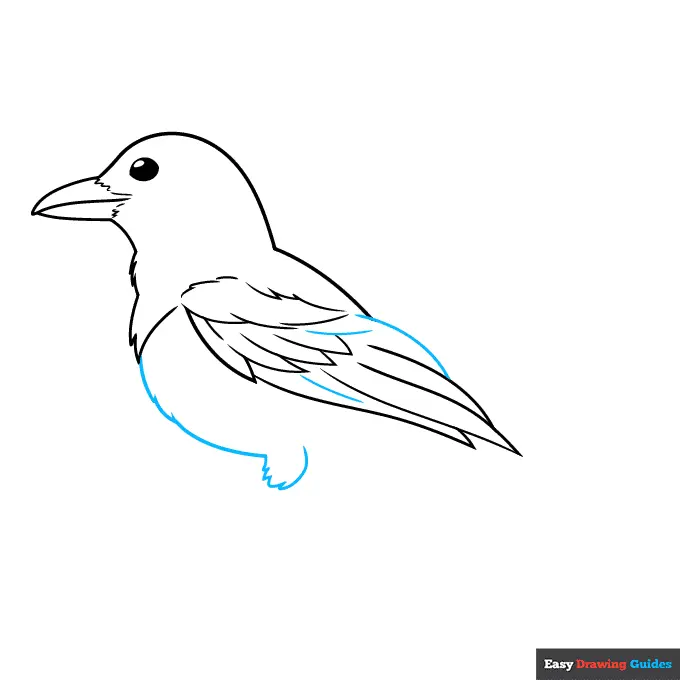
- Outline the wing feathers, noting that the primary feathers are long and overlap like shingles.
- Add the feet, ensuring the toes are clearly articulated with sharp, curved claws.
- Refine the beak shape, adding a small nostril near the base for realism.
Why magpie plumage is difficult to draw
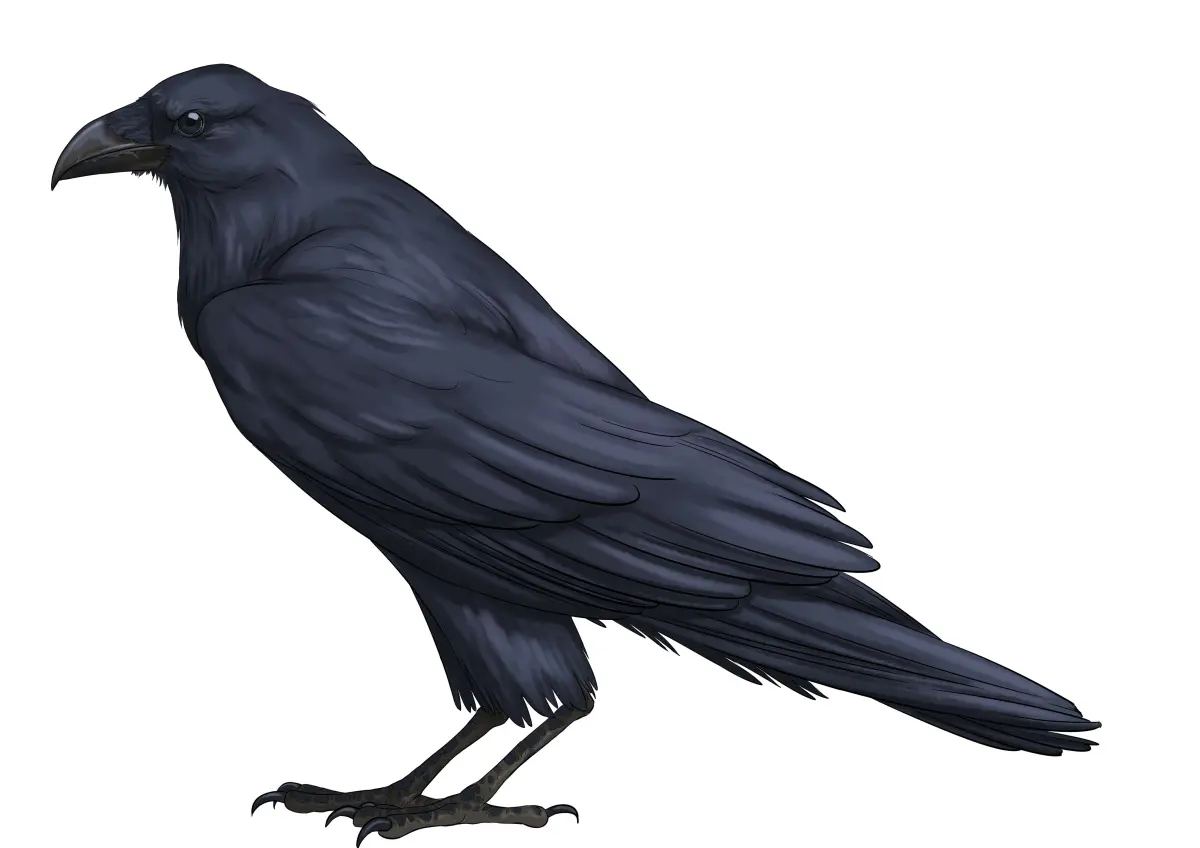
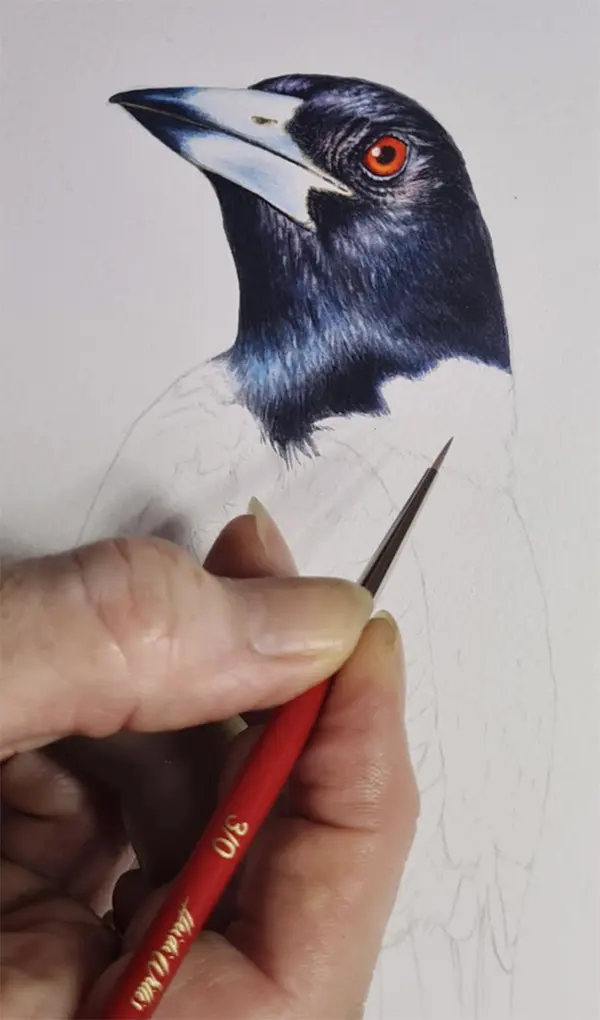
The most challenging aspect of drawing a magpie is rendering its complex, high-contrast plumage. While the bird appears black and white from a distance, its feathers are actually highly iridescent. To capture this, avoid using flat, solid black. Instead, use cross-hatching or varying pressure to create subtle gradients. Incorporate hints of deep blue, purple, or green in the wings and tail, especially where light hits the curved surfaces of the feathers.
When shading, keep the white areas of the belly and shoulders clean by using very light gray tones rather than stark white paper. This creates depth and volume, preventing the bird from looking like a flat cutout. Focus on the way light reflects off the wings, as this is where the magpie’s metallic sheen is most visible. Use a blending stump or a soft cloth to smooth out transitions between the dark and light sections of the plumage.
Common mistakes when drawing birds
A frequent error is miscalculating the length of the tail, which is a defining feature of the magpie. If the tail is too short, the bird will look like a common crow or a starling. Always measure the tail against the length of the torso to ensure it remains appropriately long and tapered. Another mistake is drawing the eye too low; the eye should be positioned near the top of the skull to maintain the correct avian expression.
Avoid these common pitfalls to improve your accuracy:
- Drawing feathers as individual, disconnected lines rather than overlapping groups.
- Neglecting the thickness of the legs, which should appear proportional to the bird's size.
- Using a single shade of black, which makes the bird look like a silhouette.
- Ignoring the "shoulder" of the wing, which should be a distinct, rounded shape.
- Over-detailing the feet, which often leads to messy, cluttered lines that distract from the bird's form.
How to add texture and finishing touches
To bring your magpie to life, focus on the texture of the feathers. Use short, rhythmic strokes that follow the direction of feather growth, starting from the neck and moving toward the tail. The feathers on the breast are soft and rounded, while the wing feathers are rigid and overlapping. By varying your stroke length and density, you can differentiate between the fluffy down and the sleek, protective outer feathers of the wings.
Finally, add the background elements to provide context, such as a simple branch or a fence post. Keep these elements subtle so they do not compete with the bird for attention. Use a darker pencil to finalize the outline, specifically around the beak and the eye, to give the drawing a sharp, professional finish. Once you are satisfied with the shading and texture, gently erase any remaining guide lines to reveal a clean, polished representation of the magpie.
Key facts
- The Eurasian magpie (Pica pica) is characterized by its long, wedge-shaped tail, which often makes up nearly half of its total body length.
- Magpies possess a distinct iridescent plumage that appears black and white from a distance but reveals blue-green sheens in direct sunlight.
- When drawing the bird, prioritize the stout, slightly curved beak and the prominent, rounded wing shape typical of corvids.
- Use a "teardrop" or oval shape for the main body mass to establish the correct proportions before adding the wings and tail.
- A common mistake is drawing the legs too short; magpies are active walkers, so their legs should be clearly visible and articulated.
- Focus on the eye placement, which is set high on the head, just above the line of the beak, to capture the bird's alert expression.
The bottom line
Drawing a magpie successfully relies on capturing its unique silhouette, particularly the elongated tail and high-contrast plumage. By starting with simple geometric shapes for the body and focusing on the bird's alert, intelligent expression, you can create a lifelike representation. Remember to maintain correct proportions for the legs and beak, as these details ground the drawing and ensure the final result looks authentic and natural.
People also ask
What is the most important feature to emphasize when drawing a magpie?
The most critical feature is the silhouette, specifically the long, graduated tail. Capturing the contrast between the dark, iridescent feathers and the bright white belly is also essential for visual accuracy.
Should I use color or black and white for a realistic magpie drawing?
Both are effective, but graphite or charcoal is excellent for mastering the bird's high-contrast markings. If using color, focus on layering deep blues and greens over black to mimic the bird's natural iridescence.
How do I make the feathers look realistic?
Avoid drawing every individual feather, as this creates a cluttered look. Instead, draw the primary feather groups in overlapping layers, focusing on the texture of the wing coverts.
What is the best posture for a magpie drawing?
Magpies are often seen foraging on the ground with their heads tilted or perched on branches. A slightly hunched posture with the tail angled downward provides a natural, dynamic appearance.
How do I draw the magpie's beak accurately?
The beak should be strong and slightly hooked at the tip. Keep the base of the beak relatively thick where it meets the feathers of the forehead.
Is it better to draw from a photo or a live bird?
Drawing from a photo is easier for beginners because the bird remains still. However, observing a live bird helps you understand how it moves and how its posture changes while walking.
This answer was created with the help of AI research tools and reference sources. Spotted an error? Let us know — we correct mistakes quickly. See our editorial policy.