How do you draw a blue jay step by step?
Short answer
Drawing a blue jay requires focusing on its distinctive crest, bold black markings, and vibrant blue plumage. Begin by sketching the bird’s oval body and angular head shape. Layer in the primary features like the eye mask and wing bars, then use varied pressure to build texture and depth with colored pencils or markers.
On this page
How to sketch the basic anatomy of a blue jay
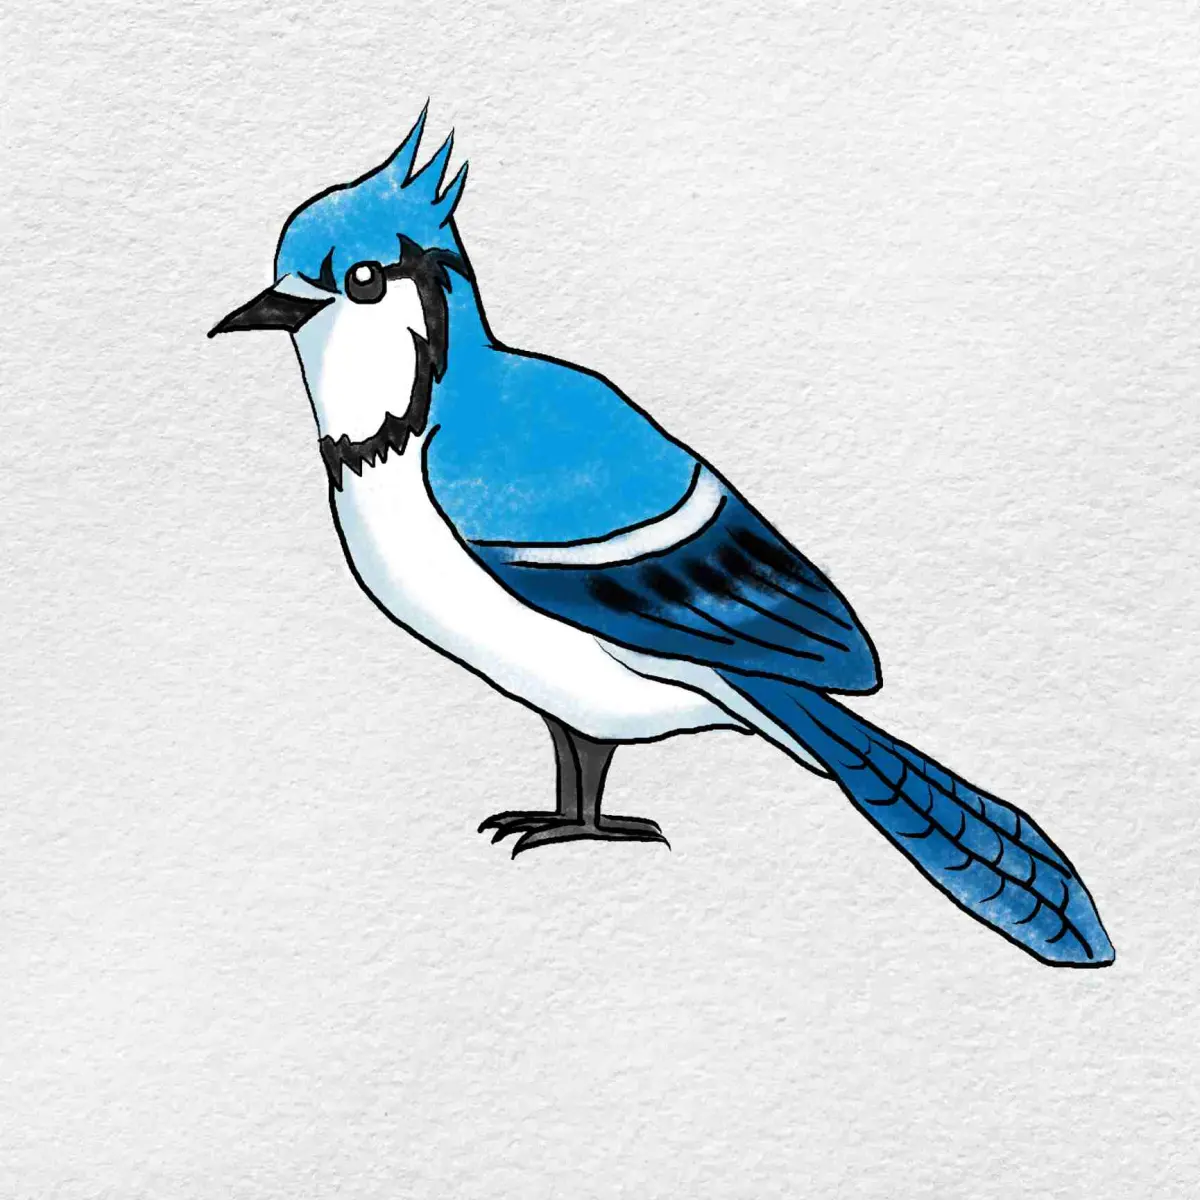
To begin your drawing, focus on the bird’s silhouette rather than individual feathers. A blue jay is characterized by a sturdy, rounded body and a prominent, pointed crest on the top of its head. Start by drawing a large oval for the torso, tilted slightly forward. Add a smaller, circular shape for the head, ensuring you include a sharp, triangular protrusion at the crown to represent the crest.
Connect these shapes with a smooth neck line, keeping the proportions compact. Blue jays are relatively stocky birds compared to songbirds like sparrows. Once the basic frame is set, lightly sketch the tail, which should be long and rounded at the tip. Use these geometric foundations to ensure the bird’s posture looks natural before moving into specific details.
- Draw a large oval for the main body.
- Add a circle for the head with a small triangle for the crest.
- Connect the head and body with a curved neck line.
- Sketch a long, rectangular shape extending from the back for the tail.
Essential features for a realistic blue jay
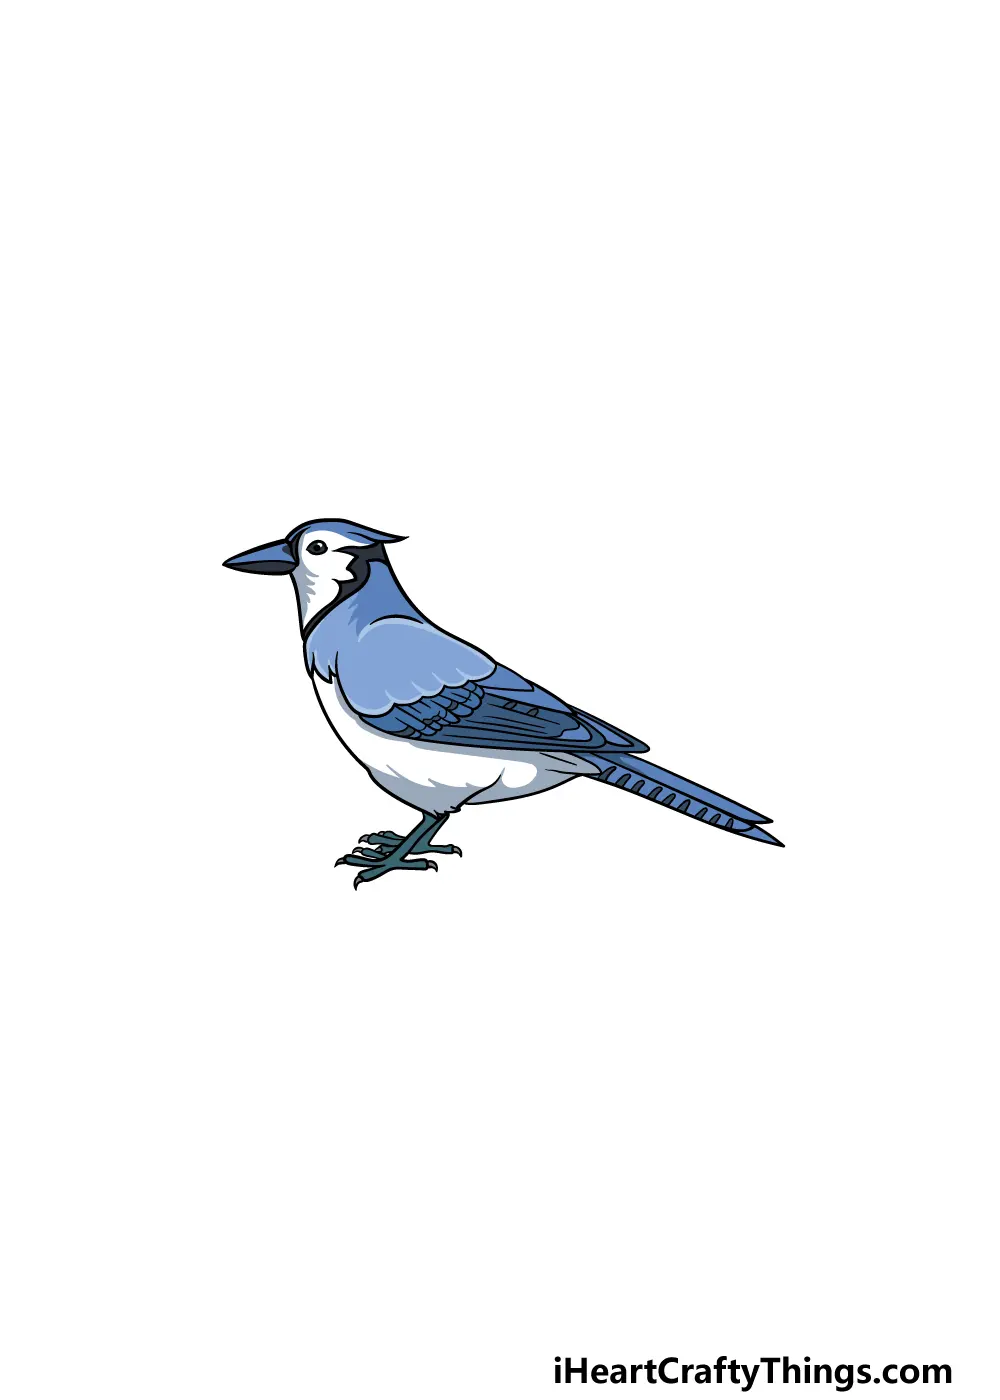
The most recognizable aspect of a blue jay is its striking color pattern and bold black markings. The bird features a distinct black "necklace" or collar that runs from the throat down to the chest. When drawing the face, place the eye within a black patch that extends toward the bill. This mask is a signature trait that provides the bird with its alert, intelligent expression.
The wings should be drawn with clear, defined sections to show the blue, black, and white patterning. Blue jays have secondary feathers that display white tips, creating a noticeable bar across the folded wing. Focus on these segments to give the drawing a sense of realism. Keep your pencil strokes light initially, as you will need to layer darker colors over these areas to achieve the correct contrast.
- Place the eye within a dark, almond-shaped patch.
- Draw the black collar as a thick, curved band across the throat.
- Divide the wing into three distinct sections for the blue and white patterns.
- Ensure the bill is stout and pointed, reflecting its role as a seed-cracking tool.
Best coloring techniques for blue feathers
Capturing the brilliant blue of a jay requires more than a single shade. Use a variety of blue tones, ranging from deep royal blue to lighter, sky-blue highlights. Start by applying a base layer of medium blue across the wings and back. Use a white or light gray pencil to create highlights on the upper edges of the feathers, which helps suggest the glossy texture of the plumage.
For the darker areas, such as the wing bars and the tail, use a sharp black pencil to add depth. Do not press too hard initially; build the color gradually to avoid muddying the paper. If you are using markers, apply the lightest colors first and layer the darker blues on top to create a smooth gradient. This layering technique mimics the way light hits the real feathers of the bird.
How to add texture to bird feathers
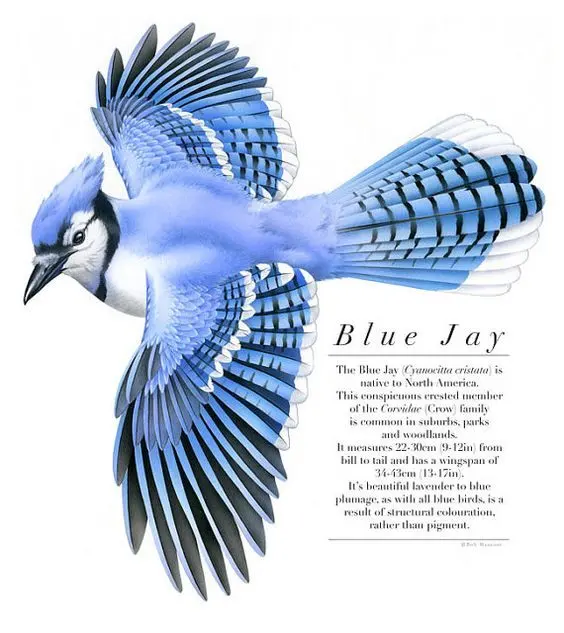
Texture is what separates a flat illustration from a lifelike drawing. Feathers are not solid blocks of color; they are overlapping structures that create a specific pattern. Use short, flicking strokes with your pencil to suggest the individual feathers along the breast and the back. Follow the direction of the bird's body, curving your strokes to match the contour of the oval you drew earlier.
Pay close attention to the transition between the blue back and the white underbelly. This area should look soft and blended. Use a blending stump or a clean finger to soften the edges where the colors meet. By varying the length and density of your strokes, you can create the illusion of soft downy feathers near the chest and stiffer, more structured feathers on the wings and tail.
Common mistakes when drawing blue jays
One frequent error is making the crest look like a separate piece attached to the head. The crest is an extension of the skull feathers and should flow seamlessly from the back of the head. Another common mistake is ignoring the bird's posture. Blue jays are active and often appear alert; drawing them with a slumped or overly static posture can make the bird look unnatural. Always check your reference to ensure the angle of the head and the position of the tail match the bird's intended movement.
Finally, beginners often forget the white patches on the wings and tail. Without these white accents, the bird will lose its specific identity as a blue jay. Ensure that the white bars on the wing are clearly defined against the blue and black feathers. By paying attention to these small details and maintaining a consistent light source across your drawing, you will achieve a much more accurate and professional result.
Key facts
- Blue jays are characterized by a prominent crest on their heads that can be raised or lowered to signal mood.
- The bird's plumage features a distinct pattern of blue, black, and white, including a black "necklace" across the throat.
- When sketching, start with basic geometric shapes like an oval for the body and a smaller circle for the head.
- Always observe the bird's posture, as blue jays often perch with their bodies held at a slight angle.
- Use a light touch with your pencil initially to allow for easy corrections before adding permanent ink or color.
- Focus on the eye placement, which is located near the base of the bill, to capture the bird's alert expression.
The bottom line
Drawing a blue jay requires careful attention to its iconic crest and distinct color patterns. By beginning with simple geometric shapes and refining the proportions before adding fine details, you can capture the bird's alert nature. Remember to observe the natural curves of the body and the specific placement of its black markings to ensure your final illustration remains accurate and visually engaging for the viewer.
People also ask
What is the most common mistake when drawing a bird's wing?
Many beginners draw individual feathers as separate lines, which creates a messy look. Instead, draw the wing as a single, solid shape first and add feather details afterward.
Should I use colored pencils or markers for a blue jay?
Colored pencils are generally better for beginners because they allow for layering and blending. This is essential for capturing the subtle transition between the blue, white, and gray feathers.
How do I make the blue jay's crest look realistic?
Draw the crest as a pointed, triangular extension from the top of the head. Avoid making it too rounded, as the sharp angle is a defining feature of the species.
How much detail should I put into the feet?
Focus on the three forward-facing toes and one backward-facing toe. Keep the lines simple, as overly intricate details on the feet can distract from the bird's primary features.
Why does my drawing look stiff?
A stiff drawing often results from neglecting the curve of the bird's spine. Ensure the body has a gentle "S" or "C" curve to suggest natural movement and posture.
What is the best way to represent the black markings?
Use a darker pencil or ink to define the "necklace" and the wing bars. Apply these markings only after you have established the overall structure of the bird's body.
This answer was created with the help of AI research tools and reference sources. Spotted an error? Let us know — we correct mistakes quickly. See our editorial policy.