How do you draw a kingfisher?
Short answer
Drawing a kingfisher requires capturing its signature oversized, dagger-like bill and compact, aerodynamic body. Begin by sketching simple geometric shapes to establish the bird's proportions. Focus on the contrast between the heavy head and the short tail. Use layered, vibrant color applications to replicate the iridescent blue and orange plumage characteristic of the species.
On this page
How to structure a kingfisher sketch
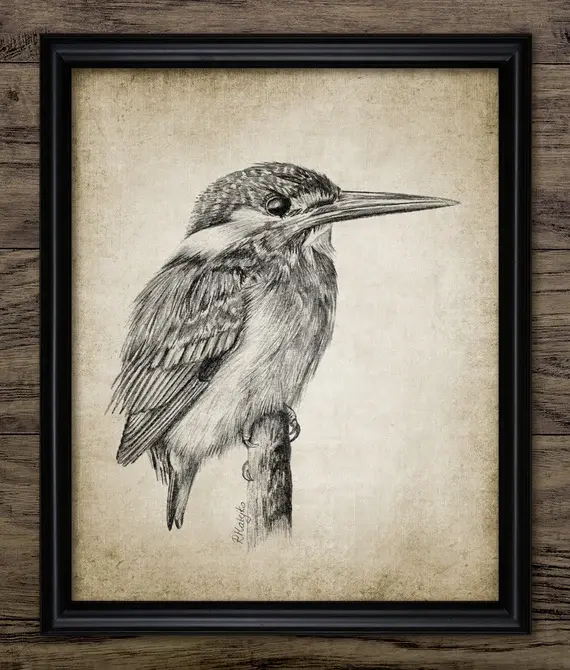
The kingfisher is defined by its unique anatomy, which often surprises beginners. The head is disproportionately large compared to the body, and the bill is long, straight, and pointed. To start, use a light graphite pencil to draw a large oval for the head and a smaller, teardrop-shaped oval for the body. Connect these with a short, thick neck line.
Once the basic shapes are set, refine the silhouette by adding the bill. Draw a horizontal line extending from the center of the head oval, ensuring it is nearly as long as the head itself. Position the eye slightly above the base of the bill. Keep your initial lines very light, as these are merely structural guides that will be erased or covered by color later.
- Draw a large circle for the head.
- Add a smaller, elongated oval for the torso.
- Connect them with a short neck curve.
- Extend a long, straight line for the beak.
- Place the eye at the intersection of the beak and head.
Best drawing techniques for beginners
When beginning your drawing, focus on the "wedge" shape of the bird. The kingfisher is not a rounded, soft creature; it is built for speed and diving. Use sharp, angular lines to define the wings and the tail. The tail should be very short, often appearing as a small triangle protruding from the back of the torso oval.
For the plumage, avoid drawing every individual feather. Instead, suggest texture by using short, overlapping strokes in the direction of the feather growth. Start with the larger wing feathers and move toward the smaller, downy feathers on the chest. This hierarchical approach prevents the drawing from looking cluttered and helps maintain the bird's sleek, streamlined appearance.
- Use a 2H pencil for light, initial construction lines.
- Switch to a 4B pencil for defining the dark, sharp edges of the bill.
- Use a kneaded eraser to lift graphite for highlights on the feathers.
- Apply pressure sparingly to keep the paper texture intact for coloring.
How to color kingfisher feathers
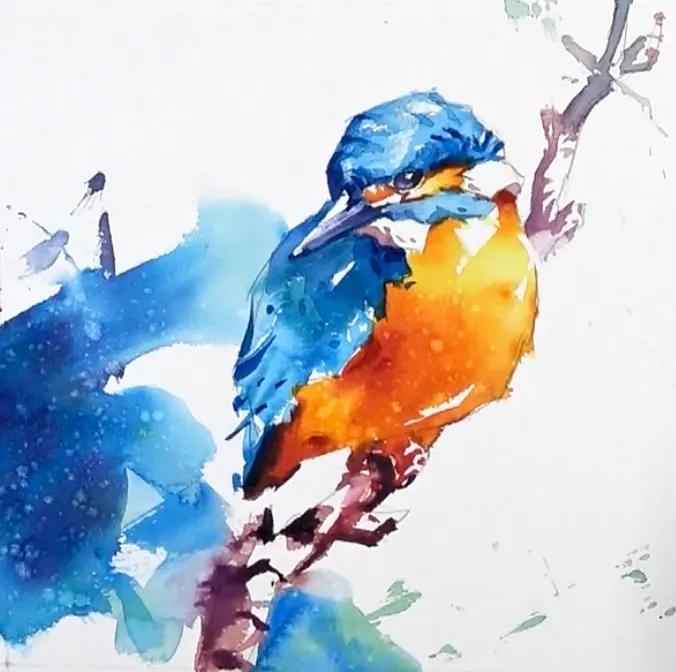
The kingfisher is famous for its brilliant cobalt blue and burnt orange coloration. To achieve this, start by applying a base layer of light blue to the back and wings. Layer a darker, more saturated blue over the top, leaving the edges of the feathers lighter to create a sense of depth and iridescence.
For the underparts, use a warm orange or chestnut tone. Blend the orange into the white patch on the throat using short, flicking motions with your colored pencils or markers. Avoid using pure black for shadows; instead, use deep purples or dark blues to maintain the vibrancy of the bird's natural colors. This technique keeps the drawing looking fresh and avoids a muddy, dull appearance.
Why kingfisher proportions are difficult
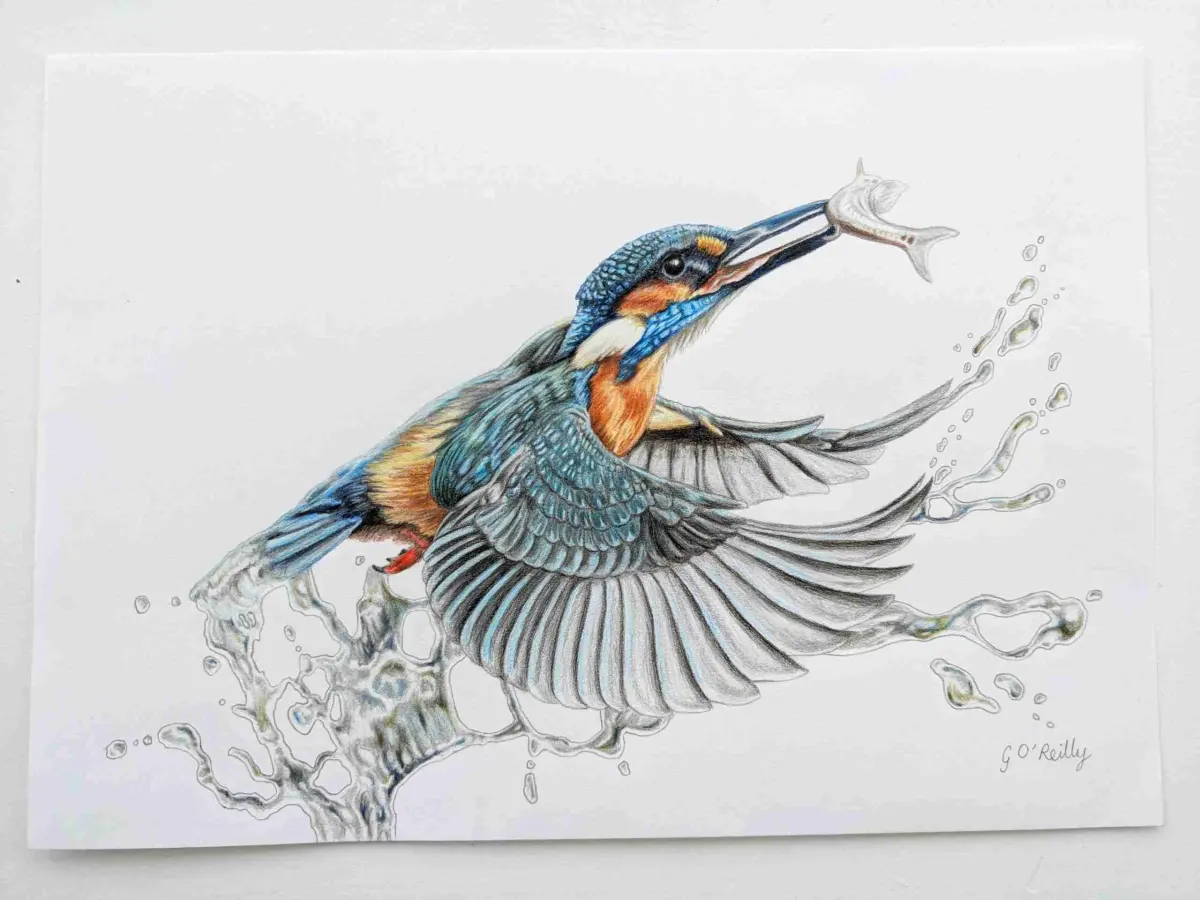
Many artists struggle with the kingfisher because they instinctively draw a bird with a standard, small beak. If the beak is too short, the bird will look like a generic sparrow or finch rather than a kingfisher. Always measure the beak against the head; in many species, such as the common kingfisher, the beak length is nearly equal to the diameter of the head.
Another common issue is the placement of the legs. Kingfishers have very short, weak legs because they spend most of their time perched or diving. If you draw the legs too long or too prominent, the bird will lose its characteristic "bottom-heavy" look. Keep the legs tucked close to the body or hidden behind a branch to maintain the bird's compact, powerful aesthetic.
Common mistakes when drawing kingfishers
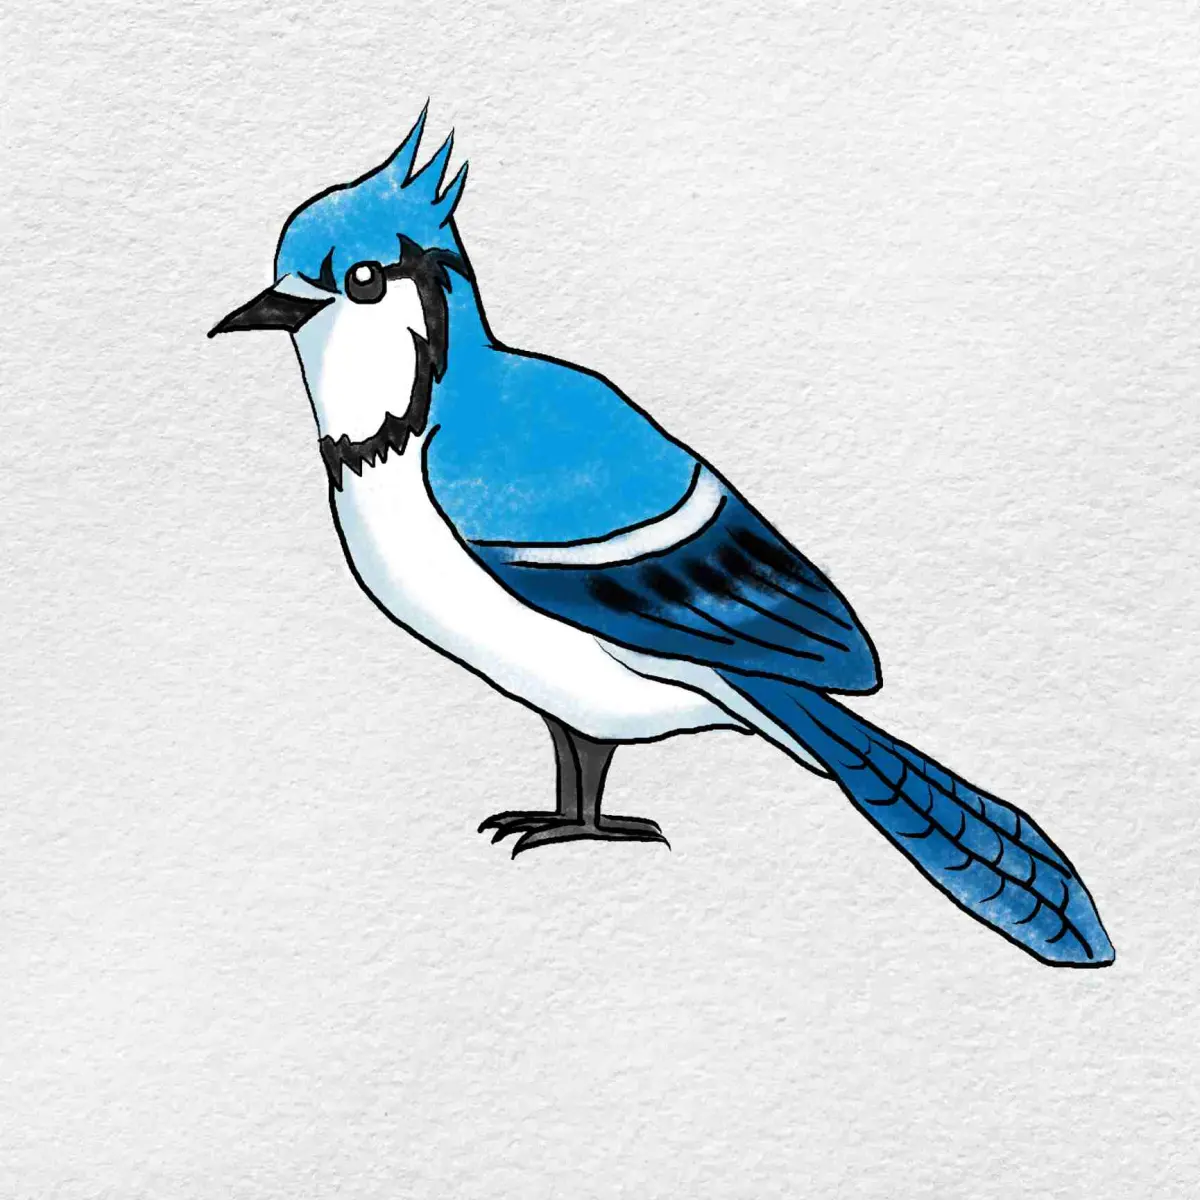
One frequent error is failing to capture the "shaggy" crest on the bird's head. While the body is sleek, the head feathers often stand up slightly, giving the bird a slightly ruffled or alert profile. If you draw the head as a perfectly smooth circle, the bird will look unnatural. Use small, jagged marks at the crown to suggest this crest.
Additionally, beginners often overlook the importance of the eye. The kingfisher’s eye is dark, round, and set deep within the head. Adding a tiny white dot for a highlight is essential to give the bird a "living" look. Without this reflection, the eye appears flat and lifeless. Always double-check your anatomy before finalizing your lines, as a kingfisher's personality is entirely contained within its intense, watchful gaze and its formidable, hunting-ready bill.
Key facts
- Kingfishers are characterized by their large heads, long, sharp, dagger-like bills, and short tails.
- The common kingfisher (Alcedo atthis) features a vibrant blue back and orange underparts, providing a strong color contrast.
- When sketching, always start with two overlapping circles: a larger one for the body and a smaller one for the head.
- The bill length is roughly equal to the distance from the back of the eye to the front of the head.
- Focus on the "hunched" posture, as kingfishers often sit motionless on branches with their bodies angled slightly downward.
- Avoid drawing the eyes too large; they should be positioned horizontally in line with the base of the long bill.
The bottom line
Drawing a kingfisher requires prioritizing its unique proportions, specifically the massive bill and compact, hunched body. By establishing a solid geometric foundation with simple shapes, you can accurately capture its iconic silhouette. Focus on the contrast between the vibrant blue upperparts and the warm orange underparts to bring the bird to life. With patience and attention to these anatomical details, you will create a convincing portrait.
People also ask
What is the most important feature to capture when drawing a kingfisher?
The most critical feature is the oversized, pointed bill. It defines the bird's silhouette and serves as the primary tool for its hunting behavior.
Should I use colored pencils or watercolors for a kingfisher?
Both work well, but watercolors are excellent for capturing the iridescent, metallic sheen of the blue feathers. Use colored pencils for adding sharp detail to the eye and the texture of the bill.
How do I make the bird look like it is perched?
Draw a simple diagonal line as a branch and ensure the bird's feet are gripping it firmly. Adding a slight shadow beneath the feet helps ground the bird in the scene.
Why does my kingfisher look like a generic bird?
You likely made the bill too short or the neck too long. Kingfishers have a very compact, "stumpy" neck that makes their head appear to sit directly on their shoulders.
How do I draw the wings correctly?
Keep the wings folded tightly against the body when the bird is perched. Focus on the clean, overlapping lines of the primary feathers rather than individual barbs.
Is it better to draw from life or a photograph?
Since kingfishers are fast and elusive, using high-resolution photographs is the most practical method. It allows you to study their complex plumage patterns and specific anatomy at your own pace.
This answer was created with the help of AI research tools and reference sources. Spotted an error? Let us know — we correct mistakes quickly. See our editorial policy.