What is the easiest way to draw a teacup?
Short answer
The easiest way to draw a teacup is by constructing it from basic geometric shapes, specifically an oval for the rim and a cylinder for the body. By establishing a central vertical axis, you ensure symmetry. Adding a curved handle and a small saucer completes the form using simple, guided strokes.
On this page
How to draw a teacup for beginners
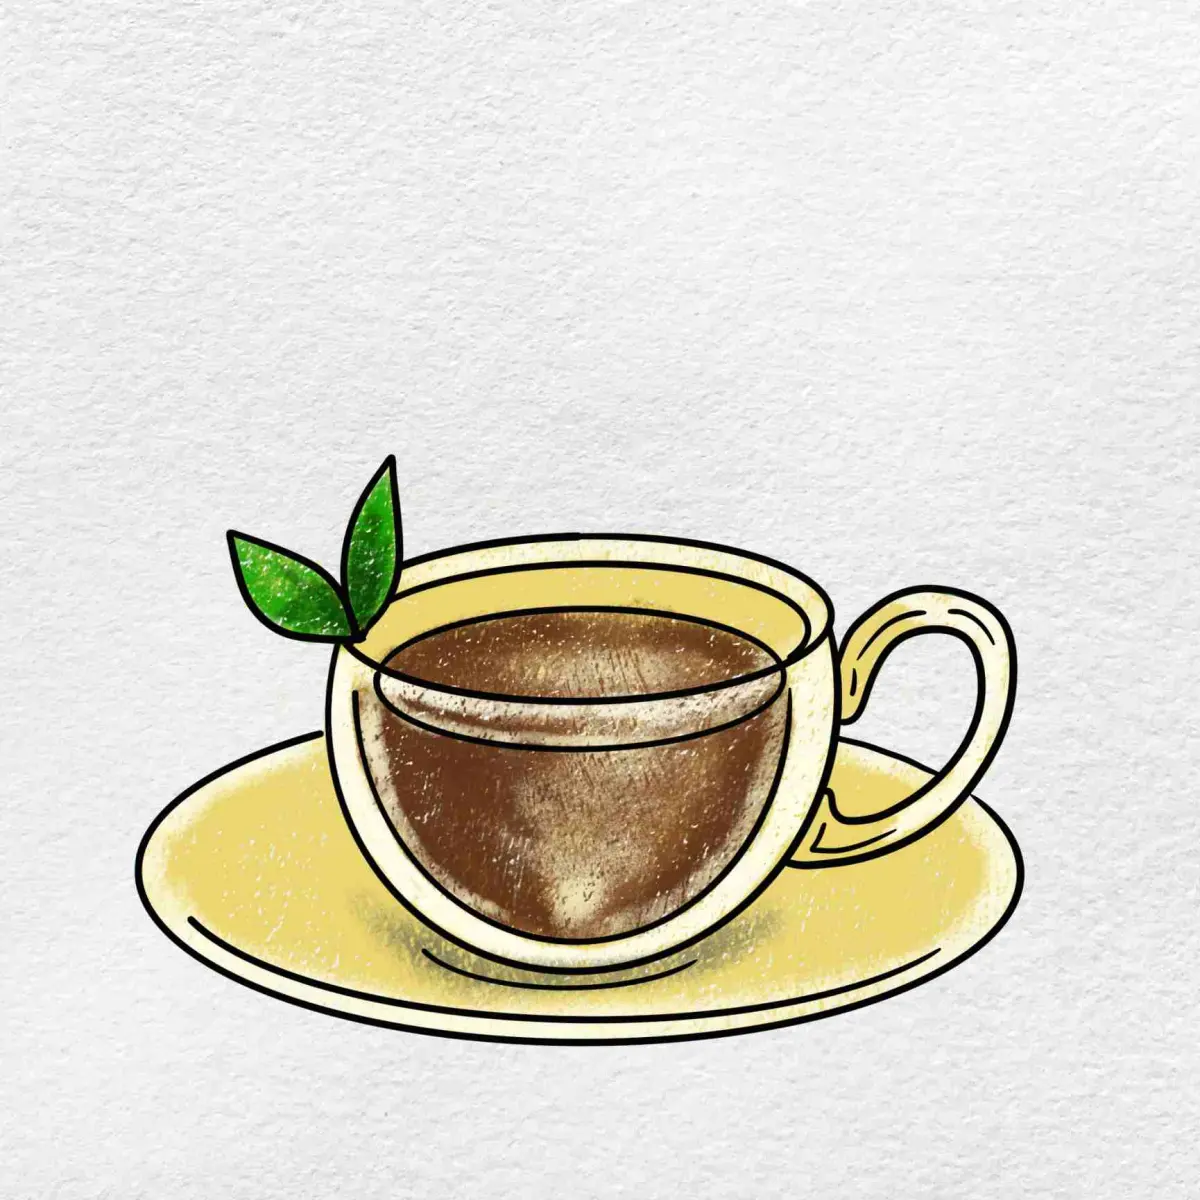
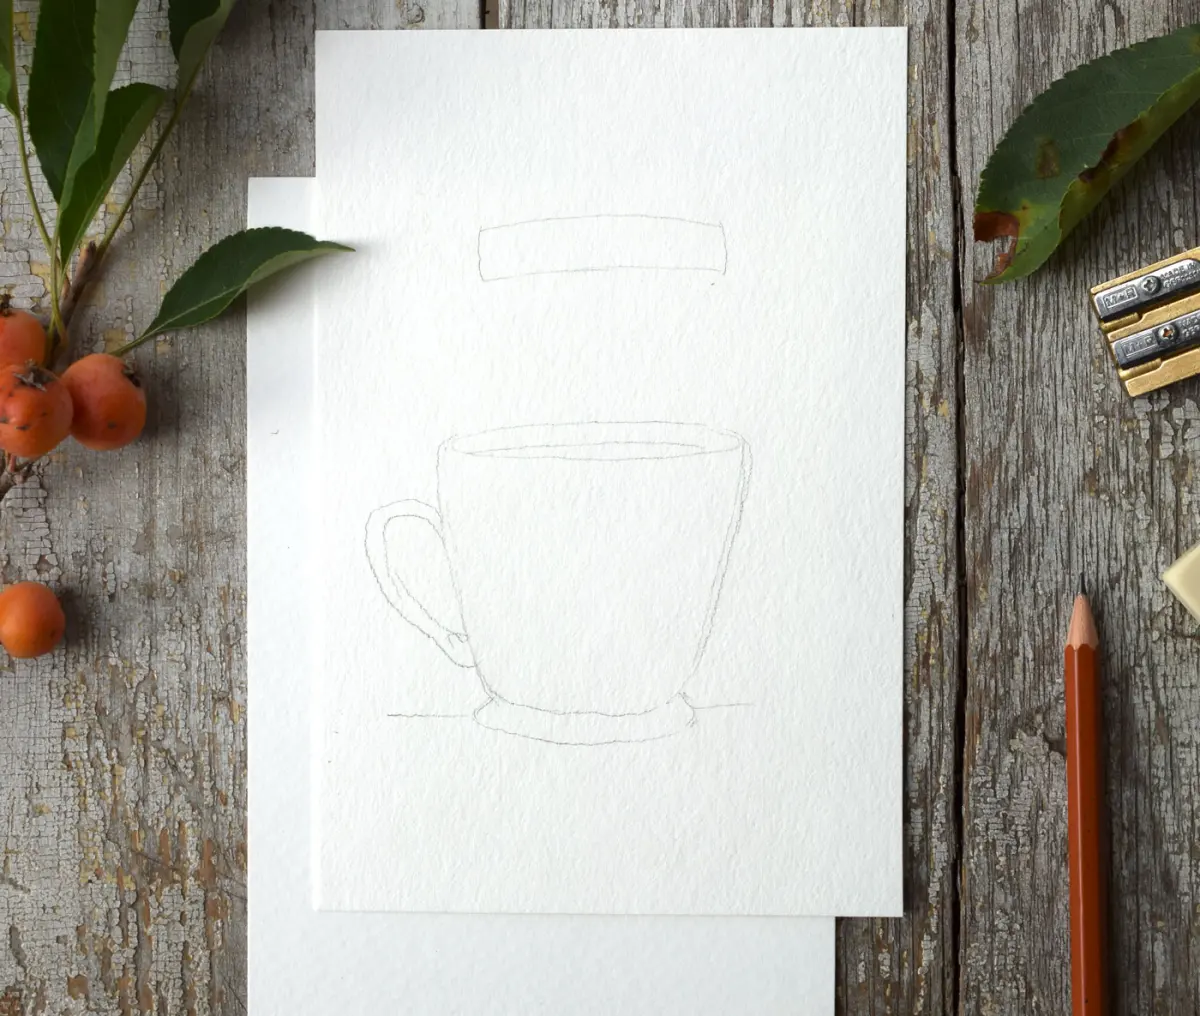
Drawing a teacup is a fundamental exercise in understanding perspective and elliptical forms. The most effective approach is to start with a light, vertical guideline to keep the cup centered. Begin by sketching a wide, shallow oval at the top to represent the rim. Directly below this, draw a slightly smaller, flatter curve to define the base of the cup. Connect these two shapes with two vertical or slightly angled lines, depending on whether you want a straight-walled or tapered mug.
By breaking the object down into these primitive shapes, you remove the intimidation factor of complex curves. Focus on keeping your lines light initially so you can easily erase or adjust the proportions. Once the main body is established, you can refine the thickness of the rim and the depth of the interior. This method provides a reliable framework that works for any style of teacup, from delicate porcelain to sturdy ceramic mugs.
Best tools for drawing teacups
For those just starting, a standard HB graphite pencil is the most versatile tool. It allows for both light sketching and darker, more defined outlines. You should also have a soft white eraser, which is essential for cleaning up construction lines once the final form is established. Using a smooth, acid-free sketchbook paper will prevent your lines from becoming jagged or uneven, which often happens on textured surfaces.
If you wish to add depth, consider using a set of drawing pencils ranging from 2H to 4B. The harder 2H pencils are perfect for the initial layout, while the softer 4B pencils are ideal for adding shadows and highlights. A blending stump or a piece of soft tissue can help smooth out the shading on the rounded surface of the cup. Having these basic tools organized before you begin will help you maintain your focus on the drawing process itself.
How to add depth and dimension
To make a teacup look three-dimensional, you must master the art of shading. Identify a single light source, such as a lamp to the upper left, and keep it consistent throughout the drawing. The area of the cup furthest from the light will be the darkest, while the area closest will feature a highlight, which is often a bright white spot on the rim or the side.
- Shade the interior of the cup to suggest depth, keeping the side furthest from the light darker.
- Apply a cast shadow beneath the saucer to ground the object on the surface.
- Use a gradient of tones on the side of the cup to show its curvature.
- Add a secondary highlight on the handle to indicate its reflective surface.
Following these steps ensures that the cup does not look like a flat, two-dimensional shape. The transition from light to dark should be gradual to mimic the smooth surface of ceramic or porcelain materials.
Common mistakes when drawing teacups
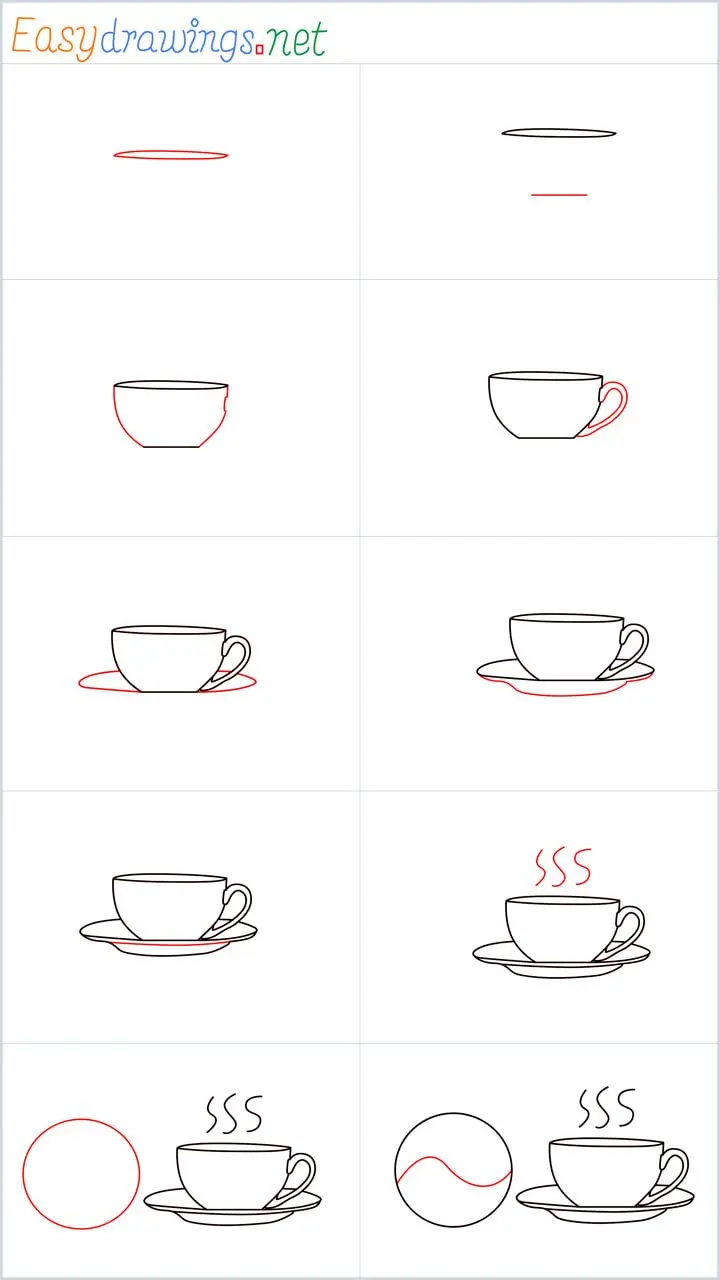
One of the most frequent errors is drawing the rim as a flat line rather than an ellipse. Even when viewed from the side, the top of a cup must be drawn as an oval to suggest the opening. If you draw it as a straight line, the cup will look distorted and unnatural. Another common mistake is failing to align the handle properly with the body of the cup. The handle should follow the curve of the side and appear as though it is physically attached to the wall.
- Neglecting the thickness of the rim, which makes the cup look like paper.
- Drawing the saucer too small, which makes the entire composition look top-heavy.
- Using overly dark, heavy lines for the initial construction phase.
- Forgetting to account for the interior space, which makes the cup look solid.
Avoiding these pitfalls requires patience and periodic checking of your proportions. Always step back from your drawing to look at it from a distance, as this helps you spot errors in symmetry or perspective that are not visible when you are working close up.
Why symmetry matters in drawing
Symmetry is the key to making a teacup appear elegant and balanced. Because most cups are manufactured on a potter’s wheel, they are inherently symmetrical. If one side of your drawing is wider or taller than the other, the cup will look lopsided or damaged. Using a center line is the most effective way to ensure that both the left and right sides of your cup are mirror images of each other.
As you refine your sketch, check the distance from your center line to the outer edges of the cup at several points along the height. If the measurements do not match, adjust your lines until they are consistent. While minor imperfections can add character to a hand-thrown piece, mastering symmetry first will give you the control needed to draw any object with confidence. Once you are comfortable with the basic structure, you can experiment with adding decorative patterns or intricate handles to personalize your work.
Key facts
- Start by drawing a horizontal oval to represent the rim of the cup.
- Connect the sides of the oval with a curved line to create the base.
- Ensure the bottom curve is slightly shallower than the top oval for perspective.
- Draw a small "C" shape on the side to serve as the handle.
- Add a tiny, thin oval inside the rim to indicate the depth of the tea.
- Use light, sketchy pencil strokes first to allow for easy erasing and adjustments.
The bottom line
Drawing a teacup is a fundamental exercise in mastering basic geometric shapes and perspective. By starting with a simple oval and building the structure through layered curves, you can achieve a convincing result. Remember to focus on the relationship between the rim, the base, and the handle. With practice, these basic steps allow you to refine your proportions and create more complex, elegant ceramic designs.
People also ask
How can I make the teacup look three-dimensional?
Add a soft shadow on the side opposite your light source and a darker crescent inside the cup to suggest depth. These subtle shading techniques help define the volume of the object.
Should I draw the saucer before the cup?
It is usually easier to draw the cup first so you can determine its exact placement. Once the cup is set, draw a larger, flattened oval underneath it to serve as the saucer.
What is the most common mistake when drawing a handle?
Beginners often draw the handle as a flat shape attached to the side. Instead, draw the handle as a curved tube that connects at two distinct points to create a realistic grip.
How do I ensure the sides of the cup are symmetrical?
Lightly draw a vertical center line down the middle of your cup before adding the sides. This guide helps you mirror the curves on both the left and right sides.
What type of pencil is best for sketching?
An HB or 2B pencil is ideal because it allows for light initial outlines that can be easily erased. You can press harder later to darken the final contours.
How do I draw tea inside the cup?
Draw a smaller oval inside the rim, positioned slightly lower than the top edge. This creates the illusion of a liquid surface sitting within the vessel.
This answer was created with the help of AI research tools and reference sources. Spotted an error? Let us know — we correct mistakes quickly. See our editorial policy.