How do you paint snow with acrylic paint?
Short answer
Painting snow with acrylics requires layering cool-toned shadows over a warm base to create depth. Avoid using pure white, as it lacks dimension. Instead, mix white with small amounts of blue, violet, or gray. Use thick, opaque applications for highlights and thin, transparent glazes for shadows to achieve a realistic, textured effect.
On this page
How to mix colors for realistic snow
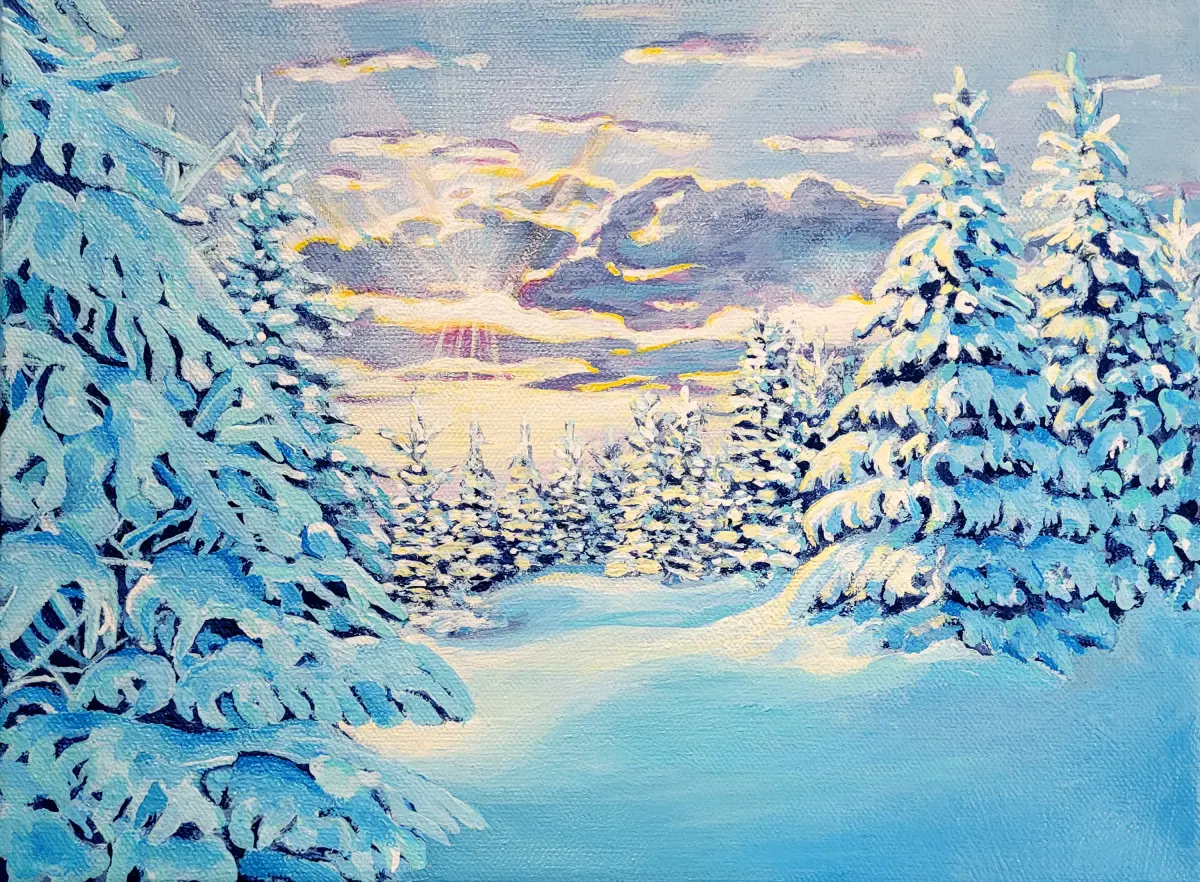
Snow is rarely pure white; it reflects the colors of the sky and the surrounding environment. To achieve a realistic look, you must observe the ambient light. If the sky is blue, your shadows should lean toward cool ultramarine or cobalt blue. If the sun is setting, your snow might reflect warm pinks, oranges, or soft purples. Start by creating a palette that includes titanium white, cerulean blue, burnt umber, and dioxazine purple.
When mixing, always start with a small amount of color and add white gradually. You will need a variety of values, ranging from nearly white highlights to deep, cool grays for the darkest crevices. Avoid using black to darken your snow, as it often creates a muddy or dirty appearance. Instead, mix complementary colors like orange and blue to create a neutral, natural-looking shadow tone.
- Begin with a base of titanium white mixed with a tiny touch of blue.
- Create three distinct shadow values: light, medium, and dark.
- Keep your mixtures separate on the palette to prevent accidental over-blending.
- Test your colors on a scrap piece of paper before applying them to the canvas.
How to layer paint for depth
Acrylic paint dries quickly, which is an advantage when building layers of snow. Start by painting the darkest areas first, as these define the shape and contours of the landscape. Once the shadows are established, use a dry brush technique to apply lighter tones over the top. This method creates the illusion of texture and prevents the paint from looking flat or lifeless.
Layering allows you to manipulate the edges of your snowdrifts. Use soft, blended edges where the snow meets the ground to create a sense of distance. Keep the edges sharp and crisp where the light hits the peaks of the drifts. By varying the thickness of your paint, you can create a tactile quality that mimics the physical nature of snow. Use a palette knife for the final highlights to add a sharp, raised texture that catches the light.
- Use thin, transparent glazes for deep shadows.
- Apply thick, opaque paint for sunlit highlights.
- Allow each layer to dry completely before adding the next.
- Use a dry brush to create soft, feathered transitions between colors.
Best brushes and tools for snow painting
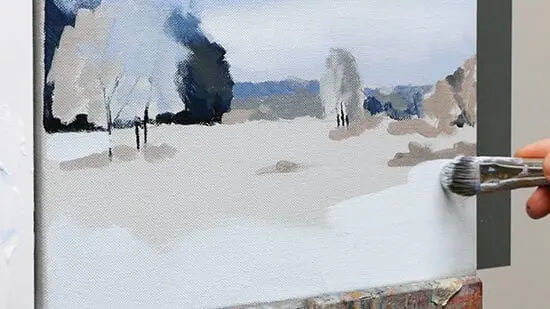
The choice of brush significantly impacts the texture of your snow. A flat or bright brush is ideal for blocking in large areas of color, while a filbert brush helps in creating rounded, organic shapes for drifts. For fine details, such as individual snowflakes or sharp edges on a crust of ice, use a small, synthetic round brush with a firm tip. These brushes hold their shape well and provide the control necessary for intricate work.
Beyond brushes, a palette knife is an essential tool for any snowscape. Its rigid edge allows you to apply paint in thick, clean strokes that mimic the crystalline structure of packed snow. You can also use the edge of the knife to scrape back layers of wet paint, revealing the colors underneath and creating interesting patterns. Experimenting with different tools helps you move away from overly smooth, artificial-looking surfaces and toward a more expressive, painterly style.
Why snow looks dirty or flat
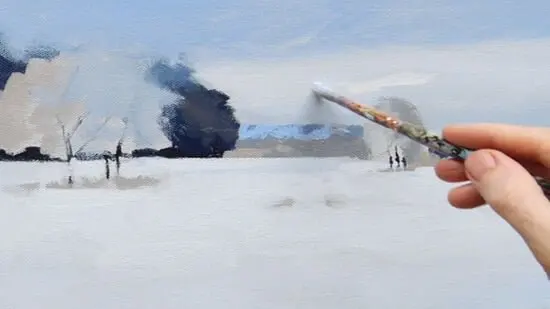
A common issue for beginners is the tendency to paint snow using only white paint. Without color variation, the snow lacks volume and appears as a flat, featureless shape on the canvas. To fix this, ensure that every area of your snow has a subtle tint. Even the brightest highlights should have a hint of warmth or coolness depending on the light source. If the snow looks dirty, you likely used too much brown or black in your shadow mixtures.
Another reason for a flat appearance is a lack of contrast. If your shadows are not dark enough, the snow will not appear to have depth or form. Always compare your shadow values to the darkest elements in your painting, such as trees or rocks. If the snow shadows are lighter than these objects, they will lack the necessary weight to ground the scene. Adjust your values until the contrast feels balanced and the landscape possesses a clear sense of volume.
Common mistakes when painting snow
One frequent error is over-blending the paint. Because acrylics dry fast, artists often try to smooth out transitions too much, resulting in a muddy, uniform surface. Instead, embrace the brushstrokes. Visible marks can actually represent the texture of wind-blown snow or the uneven surface of a drift. If you find your paint is drying too quickly, consider using a retarder medium to extend the drying time, giving you more flexibility to blend.
Another mistake is ignoring the direction of the light. Every shadow should consistently point away from the light source. If your shadows are scattered in different directions, the scene will look disjointed and unrealistic. Always establish your light source before you begin painting and stick to it throughout the process. Finally, do not neglect the foreground. Adding more detail and texture to the snow closest to the viewer creates a sense of scale and pulls the audience into the painted environment.
Key facts
- Pure titanium white paint often appears flat; mix in tiny amounts of blue or violet to create realistic shadows.
- Acrylics dry quickly, so work in small sections to maintain a wet edge for smooth blending.
- Use a dry brush technique to suggest texture on snow-covered branches or uneven ground.
- Apply thin, transparent glazes of cool colors over dried white areas to simulate the glow of reflected light.
- Avoid using black to darken shadows, as it creates muddy, dull tones; use ultramarine blue or burnt umber instead.
- Paint shadows with jagged, irregular shapes to mimic the natural contours of terrain rather than flat surfaces.
The bottom line
Painting realistic snow requires moving beyond pure white to capture the subtle colors reflected by the sky and terrain. By utilizing cool shadows, textured brushwork, and layered glazes, you can transform a flat surface into a dynamic landscape. Remember to avoid over-blending and prioritize the use of varied tones to define the depth and weight of the snow, creating a professional and visually compelling winter scene.
People also ask
Should I use a primer or gesso before painting snow?
Yes, applying a coat of white gesso creates a smooth, absorbent surface that helps your acrylic colors appear more vibrant. It also prevents the paint from soaking into the canvas, which is essential for layering.
How do I make snow look like it is sparkling in the sun?
You can mix a small amount of iridescent medium or fine silver glitter into your final highlights. Applying these highlights with a stippling motion using a stiff-bristled brush creates the illusion of crystalline light.
Why does my snow look like a flat white blob?
This usually happens because the shadows are missing or incorrectly colored. Snow is rarely pure white; it reflects the sky and surrounding environment, so you must incorporate cool blues, purples, or warm oranges to define its shape.
Can I use a palette knife to paint snow?
A palette knife is an excellent tool for creating thick, impasto textures that mimic heavy snowdrifts. It allows you to drag paint across the surface to create sharp edges and high-relief details.
How do I paint falling snow without it looking like dust?
Use a small, round brush or a toothbrush to flick tiny, irregular dots of thinned white paint across the canvas. Vary the size and density of the dots to create a sense of depth and movement.
How long should I wait between layers when painting snow?
Because acrylics dry rapidly, you can usually add a new layer within 10 to 20 minutes. However, ensure the base layer is completely dry before applying thin glazes to avoid lifting the paint underneath.
This answer was created with the help of AI research tools and reference sources. Spotted an error? Let us know — we correct mistakes quickly. See our editorial policy.