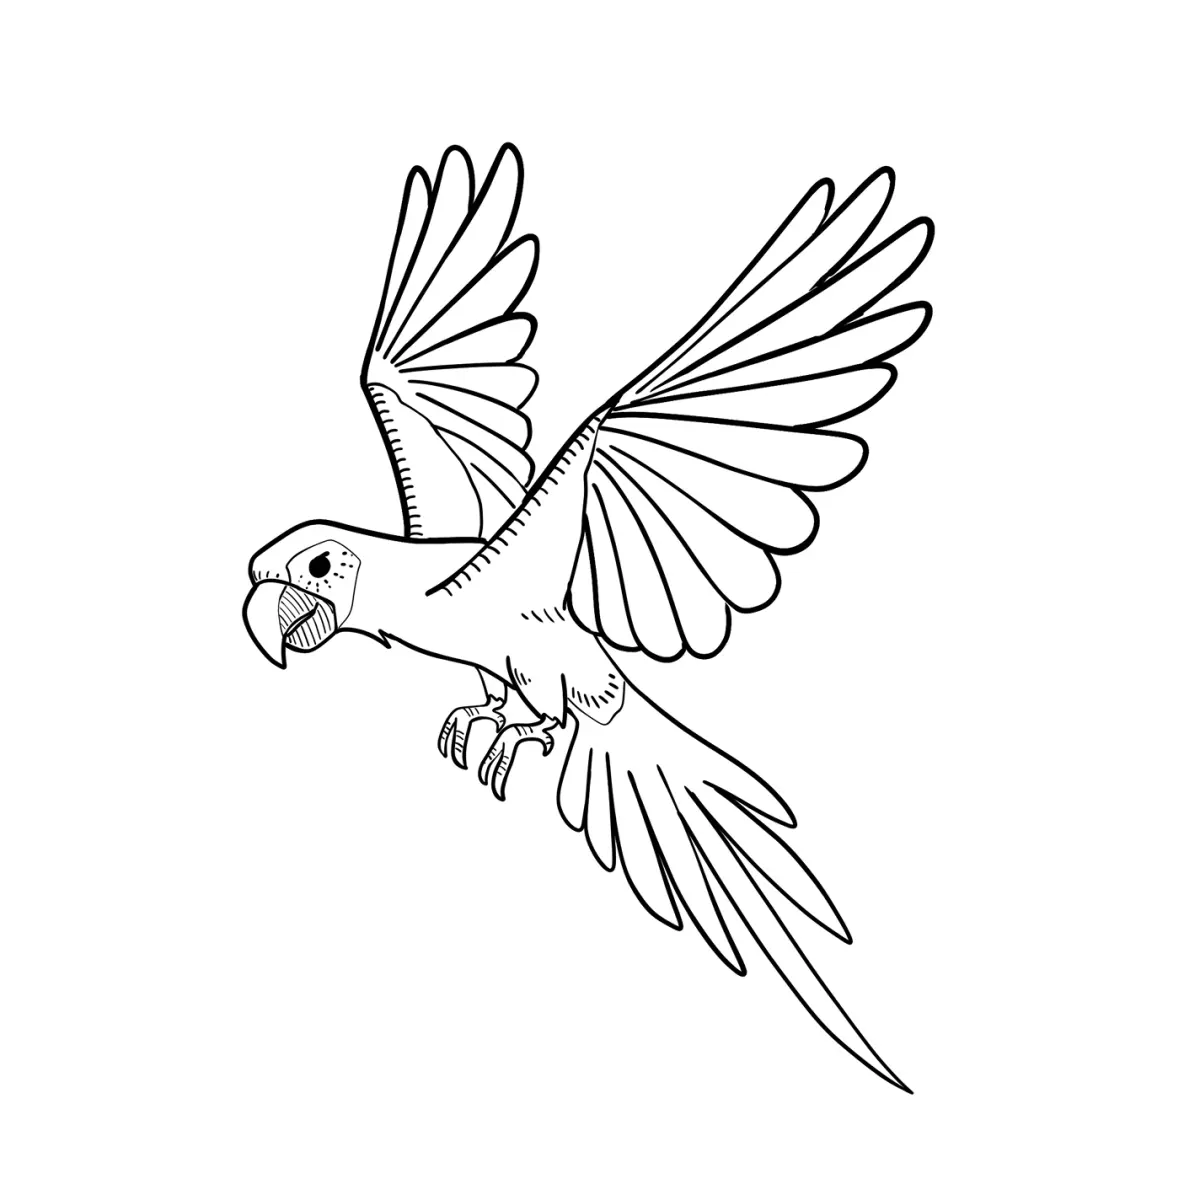
How do you draw a feather?
Short answer
Drawing a feather requires establishing a central shaft, known as the rachis, followed by creating the delicate barbs that extend outward. By varying the pressure of your pencil and adding subtle texture, you can replicate the organic flow and layered structure of a bird’s plumage with realistic depth and detail.
On this page
How to structure a feather drawing
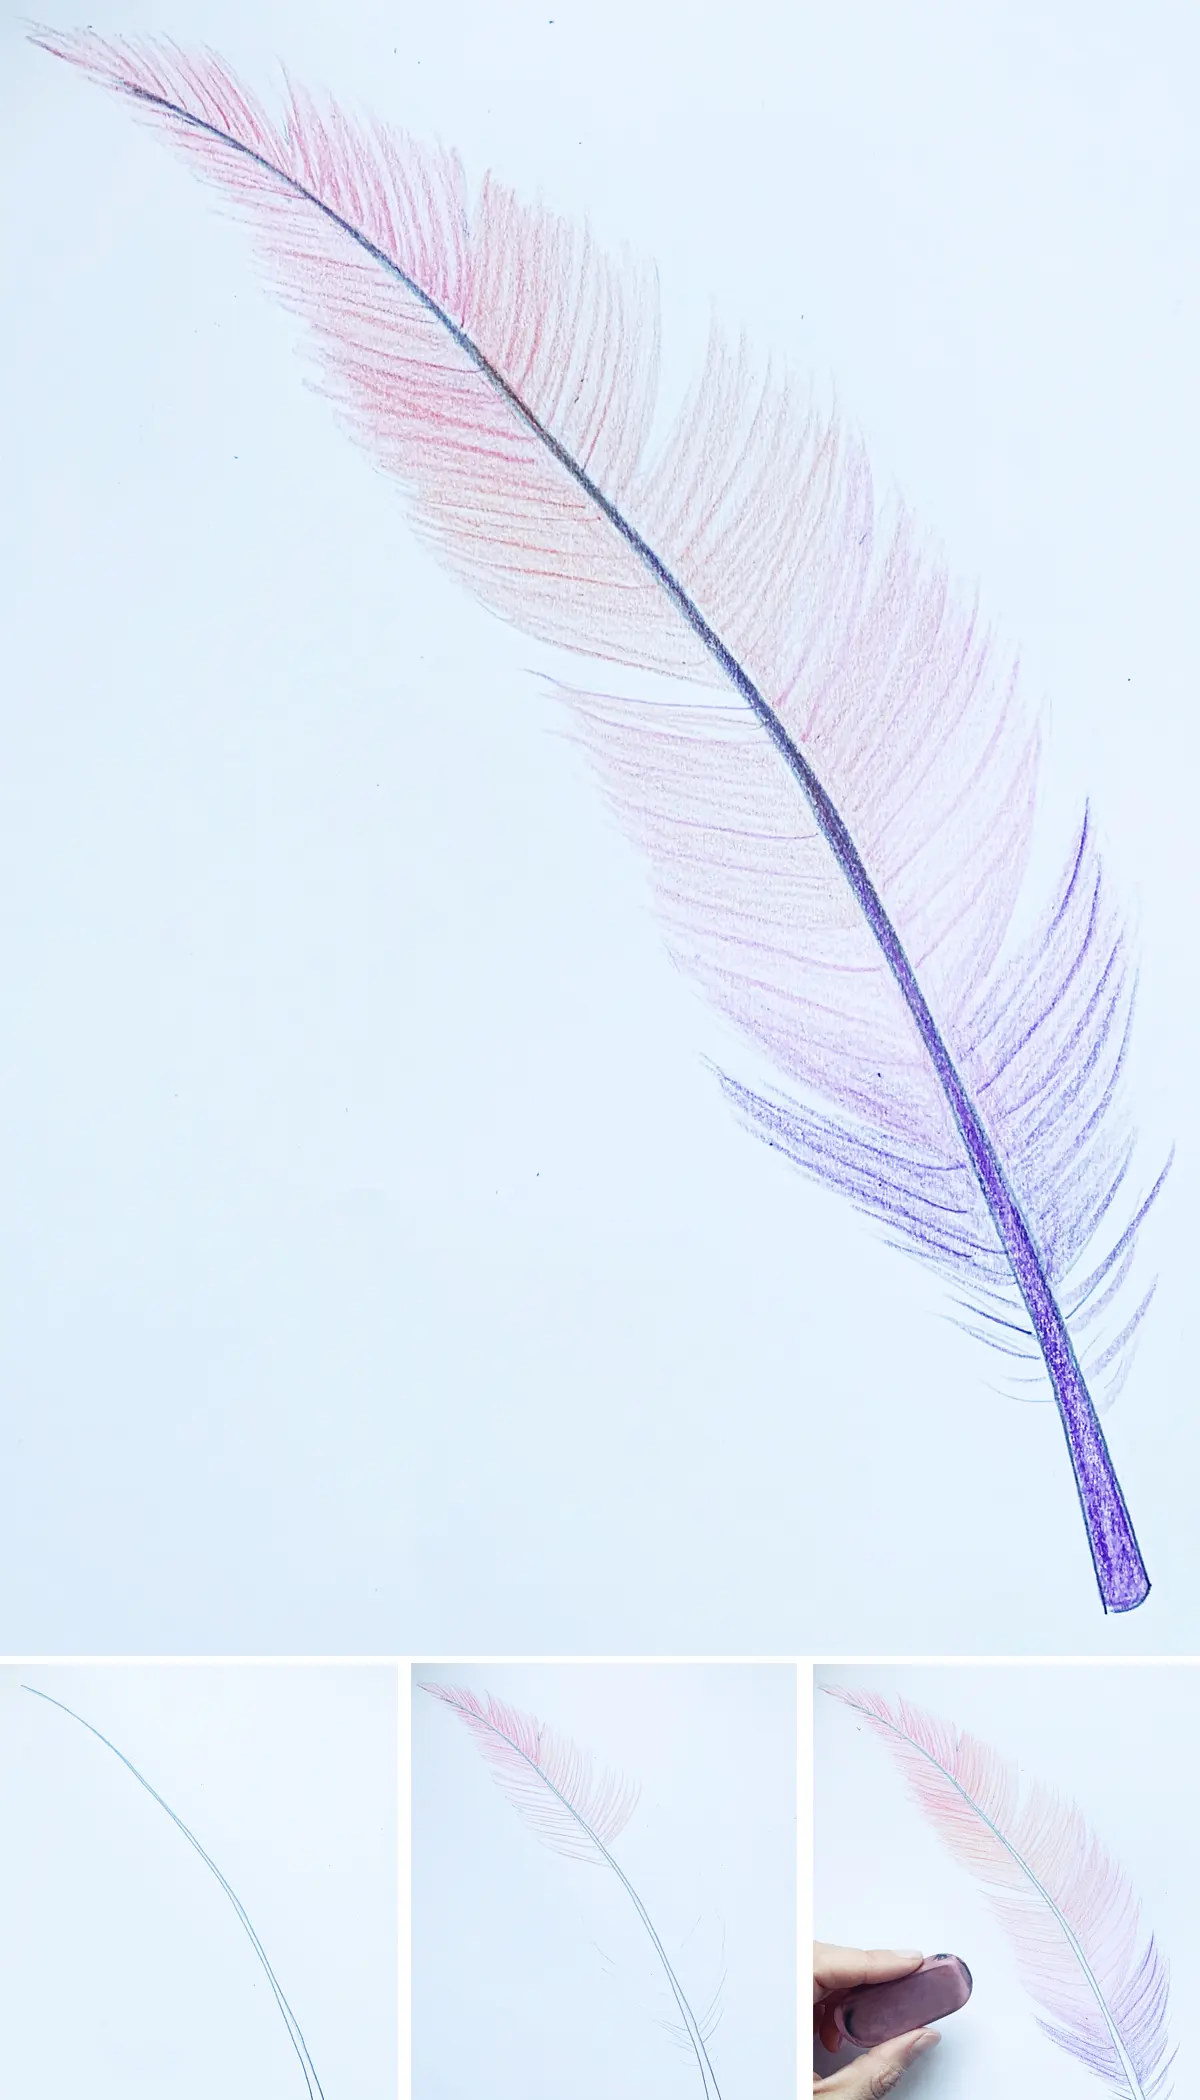
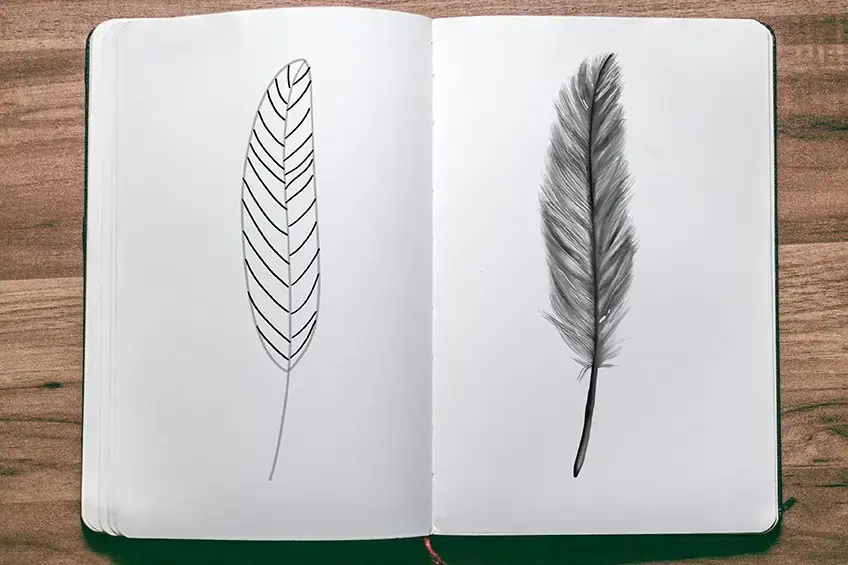
Every feather begins with the rachis, the rigid central spine that provides the structure for the entire form. Start by drawing a light, slightly curved line to represent this axis, as feathers are rarely perfectly straight in nature. Once the spine is in place, sketch the outer silhouette, which is essentially an elongated oval or teardrop shape. Keep these initial guidelines very faint, as they serve only as a map for the final details.
After defining the silhouette, focus on the distinction between the vane—the soft, feathery part—and the calamus, or the quill, which is the bare base of the feather. The quill should be thicker and smoother than the rest of the shaft. By establishing these proportions early, you ensure the feather looks balanced and anatomically plausible. Remember that the tip of the feather is often pointed, while the base remains rounded and hollow.
How to draw realistic feather barbs
The texture of a feather comes from the barbs, which are the individual filaments extending from the rachis. To draw these, use quick, flicking motions with your pencil, moving outward from the center shaft toward the edge of your silhouette. Start your strokes close to the rachis and lift the pencil as you move outward to create a tapering effect. This mimics the natural way barbs become thinner toward the outer edge.
Consistency is key when rendering these filaments. Follow these steps to achieve a natural look:
- Begin with light, sparse strokes to establish the general angle of the barbs.
- Layer additional strokes over the initial ones, focusing on areas where the feather might be denser.
- Vary the length of the strokes slightly to avoid a perfectly uniform, artificial appearance.
- Keep the angle of the barbs consistent, usually pointing slightly toward the tip of the feather.
Best tools for drawing feathers
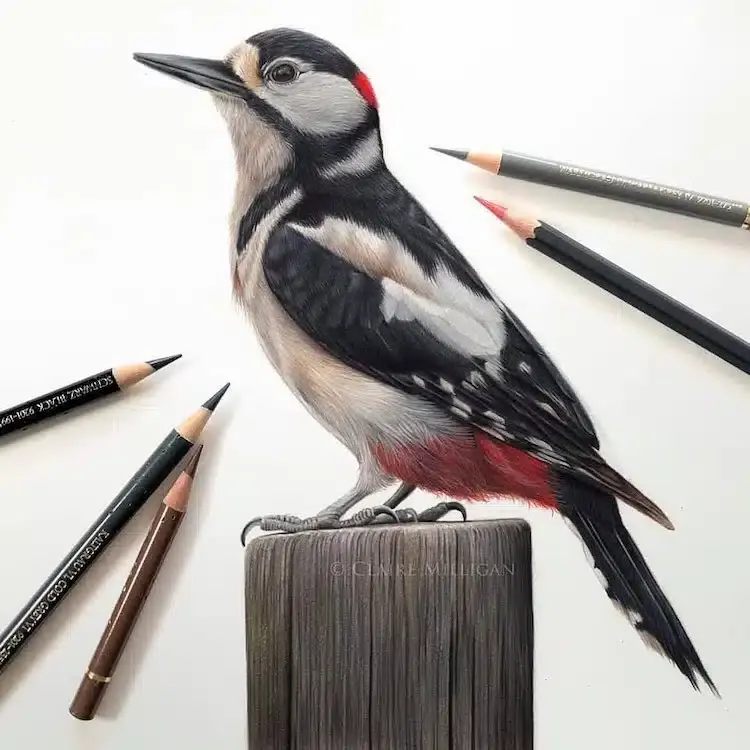
Using the right graphite pencils can significantly improve the quality of your feather drawing. A hard pencil, such as an H or HB, is ideal for the initial light sketching and the fine, sharp details of the rachis. For the softer, shaded parts of the barbs, a softer pencil like a 2B or 4B allows for richer, darker tones that add volume and depth to the drawing.
Beyond pencils, a kneaded eraser is an essential tool for an artist. Because feathers have delicate highlights, you can use the kneaded eraser to lift small amounts of graphite, creating the appearance of light reflecting off the surface. A blending stump or a piece of chamois can also be used to smooth out shadows, but use these sparingly to avoid blurring the fine lines of the barbs. Always keep your pencils sharp, as dull points will make your feather look fuzzy rather than crisp.
Why feather drawings look flat
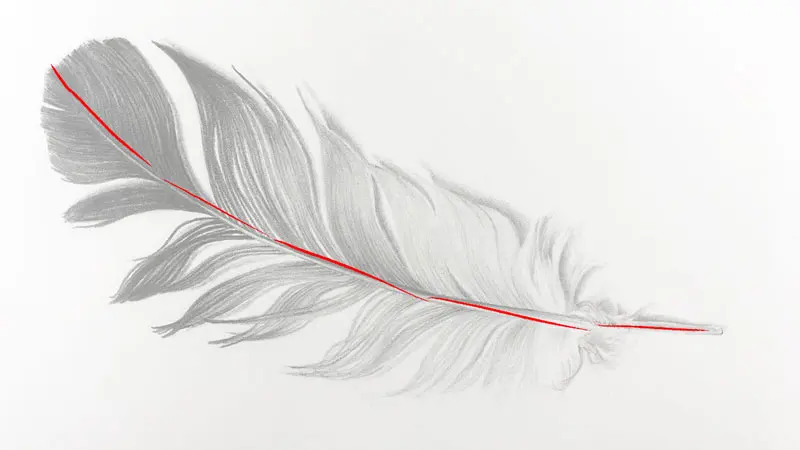
A common issue in drawing is a lack of three-dimensional form, which often happens when the artist treats the feather as a flat, two-dimensional shape. To correct this, you must apply shading that follows the curvature of the feather. Since a feather is slightly concave, the edges often catch more light than the center, or vice versa depending on the light source. By shading the underside of the rachis or the edges of the vane, you create the illusion that the feather has volume.
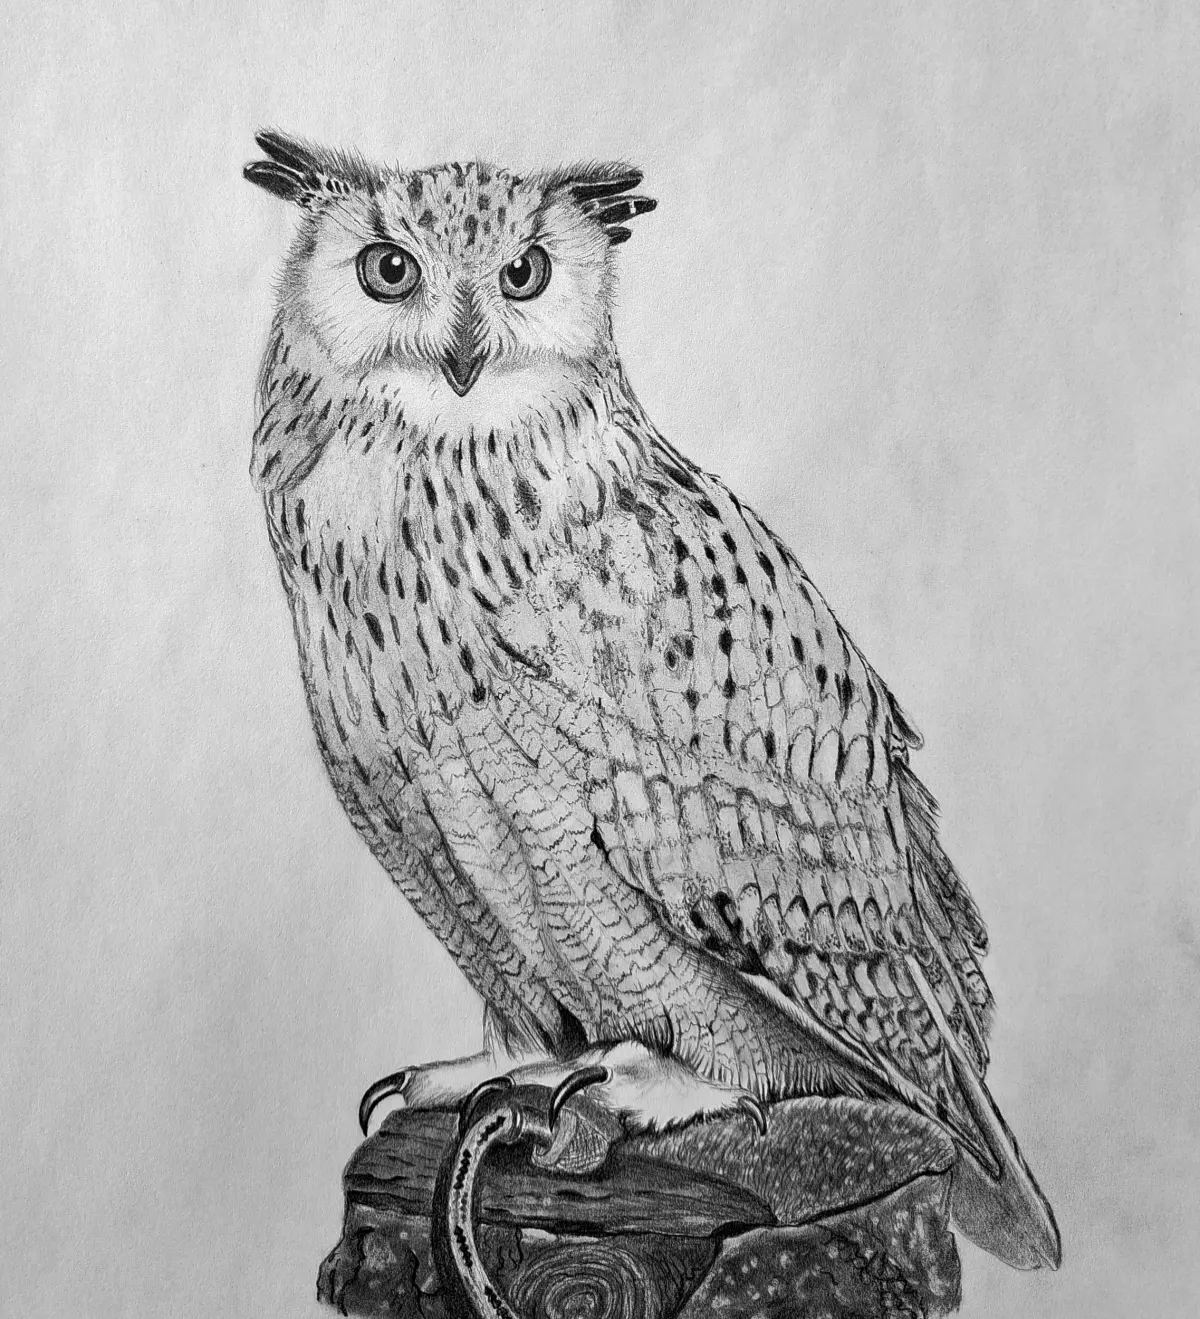
Another reason for a flat appearance is the lack of overlapping layers. In nature, feathers are not single, solid pieces; they are composed of many smaller, overlapping barbs. If you draw every single line with the same intensity, the drawing will appear static. Instead, group your strokes into clusters to suggest the way barbs clump together. This technique creates visual interest and depth, making the feather appear as if it could be picked up off the page.
Common mistakes when drawing feathers
One of the most frequent errors is drawing the barbs as perfectly straight, rigid lines. In reality, barbs are flexible and often have a slight wave or bend, especially near the edges of the feather. If your drawing looks too mechanical, try introducing subtle curves to your strokes. Additionally, avoid making the rachis a uniform thickness from top to bottom. The shaft should be thickest at the base and taper to a very fine point at the tip.
Avoid these common pitfalls to improve your technique:
- Pressing too hard with the pencil, which creates permanent indentations in the paper.
- Ignoring the light source, which leads to inconsistent shading and a lack of contrast.
- Drawing every single barb, which can make the feather look cluttered and messy.
- Using a heavy outline that separates the feather from the background, rather than letting the texture define the edge.
By focusing on the flow of the filaments rather than individual lines, you will produce a much more professional and organic result. Practice observing real feathers to understand how they bend and catch the light, as this observation is the foundation of artistic success.
Key facts
- A feather’s structure consists of a central shaft called the rachis and flat branches known as barbs.
- Always sketch the rachis as a gentle, graceful curve rather than a perfectly straight line to mimic natural movement.
- Barbs grow at an angle toward the tip of the feather, not perpendicular to the rachis.
- Use a light touch with your pencil to create the "fluff" or downy barbs at the base of the feather.
- Vary the pressure of your strokes to create natural gaps, as real feathers are rarely perfectly symmetrical or solid.
- Adding a slight shadow along one side of the rachis provides immediate depth and three-dimensional form.
The bottom line
Drawing a realistic feather requires observing the natural flow of its barbs toward the tip rather than focusing on rigid symmetry. By using a curved rachis as your foundation and employing light, flicking pencil strokes to suggest texture, you can create a lifelike illustration. Remember to vary your pressure to include gaps and shadows, which ultimately provide the depth necessary to make your drawing look authentic.
People also ask
Should I use a specific type of pencil for drawing feathers?
An HB pencil is ideal for the initial outline, while a 2B or 4B pencil is better for adding dark, soft shadows. Using a range of graphite hardness allows you to build contrast between the delicate barbs and the sturdy shaft.
How do I make the barbs look realistic?
Avoid drawing individual lines for every single barb, as this often looks stiff and mechanical. Instead, use quick, flicking motions with your pencil to suggest the texture of the barbs moving away from the shaft.
What is the most common mistake when drawing a feather?
The most frequent error is drawing the barbs at a 90-degree angle to the shaft. In nature, barbs are angled significantly toward the tip, creating a streamlined, aerodynamic appearance.
How do I draw the "split" in a feather?
To create a weathered look, leave a small gap in the barbs along the edge of the feather. Drawing a few barbs that are slightly separated or bent adds a sense of realism and age.
Do I need to draw every detail on the feather?
No, focus on the overall shape and the flow of the barbs rather than microscopic detail. The human eye perceives texture through patterns of light and shadow, so suggesting the detail is often more effective than drawing it.
How can I show the curvature of the feather?
Draw the rachis with a slight arc and shade one side of it to indicate the feather is curving toward or away from the viewer. This simple shading technique creates the illusion of volume and prevents the drawing from looking flat.
This answer was created with the help of AI research tools and reference sources. Spotted an error? Let us know — we correct mistakes quickly. See our editorial policy.