How do you draw wings?
Short answer
Drawing wings requires understanding the skeletal structure of birds or bats rather than merely sketching feathers. By establishing a primary "arm" structure—consisting of a humerus, radius, and ulna—you create a realistic foundation. Once the framework is set, you can layer feathers or membranes to achieve a convincing, functional appearance.
On this page
How to structure wing anatomy
Wings are not merely appendages attached to a back; they are modified forelimbs that follow the same biological blueprint as human arms. To draw them accurately, you must first map out the three primary segments: the upper arm (humerus), the forearm (radius and ulna), and the hand (carpals and digits). When sketching, start by drawing these as simple lines or cylinders to establish the pose. This skeletal framework ensures that the wing has a logical range of motion and weight.
If you ignore this underlying anatomy, your wings will appear limp or disconnected from the body. Remember that the "elbow" of a bird wing typically points backward, while the "wrist" is the point where the primary flight feathers attach. By visualizing these joints, you can dictate how the wing folds or extends. Always sketch the skeleton lightly first, as this allows you to adjust the proportions before committing to the final silhouette or feather placement.
How to draw bird wings step-by-step
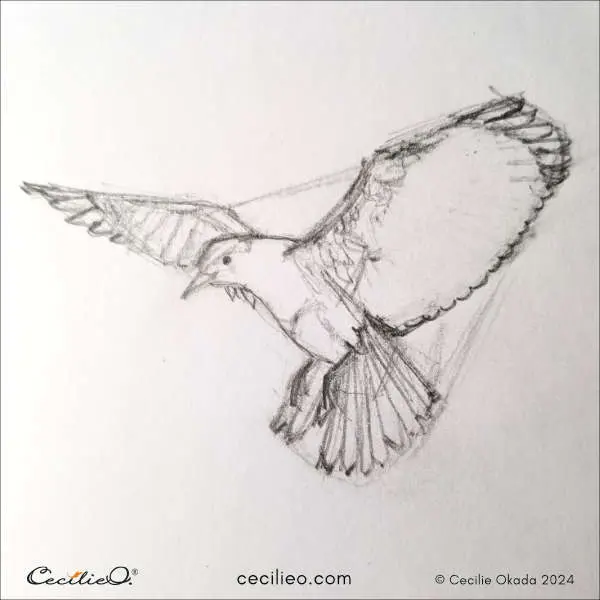
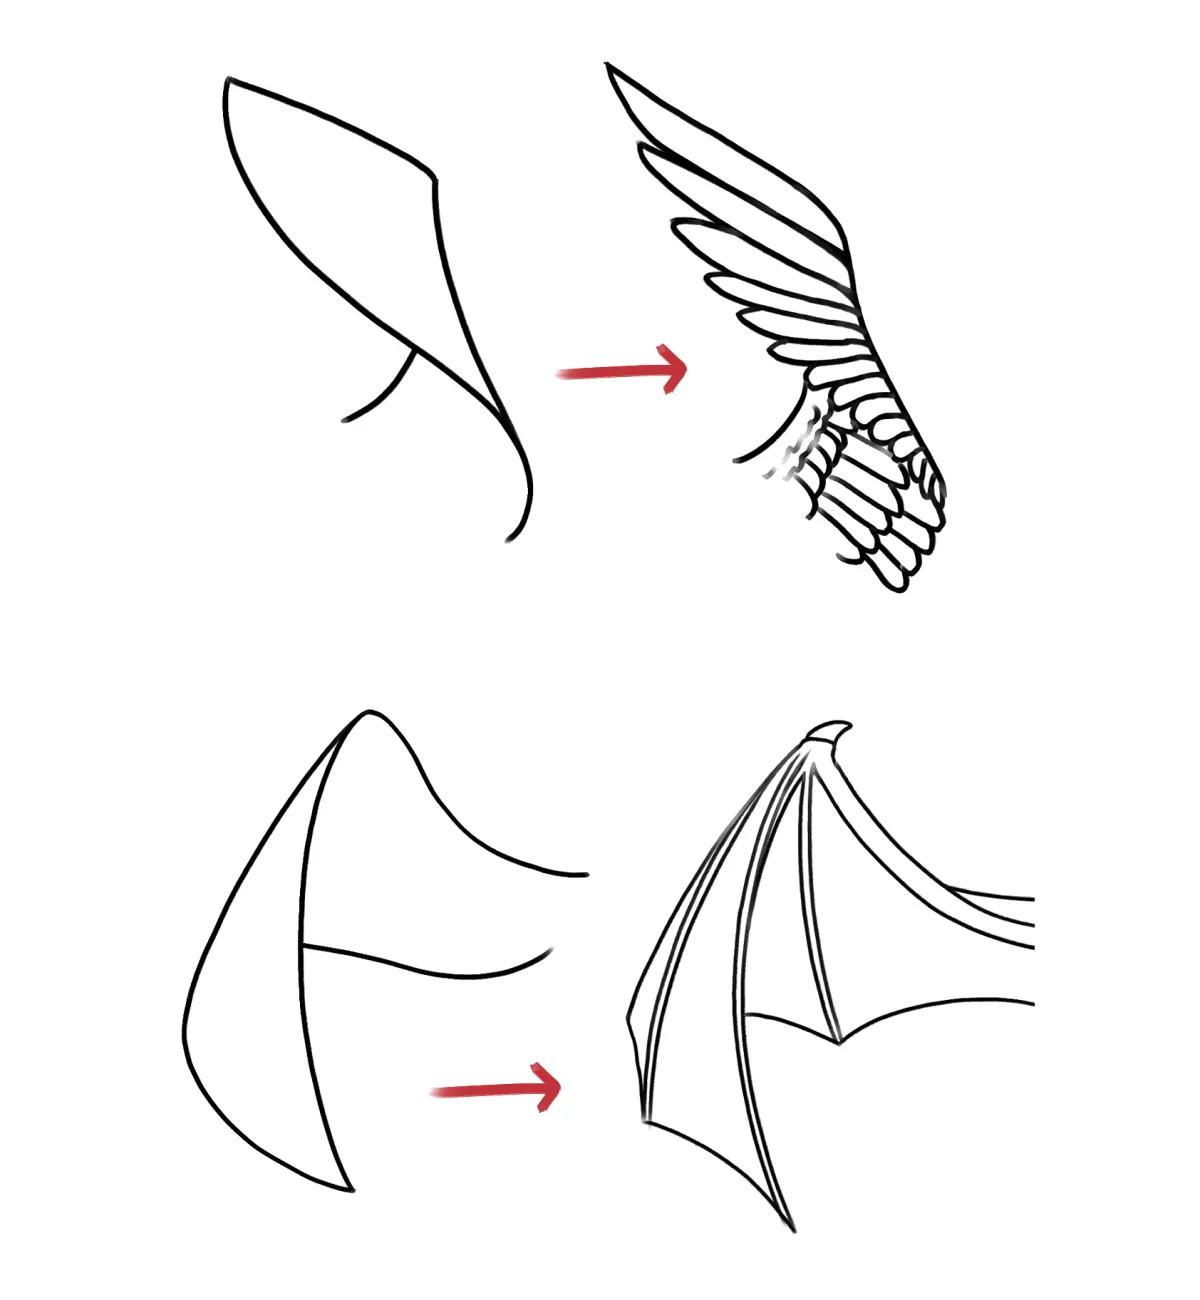
Bird wings rely on a specific arrangement of feathers, categorized into primaries, secondaries, and coverts. Primaries are the longest feathers attached to the "hand" section, providing the main thrust during flight. Secondaries attach to the forearm and provide lift, while coverts are the smaller, overlapping feathers that smooth out the transition between the wing and the body. Following a systematic approach ensures that these layers look natural and organized.
- Draw the skeletal framework with a clear bend at the elbow and wrist.
- Outline the outer shape of the wing, keeping it tapered toward the tip.
- Divide the wing into three distinct sections: the primary, secondary, and covert zones.
- Draw the primary feathers as long, individual blades that fan out from the hand.
- Add the secondary feathers in a shorter, tighter row along the forearm.
- Fill in the remaining gaps with smaller, overlapping leaf-shaped covert feathers.
How to draw bat wings
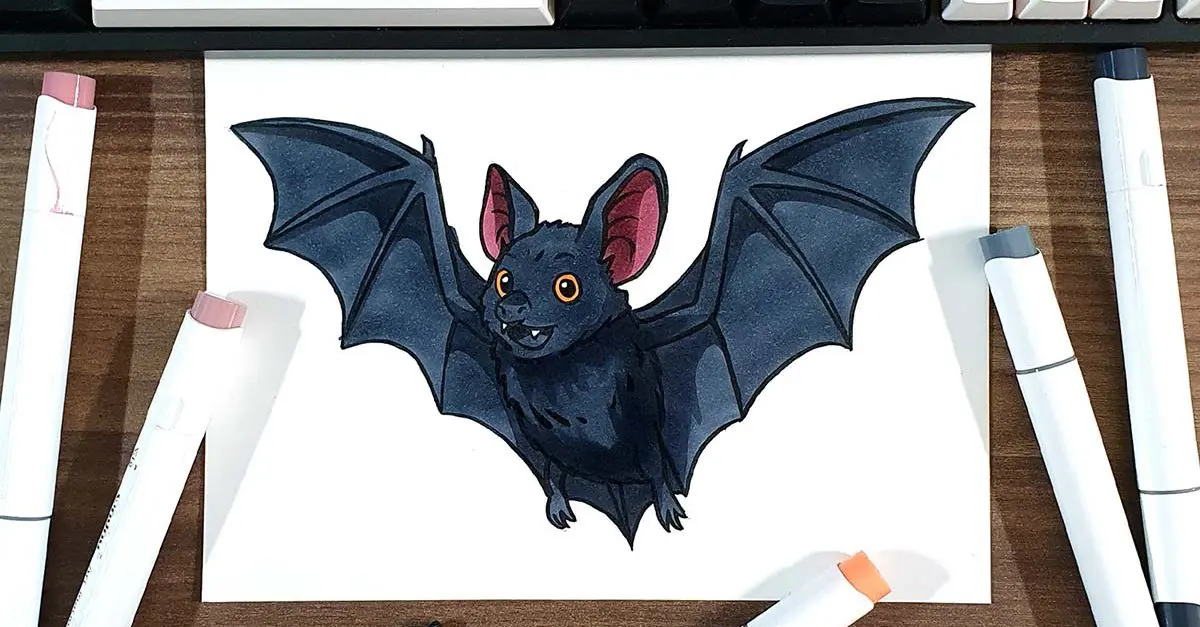
Unlike birds, bats possess elongated finger bones that support a thin, flexible membrane called the patagium. When drawing these, focus on the fingers, which act like the ribs of an umbrella. The thumb is usually small and hooked, protruding from the top of the wing, while the four long fingers spread out to create the wing's surface area. The skin should look slightly elastic, sagging naturally between the fingers when the wing is partially folded.
When the wing is fully extended, the membrane should be taut, showing subtle tension lines radiating from the joints. Avoid drawing the membrane as a perfectly straight line; instead, give it a slight curve between each digit to suggest the weight and flexibility of the skin. If you are drawing a bat in flight, ensure the membrane is pulled tight, as this is how the animal generates lift. Adding subtle wrinkles near the joints can further enhance the look of thin, organic tissue.
Common mistakes when drawing wings
One of the most frequent errors is drawing wings that are too small to support the creature's body weight. In nature, wingspan is often significantly wider than the length of the body, sometimes spanning twice the creature's height. Another common mistake is failing to account for the "overlap" of feathers or skin. If feathers are drawn as individual, floating shapes without overlapping, the wing will look like a collection of sticks rather than a functional, aerodynamic surface.
- Placing the wings too high on the shoulder blades, which prevents a realistic range of motion.
- Drawing feathers in a uniform, repetitive pattern that ignores the natural flow of the wing's curve.
- Forgetting to add the "thumb" or "alula" on bird wings, which is a small group of feathers near the wrist.
- Making the wing membrane too thick, which strips away the delicate, translucent quality of a bat's wing.
- Ignoring the perspective, which causes the wing closer to the viewer to look the same size as the one further away.
Best tools for drawing wings
For beginners, a graphite pencil with a range of hardness, such as HB for sketching and 4B for shading, is ideal. The HB pencil allows for light, structural lines that can be easily erased, while the 4B provides the depth needed to define the shadows between feathers or skin folds. If you prefer digital media, use a brush with a tapered tip to mimic the sharp, precise edges of feathers. Layering is essential in digital art, as it allows you to separate the skeletal sketch from the final feather textures.
Regardless of your medium, keep a reference image of a real bird or bat skeleton nearby. Observing how light hits the overlapping feathers or how the membrane stretches over bone will improve your work faster than any technique alone. Focus on the rhythm of the shapes rather than drawing every single feather, as suggesting the texture is often more effective than detailing every individual quill. Consistent practice with these anatomical principles will eventually allow you to draw wings from imagination with total confidence.
Key facts
- Bird wings are essentially modified forelimbs, sharing the same bone structure as human arms: the humerus, radius, ulna, and digits.
- The primary feathers, or flight feathers, are attached to the "hand" bones and provide the necessary thrust for lift.
- Secondary feathers attach to the forearm and create the surface area required to support the bird’s weight in the air.
- When drawing wings at rest, the wing folds into a distinct "Z" shape, with the elbow pointing toward the tail.
- Always establish the "wrist" joint first, as this is the pivot point for the longest feathers in the wing.
- Avoid drawing feathers as individual scales; instead, group them into overlapping layers or "tiers" to create a realistic, aerodynamic flow.
The bottom line
Drawing realistic wings requires understanding the underlying skeletal structure of the avian limb. By identifying the humerus, radius, and digit bones, you can map out the wing's pivot points before layering feathers. Focus on the silhouette and the overlapping tiers of feathers rather than individual details. This structural approach ensures your wings appear functional, aerodynamic, and anatomically grounded, regardless of the specific bird species you are illustrating.
People also ask
How do you draw wings in a folded position?
To draw a folded wing, visualize the limb collapsing into three segments: the upper arm, forearm, and hand. Keep the feathers tucked tightly against the body, with the primary feathers overlapping the secondary ones to form a sleek, tapered point.
What is the most common mistake when drawing bird wings?
The most frequent error is drawing feathers that sprout from the shoulder rather than the forearm and hand. Feathers are structural appendages that follow the line of the arm bones, not a decorative fringe added to the back.
How many layers of feathers should I include?
Most artists use three main layers: the coverts near the base, the secondary feathers in the middle, and the long primaries at the tip. Adding these distinct tiers provides depth and mimics the natural biological structure of a bird.
Should I draw every single feather?
You do not need to draw every individual feather, as this often makes a drawing look cluttered and stiff. Focus on the silhouette and the direction of the feather groups to suggest detail without overwhelming the viewer.
How do wings differ between bird species?
Wing shape is dictated by habitat; for example, soaring birds like eagles have long, broad wings with "fingered" tips for thermal lift. Conversely, fast-flapping birds like swallows have pointed, narrow wings designed for speed and maneuverability.
How do I make wings look like they are in motion?
To convey motion, use "blur" lines or draw the feathers slightly fanned out at the tips to show air pressure resistance. Adjusting the angle of the wing to show the underside reveals the curvature, which is essential for depicting active flight.
This answer was created with the help of AI research tools and reference sources. Spotted an error? Let us know — we correct mistakes quickly. See our editorial policy.