How do you draw a clock?
Short answer
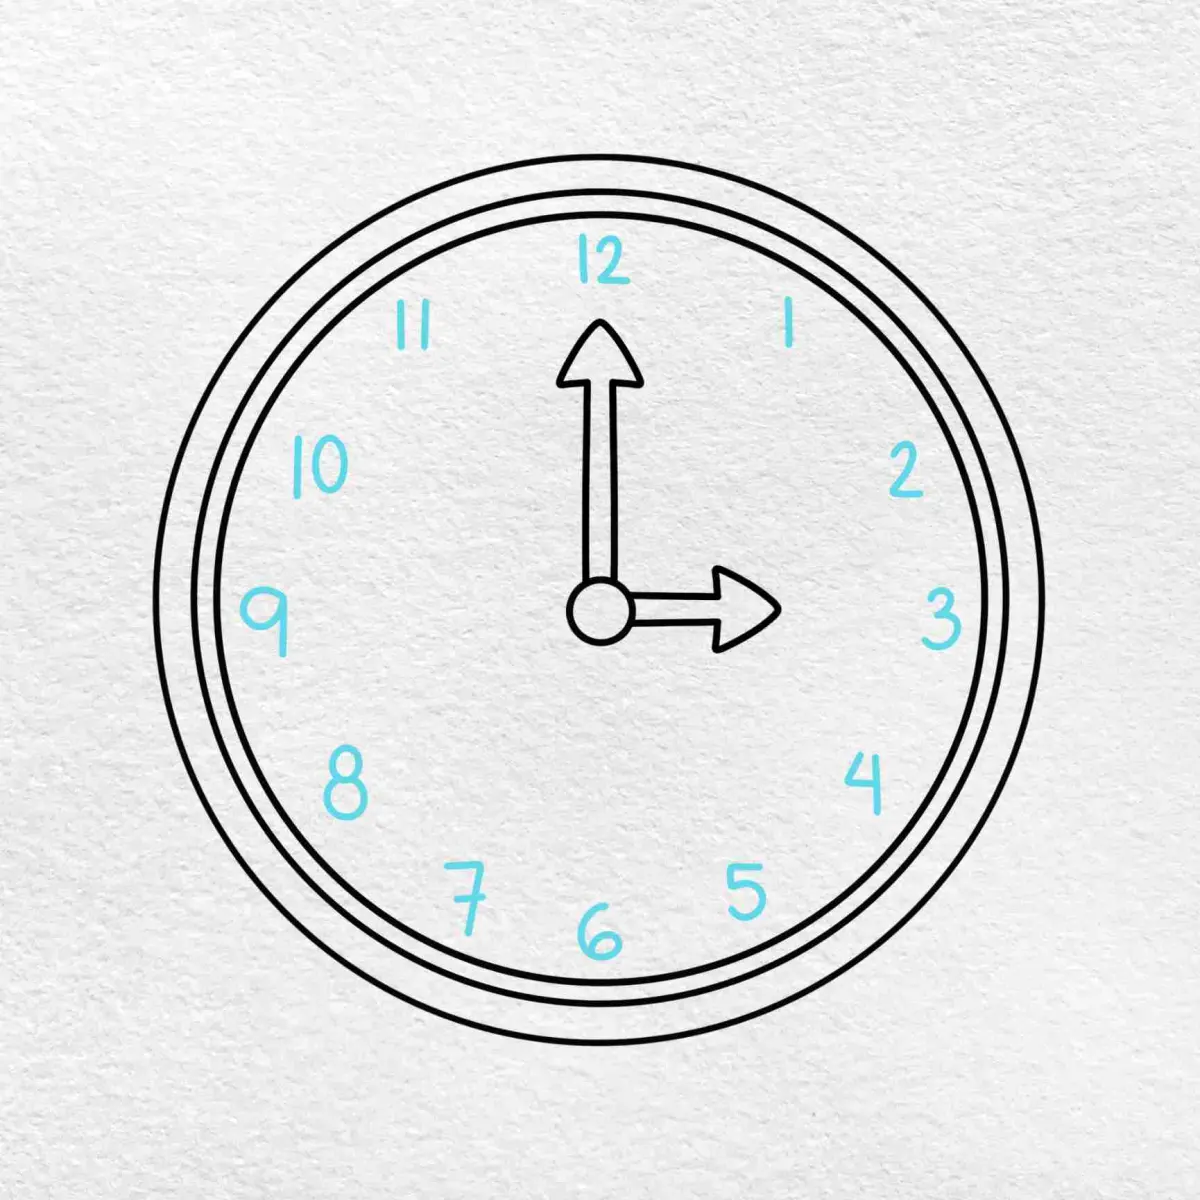
Drawing a clock begins with creating a perfect circle, followed by placing the twelve numbers at equidistant intervals. Use a compass or a circular object for precision. Once the frame is set, position the hour and minute hands to indicate your desired time, ensuring the hour hand is shorter than the minute hand.
On this page
How to draw a clock face accurately
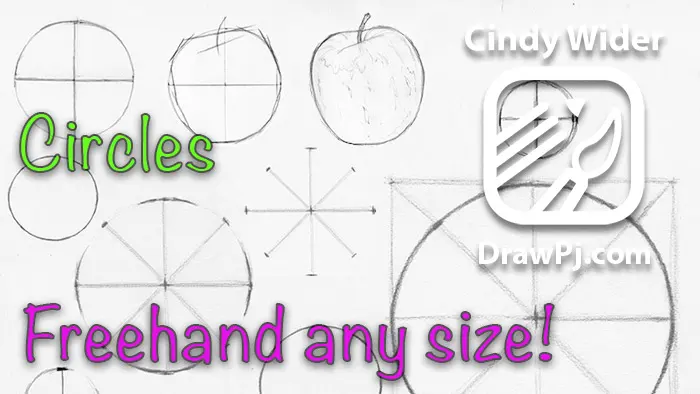
The foundation of a realistic clock is a symmetrical circle. If you are drawing by hand, use a compass to ensure the radius remains consistent from the center point. If you lack tools, trace a circular object like a cup or a roll of tape. Once the circle is drawn, lightly mark the center point, as this is where the hands will eventually attach.
Dividing the circle into twelve equal segments is the most critical step for readability. Start by placing the 12 at the very top, the 6 at the bottom, the 3 on the far right, and the 9 on the far left. This "cross" method acts as an anchor for the remaining numbers. Fill in the gaps by placing two numbers between each of these cardinal points, ensuring they are spaced evenly to maintain a professional appearance.
Best tools for drawing clocks
For beginners, a standard graphite pencil and a high-quality eraser are essential. Using a hard lead pencil, such as an H or HB, allows you to sketch light guidelines that can be easily removed later. A ruler is also necessary for drawing the hands, as straight lines are vital for clarity. If you are aiming for a decorative or technical look, a set of drafting templates can provide perfect circles and straight edges.
If you prefer digital tools, vector software is the superior choice for geometric accuracy. These programs allow you to rotate objects around a central axis, which is perfect for placing numbers at precise thirty-degree intervals. Whether working on paper or a screen, consider these items:
- A compass for creating the outer frame.
- A long ruler for aligning opposite numbers.
- A fine-liner pen for outlining the final design.
- A protractor if you need to calculate exact angles for the hands.
How to position clock hands correctly
The hands of a clock must be distinct in length to avoid confusion. The minute hand should be long and thin, usually reaching near the edge of the circle, while the hour hand should be shorter and thicker. When drawing a specific time, remember that the hour hand moves gradually as the minute hand progresses. For example, at 3:30, the hour hand should be exactly halfway between the 3 and the 4.
When sketching the hands, always start from the center point. Avoid drawing them too close to the numbers, as this can make the clock difficult to read at a glance. If you are drawing a clock showing a time like 9:15, the hour hand will be slightly past the 9, and the minute hand will be pointing directly at the 3. Consistency in the thickness of these lines helps maintain the clock’s visual balance.
Common mistakes when drawing clocks
A frequent error is inconsistent spacing between the numbers. If the 1, 2, 4, and 5 are crowded together while the 7, 8, 10, and 11 are spread out, the clock will look distorted. Another common mistake is making the hands the same length, which makes it impossible to distinguish between hours and minutes. Always double-check that your numbers are oriented toward the center of the clock rather than sitting upright.
To avoid these pitfalls, follow these simple steps during your drafting process:
- Draw light vertical and horizontal guide lines through the center.
- Place the 12, 3, 6, and 9 first to establish the primary axes.
- Use a ruler to ensure the 1 and 7 are perfectly aligned across the center.
- Verify that the hour hand is noticeably shorter than the minute hand before inking.
- Erase all construction lines only after you are satisfied with the final placement of the numbers.
Why clock proportions matter for design
Proportions influence how easily a viewer can interpret the time. A clock with large, bold numbers and thin hands is generally easier to read than one with cluttered, oversized hands that obscure the numerals. Designers often use a "serif" font for classic clocks, as the small strokes at the ends of the letters help guide the eye. The distance between the numbers and the edge of the circle, known as the margin, should also be uniform to create a sense of order.
When you adjust the proportions, you change the aesthetic of the piece. A minimalist clock might remove the numbers entirely, relying on simple tick marks to denote the hours. Conversely, an ornate clock might feature Roman numerals or intricate decorative flourishes. Regardless of the style, the relationship between the center point and the outer perimeter remains the standard for functional clock design. By maintaining these geometric relationships, you ensure that your drawing remains both functional and visually appealing for any observer.
Key facts
- Start by drawing a perfect circle to serve as the clock face, using a compass or a circular object for precision.
- Place the number 12 at the very top and the number 6 at the very bottom to establish the vertical axis.
- Position the numbers 3 and 9 at the far right and left sides, respectively, to create a balanced cross shape.
- Fill in the remaining numbers 1, 2, 4, 5, 7, 8, 10, and 11 evenly within the four quadrants.
- Draw the hour hand shorter and thicker than the minute hand to ensure the time is easily readable.
- Ensure the center point where the hands meet is clearly marked, as this is the pivot for both indicators.
The bottom line
Drawing an accurate clock requires careful spatial planning to ensure visual balance. By anchoring the primary numbers 12, 3, 6, and 9 first, you create a reliable framework for the remaining digits. Paying attention to the distinct lengths of the hour and minute hands is essential for legibility. With these simple geometric steps, you can create a functional and aesthetically pleasing representation of a classic analog timepiece.
People also ask
Why is the number 4 often written as IIII on clocks instead of IV?
This tradition, known as the "watchmaker's four," provides visual balance against the VIII on the opposite side of the clock face. It also historically helped illiterate populations distinguish between the IV and VI symbols.
How do I ensure the numbers are spaced correctly?
Lightly mark the 12, 3, 6, and 9 positions first to divide the circle into quarters. Then, place two marks between each of these main numbers to represent the remaining digits.
Should the hands point to specific numbers?
The hands should point toward the center of the numbers, but the hour hand should move slightly toward the next digit as the minute hand progresses. For a static drawing, pointing them directly at specific numbers is acceptable for clarity.
What is the standard length ratio for clock hands?
The minute hand should be long enough to reach the minute markers or the edge of the numbers. The hour hand is typically about two-thirds the length of the minute hand.
Can I use Roman numerals instead of Arabic numbers?
Yes, Roman numerals are a common aesthetic choice for analog clocks. If using them, ensure the I, II, and III are oriented vertically for the best appearance.
What is the most common mistake when drawing a clock?
The most frequent error is crowding the numbers toward the top or bottom of the circle. Using a light pencil grid or dividing the circle into twelve equal slices helps maintain consistent spacing.
This answer was created with the help of AI research tools and reference sources. Spotted an error? Let us know — we correct mistakes quickly. See our editorial policy.