How do you paint a feather with watercolor?
Short answer
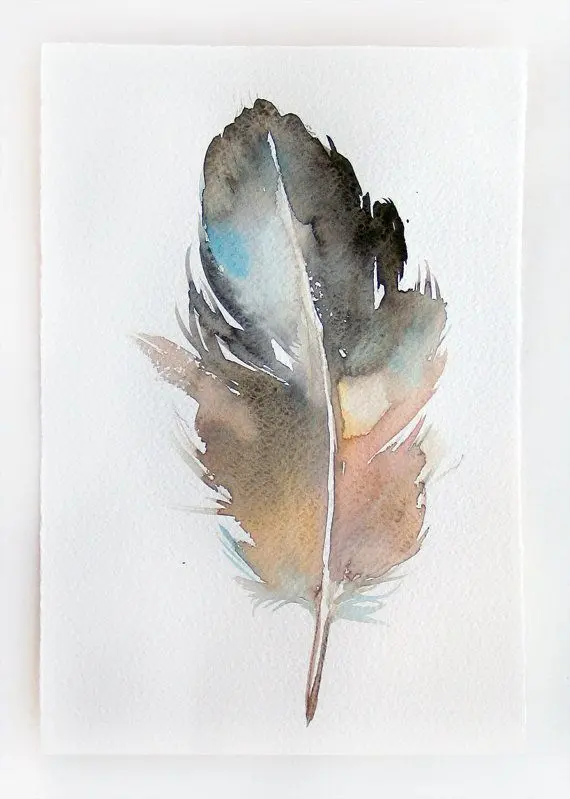
Painting a feather with watercolor requires layering delicate, thin washes to establish the base color, followed by precise, dry-brush strokes to define the individual barbs. By focusing on the central shaft—or rachis—and varying your pressure, you can capture the soft, airy texture and intricate patterns characteristic of bird feathers.
On this page
What supplies are needed for painting feathers
To paint a realistic feather, you need high-quality materials that allow for both fluid washes and fine detail. Start with 140-pound (300 gsm) cold-press watercolor paper, as its slight texture helps capture the soft edges of the barbs. You will need a round brush in sizes 2 and 6 for the main body and a fine-tipped rigger or liner brush for the delicate barbs.
Select professional-grade paints in earth tones, blues, or iridescent shades depending on your subject. You should also have two jars of water: one for rinsing dirty brushes and one for clean water to mix fresh pigments. A small piece of paper towel is essential for dabbing your brush to control moisture levels, which is the most critical factor in achieving the feather's signature light, airy appearance.
How to prepare the feather outline
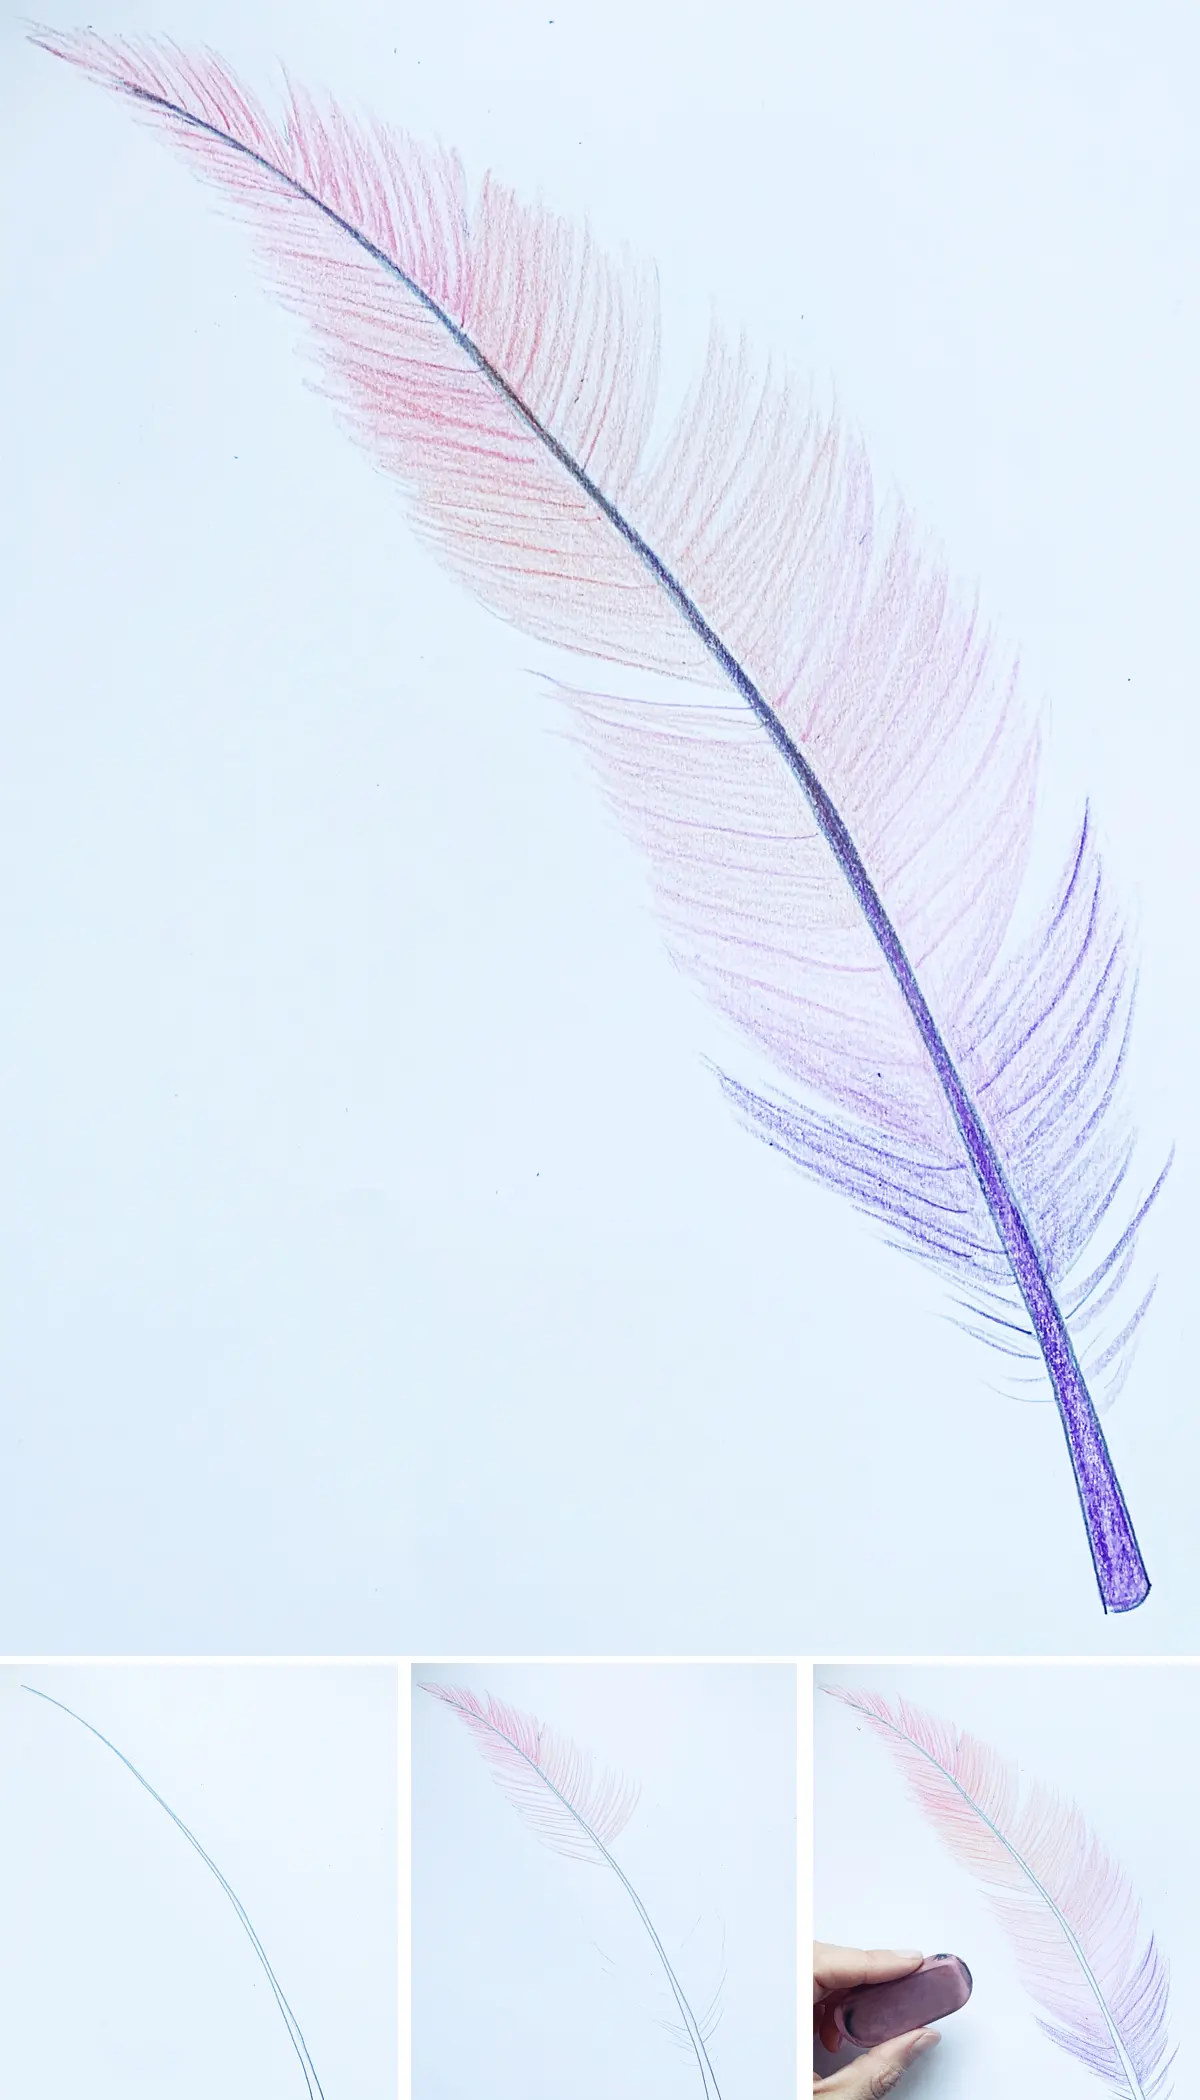
Begin by lightly sketching the shape of the feather with an H or 2H pencil. Keep your lines faint so they do not show through the transparent watercolor layers. Focus on the rachis, the central shaft that runs the length of the feather, as this acts as the anchor for your entire composition. Ensure the curve of the shaft looks natural rather than perfectly straight.
Once the outline is set, map out the general color zones. Feathers often have darker concentrations of pigment near the rachis and lighter, translucent tips. Use these steps to prepare your surface:
- Lightly draw the central rachis with a gentle curve.
- Sketch the outer silhouette, keeping it slightly irregular to mimic natural wear.
- Mark areas of shadow or patterns, such as spots or stripes, with very light graphite marks.
- Erase any heavy lines, leaving only a ghost of the shape to guide your brush.
How to paint the base layers
The secret to a realistic feather is starting with a wet-on-dry wash to establish the local color. Mix a generous amount of pigment with water on your palette to create a fluid consistency. Apply this wash in the direction of the barbs, moving from the rachis outward toward the edge of the feather. This technique ensures the paint flows naturally along the grain of the feather’s structure.
Avoid overworking the paper while it is wet, as this can lead to muddy colors. If you want to create a soft, blended look, drop a slightly darker shade of paint near the rachis while the first layer is still damp. This "wet-in-wet" technique creates a natural gradient that mimics the depth found in real plumage. Let this base layer dry completely before attempting any detailed work, as adding fine lines to damp paper will cause the pigment to bleed and lose its sharpness.
How to add texture and detail
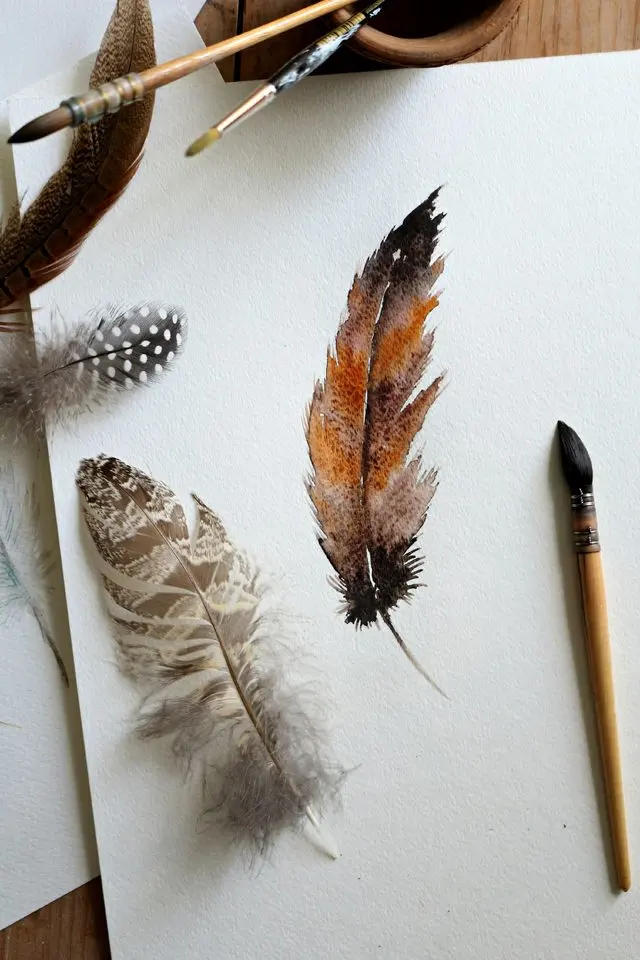
Once the base layer is bone-dry, use your fine-tipped rigger brush to add the individual barbs. This is where the feather gains its realistic texture. Load your brush with a thicker, cream-like paint consistency and use short, flicking motions. Start your stroke at the rachis and pull the brush quickly away toward the edge, lifting the tip at the end of the stroke to create a tapered, thin line.
Focus on the rhythm of these strokes to build the density of the feather. You should vary the length and spacing of your lines to avoid a mechanical, uniform look. Follow these tips for better results:
- Use a darker pigment than the base layer to create depth.
- Keep your hand loose; rigid, stiff strokes will make the feather look like plastic.
- Leave small gaps between some strokes to allow the base layer to show through, which adds to the illusion of translucency.
- Rotate your paper to keep your hand in a comfortable position for the flicking motion.
Common mistakes when painting feathers
One of the most frequent errors is using too much water during the detail phase. If your brush is too wet, the fine lines will spread and turn into blurry blobs instead of crisp barbs. Always dab your brush on a paper towel after loading it with paint to ensure the bristles are damp but not dripping. Another common mistake is painting the barbs in the wrong direction; always remember that they grow away from the rachis at an angle, usually pointing toward the tip of the feather.
Finally, beginners often neglect the rachis itself. If the shaft is too thick or too light, the entire feather will look flat. Use a sharp, dark line for the rachis, but consider leaving a tiny sliver of white paper along one side to represent a highlight. This small detail provides a sense of volume and makes the feather appear three-dimensional. With consistent practice, you will learn to balance the fluid washes with controlled, precise strokes to capture the delicate essence of nature.
Key facts
- Use a small, round brush, such as a size 0 or 2, to maintain control over the fine barbs of the feather.
- Apply a light wash of color first to establish the overall shape and mid-tones before adding darker details.
- Use a "dry brush" technique by removing excess water from your bristles to create crisp, thin lines for the feather’s filaments.
- Work from the center shaft, or rachis, outward in short, diagonal strokes to mimic the natural growth pattern of feather barbs.
- Allow each layer to dry completely before applying shadows to prevent the colors from bleeding into muddy, unintentional shapes.
- Add highlights by lifting wet paint with a clean, damp brush or by using a small amount of opaque white gouache after the watercolor dries.
The bottom line
Painting a realistic feather requires patience and a focus on the structural details of the barbs. By starting with a light wash and gradually building depth with thin, directional strokes, you can capture the delicate texture of the plumage. Remember to keep your brush tip sharp and allow drying time between layers to ensure your final piece maintains a clean, professional, and lifelike appearance.
People also ask
Can I use synthetic brushes for painting feathers?
Yes, synthetic brushes are excellent for this task because they hold a sharp point and provide the necessary stiffness for fine details. Natural sable brushes are also effective but tend to be more expensive and require more careful maintenance.
How do I make the feather look soft and fluffy?
To achieve a soft appearance, use a "wet-on-wet" technique for the base layer, allowing colors to diffuse naturally. Once dry, add only a few sharp, defined strokes near the rachis to provide structure without losing the airy quality.
What is the best paper for watercolor feathers?
Cold-press watercolor paper with a slight texture is ideal, as it holds pigment well and allows for layering. Avoid standard printer paper, which will buckle and tear when exposed to the water needed for washes.
How do I prevent the colors from becoming muddy?
Limit your palette to two or three harmonious colors and ensure your brush is rinsed thoroughly between applications. Applying too many layers of dark, contrasting colors often results in a dull, greyish appearance.
Should I use masking fluid for the white parts of the feather?
Masking fluid can be used to preserve bright white highlights, but it is often unnecessary for fine details. Most artists prefer to paint around the highlights or add them back in with white gouache at the very end.
How do I get the center shaft to look realistic?
The rachis should be a single, continuous line that tapers in thickness from the base to the tip. Use a very thin, dark line and vary the pressure on your brush to create a natural, organic taper.
This answer was created with the help of AI research tools and reference sources. Spotted an error? Let us know — we correct mistakes quickly. See our editorial policy.