How do you draw a realistic bird?
Short answer
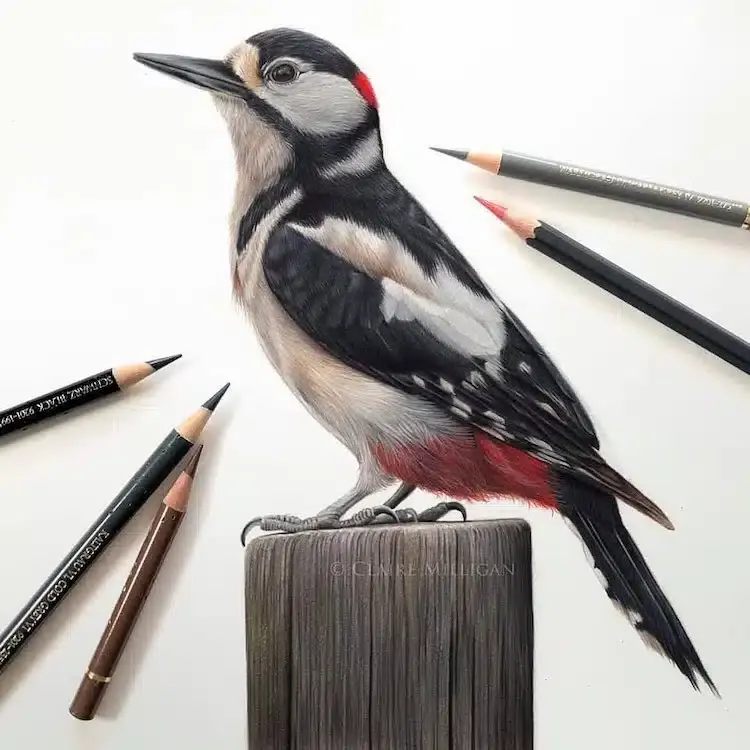
Drawing a realistic bird requires observing its underlying skeletal structure and grouping feathers into layered shapes rather than drawing individual lines. By establishing a solid geometric foundation, focusing on the eye-to-beak alignment, and applying directional shading, you can capture the essence of avian anatomy and texture with precision and anatomical accuracy.
On this page
How to structure a bird drawing
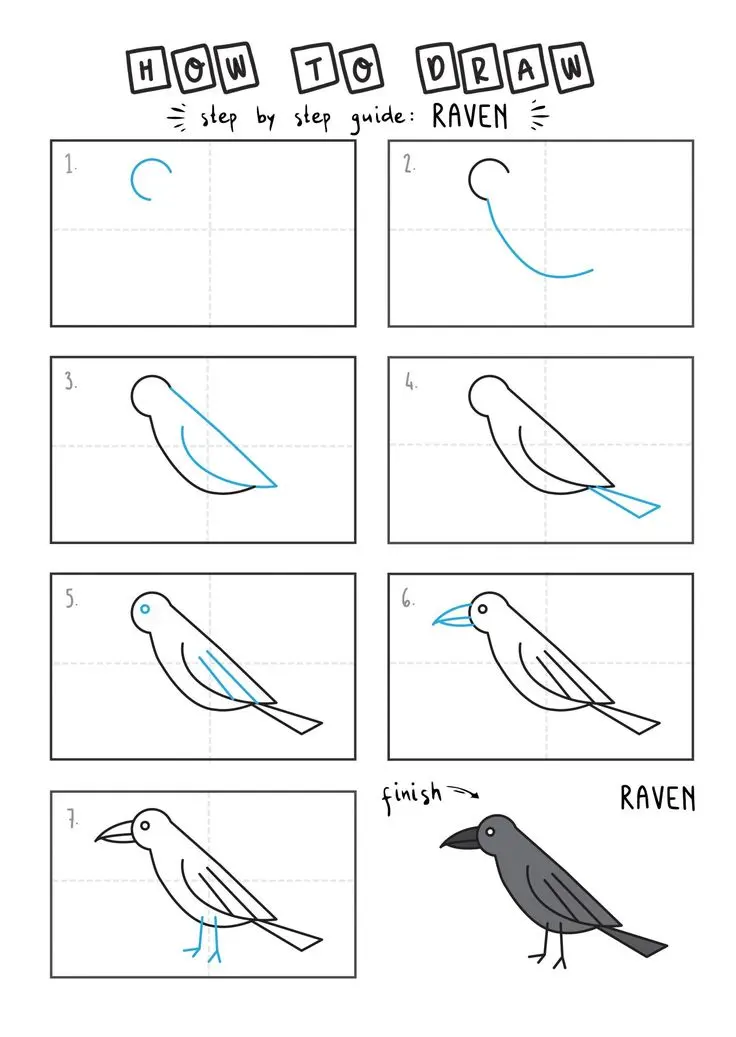
The secret to a realistic bird lies in breaking the complex form down into simple, manageable shapes. Most birds can be simplified into two primary masses: a large oval for the body and a smaller, slightly tilted circle for the head. Connect these shapes with a curved line representing the neck, which acts as the spine of your composition. By establishing these proportions first, you ensure the bird looks balanced before you add any intricate details.
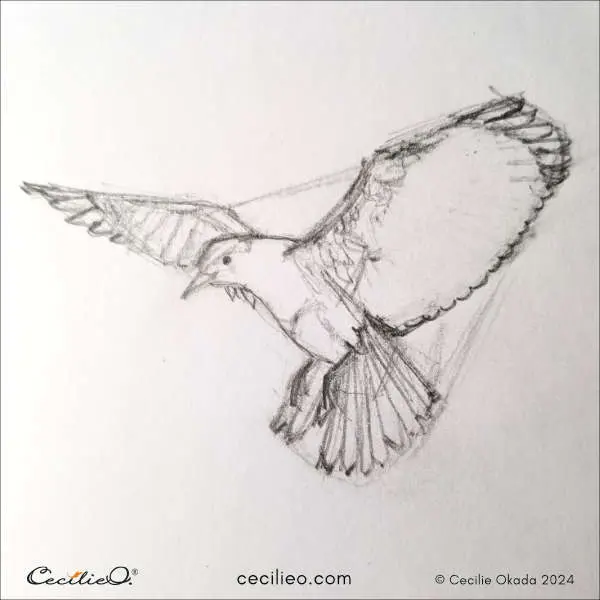
Once the basic masses are set, define the wing and tail placement. The wing is essentially a long, tapered triangle that sits flush against the body, while the tail is a rectangular or fan-shaped extension. Do not worry about feathers yet; focus entirely on the silhouette. If the silhouette is incorrect, no amount of shading or detail will make the final drawing appear realistic. Keep your initial pencil lines light so they can be easily erased or blended later.
How to draw bird anatomy accurately
Anatomical accuracy is achieved by paying close attention to the intersection of the head and the beak. The gape line, or the opening of the mouth, typically aligns directly with the center of the eye. This is a critical landmark that artists often overlook. Furthermore, understand that a bird’s leg attaches much higher on the body than most beginners assume, usually near the center of the torso, not at the bottom.
- Draw the eye as a perfect circle, then add a small white highlight to suggest moisture.
- Sketch the beak as two interlocking cones, ensuring the upper mandible is slightly longer and curved.
- Position the feet by drawing simple joints; birds have three toes pointing forward and one pointing backward in most perching species.
- Use a light touch to indicate the "shoulder" of the wing, which is the rounded joint visible near the top of the body.
Why feathers look like overlapping scales
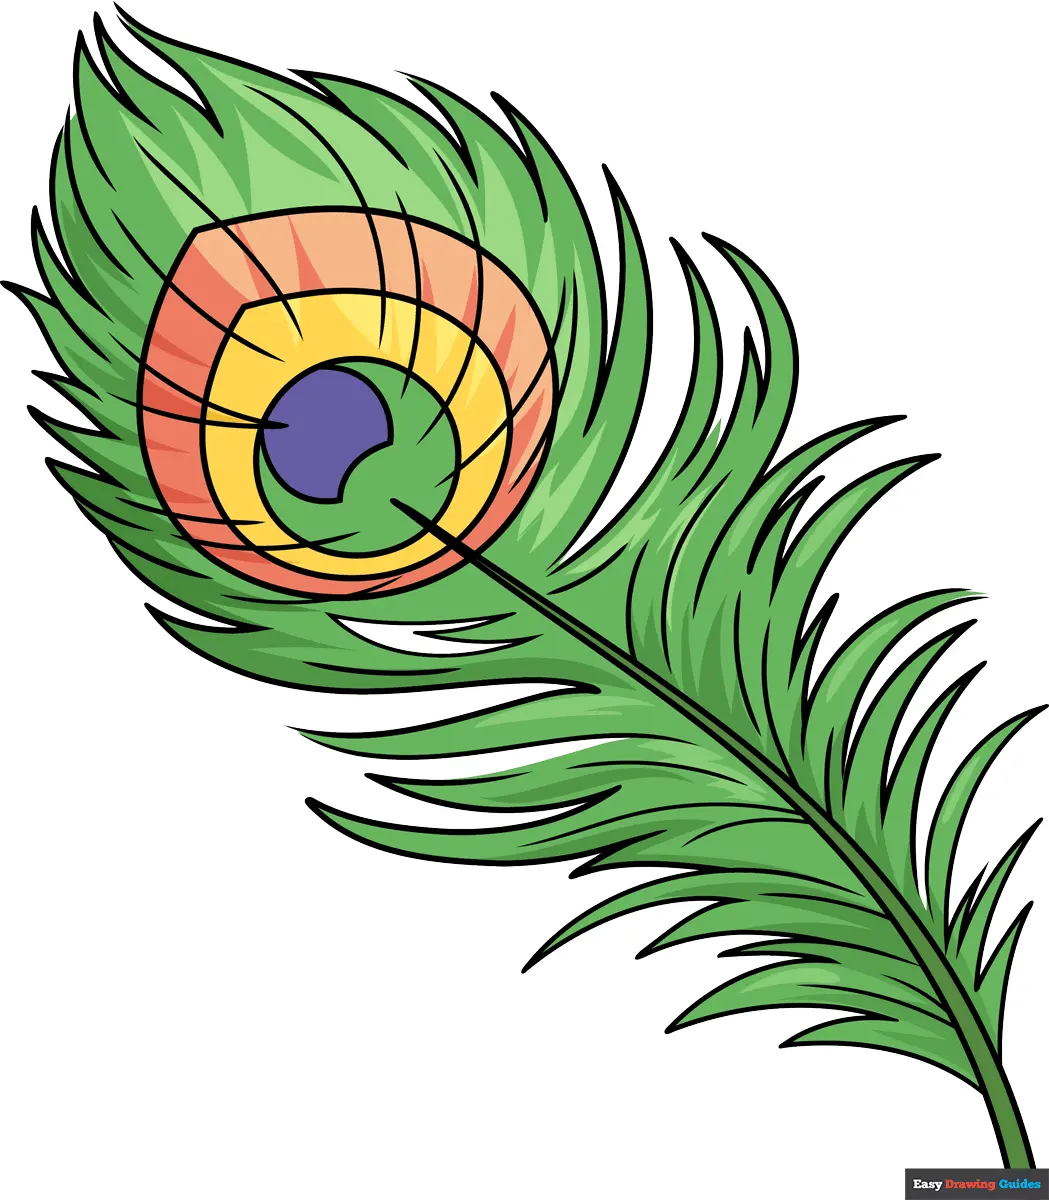
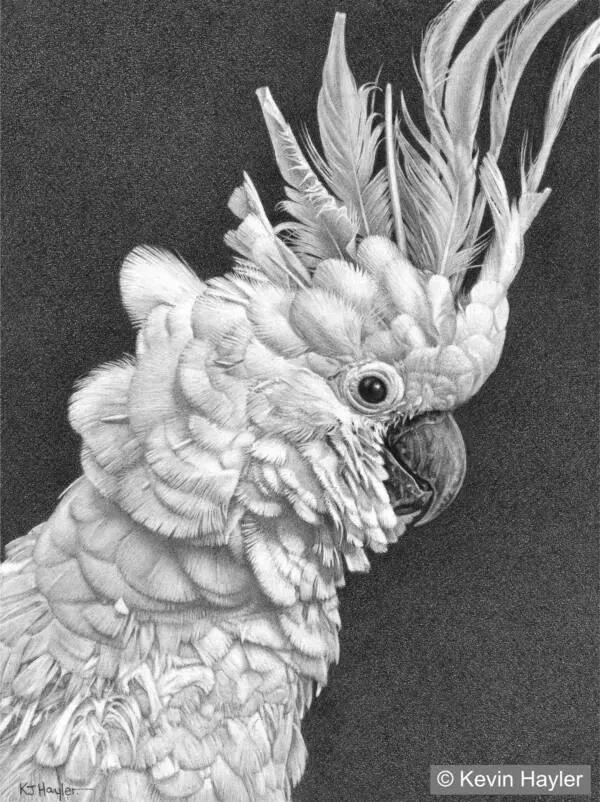
Feathers are not individual hairs; they are structured, overlapping plates that follow the contour of the bird’s body. To draw them realistically, group them into "tracts" rather than drawing every single feather. Think of them like shingles on a roof, where each layer covers the base of the one below it. This method provides volume and prevents the drawing from looking flat or overly busy.
When shading these tracts, use the direction of the feather growth to guide your pencil strokes. Start by mapping out the primary flight feathers, which are the longest and most rigid, then fill in the smaller, softer coverts that blanket the body. Avoid the common mistake of outlining every feather with a dark line. Instead, use soft shadows to indicate the separation between groups. This creates a sense of depth and softness that mimics the natural appearance of plumage.
Common mistakes when drawing birds
One of the most frequent errors is making the bird look "stiff" or unnatural. This often happens when the artist fails to account for the bird's natural posture, which usually involves a slight S-curve in the neck. Another mistake is ignoring the texture of the eye; a dead, flat black circle makes the bird look like a toy. Always include a tiny, sharp reflection to bring the creature to life.
- Over-detailing the feathers before establishing the body's volume.
- Drawing the beak too small or misaligning it with the eye socket.
- Using uniform, heavy lines that flatten the bird’s three-dimensional form.
- Neglecting the "fluff" or downy feathers near the base of the neck and belly.
- Placing the legs too low, which makes the bird appear to be floating rather than standing or gripping a branch.
Best tools for drawing birds
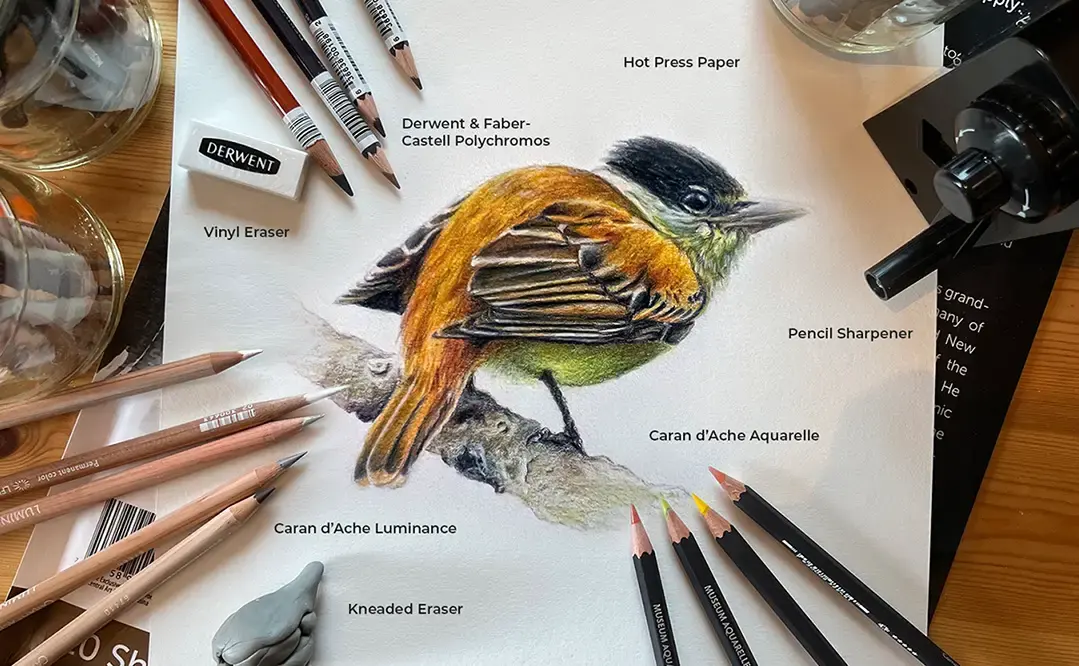
For beginners, a set of graphite pencils ranging from 2H to 4B is ideal for capturing both structure and texture. The 2H pencil is perfect for the initial, light construction lines that need to be subtle. The softer 4B pencil allows you to add deep, rich shadows in the wings and around the beak, providing the necessary contrast that makes a drawing pop. A kneaded eraser is also essential, as it can be molded to lift out fine highlights in the plumage.
Choose a smooth, high-quality drawing paper that can handle multiple layers of graphite without smudging. If you want to add color, colored pencils are excellent for layering, as they allow you to build up the iridescent sheen found on many bird species. Start with neutral base tones and gradually layer brighter colors on top to simulate the way light reflects off the feathers. With consistent practice and careful observation of live birds or high-resolution photographs, you will develop the ability to render complex avian forms with confidence and artistic clarity.
Key facts
- Birds are essentially composed of three main shapes: an oval for the body, a smaller circle for the head, and a triangle for the tail.
- Always sketch the "line of action" first, which is the curved spine that dictates the bird's posture and movement.
- Feathers grow in specific layers called tracts rather than covering the bird uniformly like a coat of fur.
- Use a light touch with your pencil to establish proportions before committing to dark, defined outlines.
- Observe the eye placement carefully, as it is usually located on the side of the head, halfway between the beak and the back of the skull.
- Reference the "wing fold" anatomy, where the primary feathers overlap the secondary feathers in a specific, layered sequence.
The bottom line
Drawing a realistic bird requires shifting your focus from individual details to the underlying skeletal structure and primary shapes. By establishing a fluid line of action and mapping out the body, head, and tail proportions first, you create a stable foundation. Layer your feather textures carefully and pay attention to the specific anatomy of wings and feet to bring your avian subject to life authentically.
People also ask
How do I make bird feathers look realistic?
Instead of drawing every individual feather, focus on the texture and the direction of the plumage. Use short, overlapping strokes to suggest the overlapping nature of feathers, and vary the pressure to show depth and shadows.
Should I start with the beak or the body?
Always start with the large, foundational shapes of the body and head to ensure correct proportions. Adding the beak and eyes too early often leads to a drawing that looks cramped or misaligned on the page.
Why does my bird drawing look stiff?
Stiffness usually results from ignoring the "line of action" or the bird's natural curve. Ensure the neck, body, and tail flow together in a fluid, organic arc rather than appearing as separate, rigid segments.
How do I draw bird feet accurately?
Bird feet are complex but can be simplified into cylinders and joints. Remember that most perching birds have three toes pointing forward and one pointing backward, known as anisodactyl arrangement.
What is the best pencil grade for sketching birds?
Use an HB or H pencil for the initial light construction lines so they can be easily erased. Switch to a 2B or 4B pencil for final details and shading to create rich, dark contrast.
How do I capture the correct shape of a bird's eye?
A bird's eye is a perfect circle, but it is often partially obscured by the eyelid or surrounding feathers. Draw the circle first, then add the surrounding feather detail to create a natural, recessed appearance.
This answer was created with the help of AI research tools and reference sources. Spotted an error? Let us know — we correct mistakes quickly. See our editorial policy.