How do you draw a parrot?
Short answer
Drawing a parrot involves breaking its complex form into simple geometric shapes like ovals and triangles. Start by sketching a large oval for the body and a smaller circle for the head. Connect these with a curved neck line, add a hooked beak, and finish with detailed wing and tail feathers.
On this page
How to structure the basic parrot anatomy
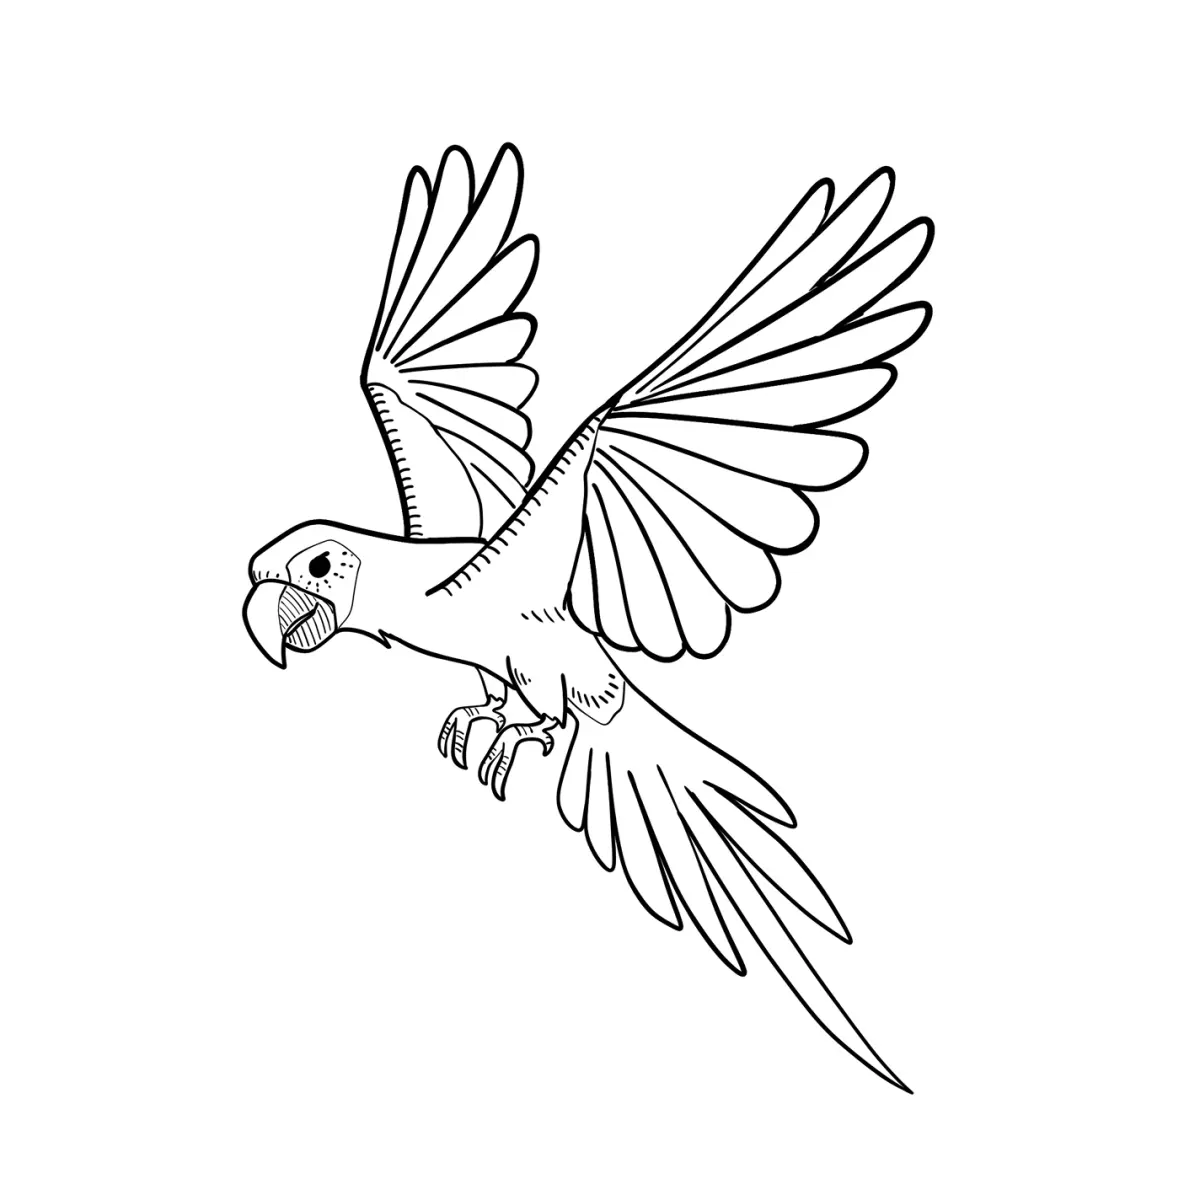
Begin by visualizing the parrot as a collection of basic shapes. The body is typically a large, elongated oval, while the head is a smaller circle positioned slightly above and to one side. A curved line connecting these shapes forms the neck, which should be thick to support the bird's heavy head. Use light pencil strokes for these initial guides, as they will be erased later.
Once the primary torso and head are established, add the wings and tail. The wings are usually represented by long, teardrop-shaped ovals that tuck against the body. The tail is a long, narrow rectangle or wedge shape extending from the base of the torso. These foundational shapes ensure your parrot has a realistic posture and balanced proportions before you begin adding complex details like feathers or facial features.
How to draw a parrot beak and eyes
The beak is the most iconic feature of a parrot and requires careful attention to its characteristic hook shape. Start by drawing a wide, curved triangle for the upper mandible, which should arch downward significantly. The lower mandible is smaller and fits neatly beneath the upper one. Ensure the base of the beak connects smoothly to the head circle you drew earlier.
For the eyes, place them high on the head, usually toward the back of the circular guide. Parrots have expressive, round eyes often surrounded by a patch of bare skin. You can represent this by drawing a small circle for the pupil and a larger one for the iris, followed by a light outline around the eye to suggest the orbital ring.
- Sketch a small circle for the eye.
- Add a circular pupil inside, leaving a small white highlight for realism.
- Draw a thin, irregular shape around the eye to represent the patch of bare skin common in many species.
- Refine the beak edges to appear sharp and slightly textured.
Best tools for drawing birds for beginners
Using the right materials can significantly improve your experience when learning to draw avian subjects. Graphite pencils are ideal for beginners because they allow for easy adjustments and shading. Start with an HB pencil for initial sketches, then switch to a 2B or 4B pencil to add depth and darker values to the feathers and beak.
High-quality drawing paper with a slight tooth, or texture, is better than smooth printer paper. The texture helps the graphite adhere to the surface, making it easier to blend shadows and create smooth gradients. Keep a kneaded eraser nearby, as it allows you to lift graphite gently without damaging the paper surface. This is essential for creating the soft highlights found on a parrot's plumage or the reflective surface of its beak.
- HB pencil for light layout lines.
- 2B pencil for shading and defining dark areas.
- Kneaded eraser for precise lifting of highlights.
- Blending stump or soft cloth for smoothing transitions.
- Smooth-textured sketchbook paper for better graphite control.
Why parrot feathers look complex
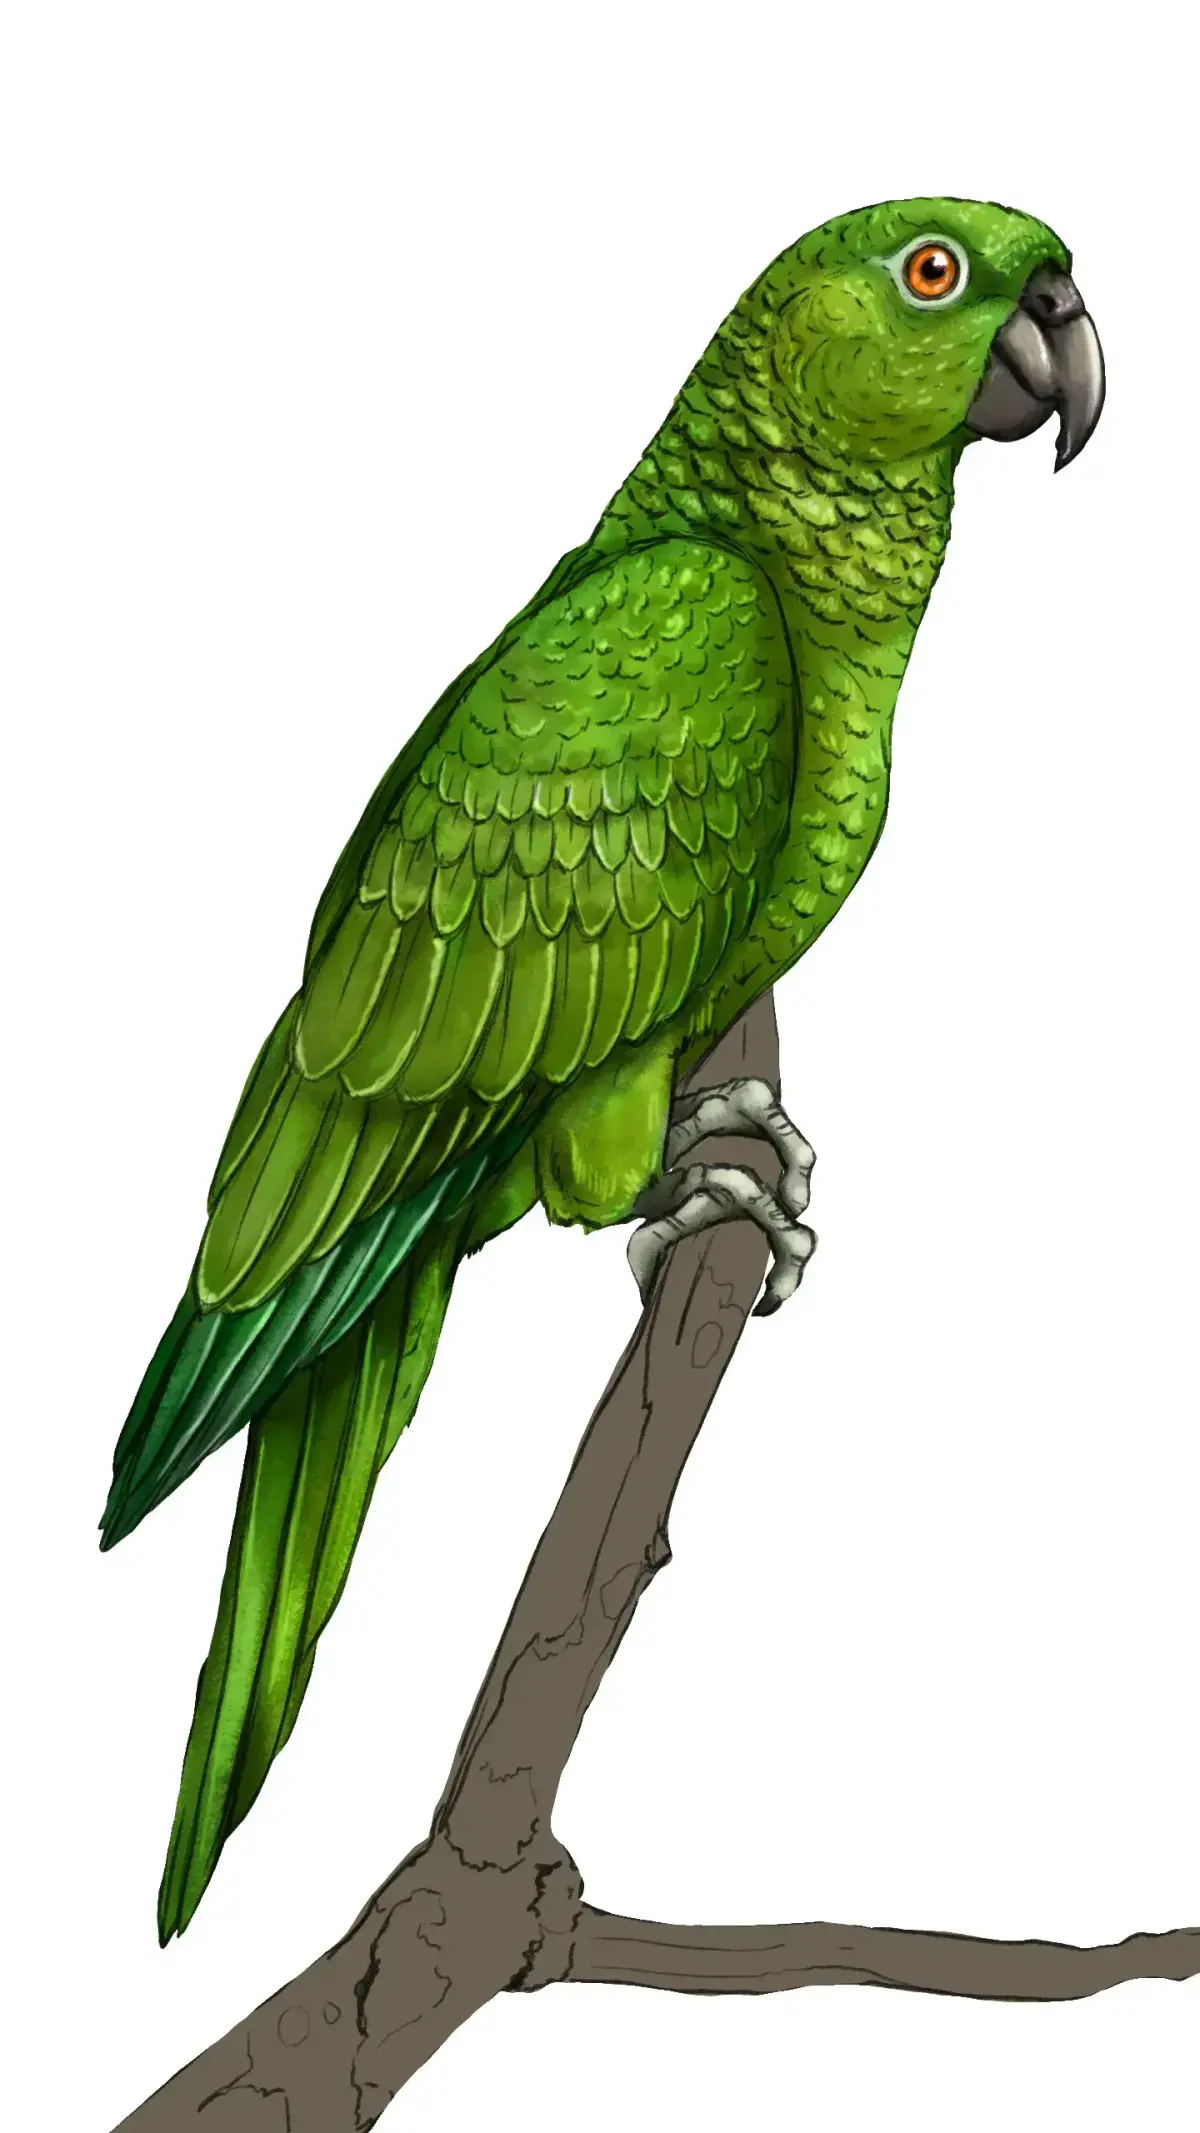
Parrots possess intricate plumage that can seem overwhelming to draw. To simplify this, do not attempt to draw every single feather individually. Instead, focus on the "feather tracts," which are the areas where feathers grow in groups. Use long, sweeping strokes to follow the contour of the bird’s body, which helps suggest the overall shape and volume of the wings and back.
When shading, think about the light source. Feathers have overlapping edges that create small, cast shadows. By darkening the area where one feather layer meets the one beneath it, you create a sense of depth and realism. Use a series of "U" or "V" shaped marks to represent the ends of the feathers, varying their size to match the bird's anatomy. This technique creates a natural, layered look without requiring excessive detail.
Common mistakes when drawing parrots
One frequent error is making the beak too small or too straight. Parrots are known for their powerful, curved beaks, and failing to emphasize this curve often makes the drawing look like a generic bird rather than a parrot. Always check your reference image to ensure the hook of the upper mandible is prominent and correctly angled relative to the head.
Another common mistake is neglecting the posture. Parrots are active creatures that often perch at an angle. If the body is drawn perfectly vertical, the bird may look stiff or unnatural. Tilting the body oval slightly and giving the tail a subtle curve can add life to your drawing. Finally, avoid using overly dark, harsh lines for the entire outline. Use softer, broken lines for the feathers to suggest texture, reserving the darkest, sharpest lines for the beak and the eye.
Key facts
- Parrots are characterized by their zygodactyl feet, meaning two toes point forward and two point backward.
- The beak of a parrot is curved and downward-hooked, which is essential for cracking hard nuts and seeds.
- When drawing a parrot, focus on the large, circular eye patch often found in species like macaws.
- Use a teardrop shape for the main body to establish a natural, perched posture.
- Feathers should be drawn in overlapping layers rather than individual lines to avoid a cluttered appearance.
- Reference the specific species, such as a Cockatoo or African Grey, as their head crests and beak shapes vary significantly.
The bottom line
Drawing a parrot successfully requires observing the unique skeletal structure that defines the species. Start by sketching the iconic curved beak and the zygodactyl feet, which provide the bird's distinct silhouette. By layering feather shapes and maintaining consistent lighting, you can create a lifelike representation. Practice these structural foundations to capture the personality and vibrant anatomy of these intelligent birds with confidence and artistic accuracy.
People also ask
What is the best medium for beginners to draw birds?
Graphite pencils are ideal for beginners because they allow for easy shading and erasing. Once the basic form is established, colored pencils or markers can be used to capture the vibrant plumage of a parrot.
How do I make the parrot look three-dimensional?
Focus on light source consistency to create shadows underneath the wings and along the belly. Adding a small white highlight in the eye will instantly bring the drawing to life and provide depth.
Should I start with the beak or the body?
It is usually best to start with the head and beak, as these are the focal points of the bird. Once the proportions of the head are set, you can scale the body accordingly.
How do I draw realistic parrot feathers?
Avoid drawing every single feather; instead, suggest texture by drawing V-shaped patterns on the wings. Focus on the transition between the smooth head feathers and the larger, overlapping flight feathers.
Why does my parrot drawing look like a generic bird?
The most common mistake is failing to emphasize the distinct curve of the upper mandible. Ensure the beak is thick and hooked, as this is the most recognizable trait of the parrot family.
How do I draw the feet correctly?
Remember that parrots use their feet like hands to grasp objects. Draw the toes wrapping around a branch or perch rather than just resting flat against it.
This answer was created with the help of AI research tools and reference sources. Spotted an error? Let us know — we correct mistakes quickly. See our editorial policy.