How do you draw a crow?
Short answer
Drawing a crow requires focusing on its sleek, aerodynamic silhouette and distinct beak shape. Start by sketching a rounded body and a wedge-shaped tail. Use dark, layered strokes to capture the iridescent sheen of its feathers. By mastering the bird's posture and sharp, intelligent eye, you can create a realistic, recognizable crow illustration.
On this page
How to sketch the basic anatomy of a crow
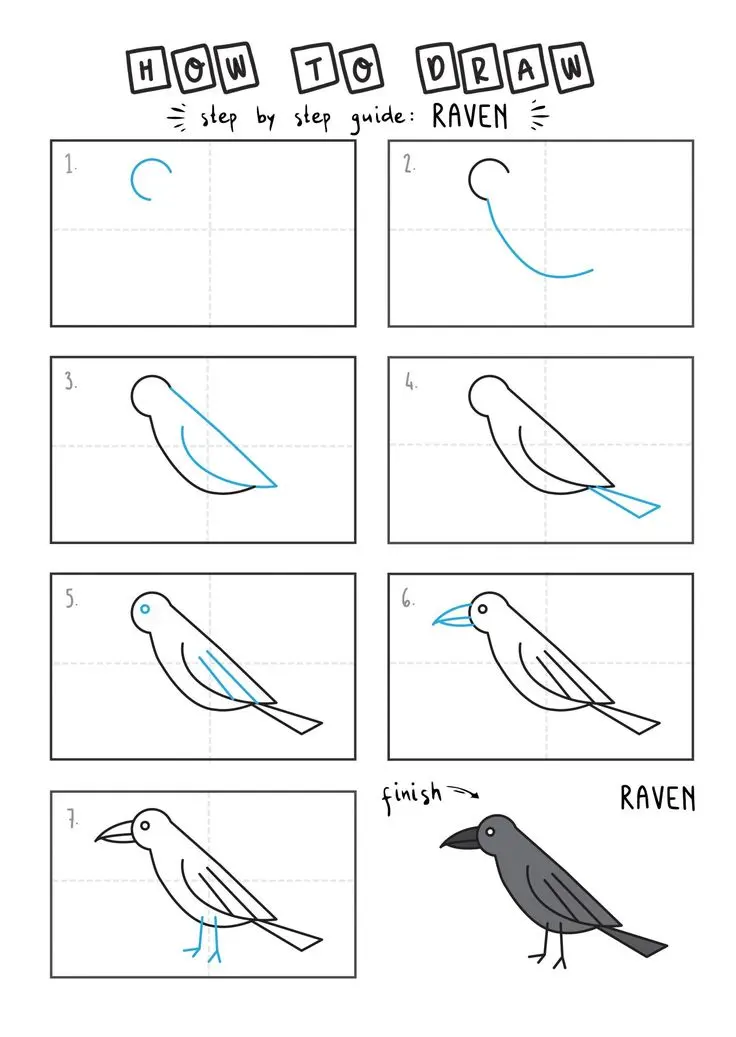
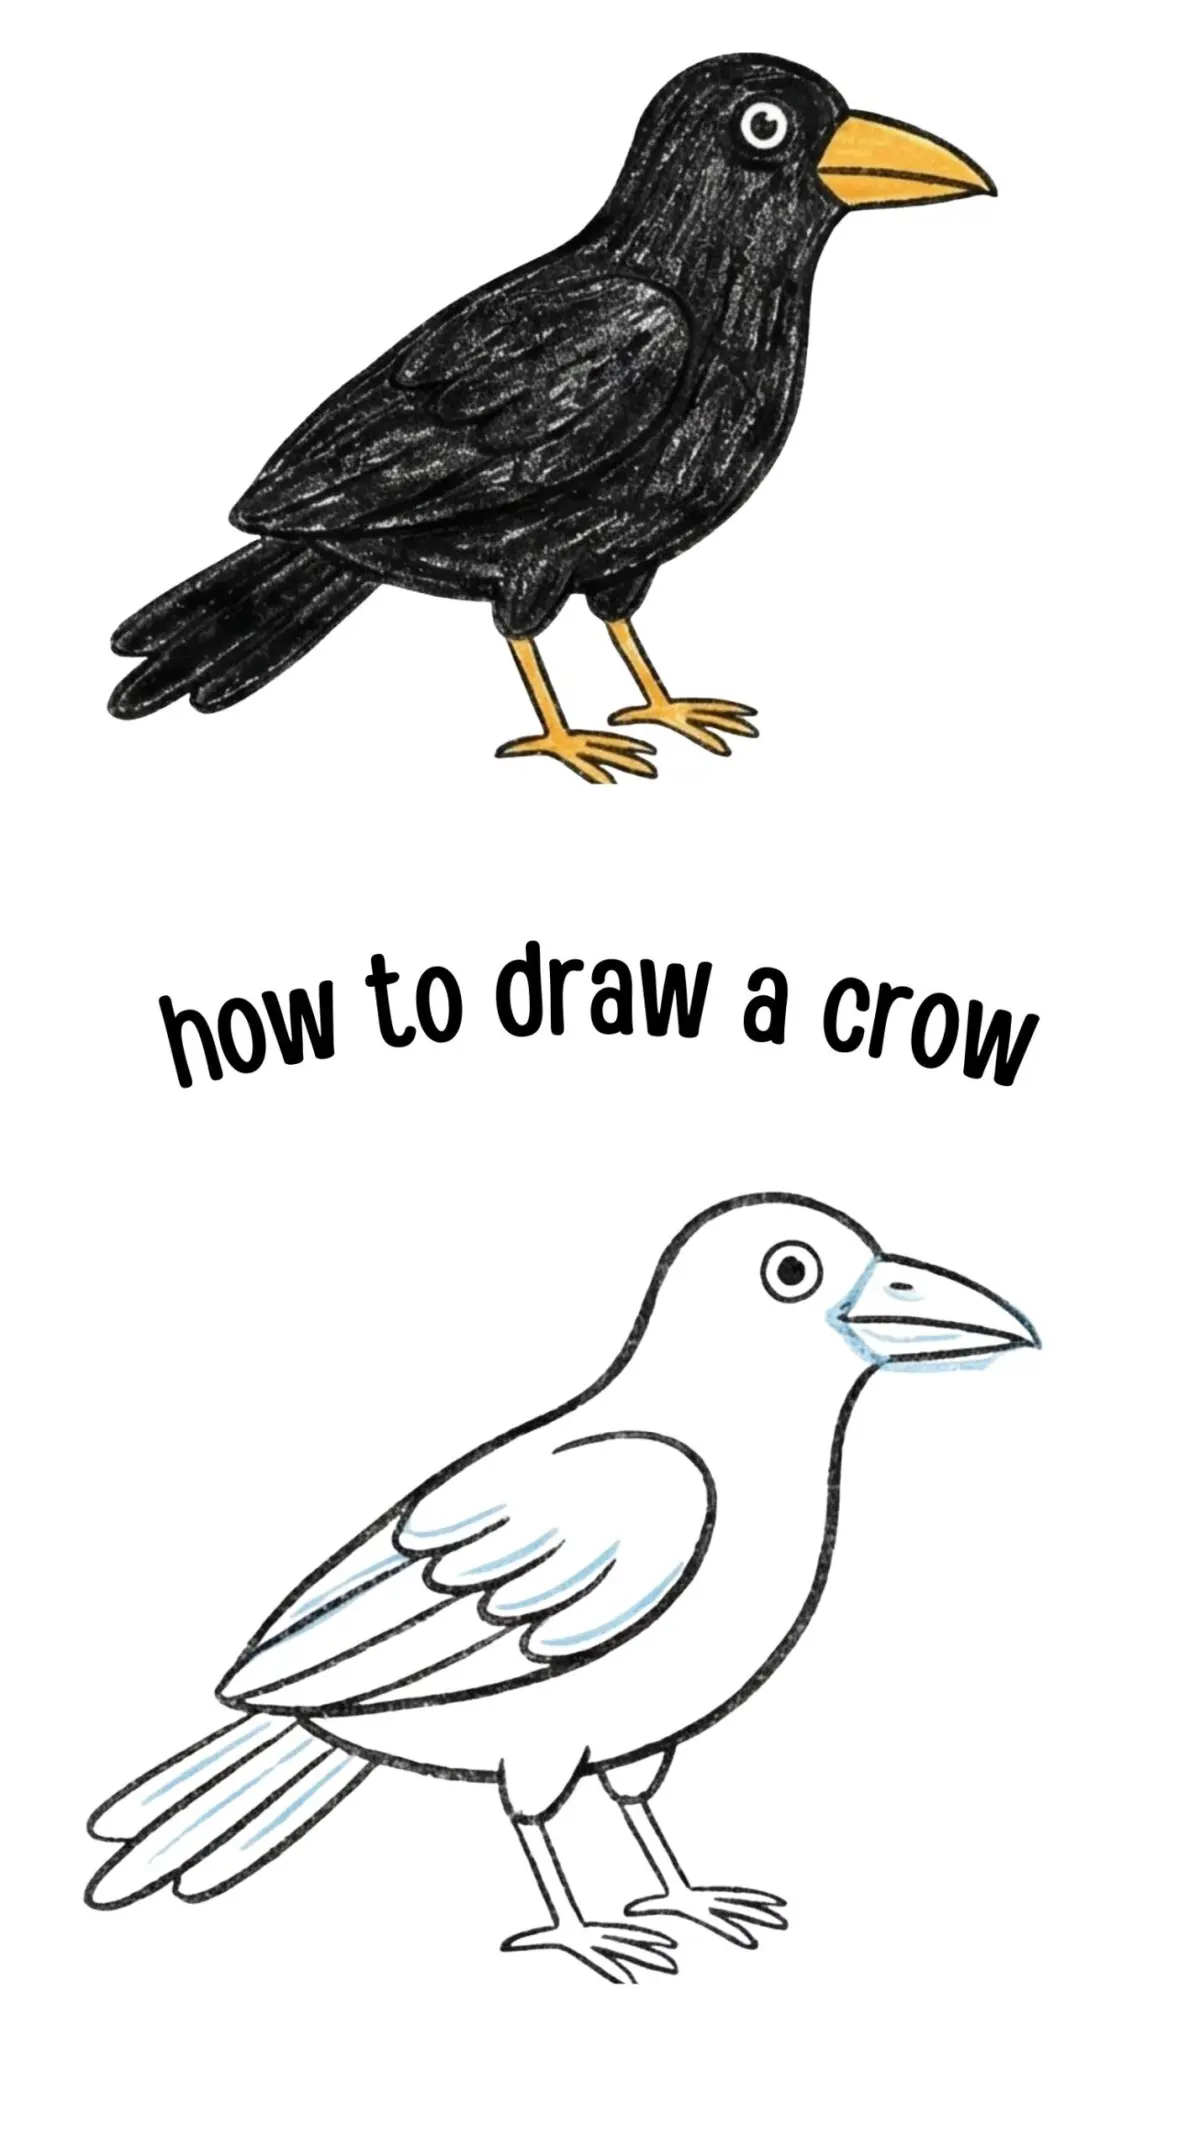
To begin your drawing, establish the crow’s posture by sketching a simple oval for the body and a smaller circle for the head. Connect these with a curved line to represent the neck, which is often held in a slightly hunched, alert position. Crows are known for their sturdy, compact build, so ensure the body does not appear too elongated or slender.
Once the basic framework is in place, add the beak and tail. The beak should be thick at the base and taper to a sharp point, appearing slightly hooked at the tip. The tail is a defining feature, typically shaped like a wide, blunt wedge. Use these guidelines to ensure your proportions are accurate before moving on to finer details:
- Draw the oval body at a slight downward angle.
- Place the head circle near the top front of the body.
- Sketch a rectangle extending from the back for the tail.
- Connect the head to the body with a short, thick neck line.
Best drawing techniques for crow feathers
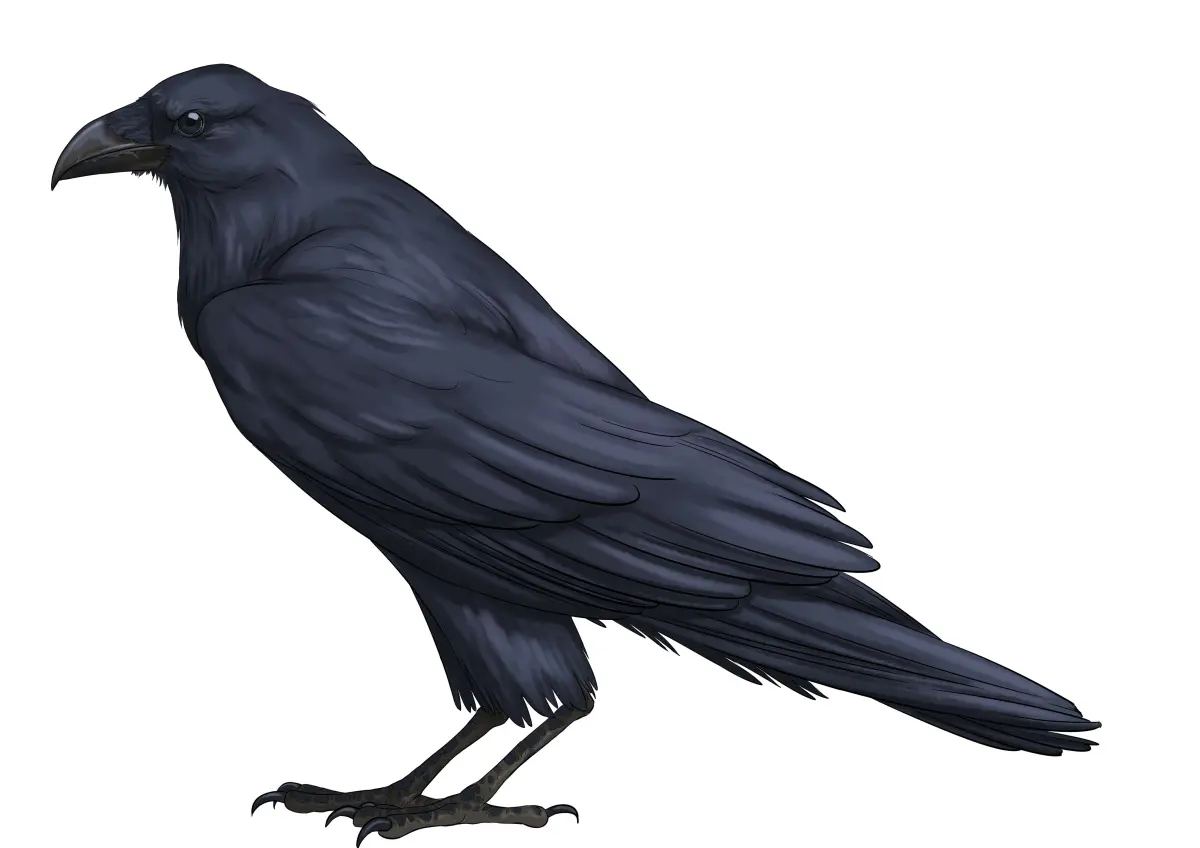
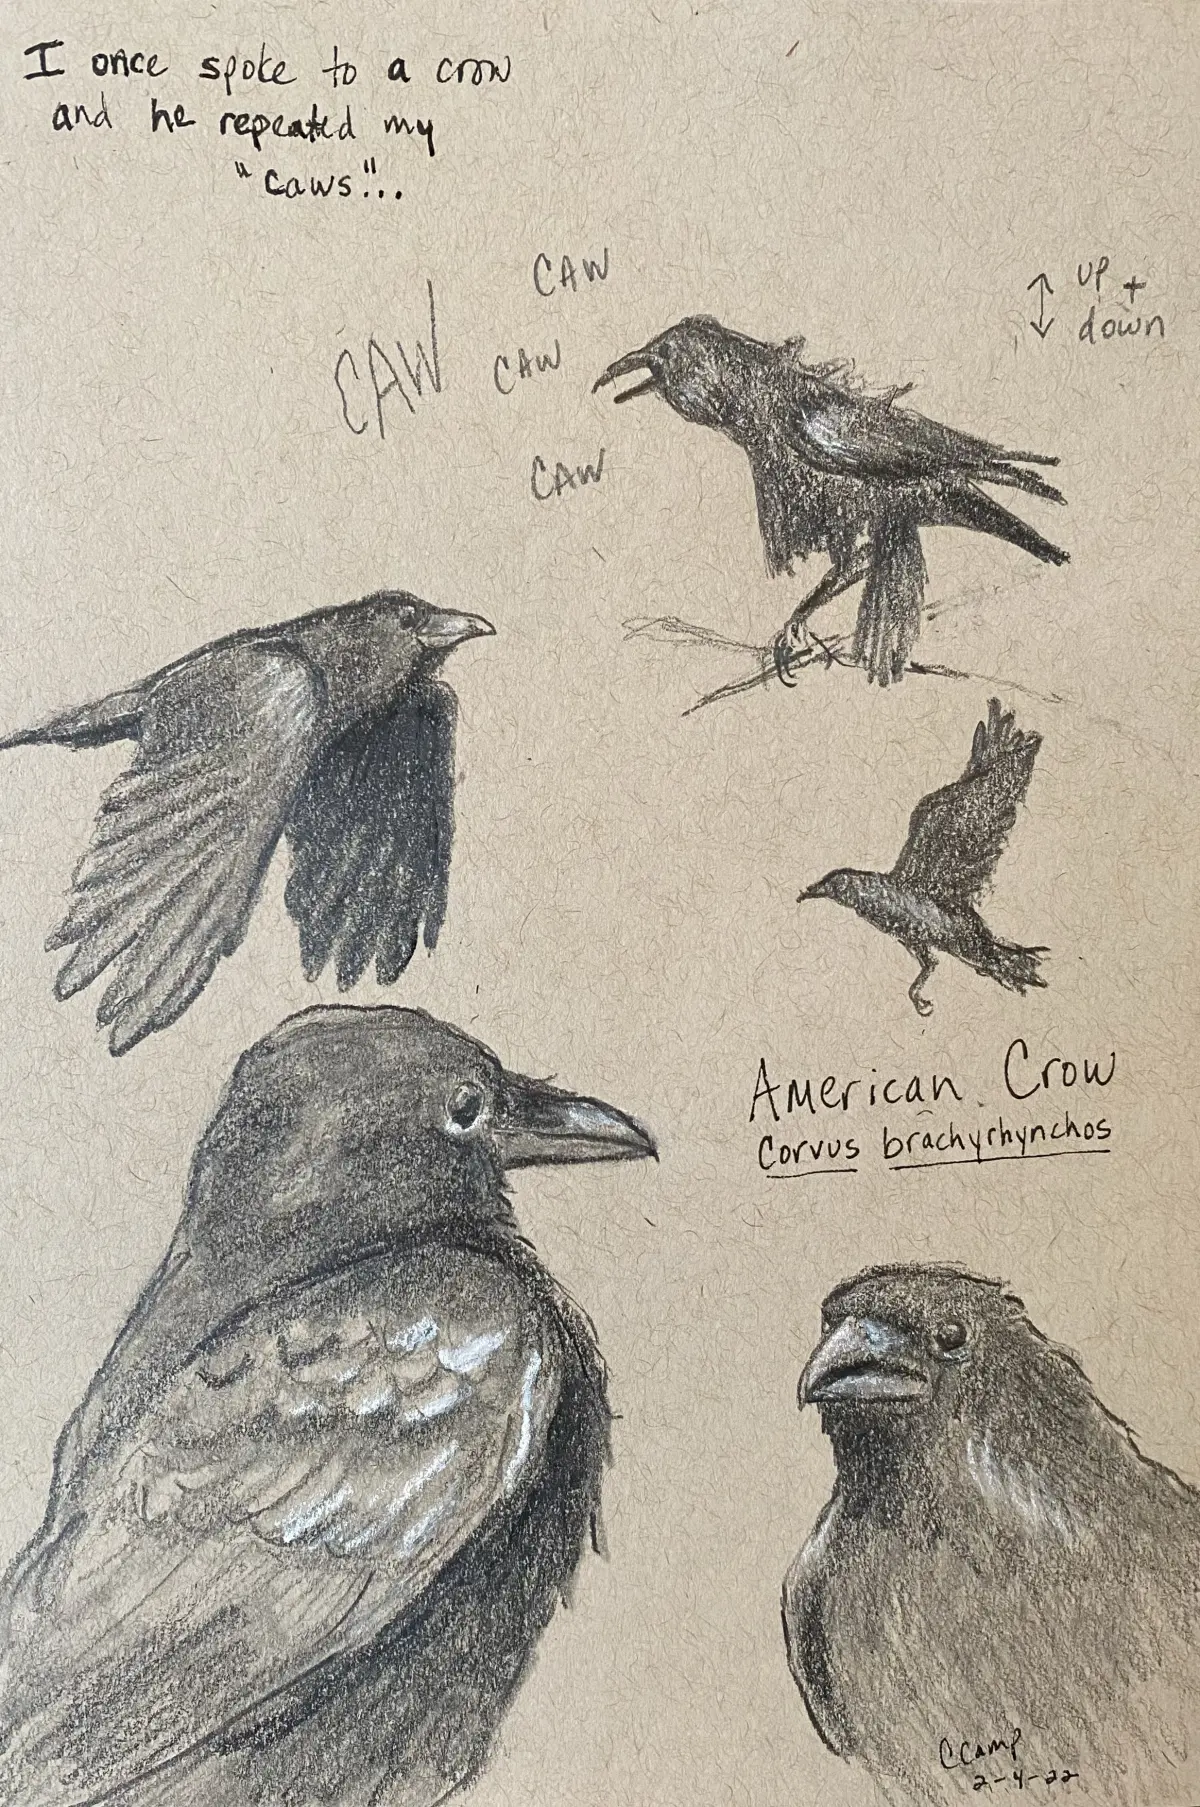
Capturing the texture of a crow’s plumage is essential for a realistic result. Instead of drawing every individual feather, focus on grouping them into larger, overlapping shapes. Use long, smooth strokes along the wings and back to suggest the streamlined nature of the feathers. Near the neck and chest, use shorter, more jagged marks to imply fluffiness and depth.
Remember that crow feathers possess a natural, oily sheen that reflects light. To represent this, leave small, thin strips of white paper untouched near the edges of the wings and the top of the head. These highlights indicate where the light hits the glossy surface. Use a soft graphite pencil or charcoal to build up dark tones gradually, ensuring the deepest shadows are concentrated under the wings and around the throat area.
How to draw the head and eye of a crow
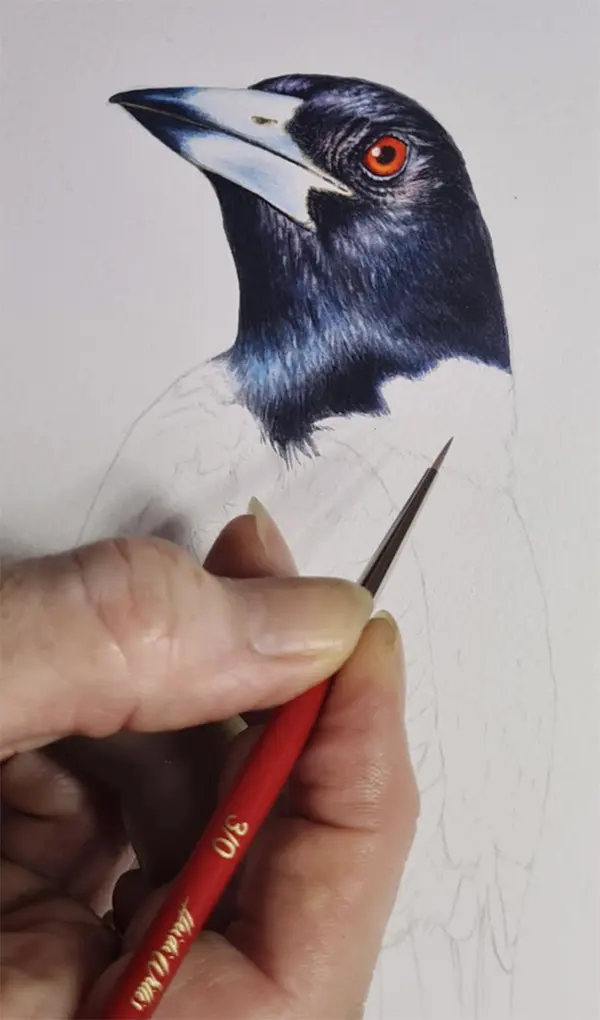
The head is the focal point of the drawing, as it conveys the bird's characteristic intelligence. The eye should be placed relatively high on the head, appearing as a small, dark, and intense circle. Surround the eye with a thin, dark ring to emphasize its sharp gaze. Because crows have a very distinct profile, ensure the transition from the forehead to the beak is smooth and continuous.
Pay close attention to the beak's structure, as it is a vital tool for the bird. Add a small nostril near the base of the upper mandible to provide a sense of scale and realism. If you are drawing the crow with its mouth open, make sure the interior is shaded darker than the exterior to create depth. Use these steps to refine the head:
- Outline the circular eye with a firm, dark line.
- Add a small highlight inside the pupil to show life.
- Define the base of the beak where it meets the feathers.
- Use light cross-hatching to shade the area around the beak.
Common mistakes when drawing crows
One of the most frequent errors is making the crow look too much like a generic songbird. Crows are robust and powerful, so avoid giving them thin, delicate legs or a dainty beak. If the beak is too narrow, the bird will lose its predatory, scavenger-like appearance. Similarly, ensure the wings are positioned close to the body, as crows do not typically have the elongated, sweeping wing shapes seen in smaller birds.
Another common mistake is failing to account for the bird's solid black appearance. Beginners often use a flat, uniform gray, which makes the drawing look lifeless. Instead, use a full range of values, from deep, velvety blacks to lighter grays. Avoid using a single pencil grade for the entire bird; switch between a 2B for lighter shading and a 6B or 8B for the darkest, most saturated areas of the plumage.
How to add background and environmental context
Placing your crow in a natural setting helps ground the subject and adds narrative interest. Consider drawing the bird perched on a textured surface, such as a gnarled tree branch or a fence post. The contrast between the organic, rough texture of wood and the sleek, smooth feathers of the crow creates visual harmony. Keep the background simple so that it does not distract from the primary subject.
When adding environmental elements, use lighter pressure to ensure they remain in the background. If you include foliage or sky, use soft, blurred lines to create a sense of distance. This atmospheric perspective forces the viewer’s eye back to the sharp, well-defined details of the crow. By carefully balancing the contrast between the bird and its surroundings, you complete a professional-looking piece that captures the essence of this fascinating and highly intelligent avian species.
Key facts
- Crows have a distinct, thick, slightly curved beak that distinguishes them from smaller songbirds.
- The silhouette of a crow is defined by a wedge-shaped tail and broad, fingered wingtips.
- Focus on the "nuchal hump," a slight protrusion at the back of the neck, to capture the bird’s posture.
- Use a variety of dark tones, as crow feathers are iridescent and reflect blue, purple, or green light.
- Position the eye slightly above the base of the beak to maintain a realistic, intelligent expression.
- Always sketch the primary wing feathers as separate, elongated shapes rather than a single solid mass.
The bottom line
Drawing a convincing crow requires careful attention to its sturdy anatomical proportions and the layered structure of its plumage. By focusing on the wedge-shaped tail, the thick, curved beak, and the distinct fingered wingtips, you can capture the bird’s iconic silhouette. Remember to layer your dark tones to suggest iridescence, ensuring the final result feels both grounded in biological reality and full of avian character.
People also ask
Should I use charcoal or graphite for a crow?
Graphite is better for precise, sharp outlines and fine feather details. Charcoal is superior for achieving the deep, velvety blacks characteristic of crow plumage.
How do I make the feathers look realistic?
Avoid drawing individual lines for every feather. Instead, group feathers into overlapping layers or "shingles" to create depth and texture.
What is the most common mistake when drawing a crow?
The most frequent error is making the beak too thin or straight. A crow’s beak is robust and slightly hooked at the tip, reflecting its role as an omnivorous scavenger.
How do I draw a crow in flight?
Draw the wings in a "V" shape or slightly arched. Ensure the primary feathers at the wingtips are splayed apart like fingers to show air resistance.
Do crows have visible legs?
Yes, they have strong, scaly legs often tucked close to the body when perched. Draw them with a slight forward angle to suggest stability and grip.
How can I capture the crow's personality?
Focus on the eye, which is typically dark and alert. A slight tilt of the head adds a sense of curiosity, which is a hallmark of corvid behavior.
This answer was created with the help of AI research tools and reference sources. Spotted an error? Let us know — we correct mistakes quickly. See our editorial policy.