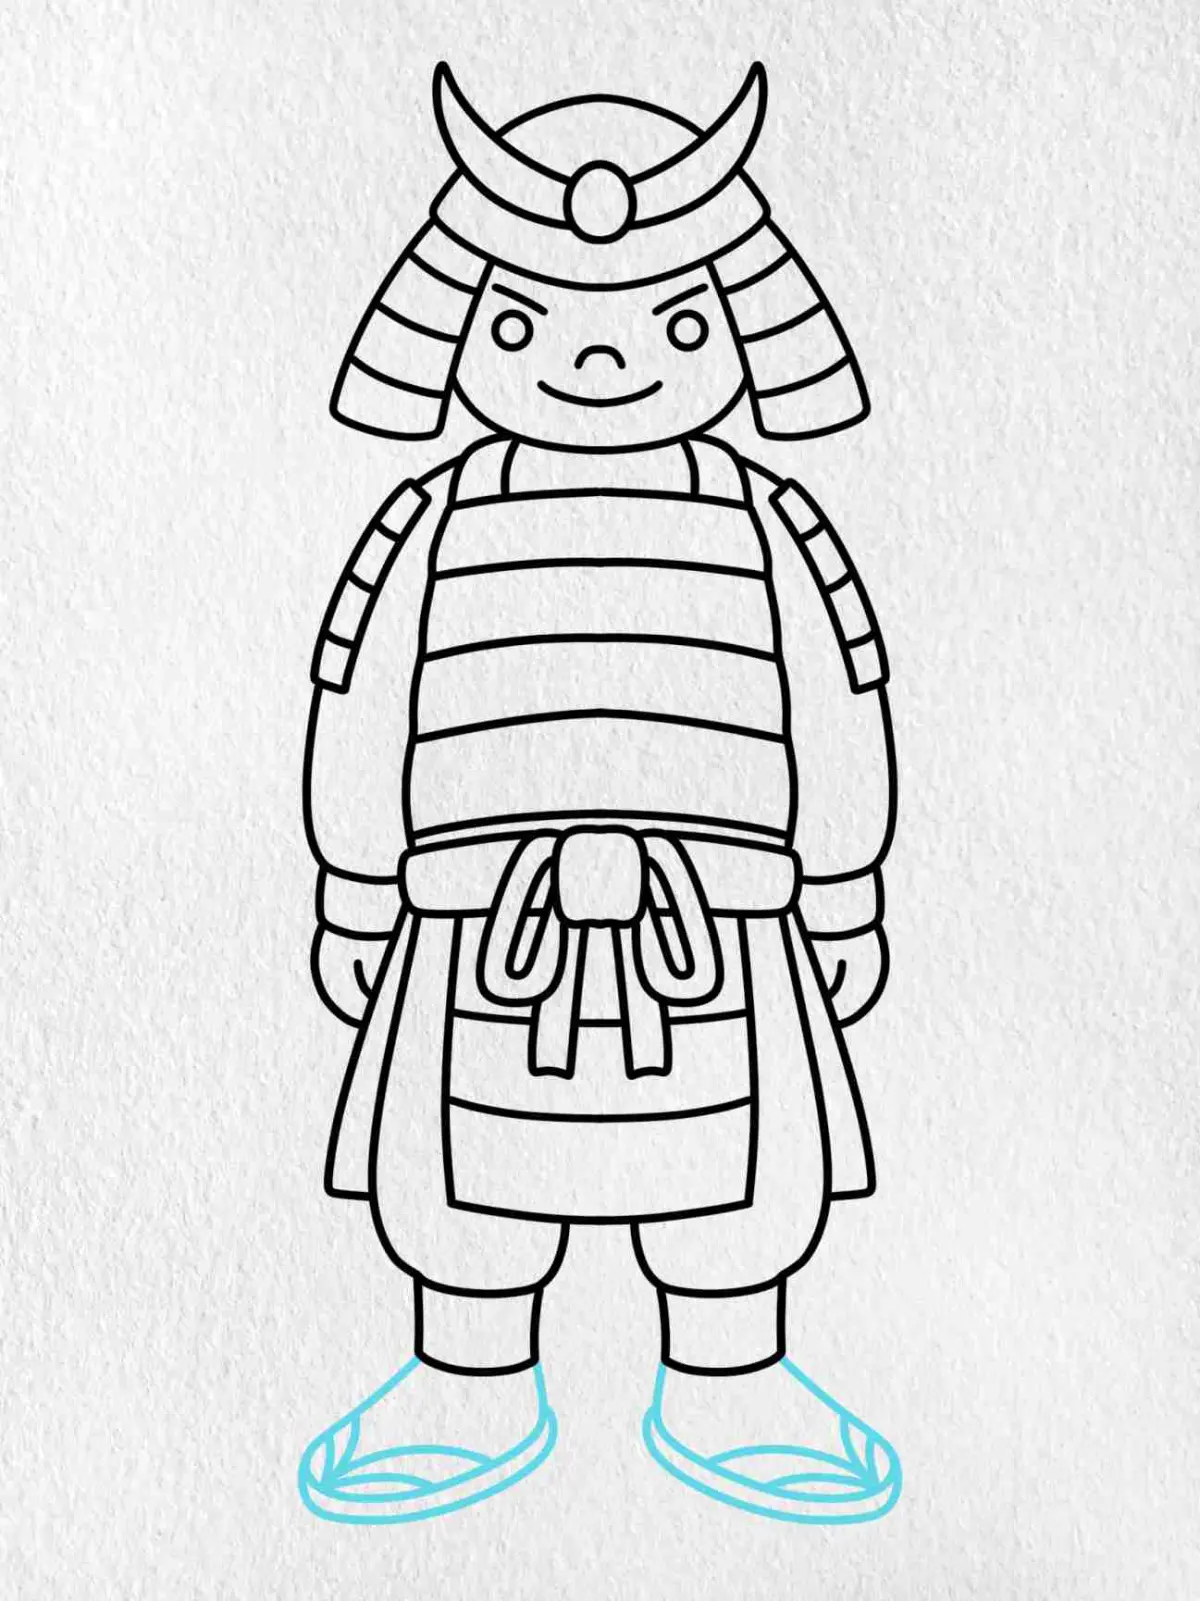
How do you draw armor?
Short answer
Drawing armor requires understanding human anatomy and the mechanical function of protective plates. Start by sketching a simplified mannequin, then layer rigid shapes over joints and vital areas. Focus on how metal plates overlap to allow movement, using light and shadow to define the metallic texture and curved, reflective surfaces.
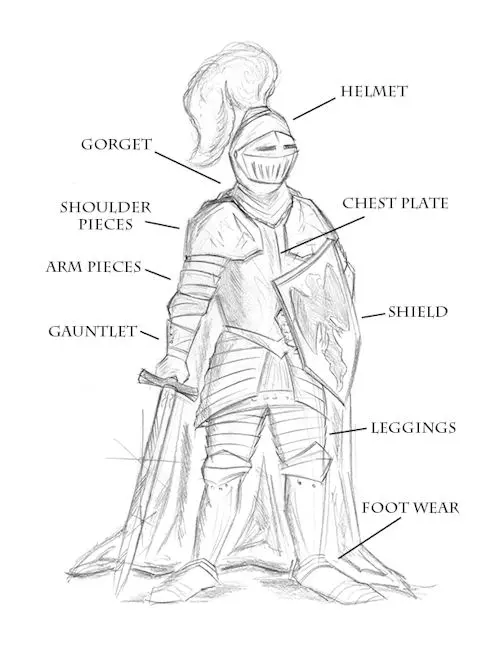
On this page
How to draw armor for beginners
Beginners should start by viewing armor as a series of rigid shells fitted over a flexible body. Before adding details, draw the character in a basic pose to ensure the proportions are correct. Armor is not a skin-tight suit; it occupies physical space, so you must draw the plates slightly larger than the limbs they cover.
Focus on the "hinge" points where the body bends, such as the neck, elbows, and knees. In these areas, armor must be segmented or articulated to allow for movement. Use these foundational steps to build your design:
- Sketch the underlying anatomy to establish the character's posture.
- Define the major armor zones: the cuirass for the torso, pauldrons for shoulders, and greaves for the legs.
- Add overlapping plates at joints to simulate articulation.
- Refine the outlines to show the thickness of the metal edges.
What are the types of armor designs
Armor designs generally fall into historical or fantasy categories, each requiring different visual logic. Historical plate armor, popular in the 15th century, features rounded, smooth surfaces designed to deflect arrows and sword strikes. Fantasy armor often incorporates spikes, glowing runes, or exaggerated proportions that prioritize aesthetic intimidation over practical utility.
When choosing a style, consider the weight and material. Leather armor appears supple and worn, often featuring straps and buckles, while steel plate armor appears rigid and polished. You can distinguish them by observing how they catch light:
- Steel: Sharp, bright highlights and deep, dark shadows.
- Leather: Muted highlights and subtle gradients across the surface.
- Chainmail: A repetitive, textured pattern of interlocking rings.
- Cloth: Soft folds and limited light reflection.
How to draw armor joints and movement
The most common error in drawing armor is ignoring how the plates interact during motion. If you draw a solid, unmoving piece of metal over the elbow, the character will appear unable to bend their arm. Instead, use "lames," which are thin, narrow strips of metal that slide over one another like a telescope.
To master this, observe how real-world articulated armor functions. When the arm bends, the plates on the outside of the joint should fan out, while the plates on the inside should compress. Always check your drawing against the character's intended action. If the character is running, ensure the leg armor has enough clearance at the hip and knee to allow for a full stride without the plates colliding.
How to render metallic armor textures
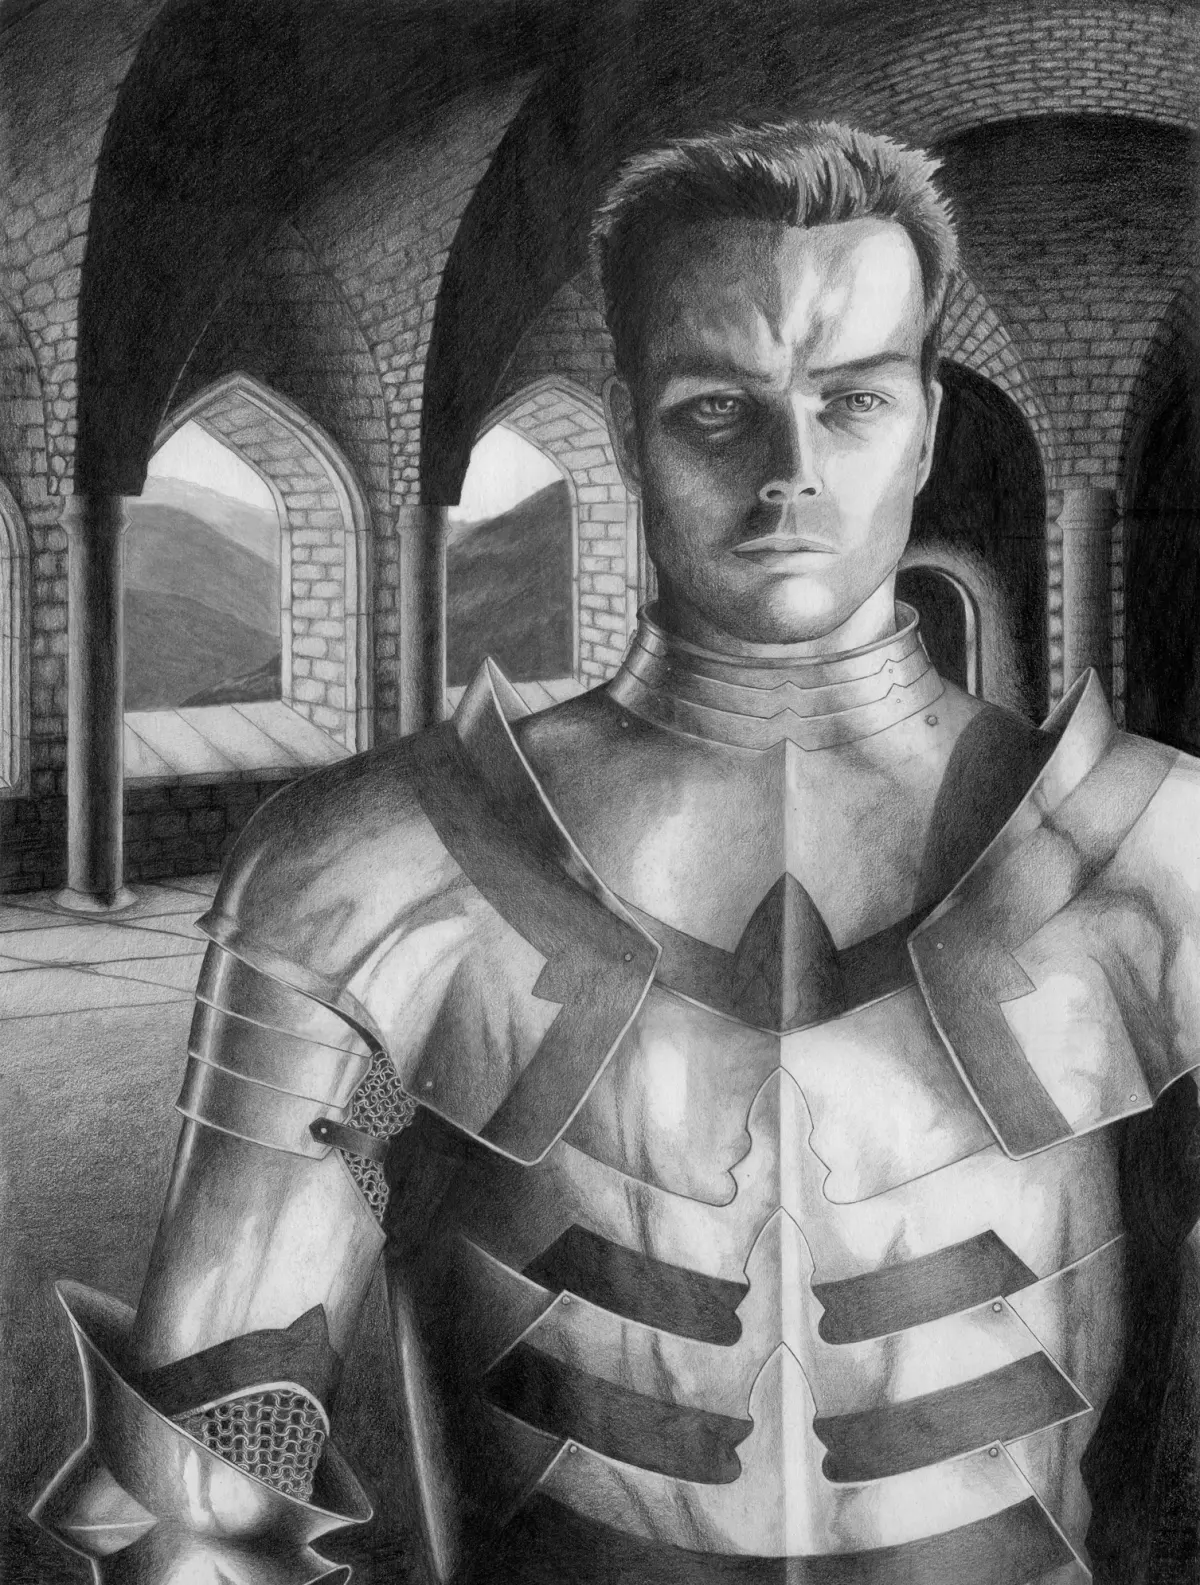
Rendering metal is an exercise in managing contrast and reflection. Metal is highly reflective, meaning it picks up the colors and light sources of the surrounding environment. To achieve a realistic look, use a wide range of values, pushing your highlights to nearly pure white and your shadows to deep, rich blacks.
Avoid using flat, uniform colors for armor. Instead, create a gradient that follows the curve of the plate. Sharp, thin lines of white highlight near the edges of a piece of armor suggest a polished, convex surface. If you are drawing a complex piece, such as a helmet, map out the reflection of the sky above and the ground below to ground the object in its environment.
Common mistakes when drawing armor
One frequent mistake is failing to account for the "padding" worn underneath the metal. Authentic armor was rarely worn directly against the skin; it was layered over a gambeson or arming doublet to prevent chafing and absorb impact. Adding a visible collar or thick padding at the joints adds a layer of realism that makes the armor look functional rather than decorative.
Another error is ignoring the silhouette. If the armor is too cluttered with small details, the overall shape of the character becomes muddy and difficult to read from a distance. Prioritize the main shapes of the chest, shoulders, and head, and keep smaller engravings or filigree secondary to the overall form. By maintaining a clean silhouette, you ensure the character remains recognizable regardless of how much complex detail you add to the armor plating.
Key facts
- Armor is designed to follow human anatomy; always sketch the body underneath before adding plates to ensure the proportions remain realistic.
- Use simple geometric shapes like cylinders for limbs and spheres for joints to map out the armor's volume before adding fine details.
- Plates must overlap in the direction of movement to prevent gaps that would expose the wearer during combat.
- Study the difference between historical plate armor, such as 15th-century Gothic styles, and fantasy designs to understand functional articulation.
- Highlight edges and indentations with strong shadows to define the metallic surface and create a sense of weight.
- Avoid drawing armor as a single solid piece; break it into distinct segments like pauldrons for shoulders and gauntlets for hands.
The bottom line
Drawing convincing armor requires a balance between anatomical accuracy and mechanical logic. By first sketching the human form, you ensure the armor fits naturally, while segmenting the plates allows for realistic movement. Focus on light and shadow to establish a metallic texture, and prioritize the silhouette over minute details. Mastering these fundamental principles will help you create armor that looks both protective and functional.
People also ask
How do I make armor look like real metal?
Use high-contrast shading with sharp, clean edges to represent the reflective nature of polished steel. Place bright white highlights on the convex curves and deep, dark shadows in the crevices to simulate a metallic sheen.
Should I draw the character's muscles before drawing the armor?
Yes, drawing the underlying anatomy is essential for maintaining correct proportions and ensuring the armor looks fitted. Even bulky plate armor requires a skeletal structure to determine where the joints should bend.
How do I draw joints that actually move?
Focus on "articulation points" by using overlapping plates or flexible maille at the elbows, knees, and hips. These segments must slide over one another to allow the character to bend without the armor clipping into itself.
What is the most common mistake when drawing armor?
The most frequent error is drawing armor that is too bulky or rigid, making the character look like a static statue. Always account for the range of motion required for human movement to keep the design functional.
How do I design armor that looks unique?
Research historical armor types like the Roman lorica segmentata or Japanese samurai armor for inspiration before adding personal stylistic flourishes. Combining functional historical elements with unique engravings or pauldrons creates a grounded yet creative design.
Do I need to draw every single bolt and strap?
Focus on the primary silhouette first, as excessive detail can clutter the drawing and distract from the overall form. Add functional details like leather straps and rivets only after the major plates are properly positioned.
This answer was created with the help of AI research tools and reference sources. Spotted an error? Let us know — we correct mistakes quickly. See our editorial policy.