How do you draw an elk step by step?
Short answer
Drawing an elk requires capturing its distinct silhouette, characterized by a heavy neck, a prominent hump at the shoulders, and massive, branching antlers. Begin by sketching simple geometric shapes to establish the proportions of the body, then refine the anatomy with muscle definition and texture to bring the majestic animal to life.
On this page
How to sketch the basic body proportions
To draw an elk accurately, begin by visualizing the animal as a series of connected shapes. Start with a large oval for the ribcage and a slightly smaller, circular shape for the hindquarters. Connect these with a curved line for the back, ensuring there is a noticeable hump above the shoulder area, which is a key anatomical feature of the elk. Place a smaller oval for the head and a rectangular shape for the neck, angled downward to suggest the animal’s typical grazing or alert posture.
Use these steps to establish your foundation:
- Draw a large horizontal oval for the chest and ribcage.
- Add a smaller circle behind it for the haunches, positioned slightly higher.
- Sketch a long, thick neck connecting the head to the chest.
- Place four vertical lines for the legs, noting that the front legs are generally straighter than the hind legs.
- Keep your pencil strokes light so you can easily erase or adjust the proportions before adding permanent details.
How to draw elk antlers step by step
The antlers are the most defining feature of a bull elk and require careful placement to look natural. Start by drawing two main beams that curve backward from the top of the head, spreading outward like a wide ‘V’ shape. From these main beams, draw the brow tines, which point forward near the base, followed by the bez and trez tines that extend upward and outward. The antlers should look heavy and textured, so add small, irregular bumps along the surface to represent the natural bone structure.
Follow this sequence to build the rack:
- Draw two primary curves extending from the skull, curving back toward the shoulders.
- Add the brow tines near the base, pointing forward and slightly upward.
- Include the secondary tines at intervals along the main beam, ensuring they decrease in length toward the tips.
- Connect the antlers to the head with a thick, rugged base known as the burr.
- Vary the thickness of the tines to ensure they look like organic, growing bone rather than stiff sticks.
Best drawing techniques for elk fur and texture
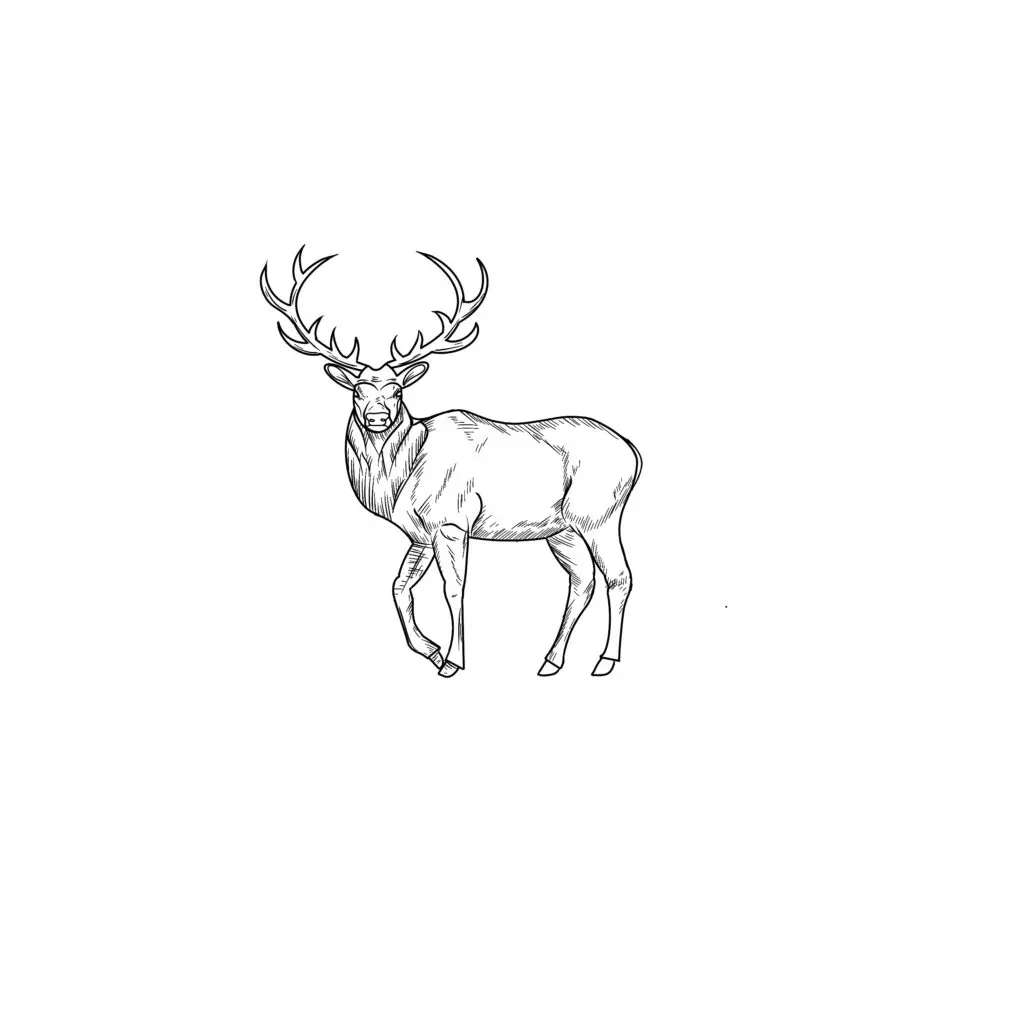
Elk fur is dense and varies in color, ranging from a creamy tan on the rump to a deep, dark brown on the neck and legs. Use short, directional hatching strokes to mimic the flow of the fur, following the contours of the muscles underneath. Focus your shading on the underside of the belly, the neck, and the inner parts of the legs to create a three-dimensional effect. Keep the strokes tighter and denser in areas where the fur is darker, such as the mane, to create a sense of depth and realism.
When applying texture, consider the following:
- Use a soft graphite pencil for the dark mane to achieve a rich, velvety black or dark brown tone.
- Use a harder pencil for the lighter, tan-colored patches on the back and rump to maintain a subtle, soft appearance.
- Avoid drawing every individual hair; instead, group them into clumps to suggest the overall texture of the coat.
- Use an eraser to lift highlights along the back and the top of the neck where sunlight would naturally hit the animal.
Common mistakes when drawing elk anatomy
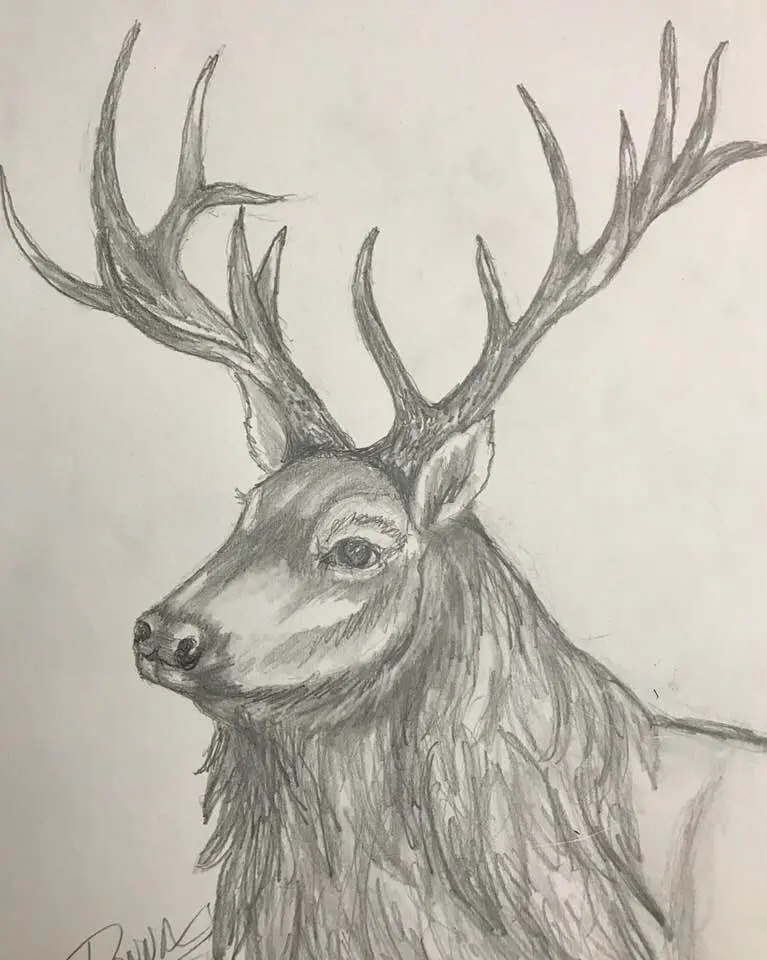
One of the most frequent errors is making the legs too thin or delicate. Elk are large, sturdy animals, and their legs must look capable of supporting a heavy frame. Another common mistake is neglecting the shoulder hump, which gives the elk its powerful, imposing profile. If the back is drawn as a flat or concave line, the animal will look more like a deer or a horse. Additionally, ensure the head is proportional to the neck; an elk’s head should appear somewhat elongated, with a large muzzle and a clear, dark eye set well back from the nose.
Avoid these pitfalls during your sketching process:
- Do not make the neck too narrow, as it must support the weight of massive antlers.
- Ensure the ears are positioned correctly at the top of the head, usually appearing large and slightly pointed.
- Watch the spacing between the legs; if they are too close together, the elk will appear unstable or unnatural.
- Do not forget the tail, which is very short and typically a light, creamy color.
How to refine your elk drawing for realism
Once the basic structure and texture are in place, focus on the finer details that bring the drawing to life. Add depth to the eye by leaving a small white spot for a highlight, which creates a glint of realism. Darken the nose and the hooves, as these areas have the most contrast against the rest of the body. Review the overall silhouette one last time to ensure the transition from the neck to the chest is smooth and muscular. By refining these small areas, you transform a simple outline into a professional-looking portrait of a wild elk.
Final touches to enhance your work include:
- Deepening the shadows under the jawline to create a clear separation between the head and the neck.
- Adding subtle ground shadows beneath the hooves to anchor the elk firmly within the environment.
- Checking the symmetry of the antlers from a front or three-quarter view to ensure they look balanced.
- Softening the edges of the fur patches with a blending stump to create a more natural, lifelike transition between colors.
Key facts
- An elk's body is roughly rectangular, with a slightly sloping back that drops toward the hindquarters.
- The neck is thick and muscular, supporting a large head that is elongated with a distinct, blunt muzzle.
- Adult bull elk are defined by their massive, branching antlers, which can span up to 5 feet across.
- Elk legs are long and slender, ending in cloven hooves that are designed for traversing rugged mountainous terrain.
- Focus on the "shoulder hump" when sketching; this is a prominent anatomical feature caused by the elk's powerful shoulder muscles.
- Use light, sketchy lines to establish the basic proportions before committing to dark, defined outlines.
The bottom line
Drawing an elk requires a focus on its distinct anatomy, specifically the muscular shoulder hump, long legs, and impressive, branching antlers. By starting with simple geometric shapes to establish proportions, you can build a realistic structure before adding finer details like fur texture and facial features. Practice observing the natural posture of the animal to ensure your final sketch captures its majestic presence in the wild.
People also ask
How do you draw the antlers of a bull elk?
Start by drawing a main beam that curves backward, then add individual tines branching upward and forward. Keep the tines asymmetrical to mimic the natural growth patterns found in the wild.
What is the best way to capture the texture of an elk's coat?
Use short, directional pencil strokes that follow the contour of the body to suggest fur. Focus on longer, coarser hair around the neck and throat area to create a realistic mane.
Should I draw the elk standing or moving?
Drawing an elk in a standing position is easier for beginners because it allows you to focus on anatomical proportions. Once you master the standing pose, you can experiment with dynamic angles like walking or grazing.
How do I get the proportions of the legs correct?
Elk legs should be about as long as the depth of the animal's chest. Ensure the joints, such as the knees and hocks, are clearly articulated to avoid a "stiff" or unnatural appearance.
What is a common mistake when drawing an elk's face?
A common error is making the eyes too round or placing them too far forward. Elk eyes are positioned on the sides of the head to provide a wide field of vision, and they are typically almond-shaped.
Do I need to color my elk drawing?
Coloring is optional, but using earthy tones like tan, dark brown, and cream helps define the animal's coat. Focus on shading the underside of the belly and legs to create a sense of three-dimensional volume.
This answer was created with the help of AI research tools and reference sources. Spotted an error? Let us know — we correct mistakes quickly. See our editorial policy.