How do you photograph reflections?
Short answer
Photographing reflections requires finding a smooth, reflective surface, such as water, glass, or polished metal, and positioning your camera to capture the mirror image. Use a polarizing filter to control the intensity of the reflection and choose a narrow aperture to keep both the subject and its reflection in sharp focus.
On this page
How to find the best reflective surfaces
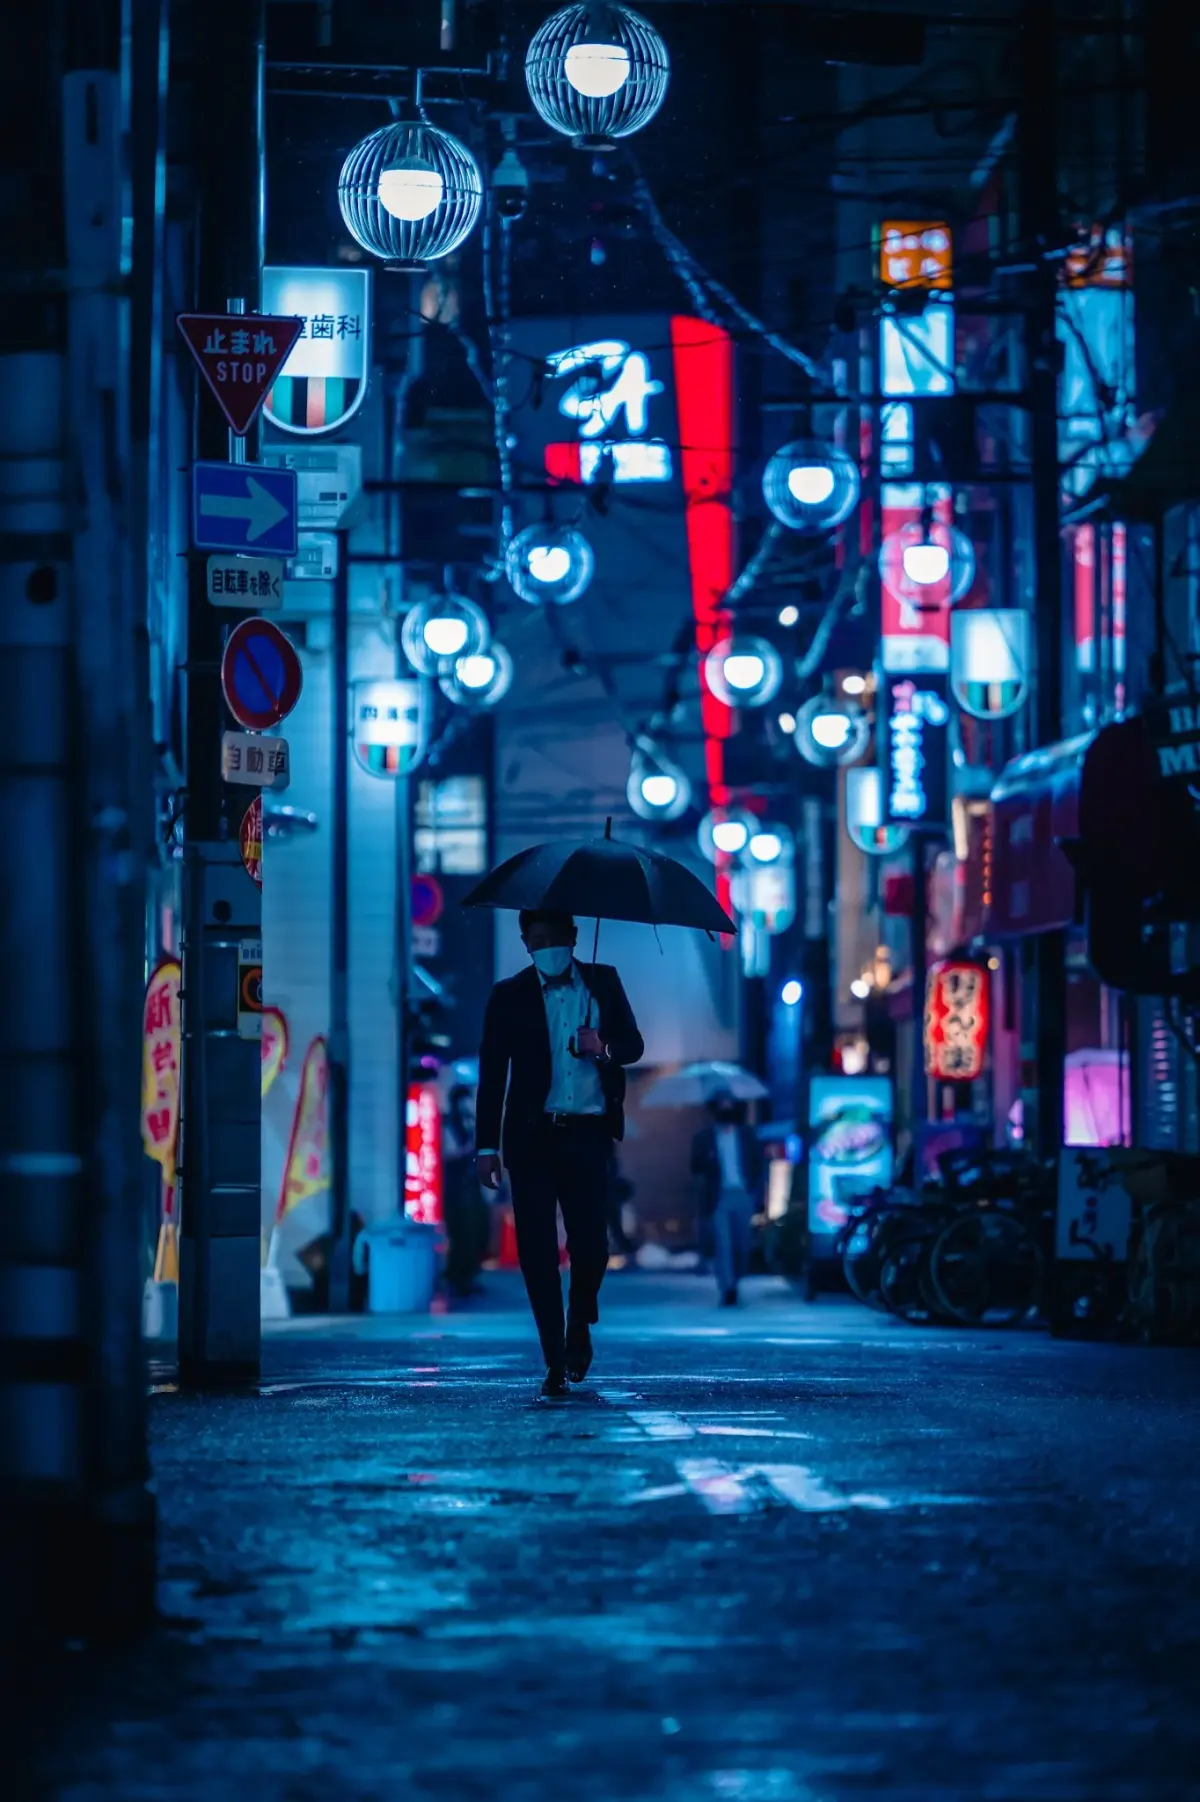
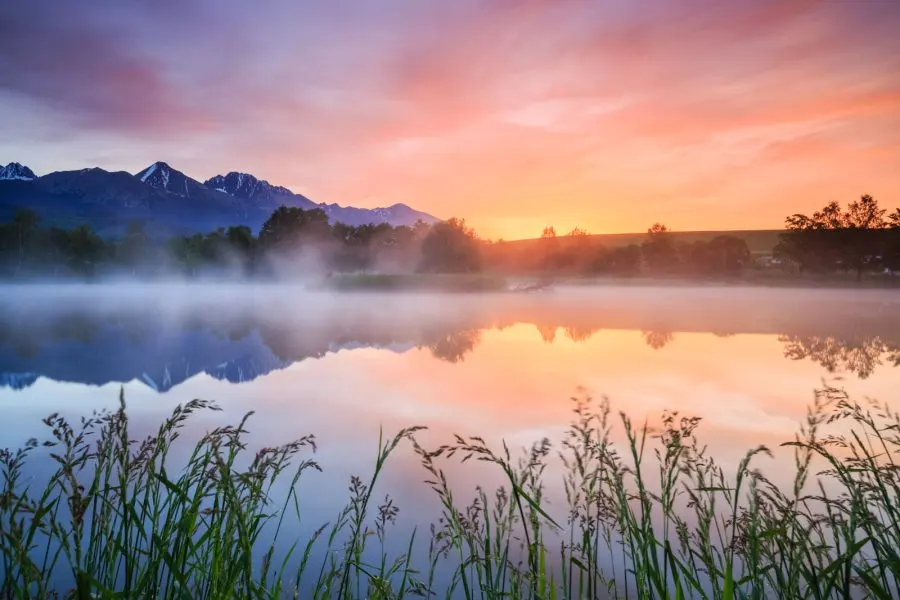
Reflections occur when light bounces off a surface before reaching your camera lens. To capture high-quality images, seek out surfaces that are smooth and relatively flat, as these provide the clearest mirror effects. Still bodies of water, such as lakes or ponds, are the most popular subjects because they create symmetrical, dreamlike compositions. Beyond nature, urban environments offer excellent opportunities through glass office buildings, puddles on pavement, or even polished marble flooring in public lobbies.
When scouting for locations, consider the lighting conditions carefully. Early morning and late afternoon, known as the golden hour, provide soft, directional light that enhances the clarity of reflections. Harsh midday sun often creates excessive glare, which can wash out the details of the reflected subject. If you are shooting indoors, look for dark backgrounds behind the reflective surface, as a high contrast between the reflection and the surrounding area makes the image pop.
How to use a circular polarizer
A circular polarizing filter is the most essential tool for any photographer interested in reflections. This glass attachment screws onto the front of your lens and allows you to rotate a ring to adjust how much light is blocked. By turning the filter, you can either enhance the reflection to make it appear more vibrant or cut through it entirely to reveal what lies beneath the surface of the water or glass.
- Attach the filter to your lens and ensure it is screwed on securely.
- Look through your viewfinder or at your screen while slowly rotating the outer ring.
- Observe how the reflection changes; stop when the intensity matches your creative vision.
- If you want to maximize the reflection, rotate the filter until the glare on the surface is at its most prominent point.
Best camera settings for sharp reflections
Achieving a sharp, professional-looking reflection requires careful control of your camera's depth of field. Because reflections often involve a subject at a distance and a surface that may be closer to the lens, you need a deep focus to ensure both are crisp. A narrow aperture, typically between f/8 and f/16, is ideal for these scenarios. This setting keeps the maximum amount of the frame in focus, preventing the reflection from appearing blurry or soft.
In addition to aperture, keep your ISO as low as possible to avoid digital noise. Since you are likely using a narrow aperture, your camera will need more light, so use a tripod to maintain stability. This allows you to use a slower shutter speed without the risk of camera shake. If you are shooting handheld, ensure your shutter speed is fast enough to compensate for any minor movements, typically at least 1/125th of a second or faster depending on your focal length.
Common mistakes when photographing reflections
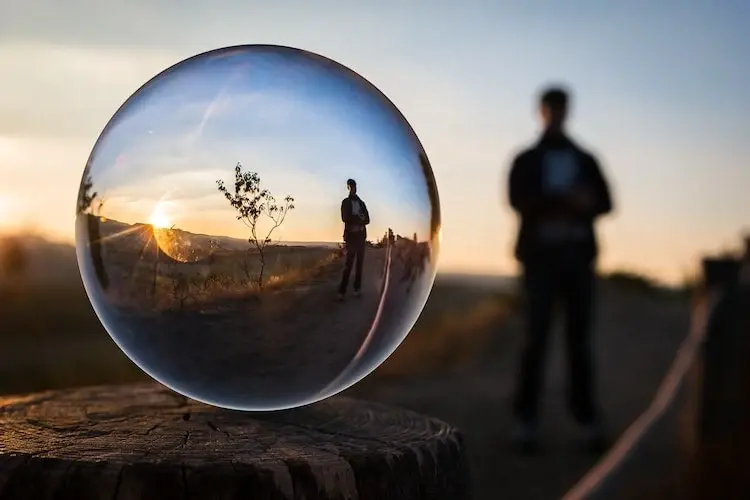
One of the most frequent errors is failing to consider the angle of the camera relative to the reflective surface. If you shoot directly head-on, you might capture your own reflection or the camera gear in the frame. To avoid this, try moving to a lower angle or shifting slightly to the side to capture the scene from a more interesting perspective. Another mistake is forgetting to clean your lens or the reflective surface itself, as dust and smudges become highly visible in high-contrast reflections.
- Shooting during the middle of the day, which creates flat, uninteresting light.
- Using an aperture that is too wide, resulting in only part of the reflection being in focus.
- Ignoring the background, which can lead to distracting elements cluttering the composition.
- Forgetting to check for "ghosting," where light bounces internally within the lens, creating unwanted artifacts.
- Failing to use a lens hood, which can help block stray light from hitting the glass and causing lens flare.
Why composition matters for reflections
Reflections provide a unique opportunity to play with symmetry and perspective. The most common technique is to place the horizon line in the center of the frame, which creates a perfect mirror effect between the sky and the water. However, do not be afraid to break this rule by placing the horizon higher or lower to emphasize either the real subject or the reflection. Experiment with vertical compositions to capture the full length of a tall building’s reflection in a narrow puddle.
Another effective strategy is to incorporate the reflection as a secondary element rather than the main focus. By framing a subject so that its reflection appears in a small pool of water, you add depth and a sense of mystery to the image. Always look for leading lines, such as the edge of a shoreline or a street curb, to guide the viewer’s eye toward the reflection. By thoughtfully arranging these elements, you transform a simple mirror image into a sophisticated piece of visual storytelling that captures the viewer's attention.
Key facts
- Use a circular polarizing filter to control the intensity of reflections on water or glass surfaces.
- Shoot during the "golden hour" shortly after sunrise or before sunset to capture soft, directional light.
- Position your camera at a low angle to the reflective surface to maximize the clarity of the mirror image.
- Turn off your camera’s flash to prevent unwanted glare and reflections on windows or polished surfaces.
- Use a small aperture, such as f/11 or f/16, to ensure both the subject and its reflection remain in sharp focus.
- Clean your lens thoroughly, as dust and smudges become highly visible when capturing high-contrast reflective scenes.
The bottom line
Photographing reflections requires a careful balance of light control and precise focus. By utilizing a polarizing filter, choosing the right time of day, and maintaining a steady camera position, you can transform ordinary surfaces into captivating visual stories. Always focus on the reflected subject rather than the surface itself, and do not be afraid to experiment with unique angles to create compelling, high-contrast compositions.
People also ask
How do I remove reflections from store windows?
Get as close to the glass as possible and use a rubber lens hood to block out ambient light. Alternatively, use a polarizing filter and rotate it until the glare disappears from your viewfinder.
Can I photograph reflections in rain puddles?
Yes, puddles create excellent mirror images, especially on overcast days when the light is diffused. Position your lens just a few inches above the water surface to capture a clean, symmetrical reflection.
Why are my reflection photos blurry?
Blur often occurs because the camera focuses on the glass surface rather than the reflected subject. Switch to manual focus and adjust the ring until the reflected image appears crisp.
What is the best time of day for reflection photography?
Early morning and late afternoon are ideal because the sun is lower in the sky. This creates longer shadows and more dramatic light, which enhances the depth and texture of reflective surfaces.
Do I need a tripod for reflection shots?
A tripod is highly recommended because reflection photography often requires slower shutter speeds to maintain a low ISO. Stability ensures that even the smallest details in the reflection remain sharp.
How do I make reflections look more artistic?
Try flipping your final image upside down during post-processing to create a surreal or abstract effect. You can also experiment with intentional camera movement to turn reflections into painterly, blurred streaks of color.
This answer was created with the help of AI research tools and reference sources. Spotted an error? Let us know — we correct mistakes quickly. See our editorial policy.