How do you draw an engine step by step?
Short answer
Drawing an engine requires breaking complex mechanical forms into simple geometric shapes like cylinders, blocks, and spheres. Start by sketching a central block, then add cylindrical pistons and intake manifolds. Use perspective lines to maintain depth, refine the mechanical details with sharp edges, and finalize by adding shadows to define metallic surfaces.
On this page
How to draw an engine step by step
To begin drawing an engine, start with the foundational block, which is typically a rectangular prism representing the engine crankcase. Lightly sketch this shape to establish the perspective and scale of your drawing. Once the base is set, add the cylinder heads on top, which are usually smaller, elongated blocks. Use a ruler to ensure your perspective lines converge correctly toward a vanishing point, as this provides the illusion of three-dimensional depth.
After establishing the main body, layer the mechanical components onto the frame. Use cylinders of varying sizes to represent the intake manifold, spark plug wires, and the crankshaft pulley. Focus on the proportions of these parts relative to the engine block. Keep your initial lines faint so you can easily adjust the placement of components before committing to darker, permanent ink or graphite lines.
- Draw a central rectangular block for the engine base.
- Add cylinders on top for the valve covers and heads.
- Sketch the circular crankshaft pulley at the front.
- Connect the components with smaller tubes and wires.
- Refine the edges to create a metallic, industrial appearance.
What materials are best for drawing engines
For beginners, a standard HB pencil is ideal for the initial layout because it is easy to erase. As you move toward detailing, transition to harder leads like 2H for crisp, thin lines that define the edges of metal parts. Mechanical pencils are particularly useful for engines because they allow for the precision required to draw narrow bolts, hoses, and cooling fins without needing constant sharpening.
When you are ready to add depth, incorporate softer graphite pencils like 2B or 4B to create shadows. Engines are composed of complex, reflective surfaces, so having a range of tones is essential for realism. You will also need a kneaded eraser, which can be molded into small points to lift graphite from tight corners or to create highlights on polished chrome surfaces. A blending stump can help smooth out the transitions between light and dark areas.
- HB pencil for initial layout and structure.
- 2H pencil for precise, detailed mechanical lines.
- 4B pencil for deep shadows and contrast.
- Kneaded eraser for highlights and corrections.
- Blending stump for smooth metallic gradients.
How to add realistic metallic textures
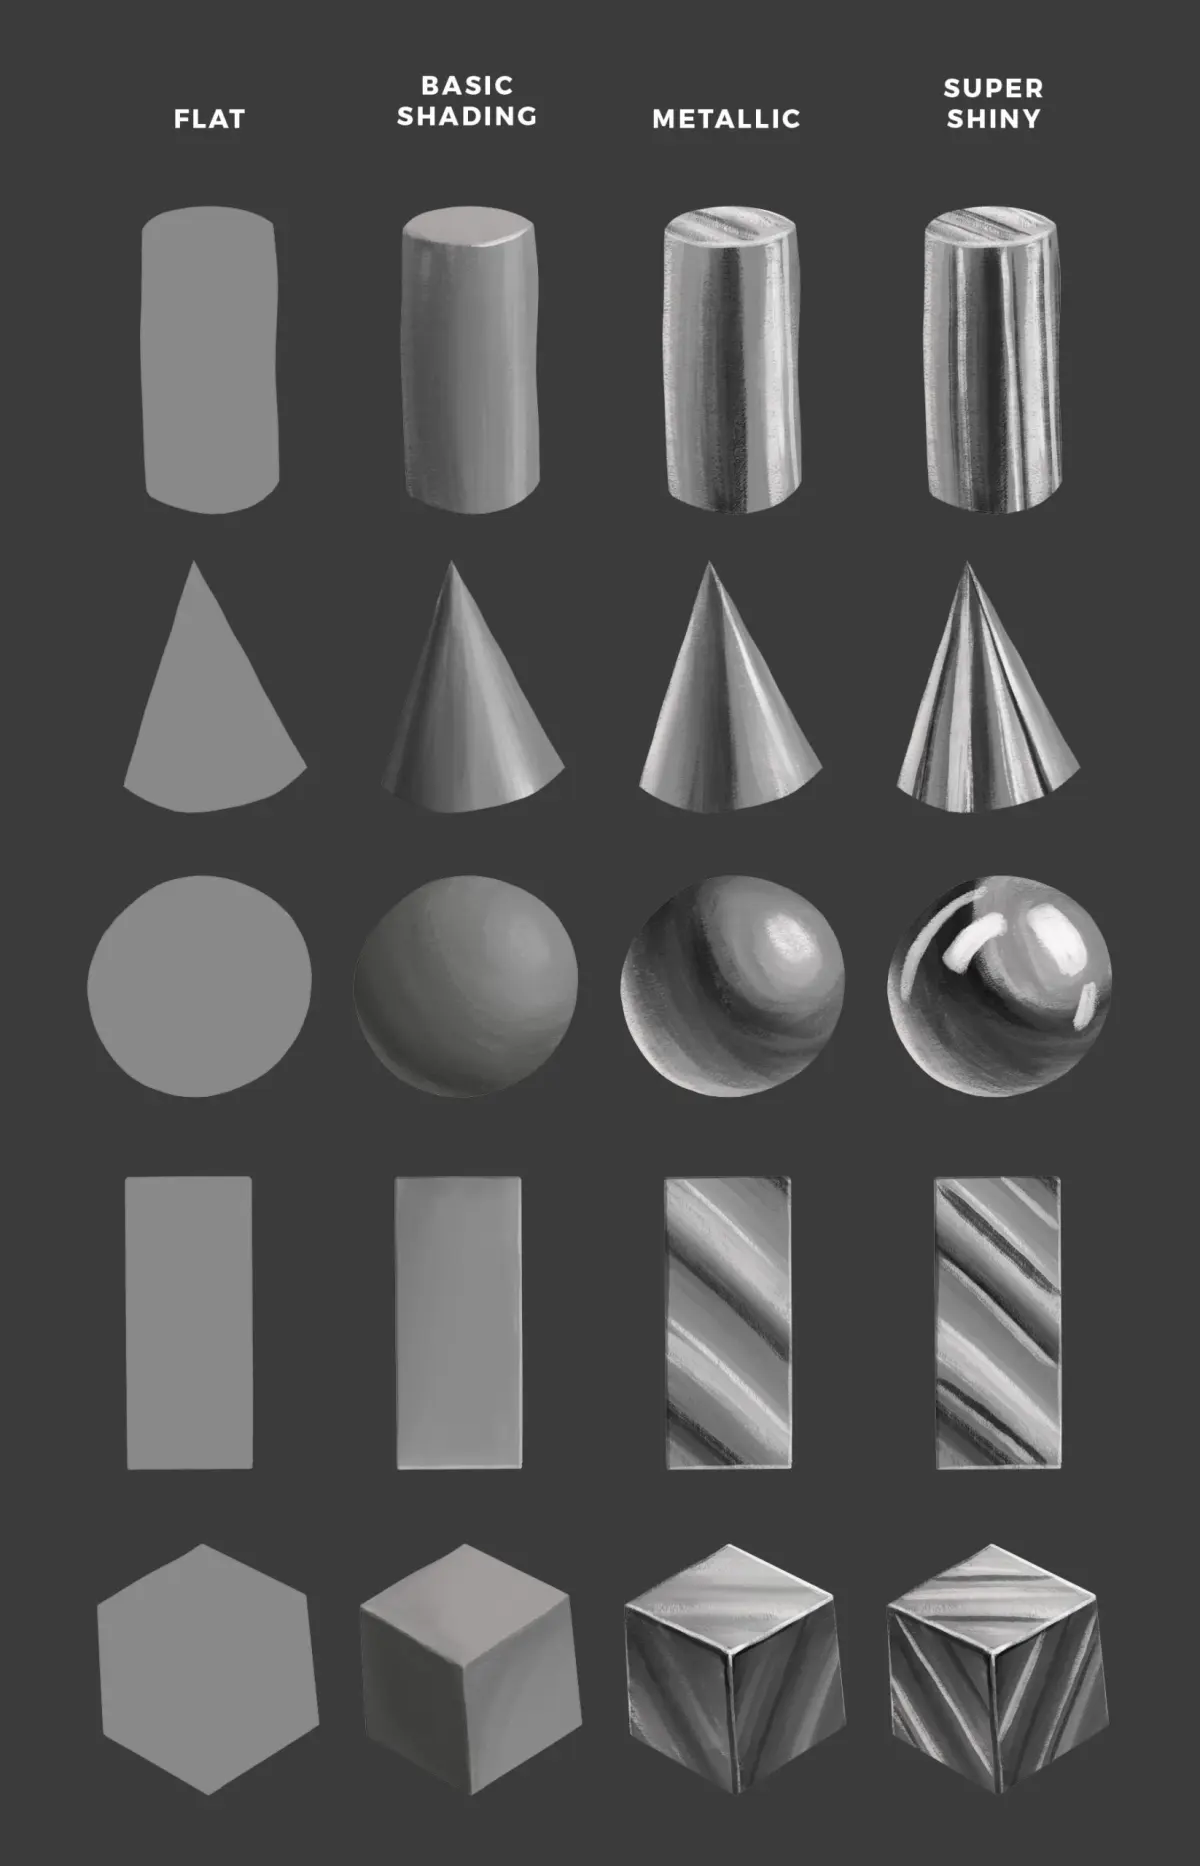
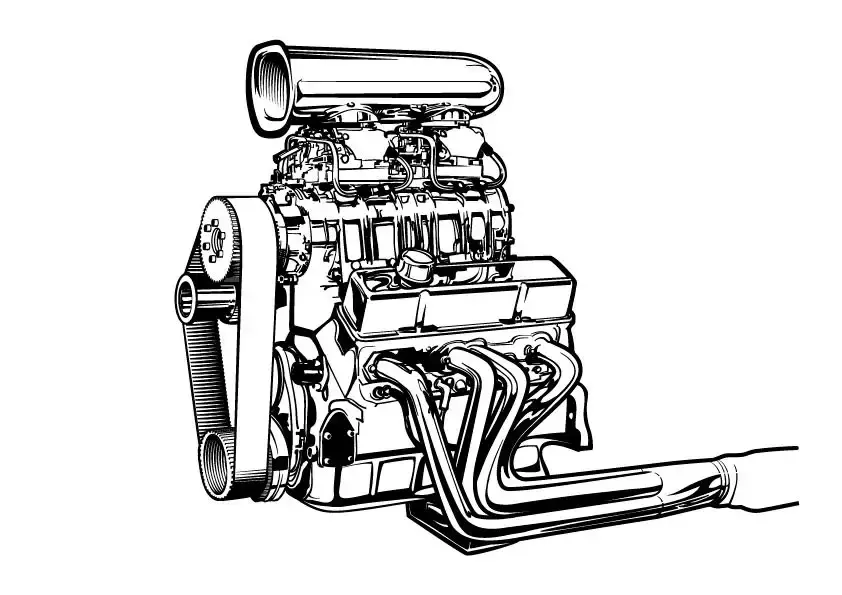
Rendering the texture of an engine requires a keen understanding of how light interacts with metal. Engines are usually made of cast iron, aluminum, or chrome, each reflecting light differently. Cast iron has a matte, grainy texture that absorbs more light, while chrome is highly reflective and produces sharp, high-contrast highlights. To simulate these textures, vary the pressure of your pencil strokes to create sudden shifts between deep blacks and bright white paper.
When shading, follow the curvature of the cylinders and the flat planes of the engine block. Use cross-hatching or circular strokes to build up the density of the shadows on rounded surfaces. Remember that metal surfaces often have "specular highlights"—small, intense spots of reflected light that occur where the light source hits the metal directly. Leaving these areas completely white is the most effective way to suggest a polished, metallic finish.
Common mistakes when drawing engines
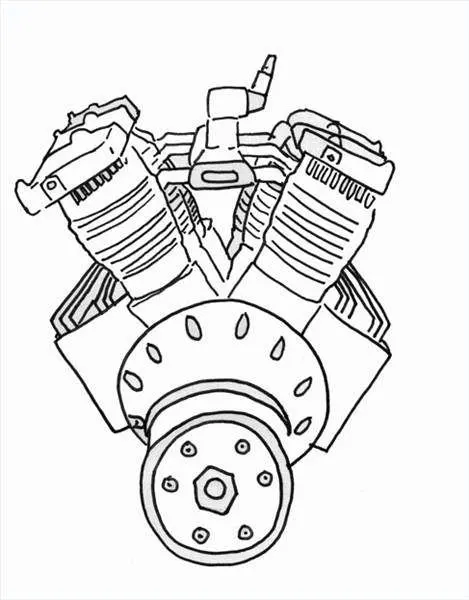
One of the most frequent errors is ignoring the internal logic of the engine. Even if you are not a mechanic, it helps to understand that an engine is a functional machine where parts connect to one another. Beginners often draw pipes or wires that float in space without attaching to a specific port or housing. Always ensure that every hose, belt, and valve has a clear starting point and an ending point on the engine structure.
Another common mistake is failing to maintain consistent perspective. If the engine block is drawn from a low angle, all other components must adhere to that same viewpoint. If one cylinder is drawn from a different perspective than the block, the entire drawing will look distorted and unnatural. Take time to check your alignment frequently, ensuring that all parallel lines remain parallel as they recede into the distance, maintaining the structural integrity of the machine.
How to improve your mechanical drawing skills
Improving your ability to draw engines requires consistent practice with basic geometric forms. Try sketching simple household items like coffee cans or boxes to master the art of drawing cylinders and cubes in various orientations. Once you are comfortable with these shapes, combine them to create more complex assemblies. Observing real engines or high-resolution photographs will also help you identify how different parts are bolted together and how they overlap in space.
Finally, do not be afraid to study mechanical diagrams or exploded-view drawings. These technical illustrations are designed to show how parts fit together and are excellent resources for understanding the anatomy of an engine. By breaking down complex machines into their individual components, you will develop a better spatial awareness that translates directly into more accurate and professional-looking drawings. Consistent practice will eventually allow you to draw engines from your imagination with confidence and technical precision.
Key facts
- An internal combustion engine is essentially a collection of geometric shapes, primarily cylinders, rectangles, and circles.
- Always start your drawing by establishing a central axis line to ensure the engine block remains symmetrical and balanced.
- Use a light graphite pencil (HB or 2H) for the initial sketch so you can easily erase guidelines once the structure is defined.
- Focus on the "block" first, which is the heavy, rectangular base that houses the cylinders and crankshaft.
- Add mechanical details like bolts, valves, and intake manifolds only after the primary silhouette is finalized.
- Use a ruler or straightedge for the external casing to emphasize the rigid, industrial nature of the machine.
The bottom line
Drawing an engine is an exercise in structural precision and geometric layering. By starting with the massive, rectangular engine block and building outward toward smaller components like valves and manifolds, you maintain proper proportions. Focus on the interplay of light and shadow to define the metallic surfaces. With patience and attention to the mechanical layout, you can transform simple shapes into a convincing, professional-looking piece of industrial art.
People also ask
Should I draw the engine from a specific angle?
A three-quarter perspective is best for beginners because it shows both the top and side profiles, providing a sense of depth and mechanical complexity.
How do I make the metal parts look realistic?
Use cross-hatching and varying pressure to create metallic highlights and shadows, focusing on where light hits the curved surfaces of the cylinders.
Is it better to draw from a photo or a real engine?
Drawing from a real engine or a detailed technical diagram allows you to understand how the components fit together, which improves your spatial accuracy.
What is the most common mistake when drawing engines?
Beginners often neglect the scale of smaller parts, making bolts or hoses look too large or disproportionate to the main engine block.
Do I need to know how an engine works to draw one?
While not strictly necessary, understanding the basic cycle of an engine helps you place components like the spark plugs and fuel rails in logical positions.
How do I handle complex wiring or hoses?
Treat complex bundles of wires as single, flowing lines or shapes first, then add individual details and textures to them in the final stages.
This answer was created with the help of AI research tools and reference sources. Spotted an error? Let us know — we correct mistakes quickly. See our editorial policy.