How do you draw a motorcycle?
Short answer
Drawing a motorcycle requires breaking the complex machine into simple geometric shapes like circles for wheels and rectangles for the frame. By establishing a central axis and focusing on the relationship between the engine, handlebars, and tires, you can construct a proportionate sketch before adding mechanical details and shading for depth.
On this page
How to sketch motorcycle proportions for beginners
The most effective way to draw a motorcycle is to start with a "skeleton" of basic shapes. Begin by drawing two circles of equal size to represent the wheels, placing them a distance apart that reflects the bike's wheelbase. Connect these circles with a horizontal line to establish the ground plane, then draw a triangle or trapezoid above this line to serve as the main frame. This structure acts as a guide for the engine, seat, and handlebars.
Once the basic frame is set, focus on the rake, which is the angle of the front forks. A steeper angle suggests a sportbike, while a shallow, extended angle creates the silhouette of a cruiser. Use light pencil strokes for these initial lines, as you will need to erase or adjust them once you begin adding the mechanical components. Maintaining these simple geometric relationships ensures the final drawing looks balanced and realistic.
What tools are best for drawing motorcycles
Precision is essential when rendering the intricate parts of a motorcycle. Graphite pencils ranging from 2H for initial light sketches to 4B for deep shadows are ideal for creating contrast. A mechanical pencil is particularly useful for drafting the thin, precise lines required for spokes, chains, and cables. You should also keep a kneaded eraser nearby to lift graphite without damaging the paper, allowing for clean highlights on metallic surfaces.
For the final inking process, fine-liner pens with varying tip sizes help define the difference between thick frame tubes and thin wires. A ruler or a French curve template is an excellent tool for beginners who struggle with consistent circular shapes or perfectly straight lines. Using quality, smooth-surfaced paper will prevent your pen nibs from snagging and allow for the sharp, technical lines that define a well-drawn motorcycle.
How to draw motorcycle wheels and engines
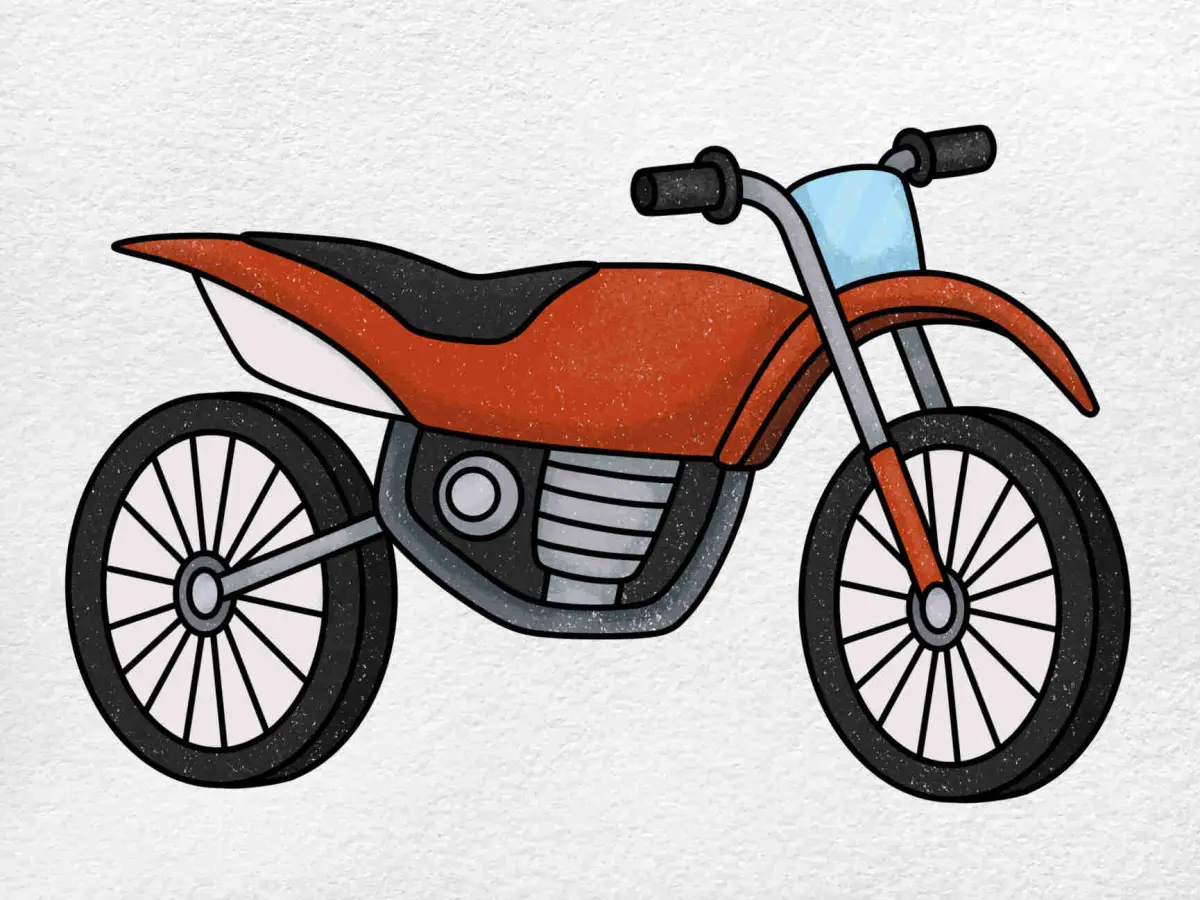
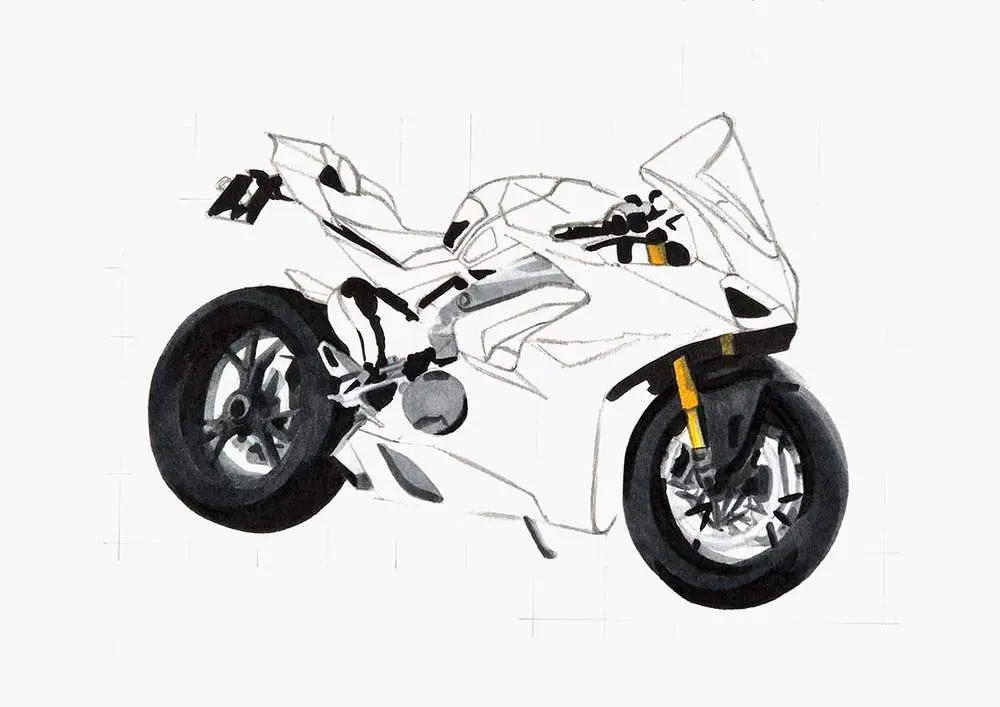
The engine and wheels are the focal points of any motorcycle drawing. When drawing wheels, ensure the tires have enough thickness to look functional; a common mistake is drawing them too thin, which makes the bike look fragile. Add the spokes by drawing lines radiating from the center hub to the rim, keeping them evenly spaced to maintain the illusion of a circular motion.
- Draw an oval for the engine block, placing it low in the frame between the two wheels.
- Add smaller geometric shapes on the sides of the engine to represent the cylinder heads and cooling fins.
- Use short, parallel horizontal lines to indicate the texture of the cooling fins.
- Connect the engine to the rear wheel using a series of small, interlocking links to represent the drive chain.
- Add the exhaust pipe as a curved tube extending from the engine toward the rear of the bike.
Common mistakes when drawing motorcycles
One of the most frequent errors is ignoring the perspective of the bike. If the front wheel is drawn from a side view, the rear wheel must also follow that same perspective, or the motorcycle will appear warped. Beginners often forget to account for the thickness of the frame tubes, drawing them as single lines rather than three-dimensional cylinders. This lack of volume makes the machine appear flat and unrealistic.
Another common oversight is the placement of the handlebars and seat in relation to the rider's position. If the seat is placed too far back or the handlebars are too low, the bike will look impossible to ride. Always check that the steering column aligns correctly with the front wheel axle. If these components do not line up, the bike will look like it is broken in half rather than functioning as a cohesive unit.
How to add detail and shading for realism
Shading is what transforms a flat line drawing into a realistic machine. Motorcycles are composed of many reflective surfaces, such as chrome exhaust pipes, polished fuel tanks, and rubber tires. To achieve a metallic look, use high-contrast shading: place a very dark shadow next to a bright, white highlight. This sharp transition mimics the way light reflects off curved steel, giving the bike a sense of weight and shine.
- Use cross-hatching to create deep shadows in the crevices of the engine.
- Leave small, unshaded areas on the top of the fuel tank to indicate a primary light source.
- Apply a light, uniform gray tone to the tires to distinguish them from the darker, metallic frame.
- Add small, jagged lines near the floor to represent a shadow cast by the bike, which grounds the drawing.
- Refine the edges of your lines once shading is complete to ensure the mechanical parts appear crisp and well-defined.
By focusing on these final details, you provide the drawing with a sense of presence and technical accuracy that makes the motorcycle look ready to hit the road.
Key facts
- Start by sketching two circles of equal size to represent the wheels, ensuring they are aligned horizontally.
- Connect the wheels with a rectangular frame, keeping the wheelbase length proportional to the diameter of the tires.
- Use a triangle shape above the frame to define the engine block and the rider's seating position.
- Draw the handlebars as a simple T-shape attached to the front fork, which should be angled slightly forward.
- Keep the design balanced by ensuring the center of gravity sits low between the two wheels.
- Avoid common mistakes like making the wheels too small or misaligning the front fork, which ruins the vehicle's perspective.
The bottom line
Drawing a motorcycle requires a methodical approach that prioritizes structural geometry over intricate detailing. By establishing the wheels and frame first, you create a stable foundation that prevents common perspective errors. Focus on the relationship between the wheelbase and the engine block to ensure your design looks functional. With practice, you can refine these basic shapes into a realistic representation of any motorcycle model you choose.
People also ask
What is the most important part of a motorcycle sketch?
The wheelbase, or the distance between the centers of the two wheels, is the most critical element. If this distance is incorrect, the motorcycle will look distorted or physically impossible to ride.
Should I use a ruler for drawing a motorcycle?
Using a ruler is helpful for the frame and forks, but freehand sketching is better for the tires and body curves. A mix of both techniques creates a professional and organic look.
How do I draw the engine accurately?
Focus on drawing a dense cluster of geometric shapes like squares and cylinders within the frame. Adding small horizontal lines across the cylinders mimics the cooling fins found on most air-cooled engines.
Why does my motorcycle look like it is falling over?
This usually happens because the wheels are not aligned on the same ground plane. Ensure both circles touch the same horizontal baseline to provide a stable foundation for the drawing.
How do I make the motorcycle look three-dimensional?
Use shading on the underside of the fuel tank and the engine block. Adding highlights to the top of the chrome parts and fenders will create the illusion of volume and depth.
What is the best angle to draw a motorcycle for beginners?
A side profile view is the easiest way to learn because it eliminates complex perspective challenges. Once you master the side view, you can experiment with three-quarter views to show more detail.
This answer was created with the help of AI research tools and reference sources. Spotted an error? Let us know — we correct mistakes quickly. See our editorial policy.