How do you draw a bicycle wheel?
Short answer
Drawing a bicycle wheel requires capturing the radial symmetry of the spokes and the circular geometry of the rim. By establishing a central hub and using a compass or circular template, you can map out the tensioned spokes at equal intervals to create a realistic, balanced representation of a functional wheel.
On this page
How to draw the basic structure of a wheel
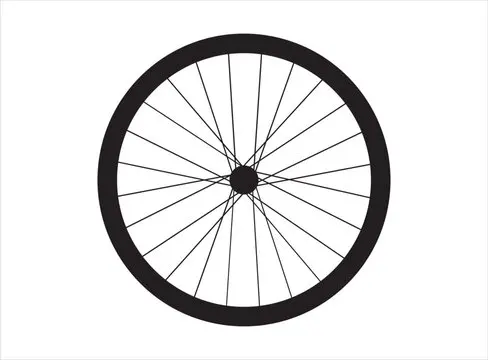
A bicycle wheel is defined by three primary components: the central hub, the circular rim, and the spokes. To begin, use a compass or a circular stencil to draw two concentric circles. The inner circle represents the hub, while the outer circle defines the tire's diameter. Ensure these circles are perfectly centered, as any misalignment will make the wheel appear warped or structurally unsound.
Once the circles are placed, lightly sketch a vertical and horizontal line intersecting at the center point. These guides help maintain symmetry when placing the spokes. Use a sharp pencil to keep your lines clean, as bicycle wheels rely on geometric precision. If you are drawing a wheel at an angle, use an oval shape instead of a perfect circle to account for foreshortening, ensuring the hub remains at the center of the ellipse.
How to map out the spokes correctly
Spokes are the most challenging part of the drawing because they must follow a specific pattern to look authentic. Most modern bicycle wheels use a "cross-pattern" lacing, where spokes overlap each other at specific points. To achieve this, divide your outer rim into an even number of segments, typically 24, 28, or 32, depending on the wheel's intended use.
- Mark the points on the rim where the spokes will attach.
- Draw lines from the hub to these points, angling them slightly to create a tangent line rather than a direct radius.
- Add a second set of lines that cross over the first set, creating the characteristic "laced" appearance.
- Connect each spoke to the hub, ensuring they originate from the center point rather than floating in space.
By following these steps, you create the illusion of tension, which is essential for a realistic mechanical drawing.
Why bicycle wheels look complex to draw
The complexity of a bicycle wheel stems from the high density of thin, intersecting lines. Because spokes are metallic and thin, they often visually blend together, creating a moiré effect that the human eye struggles to resolve. When drawing, beginners often try to draw every single spoke individually, which can lead to a cluttered and messy appearance. Instead, focus on the "flow" of the spoke patterns.
To simplify the process, treat the spokes as groups rather than individual entities. Focus on the main lines that define the structure and suggest the others with lighter, thinner strokes. Remember that spokes are not perfectly straight lines from the hub to the rim; they are slightly curved due to the tension applied by the nipples. Adding a subtle curvature to your lines will make the wheel look significantly more professional and true to life.
Common mistakes when drawing bicycle wheels
One of the most frequent errors is failing to maintain consistent spacing between spokes. If the gaps between the spokes are uneven, the wheel will look like it has been damaged or bent. Another common mistake is drawing the spokes as if they are attached to the very edge of the rim, rather than the inner bed where the nipples are actually located.
- Forgetting to account for the thickness of the tire, which makes the wheel look like a thin wire frame.
- Drawing spokes that do not originate from the center hub, making the wheel appear impossible to rotate.
- Using lines that are too thick, which obscures the delicate, airy nature of a bicycle wheel.
- Failing to account for the valve stem, which is a small but necessary detail that adds authenticity to the finished piece.
Always check your proportions against a reference photo to ensure the hub-to-rim ratio is accurate.
Best techniques for adding depth and detail
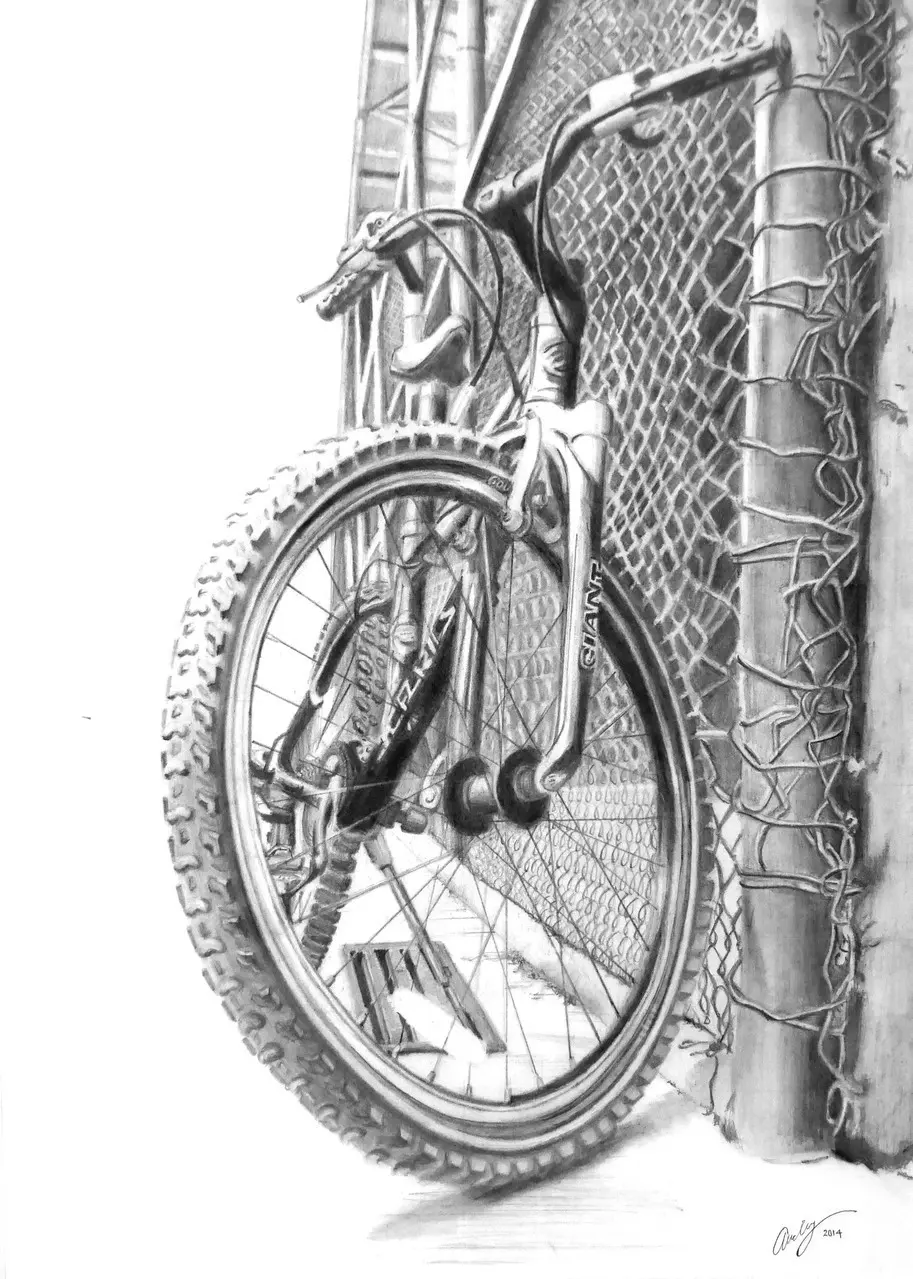
To make your drawing stand out, focus on the interplay of light and shadow on the metal surfaces. Bicycle rims are often reflective, so leave small white highlights along the top curve of the rim to simulate a metallic sheen. Use a darker graphite grade for the shadows cast by the spokes onto the rim, which adds a sense of three-dimensional depth to the flat circular shape.
Finally, consider the perspective of the viewer. If the wheel is viewed from the side, the spokes will appear to radiate outward in a starburst pattern. If viewed from a three-quarter angle, the spokes on the far side of the wheel will be partially obscured by the hub and the spokes on the near side. By varying the line weight—using thicker, darker lines for the foreground spokes and thinner, lighter lines for the background—you can create a compelling sense of space and realism that brings the mechanical object to life.
Key facts
- A bicycle wheel is a tension wheel, meaning the spokes are under constant tension to support the weight of the rider.
- The hub is the central component that connects the wheel to the frame and houses the bearings.
- Rims are typically made of aluminum alloy or carbon fiber to balance weight and structural rigidity.
- Most modern wheels use a "cross-lacing" pattern where spokes overlap to distribute torque forces evenly.
- Nipples are the small threaded fasteners that connect the spokes to the rim, allowing for tension adjustments.
- A wheel must be "trued" periodically, a process of adjusting spoke tension to ensure the rim remains perfectly circular and centered.
The bottom line
Drawing a bicycle wheel requires understanding the geometric relationship between the central hub, the outer rim, and the tensioned spokes. By focusing on the cross-lacing pattern and the precise alignment of the rim, you can create a functional, stable structure. Whether you are sketching for design or building for performance, prioritizing symmetry and correct tensioning remains the most critical aspect of successful wheel construction and visual representation.
People also ask
How many spokes does a standard bicycle wheel have?
Most standard road and mountain bike wheels use 28, 32, or 36 spokes. Fewer spokes reduce weight and aerodynamic drag, but more spokes increase structural strength for heavy loads.
What is the difference between clincher and tubular rims?
Clincher rims use a tire with a bead that hooks into the rim edge, held by an inner tube. Tubular tires are glued or taped directly onto a specialized rim bed, often used in professional racing.
Why do wheels go out of true?
Wheels lose their alignment due to impact, loose spokes, or uneven tension over time. Regular maintenance involves tightening specific spokes to pull the rim back into a straight line.
What is the purpose of a quick-release skewer?
A quick-release skewer allows a rider to remove or install a wheel without tools. It uses a cam-action lever to compress the hub against the frame dropouts.
Can I replace a single broken spoke?
Yes, you can replace a single spoke by removing the tire and tube to access the nipple. It is essential to match the length and gauge of the original spoke to maintain wheel integrity.
What is "dishing" in a wheel?
Dishing refers to the lateral offset of the rim relative to the hub flanges. This is necessary on the rear wheel to provide space for the cassette of gears.
This answer was created with the help of AI research tools and reference sources. Spotted an error? Let us know — we correct mistakes quickly. See our editorial policy.