How do you draw a robot?
Short answer
Drawing a robot involves constructing a figure using geometric shapes like rectangles, circles, and cylinders. Start by sketching a basic structural frame, then add mechanical details such as joints, wires, and antennae. Focus on maintaining symmetry and consistent proportions to create a functional, industrial aesthetic that defines the classic robotic form.

On this page
How to draw a robot for beginners
The most effective way to start drawing a robot is by using the "shape-stacking" method. Begin by drawing a large square or rectangle for the torso, followed by a smaller circle or rounded square for the head. Use simple lines to connect these shapes, which serves as the skeleton for your character. By breaking the complex form into basic geometry, you avoid feeling overwhelmed by intricate mechanical details.
Once the primary shapes are in place, you can begin refining the silhouette. Add cylinders for arms and legs, and use smaller shapes like triangles or trapezoids to indicate joints. This structural approach ensures that your robot looks balanced and sturdy before you commit to permanent ink or shading. Remember that robots are manufactured objects, so using a ruler or a compass can help achieve the clean, precise lines necessary for a convincing mechanical aesthetic.
Best tools for drawing robots
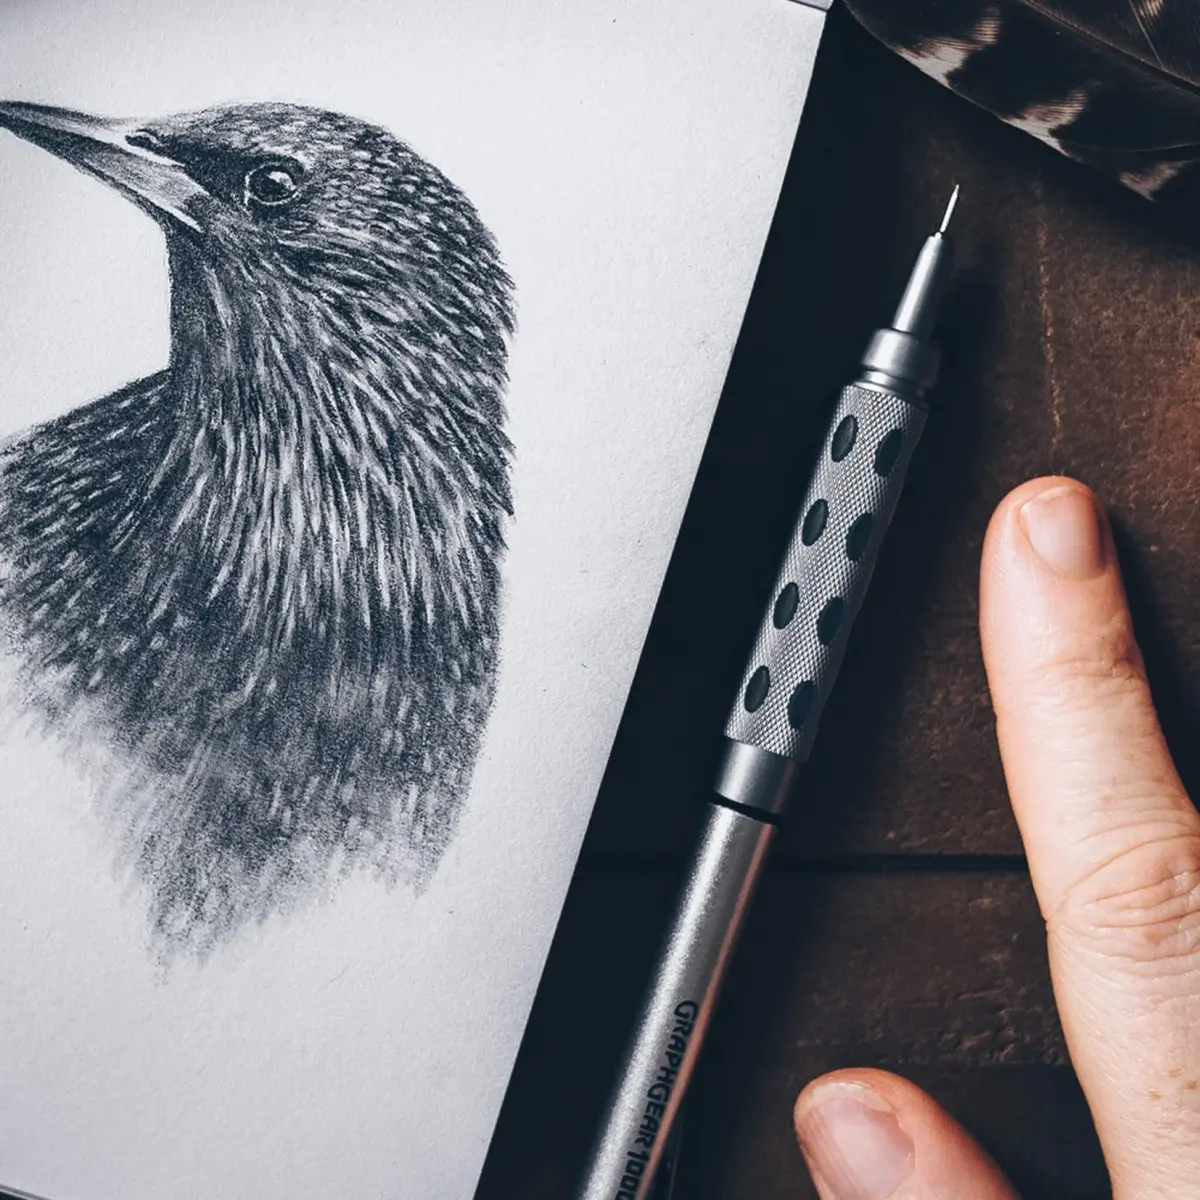
While you can draw a robot with any writing implement, certain tools enhance the technical look of your work. Mechanical pencils are highly recommended because they maintain a sharp point, allowing for the precise, thin lines required for gears and circuitry. A fine-liner pen with a consistent tip size, such as a 0.5mm or 0.3mm nib, is ideal for outlining the final design to give it a crisp, high-contrast appearance.
In addition to standard pencils and pens, consider using these essential drafting tools:
- A transparent ruler for drawing perfectly straight edges on armor plating.
- A circle template or compass to ensure uniform joints and optical sensors.
- A kneaded eraser to lift away light construction lines without damaging the paper surface.
- A white gel pen to add highlights to metal surfaces, creating a reflective, polished finish.
How to add mechanical details
Detailing is what transforms a simple collection of shapes into a believable machine. Start by adding "greebles," which are small, complex surface details like vents, bolts, and rivets. You can place these at the connection points of limbs to suggest how the robot might move or pivot. Adding a few exposed wires or cables running between the torso and limbs also adds a sense of functional realism.
When adding these details, follow a logical progression to maintain consistency:
- Define the primary mechanical joints, such as elbows and knees.
- Add secondary features like control panels, buttons, or antenna arrays on the head.
- Include panel lines, which are thin gaps between armor plates, to give the body depth.
- Draw small screws or rivets along the edges of plates to signify how the outer shell is attached.
Why symmetry matters in robot design
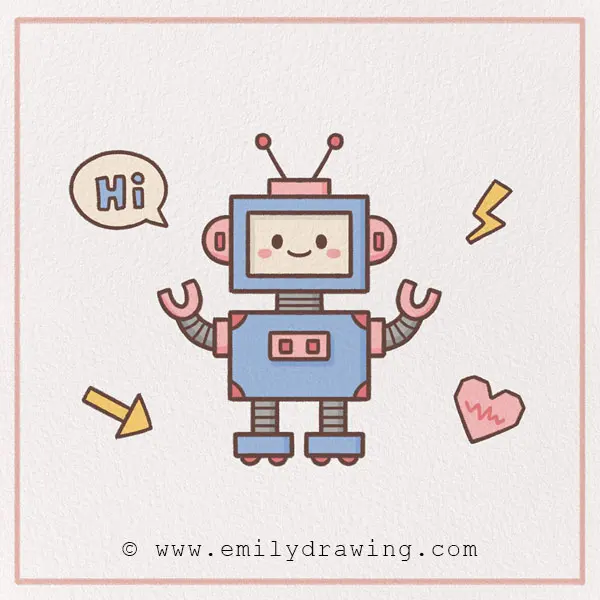
Symmetry is a fundamental principle in industrial design that makes a robot appear intentional and mass-produced. When both sides of the robot mirror each other, it suggests a high level of engineering and balance. If you are drawing a humanoid robot, ensure the arms and legs are equal in length and thickness. Even if you want your robot to look damaged or improvised, starting with a symmetrical base will make the eventual wear and tear look more deliberate.
If you decide to break symmetry, do so with a clear purpose. For example, a robot might have one heavy-duty claw arm and one delicate manipulator arm to show specialized function. However, avoid making the robot look lopsided unintentionally. Use a center line running vertically down your page to check that your shapes are aligned correctly on both sides. This simple guide line helps you spot errors in proportion early in the sketching process.
Common mistakes when drawing robots
One of the most frequent errors is neglecting the "weight" of the robot. If the limbs are too thin or the joints are too small, the machine will look fragile rather than powerful. Always consider the thickness of the material; if a robot is made of heavy steel, its joints should look substantial enough to support the weight of the torso. Avoid "floating" parts by ensuring that every component is clearly connected to the main body.
Another common mistake is over-complicating the design too early. Beginners often try to draw every single wire and bolt before establishing the overall form, which leads to a cluttered and confusing image. Instead, focus on the silhouette first. If the robot’s shape is recognizable and interesting as a simple outline, the details will naturally enhance the drawing rather than distract from it. Keep your construction lines light, take your time with the perspective, and ensure your mechanical elements follow the contours of the robot’s body.
Key facts
- Start by sketching basic geometric shapes like rectangles, circles, and cylinders to form the robot's primary structure.
- Use a ruler to ensure your straight lines are crisp, as mechanical designs rely on precision and symmetry.
- Add "joints" such as hinges or ball-and-socket connectors to make the robot appear functional and articulated.
- Incorporate circular or rectangular patterns on the chest or limbs to suggest control panels, buttons, or vents.
- Use shading techniques, such as cross-hatching, to differentiate between metallic surfaces and plastic or rubber components.
- Avoid drawing too many small details early on; focus on the overall silhouette before adding cables or antenna.
The bottom line
Drawing a robot is an exercise in structural design, requiring you to break complex forms into simple, manageable geometric shapes. By focusing on mechanical joints, clear silhouettes, and purposeful shading, you can create a convincing machine. Always prioritize balance and symmetry during the sketching phase, as these elements define the robotic aesthetic. With practice, you will develop the ability to conceptualize intricate, functional characters from scratch.
People also ask
How do I make a robot look metallic?
Use high-contrast shading by creating bright white highlights against deep, dark shadows. This mimics the way light reflects off polished steel or chrome surfaces.
Should I use a pencil or ink for drawing robots?
Start with a light graphite pencil to map out your shapes and proportions. Once you are satisfied with the structure, use a fine-liner pen to finalize the edges and add permanent detail.
How can I make my robot look friendly instead of scary?
Give the robot large, circular eyes and rounded, soft edges rather than sharp, jagged corners. A symmetrical, simple face often appears more approachable and less threatening.
What is the best way to draw robotic hands?
Simplify the hands into basic blocks or pincers rather than attempting human-like fingers. Use three or four segments to show how the hand pivots at the wrist.
How do I show movement in a static drawing?
Draw the limbs at an angle rather than perfectly vertical to suggest a walking or reaching pose. Adding "speed lines" or dust clouds around the feet can also imply motion.
Why does my robot look lopsided?
You likely skipped the construction lines; always draw a light vertical centerline down your page to ensure both sides of the robot are balanced. Checking measurements against this line prevents uneven limbs.
This answer was created with the help of AI research tools and reference sources. Spotted an error? Let us know — we correct mistakes quickly. See our editorial policy.