How do you draw a mouse cursor?
Short answer
Drawing a mouse cursor requires creating a small, high-contrast graphic, typically 32x32 pixels in size. You must define a "hotspot," the exact coordinate where the click registers. Use icon editing software to design your shape, ensure the background is transparent, and export the file in the standard .cur or .ani format.
On this page
How to design a mouse cursor
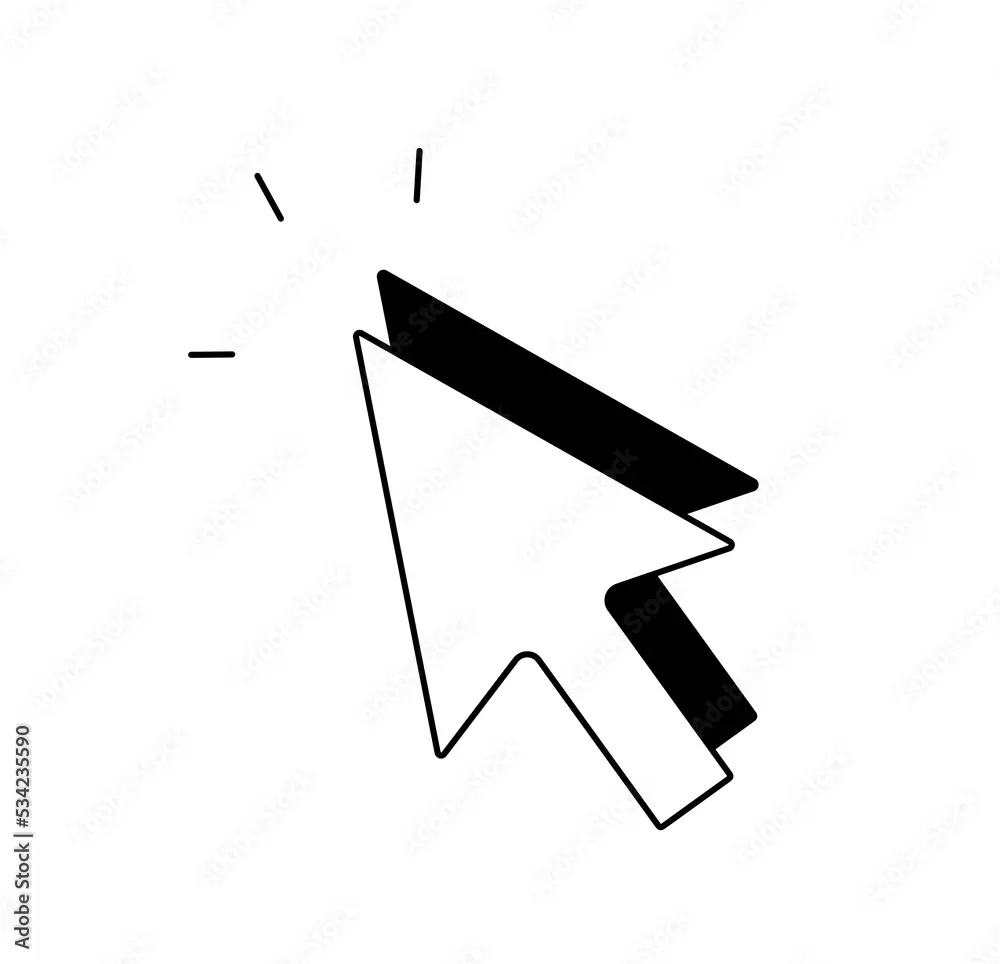
Designing a cursor begins with understanding the constraints of a tiny canvas. Most standard cursors are 32x32 pixels, though high-resolution displays often utilize 64x64 or 128x128 pixel sizes. Because the image is so small, you must prioritize clarity over complex detail. Use a limited color palette to ensure the cursor remains visible against various desktop backgrounds, often employing a white fill with a black outline to guarantee contrast.
To create a functional cursor, you should follow these technical steps:
- Open a pixel art editor or icon creation software like IcoFX or RealWorld Cursor Editor.
- Set your canvas size to 32x32 pixels with a transparent background layer.
- Draw your shape using a single-pixel pencil tool to maintain crisp edges.
- Define the "hotspot," which is the specific pixel that acts as the tip of the pointer.
- Save your file as a .cur format for static images or .ani for animated cursors.
What software is best for beginners
Beginners should avoid complex vector illustration programs, which often struggle with the pixel-perfect requirements of cursor design. Instead, look for dedicated icon editors that provide built-in tools for managing hotspots and transparency. These programs are specifically designed to handle the .cur and .ico file formats, which are essential for operating systems to recognize your custom cursor. Many of these tools also include preview windows that show how your design looks against different background colors.
If you are just starting out, consider these accessible options:
- RealWorld Cursor Editor: A free, comprehensive tool specifically for Windows cursors.
- Piskel: An online pixel art editor that is excellent for simple, static designs.
- GIMP: A powerful image editor that supports cursor file formats with the right plugins.
- IcoFX: A professional-grade software that offers a trial version for beginners to test features.

Why the hotspot is important
The hotspot is the most critical technical element of any cursor design. It is the coordinate point that the computer uses to determine exactly where a user is clicking on the screen. If your hotspot is set to the center of the image rather than the tip of the arrow, the cursor will feel "off" and inaccurate during use. Users will find themselves clicking buttons or selecting text slightly to the side of where they intend, leading to significant frustration.
When setting your hotspot, always align it with the functional intent of the icon. For a standard arrow, the hotspot should be placed at the very top-left corner of the pointer. If you are designing a crosshair or a target icon, the hotspot should be placed exactly in the center pixel. Most cursor editing software provides a specific "hotspot tool" that allows you to click on the exact pixel you want to designate as the active point.
Common mistakes when drawing cursors
A frequent error is failing to account for transparency, which results in a clunky box appearing around your cursor. Always ensure that the background layer of your project is set to transparent before exporting. Another common oversight is using too many colors or gradients, which can make the cursor appear blurry or pixelated on standard monitors. Stick to solid, high-contrast colors to keep the design sharp and professional.
Avoid these common pitfalls to ensure your cursor works correctly:
- Neglecting to test the cursor on both light and dark backgrounds.
- Creating shapes that are too thin, making them invisible at high resolutions.
- Forgetting to export in the specific .cur format, which is required for system integration.
- Using inconsistent pixel dimensions that cause the cursor to appear stretched or distorted.
- Failing to provide a "shadow" effect, which helps the cursor stand out from busy desktop wallpapers.
How to install custom cursors
Once you have finished your design, you must integrate the file into your operating system to use it. On Windows, this is done through the Mouse Properties menu found in the Control Panel. You can select the "Pointers" tab and use the "Browse" button to locate your custom .cur file. After applying the changes, your new cursor will replace the system default for that specific state, such as the "Normal Select" or "Link Select" pointer.
For users who want to change multiple states, you should create a full set of cursors. This includes designs for busy indicators, text selection, and resizing arrows. Organize these files in a dedicated folder on your computer so you do not accidentally move or delete them. If the files are moved, the operating system will revert to the default cursor, and you will have to re-link them manually through the settings menu to restore your custom design.
Key facts
- A standard Windows mouse cursor is typically a 32x32 pixel bitmap image.
- The "hotspot" is the specific pixel coordinate that registers the actual click, usually set to the top-left tip of the arrow.
- Cursors are saved in the .CUR or .ANI file format, which supports transparency and animation.
- Most operating systems require a 1-bit transparency mask to define which parts of the cursor are invisible.
- Professional icon editors like IcoFX or RealWorld Cursor Editor are standard tools for creating custom pointers.
- A common mistake is failing to define the hotspot, which causes the system to register clicks in the wrong location.
The bottom line
Creating a mouse cursor requires precision, as you must design within a small grid while defining a specific hotspot for interaction. By using dedicated cursor editing software, you can manage transparency, animation, and file formatting effectively. Always test your design at its native resolution to ensure the pointer remains sharp and responsive, preventing common alignment errors that can frustrate users during daily computer navigation tasks.
People also ask
Why does my custom cursor look blurry?
Blurring occurs when the image resolution does not match the system's native pixel grid or when the file is scaled improperly. Ensure you are working on a 32x32 or 48x48 canvas to maintain pixel-perfect clarity.
How do I make a cursor move on the screen?
You must save your file as an .ANI format, which allows for multiple frames of animation. You can use software to sequence these frames, similar to creating a flipbook or a GIF.
What is the standard size for a mouse cursor?
While 32x32 pixels is the traditional standard, high-resolution displays often use 48x48 or 64x64 pixels. Modern operating systems automatically scale these files to match your monitor's DPI settings.
Can I use a PNG file as a cursor?
You cannot use a raw PNG file directly as a system cursor because it lacks the necessary metadata for the hotspot. You must import your PNG into a cursor editor to convert it into a .CUR file.
What is the "hotspot" in cursor design?
The hotspot is the single pixel that the computer identifies as the point of interaction. Without a properly assigned hotspot, your cursor will feel unresponsive or misaligned during use.
How do I change my cursor in Windows?
Open the Control Panel, navigate to the Mouse settings, and select the Pointers tab. From there, you can browse for your custom .CUR file and apply it to your system.
This answer was created with the help of AI research tools and reference sources. Spotted an error? Let us know — we correct mistakes quickly. See our editorial policy.