How do you draw a truck?
Short answer
Drawing a truck involves breaking down the vehicle's complex form into simple geometric shapes like rectangles and circles. By establishing a perspective grid, sketching the main body, and adding functional details like wheels, windows, and headlights, you can construct a realistic representation of a truck through a systematic, step-by-step layering process.
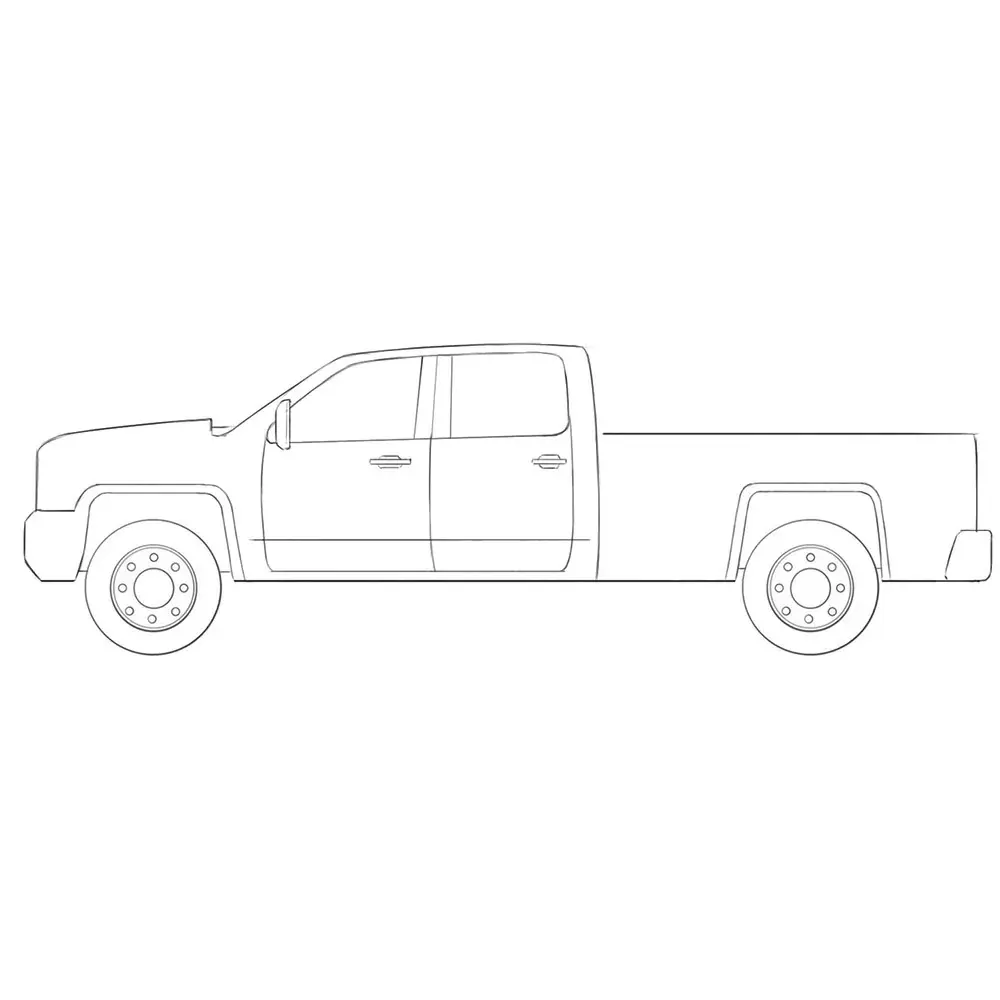
On this page
How to draw a truck step by step
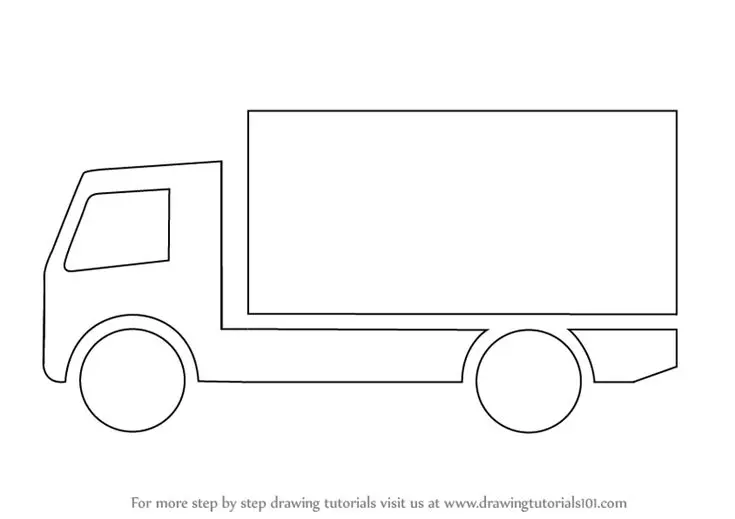
To begin your drawing, focus on the fundamental silhouette of the vehicle. Start by sketching a large rectangle for the main cargo bed and a smaller, taller rectangle attached to the front for the cab. Use light pencil strokes so you can easily erase or adjust the proportions as you refine the shape. Ensure the cab is slightly narrower than the cargo area to maintain a realistic sense of scale.
Once the basic boxes are in place, add the wheels by drawing two circles beneath the chassis. Position them so they align with the front and back of the cab and the rear of the cargo bed. Connect these shapes with a horizontal line representing the frame. Finally, add the windshield and side windows by drawing smaller rectangles within the cab area, ensuring they align with the vehicle's perspective.
- Draw a large rectangle for the body and a smaller one for the cab.
- Sketch two circles for the wheels and a horizontal line for the frame.
- Add windows, doors, and headlights using straight lines and simple geometric shapes.
- Refine the edges by rounding off sharp corners to give the truck a more aerodynamic look.
- Add details like door handles, side mirrors, and tread patterns on the tires.
Best drawing tools for beginners
For those just starting, a standard HB graphite pencil is the most versatile tool. It allows for light sketching and darker detailing without smudging excessively. Pair this with a high-quality white vinyl eraser, which removes graphite cleanly without damaging the paper fibers. Using a ruler is also recommended for beginners to ensure that the truck's frame and windows maintain consistent, straight lines throughout the drawing process.
When you are ready to add depth, consider using a set of drawing pencils ranging from 2H to 4B. The harder 2H pencils are ideal for initial layout lines, while the softer 4B pencils are perfect for shading the underside of the truck or the dark areas within the wheel wells. Using a blending stump or a piece of soft tissue can help you smooth out these shadows, creating a professional gradient that makes the metallic surfaces look realistic.
- HB pencil for general sketching.
- 2H pencil for light construction lines.
- 4B pencil for deep shadows and contrast.
- Vinyl eraser for clean corrections.
- Metal or plastic ruler for precise straight edges.
How to use perspective in truck drawings
Perspective is the key to making a flat drawing look three-dimensional. To achieve this, identify a horizon line across your page and place two vanishing points on opposite ends. All horizontal lines of your truck, such as the roofline and the bottom of the cargo bed, should angle toward these points. This technique prevents the truck from looking like a flat cardboard cutout and gives it a sense of weight and volume on the road.
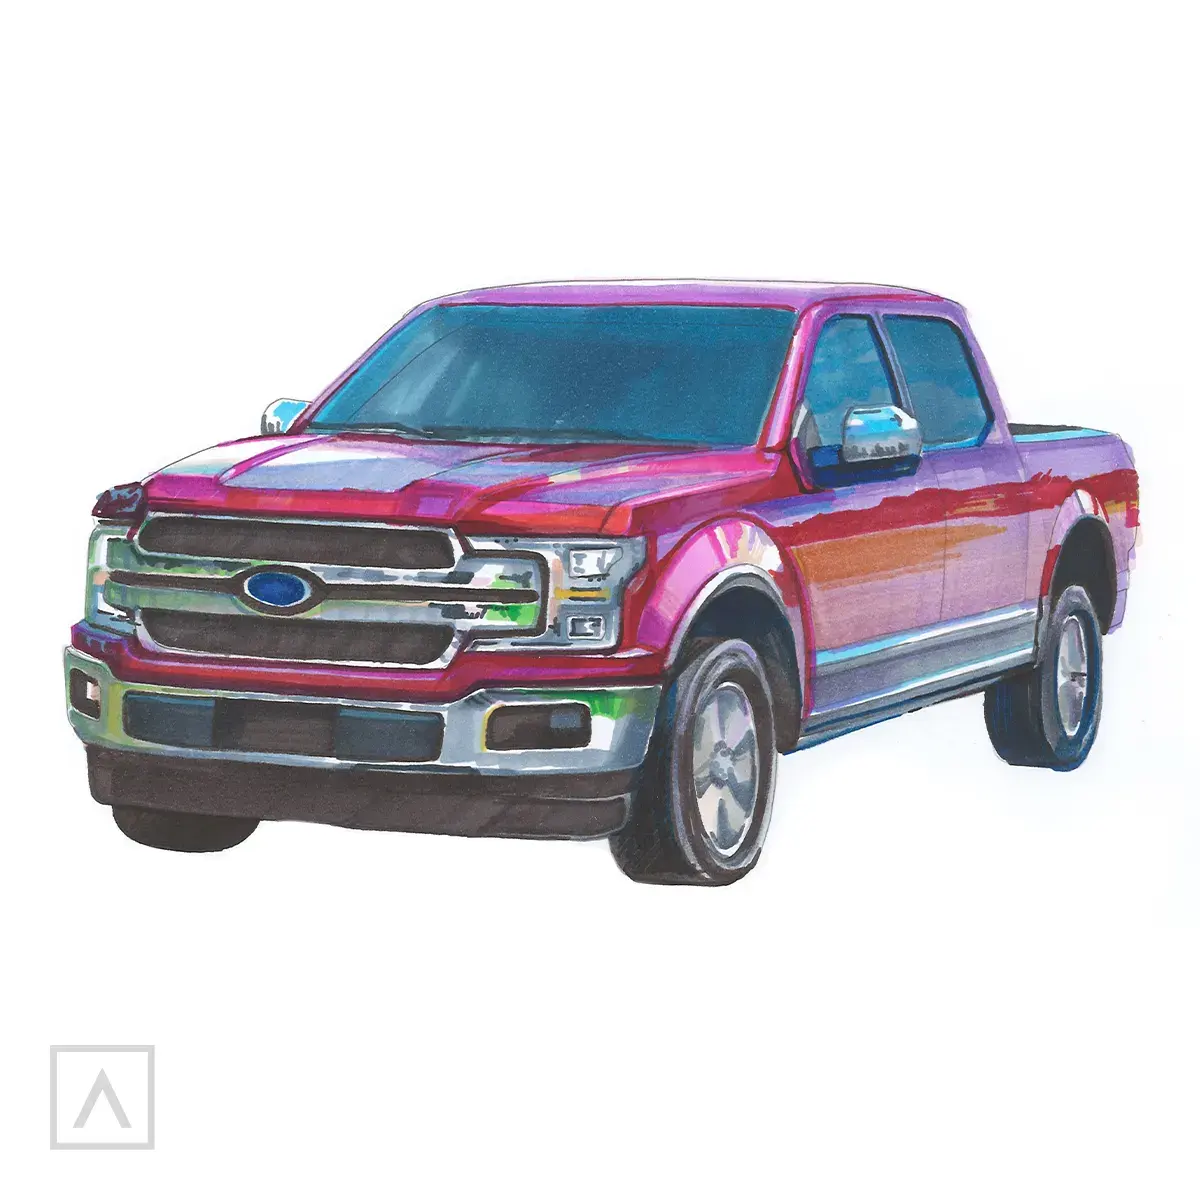
If you are drawing the truck from a front-three-quarter view, the front of the cab will appear wider than the side. This is known as foreshortening. Practice by drawing a simple cube first, then transforming that cube into the truck's cab. By mastering the way lines converge toward the vanishing points, you can accurately depict the truck as it sits on a flat surface, creating a convincing illusion of space.
Common mistakes when drawing trucks
A frequent error is neglecting the scale of the wheels in relation to the body. If the wheels are too small, the truck will appear top-heavy and unrealistic. Aim to make the wheels roughly one-third the height of the cab. Another common mistake is drawing the windshield and windows as flat, two-dimensional shapes. Remember that a truck cab is a three-dimensional object; the windows should wrap slightly around the corners to reflect the curvature of the cab design.
Additionally, many beginners forget to include the thickness of the metal frame. Adding a small gap between the wheel and the wheel well, or showing the depth of the truck bed, adds significant realism. Avoid drawing every single detail with the same line weight. Use thicker, darker lines for the outline of the truck and thinner, lighter lines for interior details like panel gaps and door handles to create a natural visual hierarchy.
How to add realistic details and shading
Once the structure is complete, focus on lighting to bring the drawing to life. Decide where your light source is coming from and shade the opposite side of the truck accordingly. The underside of the chassis and the area beneath the wheel wells should be the darkest parts of your drawing. Use cross-hatching or smooth shading to represent the reflective nature of the truck's body panels, leaving a few white highlights to simulate sunlight hitting the metal.
Add functional details like headlights, side mirrors, and exhaust pipes to finalize the design. For the tires, draw small, repeating shapes to represent the tread, but keep them subtle so they do not distract from the overall form. If you want to add a sense of movement, draw faint horizontal lines behind the wheels to suggest dirt or road spray. These final touches provide context and energy, turning a simple geometric sketch into a professional-looking illustration of a heavy-duty vehicle.
Key facts
- Start by drawing a long, horizontal rectangle for the main body and a smaller rectangle on top for the cab.
- Use two circles at the bottom of the main rectangle to represent the wheels, ensuring they are spaced evenly.
- Add a smaller square or rectangle at the front of the cab to define the windshield and driver area.
- Draw straight lines connecting the cab to the body to create a sense of structural depth.
- Use a ruler for straight edges to ensure the truck looks stable and realistic rather than distorted.
- Avoid drawing wheels that are too small, as this makes the truck look top-heavy and structurally impossible.
The bottom line
Drawing a truck is an exercise in geometric construction, requiring you to break down complex machinery into simple rectangles and circles. By starting with a solid structural frame and focusing on accurate proportions, you can build a realistic vehicle. Practice using a ruler for straight lines and pay attention to how the wheels ground the design, ensuring your final drawing appears stable, functional, and visually balanced.
People also ask
How do I make the truck look three-dimensional?
You can add perspective by drawing the side panels at a slight angle and adding depth to the wheel wells. Using vanishing points helps create the illusion of a truck moving away from or toward the viewer.
Should I draw the truck from the side or the front?
A side view is the easiest for beginners because it uses simple geometric shapes like rectangles and circles. A front view is more complex because it requires symmetrical drawing of headlights and the grille.
What is the best tool for drawing a truck?
A graphite pencil is best for sketching the initial outline because it can be easily erased if you make a mistake. Once the shape is correct, use a fine-liner pen to finalize the edges and add details.
How do I draw the truck's cargo area?
Extend the back of your main rectangle to create a flatbed or an enclosed box. Adding vertical lines along the side of the cargo area simulates the texture of corrugated metal or wooden slats.
How do I draw realistic tires?
Draw two concentric circles for each tire to represent the thick rubber tread. Adding small, evenly spaced rectangles around the outer edge of the tire creates the look of heavy-duty treads.
Why does my truck look like a cartoon?
Cartoons often use rounded edges and exaggerated proportions to appear friendly. To make your drawing look realistic, focus on sharp, straight lines and maintain accurate proportions between the cab and the trailer.
This answer was created with the help of AI research tools and reference sources. Spotted an error? Let us know — we correct mistakes quickly. See our editorial policy.