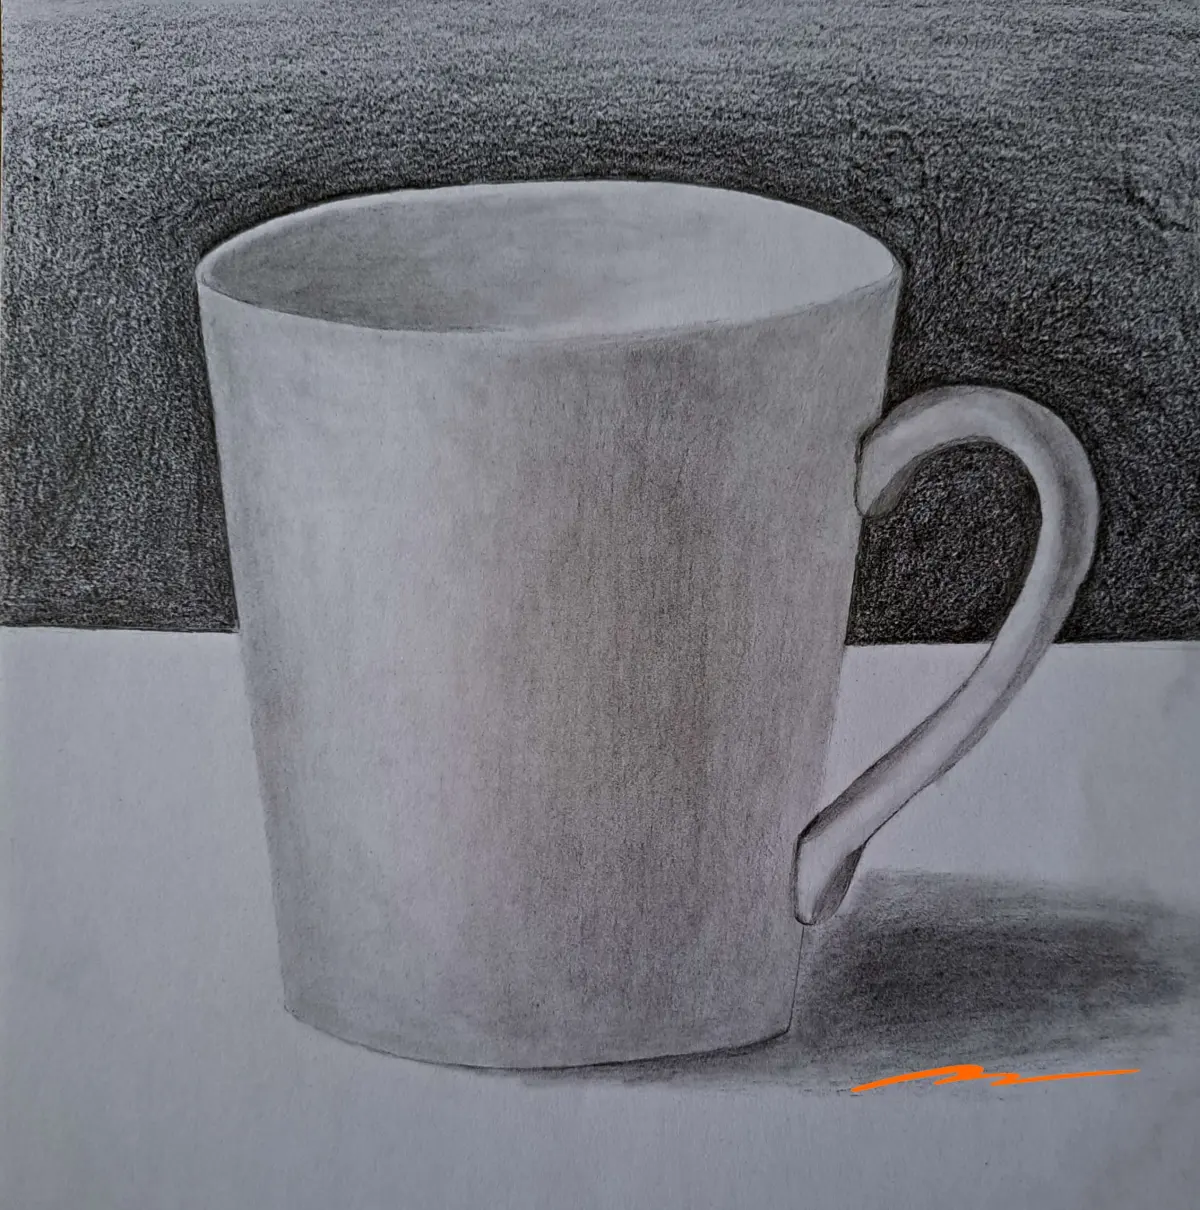
How do you draw a desk step by step?
Short answer
Drawing a desk involves constructing a rectangular prism using one-point or two-point perspective. By establishing a horizon line and vanishing points, you can accurately map the tabletop, legs, and drawers. Mastering basic geometric shapes allows you to build depth, ensuring the furniture appears three-dimensional and proportional on a flat surface.
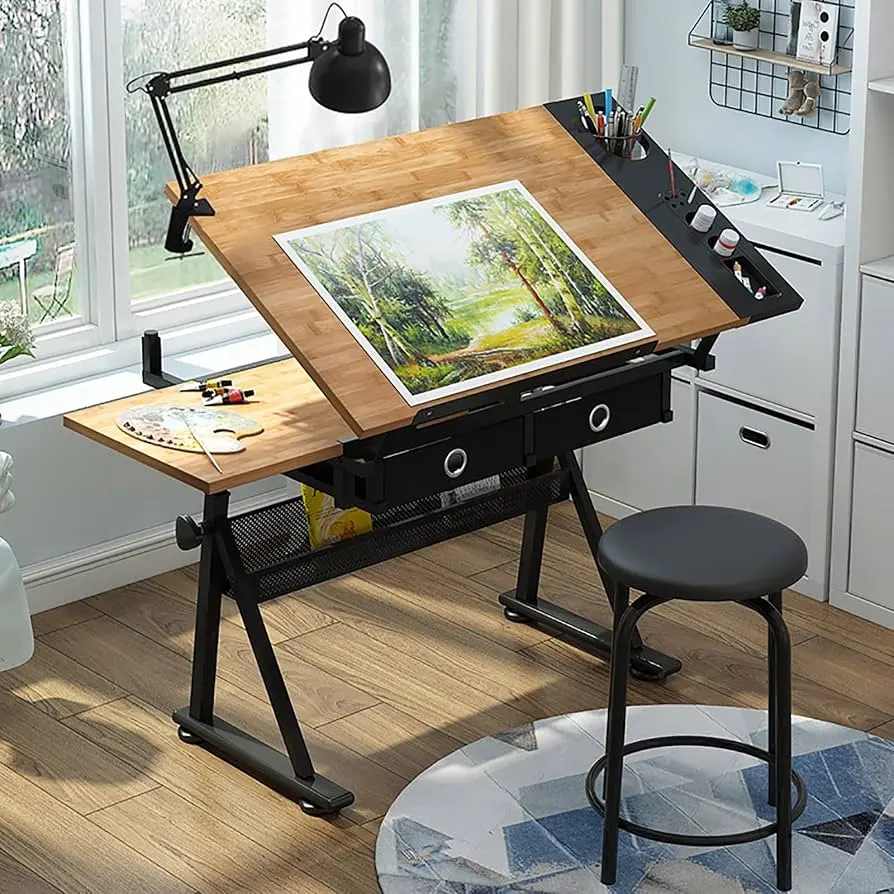
On this page
How to draw a desk using perspective
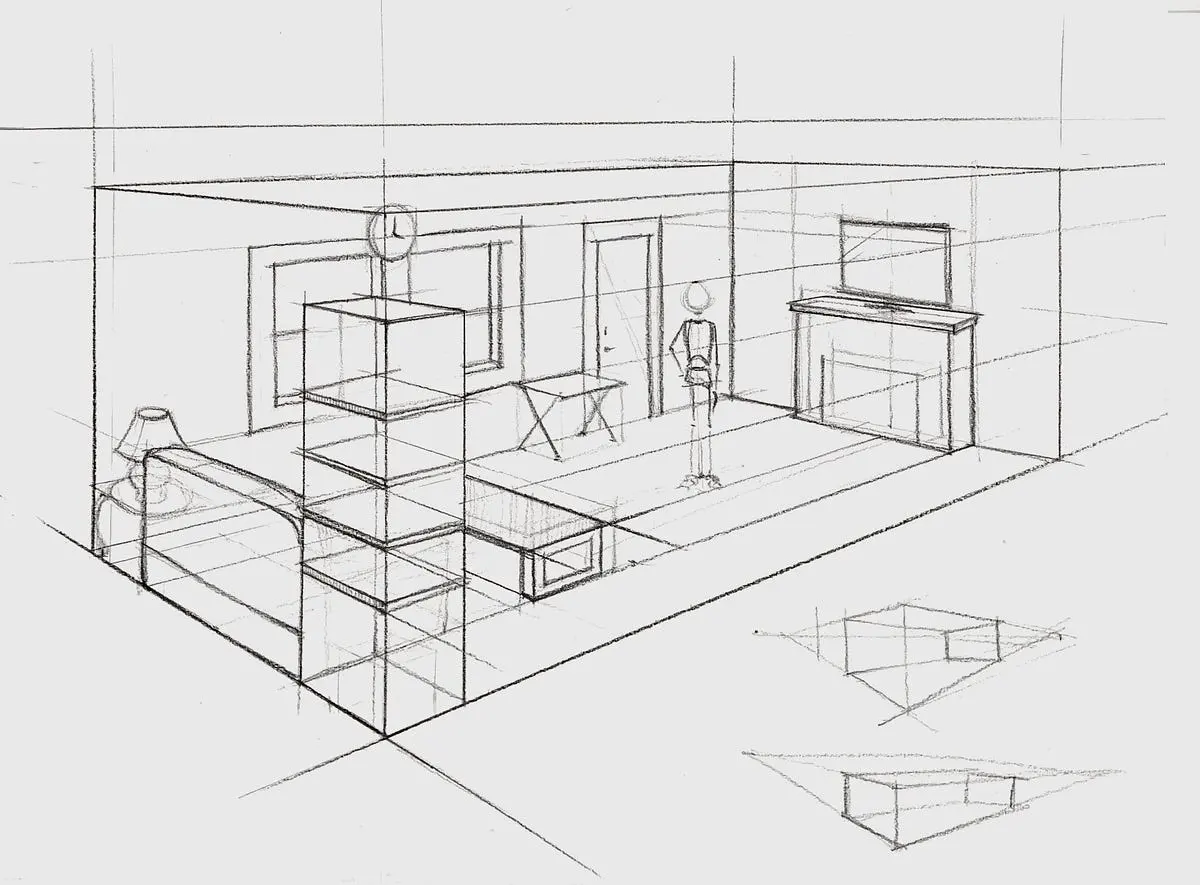
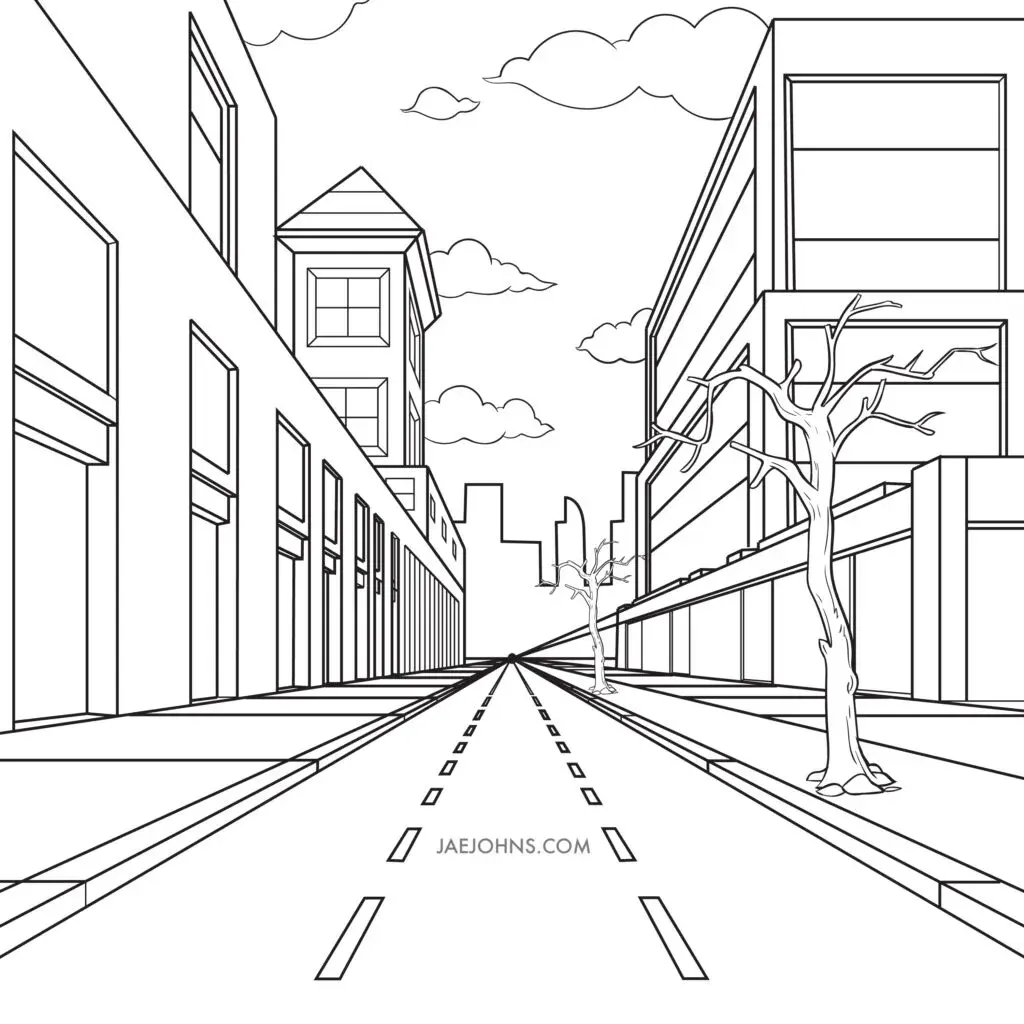
To draw a realistic desk, you must first understand the principles of linear perspective. Start by drawing a horizontal line across your paper to represent the horizon. Place a vanishing point in the center for one-point perspective, or two points on the edges for a more dynamic two-point view. This foundation ensures that all parallel lines in your drawing converge toward these points, creating the illusion of depth.
Once the perspective framework is set, begin by sketching the tabletop as a simple rectangle. If using one-point perspective, the front edge remains a horizontal line, while the side edges angle toward the vanishing point. Keep your initial lines very light, as these are structural guides that will be erased later. By establishing the top surface first, you create a reference point for the height and width of the remaining desk components.
Step by step guide to drawing a desk
Follow these steps to construct a basic desk frame:
- Draw a light horizon line and mark your vanishing point.
- Sketch a rectangle for the tabletop, connecting the corners to the vanishing point to create depth.
- Drop vertical lines down from the four corners of the rectangle to establish the legs.
- Connect the bottom of the legs with horizontal lines to ensure they are level.
- Add thickness to the tabletop by drawing a secondary line parallel to the front edge.
- Refine the edges and erase your construction lines to reveal the final furniture form.
Maintaining consistency in your vertical lines is essential for a professional look. If the legs lean at incorrect angles, the desk will appear to collapse or tilt unnaturally. Use a ruler or a straightedge during your early practice sessions to ensure your perspective lines remain perfectly aligned with the vanishing point throughout the entire process.
Best drawing tools for beginners
For those starting out, a standard HB graphite pencil is the most versatile tool for initial sketches. HB lead is firm enough to create light, erasable guide lines without leaving deep indentations on the paper. Pair this with a high-quality white vinyl eraser, which removes graphite cleanly without smudging or damaging the surface of your drawing paper.
As you progress, consider using a 2H pencil for your structural perspective lines and a 2B pencil for the final, darker outlines. This variation in lead hardness allows you to distinguish between temporary guides and permanent features. Drawing on smooth, medium-weight cartridge paper provides the best texture for both precise geometric lines and soft shading, helping you achieve a polished appearance with minimal effort.
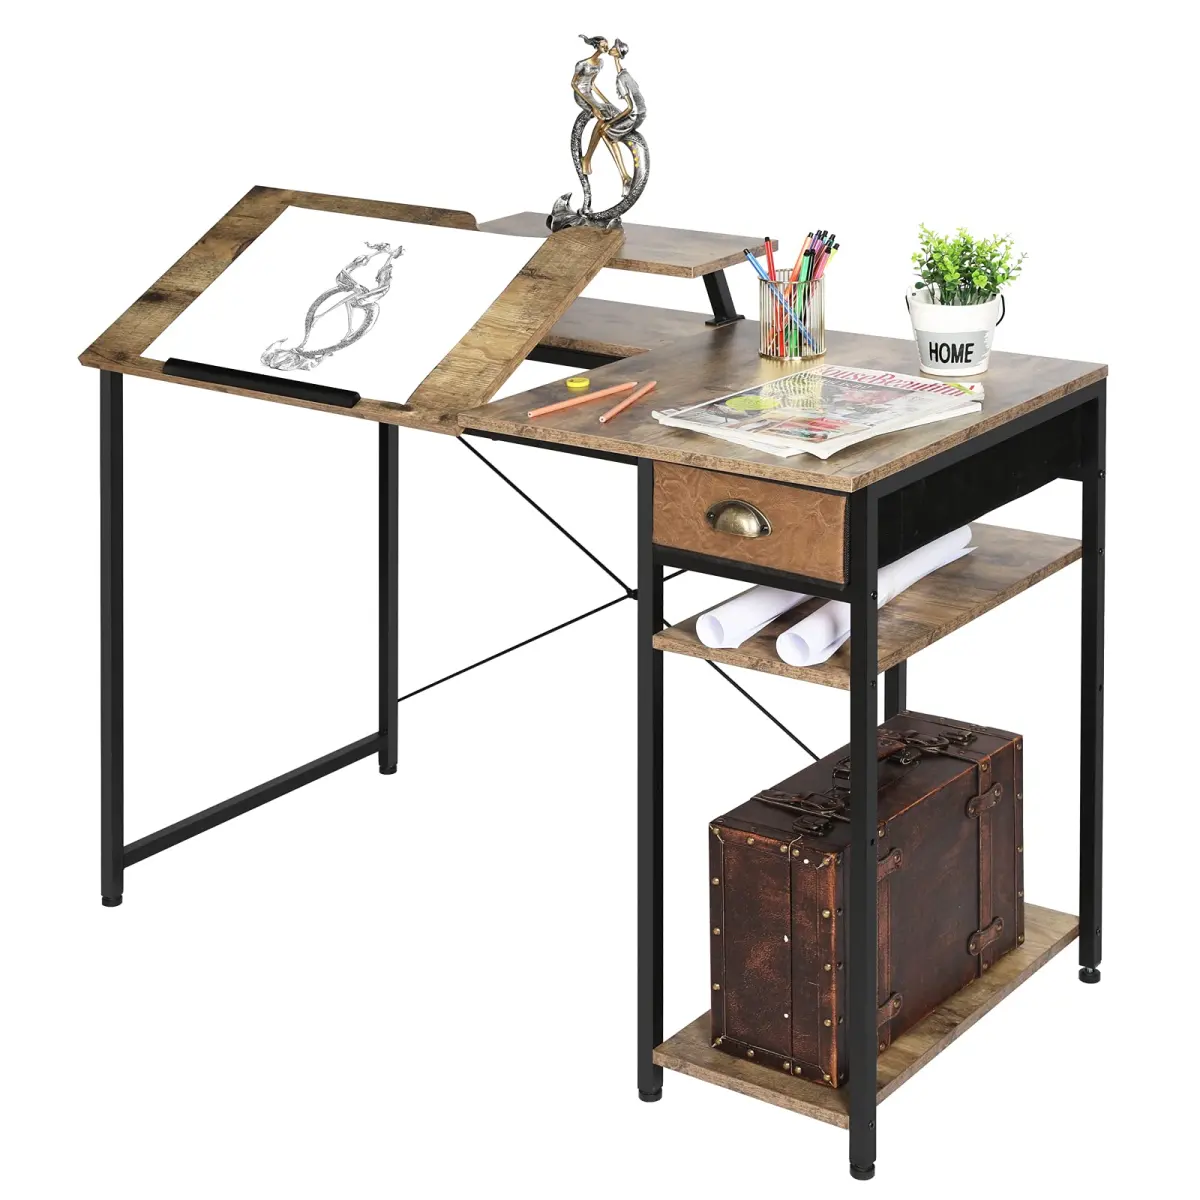
Why perspective distortion happens
Perspective distortion occurs when the viewer's eye level is not properly aligned with the vanishing points. If the vanishing points are placed too close together on the paper, the desk will appear unnaturally stretched or warped, resembling a wide-angle lens effect. To avoid this, place your vanishing points further apart or even off the edge of the paper to create a more natural, human-eye view.
Another common cause of distortion is inconsistent line convergence. If one leg of the desk angles toward a different point than the others, the perspective will break, making the object look disjointed. Always double-check that every parallel line—such as the sides of the drawers or the legs—shares the exact same vanishing point. Maintaining this mathematical rigor is the secret to creating furniture that looks solid, stable, and anatomically correct within a scene.
Common mistakes when drawing furniture
Many beginners fail to account for the thickness of materials, drawing the tabletop as a single, paper-thin line. Always add a second, parallel line to represent the depth of the wood or metal surface. Similarly, forgetting to add "hidden" lines can lead to errors in leg placement. Sketching the entire frame, including the back legs that might be partially obscured, helps you maintain accurate proportions.
Another frequent error is neglecting the scale of the drawers compared to the tabletop. Drawers should be centered and occupy a logical percentage of the front-facing area. Avoid making the legs too thick or too thin relative to the top surface, as this ruins the sense of realism. By comparing your drawing to a real desk or a photograph periodically, you can catch these proportion issues early and adjust your lines before finalizing the drawing with darker, permanent strokes.
Key facts
- Use a 2H pencil for light construction lines that are easy to erase later.
- Establish a horizon line and a single vanishing point to create accurate one-point perspective.
- Draw the desk surface as a rectangle first, then extrude downward to create thickness.
- Keep vertical lines perfectly perpendicular to the bottom edge of your paper to ensure stability.
- Use a ruler or straightedge to maintain clean, professional-looking lines for furniture edges.
- Add depth by shading the side of the desk legs that faces away from the primary light source.
The bottom line
Drawing a desk effectively relies on mastering basic geometric shapes and linear perspective. By starting with a simple rectangular box and using a vanishing point to guide your lines, you can create a proportional and stable structure. Remember to keep your initial sketches light, focus on consistent vertical alignment for the legs, and add shading to define the light source, which brings your drawing to life.
People also ask
What is the best perspective to use for drawing a desk?
One-point perspective is the most straightforward method for beginners to make a desk look three-dimensional. By directing the side edges toward a single point on the horizon, you create a realistic sense of depth.
How do I make the desk look like it has a solid top?
Draw the top surface as a thin rectangle, then draw a slightly smaller rectangle directly beneath it. Connect the corners of both rectangles with short vertical lines to represent the thickness of the wood.
Should I draw the legs before the tabletop?
It is generally easier to draw the tabletop first to establish the desk's scale and orientation. Once the top is set, you can attach the legs to the corners of the structure.
How do I draw drawers on the desk front?
Sketch light horizontal lines across the front panel to define the drawer sections. Add small circles or rectangles for handles, ensuring they align with the perspective lines of the desk.
What is a common mistake when drawing desk legs?
A frequent error is drawing the legs at different lengths or angles, which makes the desk appear unstable. Use a ruler to ensure all legs are parallel and terminate at the same ground level.
How can I make the desk look more realistic?
Add details like wood grain textures, shadows cast on the floor, and items on the desk surface. These small additions provide context and help the viewer understand the scale of the object.
This answer was created with the help of AI research tools and reference sources. Spotted an error? Let us know — we correct mistakes quickly. See our editorial policy.