How do you shade fur?
Short answer
Shading fur requires establishing a base color, identifying the primary light source, and layering strokes to build volume. By applying darker values in shadowed areas and using highlights to define texture, you create a three-dimensional effect. Focus on following the natural growth direction of the hair to ensure a realistic, lifelike appearance.
On this page
How to prepare the base for fur shading
Before you begin shading, you must establish a solid foundation by mapping out the animal's anatomy and the direction of hair growth. Fur is not a uniform texture; it follows the contours of the body, radiating from the spine and flowing toward the limbs. Use light, directional pencil strokes to indicate these flow lines, as they serve as the roadmap for your subsequent shading layers.
When applying the base color, keep your pressure light and consistent. Avoid filling in the entire area with a single flat tone. Instead, use a "scumbling" technique, which involves small, circular motions to build up a soft, fuzzy texture. This base layer should be slightly lighter than your intended final result, as it is much easier to add depth and darkness later than it is to lift pigment away from the paper.
- Sketch the basic silhouette of the animal to ensure correct proportions.
- Draw directional arrows lightly to map out the fur growth patterns.
- Apply a light, even base coat using a hard pencil, such as an H or HB.
- Leave the brightest highlight areas completely white to maintain contrast.
How to build depth with layered shading
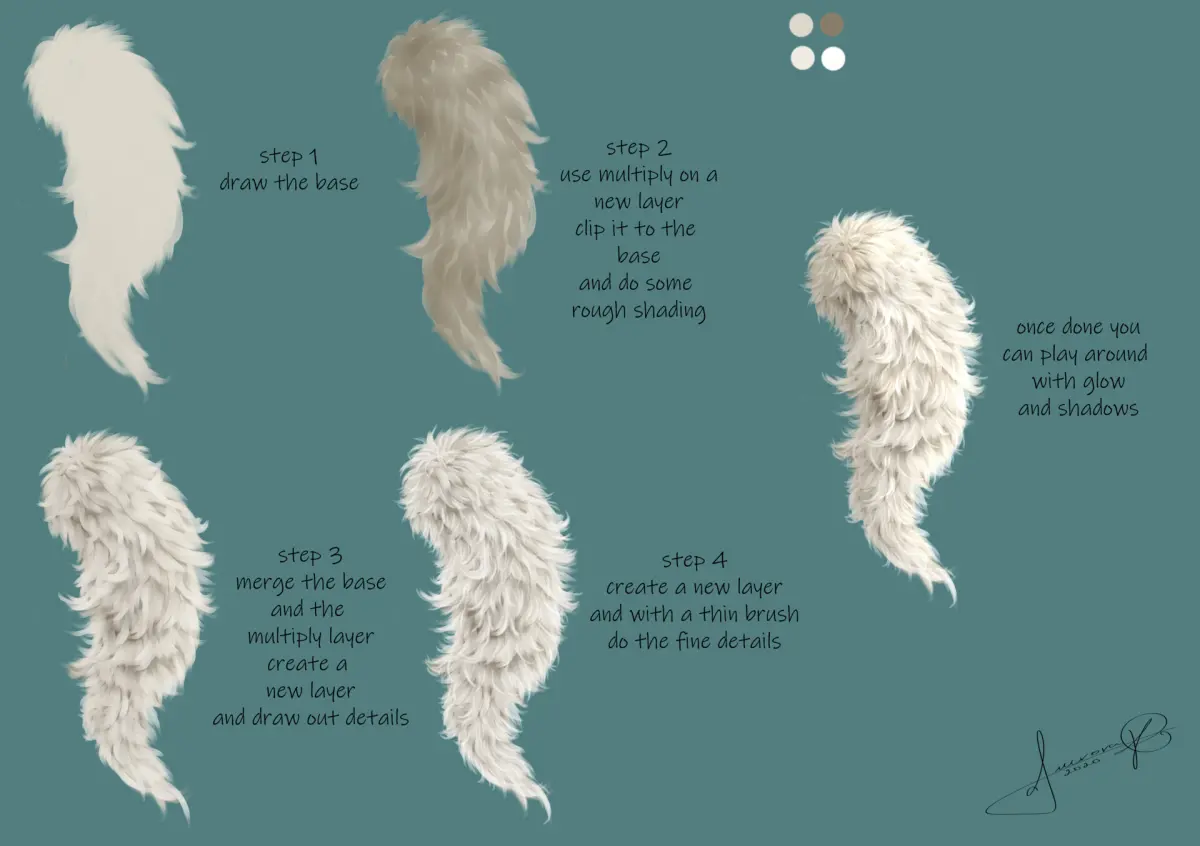
Depth in fur is achieved by layering values from light to dark. Start by identifying the light source; areas furthest from this source will naturally be the darkest. Use a softer pencil, like a 2B or 4B, to deepen the shadows in the crevices where fur overlaps, such as under the chin, behind the ears, or along the belly. By concentrating darker values in these recessed areas, you create the illusion of volume and mass.
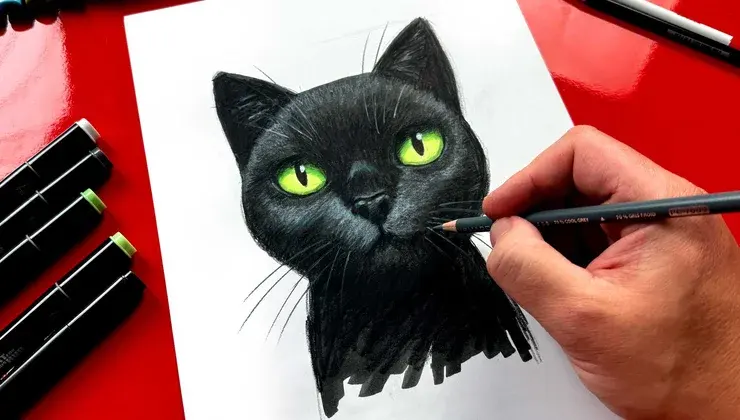
As you move from the deep shadows toward the highlighted regions, gradually reduce your pencil pressure. This transition, known as a gradient, is essential for making fur look soft rather than stiff or plastic. Use a sharp point to flick your pencil in the direction of the growth, lifting the tip at the end of each stroke to create a tapered, hair-like appearance. This technique, often called "tapering," prevents the fur from looking like solid blocks of color.
- Focus on the "core shadow," which is the darkest area on the rounded surface of the animal.
- Use a kneaded eraser to lift thin, sharp lines of light back into the shadowed fur.
- Vary the length of your strokes to mimic the irregular nature of natural hair.
- Always keep your pencil sharp to maintain the crispness of individual strands.
Best tools for realistic fur shading
The quality of your shading depends heavily on the tools you select. For fine detail work, mechanical pencils are often preferred because they maintain a consistent, thin point without the need for constant sharpening. Graphite pencils ranging from 2H for light under-shading to 6B for deep, velvety blacks provide the necessary range of values to create high-contrast, realistic textures.
Beyond pencils, a high-quality eraser is perhaps the most important tool for a fur artist. A battery-operated or precision pen-style eraser allows you to "draw" white hairs back into a dark area, which is a common technique for depicting whiskers or stray, light-colored guard hairs. Additionally, using a blending stump or a piece of chamois can help soften transitions in the undercoat, though you should use these sparingly to avoid muddying the texture of the top layer.
- Mechanical pencils (0.5mm or 0.7mm) for consistent line width.
- Graphite sticks (4B to 8B) for filling in large, dark shadowed areas quickly.
- Kneaded erasers for lifting subtle highlights and softening transitions.
- Precision erasers for creating sharp, individual highlights in dense fur.
Why fur looks flat or unnatural
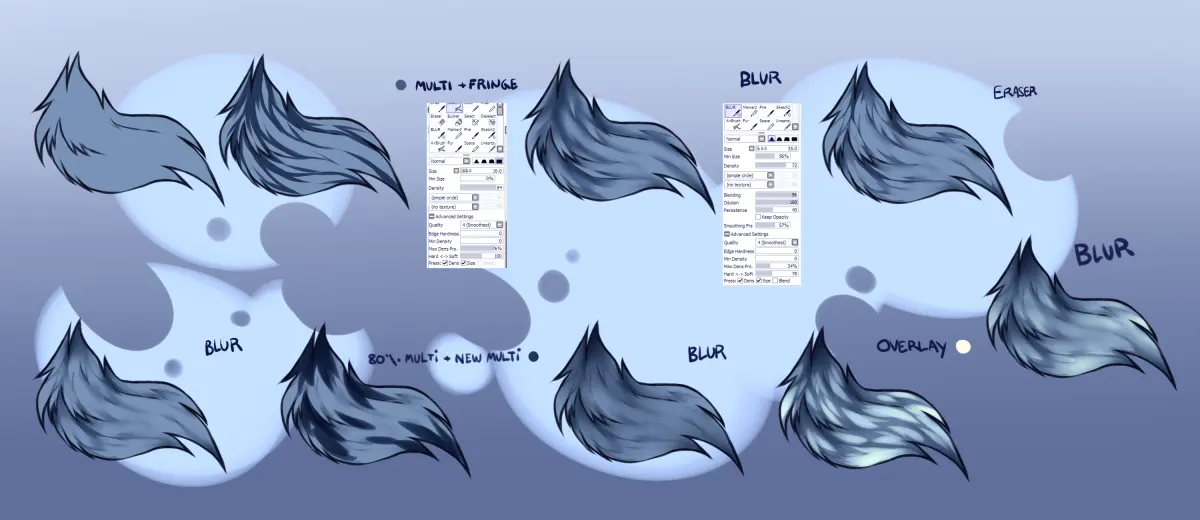
Fur often looks flat when artists treat it as a solid shape rather than a collection of individual strands. A common mistake is using uniform, parallel lines that look like a fence rather than organic hair. To avoid this, vary the length, thickness, and curve of your strokes. Fur is rarely perfectly straight; it bends, clumps, and overlaps, and your shading should reflect these irregularities to achieve a natural look.
Another reason for a flat appearance is a lack of contrast. If your darkest shadows are not dark enough, the fur will appear washed out and lack the necessary depth to pop off the page. Do not be afraid to use your softest, darkest pencils to push the contrast. Remember that the deepest shadows are often found in the deepest parts of the fur, where light cannot penetrate, so these areas should be significantly darker than the surrounding mid-tones.
- Avoid "tiling," where strokes are placed side-by-side like bricks.
- Ensure that the shadows follow the rounded form of the animal's body.
- Check your work by squinting at the drawing to see if the values are balanced.
- Remember that fur texture changes based on the animal's species and health.
Common mistakes when shading fur
One of the most frequent errors is over-blending. While blending can smooth out transitions, it often destroys the fine, crisp texture of individual hairs. If you find your fur looks like velvet or smoke rather than hair, you have likely blended too much. Instead of using a stump, rely on the layering of individual strokes to create the desired softness, as this preserves the integrity of the hair strands.
Finally, beginners often neglect the "edge" of the fur. The silhouette of an animal is rarely a perfectly smooth line; it is composed of thousands of tiny hairs that break up the contour. By allowing some hairs to extend past your initial outline, you create a soft, realistic edge that makes the animal appear as if it exists in a real environment. Neglecting these stray hairs makes the animal look like a cardboard cutout rather than a living creature.
- Avoid outlining the entire animal with a heavy, dark line.
- Do not use the same stroke length for every part of the animal.
- Stop blending once you have established the base tone to keep the texture sharp.
- Regularly sharpen your pencils to ensure the strokes remain thin and precise.
Key facts
- Always draw fur in the direction of growth, following the natural contour of the animal's muscles.
- Use a sharp pencil or fine-tipped brush to create individual strands rather than solid, flat blocks of color.
- Establish a clear light source early to determine where the highlights and deepest shadows belong.
- Layer shadows gradually, starting with light gray tones before building up to the darkest values.
- Leave small, unshaded gaps between strokes to mimic the texture of overlapping hair.
- Use a kneaded eraser to lift pigment and create fine, bright highlights within a shaded area.
The bottom line
Mastering fur shading requires patience and attention to the direction of hair growth. By layering values from light to dark and using sharp, deliberate strokes, you can create the illusion of depth and texture. Remember to maintain consistent light sources and avoid over-blending, which destroys the individual character of the strands. Practice these techniques consistently to achieve a realistic, three-dimensional appearance in your animal illustrations.
People also ask
What is the best pencil grade for shading fur?
Use an HB pencil for light initial outlines and mid-tones. Switch to a 4B or 6B pencil to achieve the deep, rich shadows necessary for contrast.
Should I shade the entire area of fur at once?
No, work in small sections to maintain control over the direction of the strokes. This prevents the drawing from looking matted or muddy.
How do I make fur look soft instead of wiry?
Soften the edges of your shadows by using a blending stump or a soft brush. Avoid over-blending, which can make the fur look like smooth fabric instead of hair.
How do I handle highlights on dark fur?
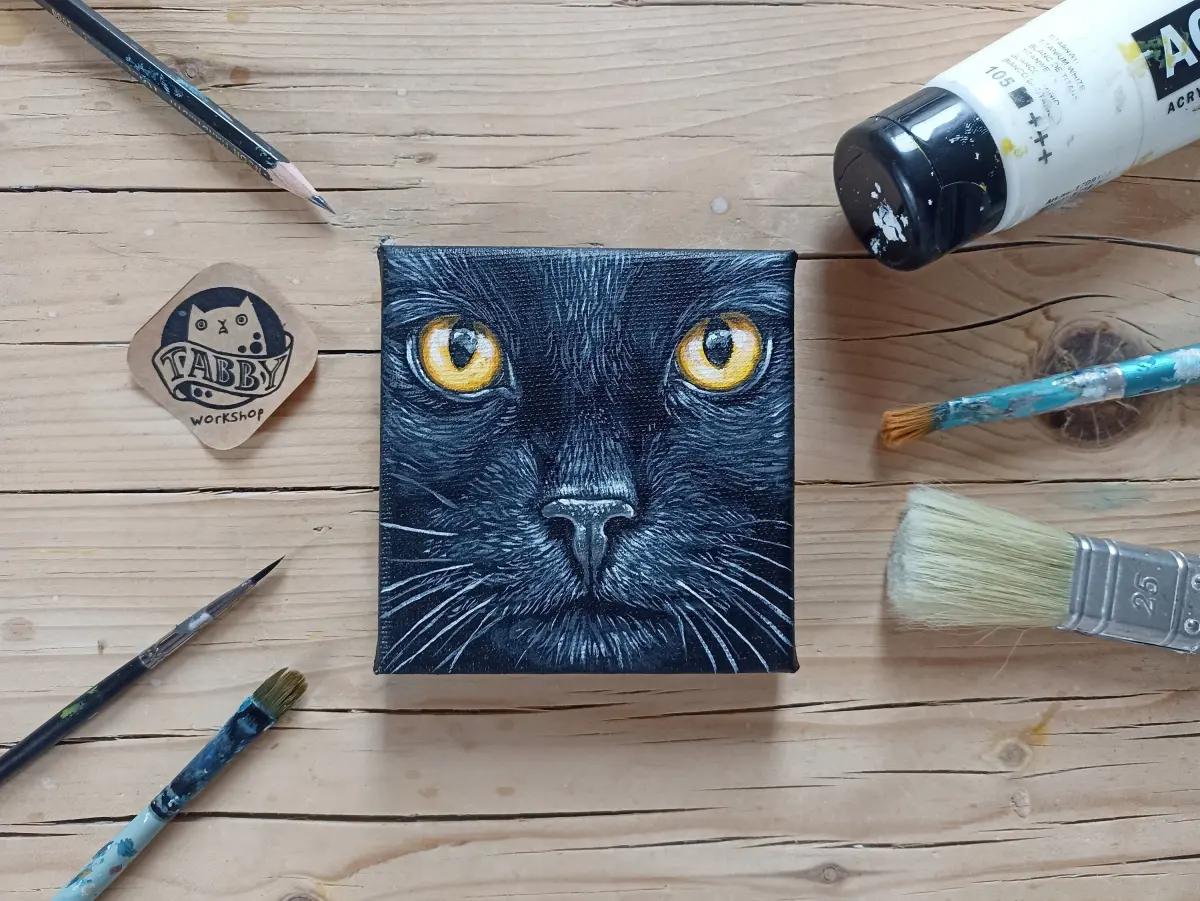
Use a high-quality white gel pen or a sharpened white charcoal pencil to add highlights over dark layers. Apply these sparingly to represent light reflecting off the surface.
What is the most common mistake when shading fur?
The most common error is drawing fur as a solid outline rather than individual, varied strokes. This makes the animal appear like a flat cartoon cutout.
Does the length of the fur change how I shade it?
Yes, short fur requires quick, choppy, and dense strokes. Long fur requires longer, sweeping lines that follow the gravity-influenced hang of the hair.
This answer was created with the help of AI research tools and reference sources. Spotted an error? Let us know — we correct mistakes quickly. See our editorial policy.