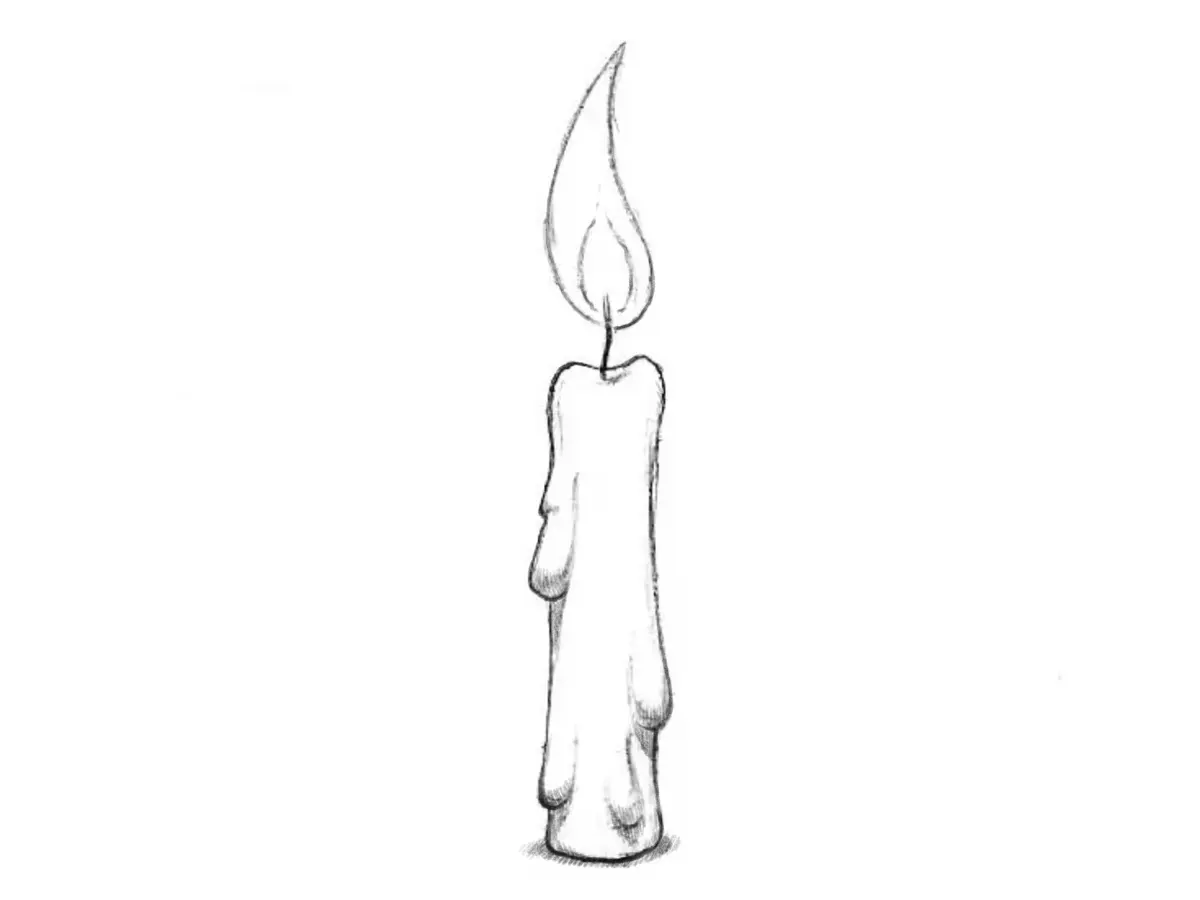
How do you shade a body?
Short answer
Shading a body requires identifying a primary light source to create consistent shadows. By mapping shapes into simple geometric forms like cylinders and spheres, you can apply values—highlights, midtones, core shadows, and reflected light—to build volume. Using a full range of pencil grades or paint opacities ensures the figure appears three-dimensional.

On this page
How to identify light sources on a figure
The foundation of realistic shading is establishing a clear light source. Before applying any tone, determine where the light originates, such as from above or the side. This direction dictates where the highlights will land and where the shadows must fall across the limbs and torso. Without a consistent source, the anatomy will look flat or distorted.
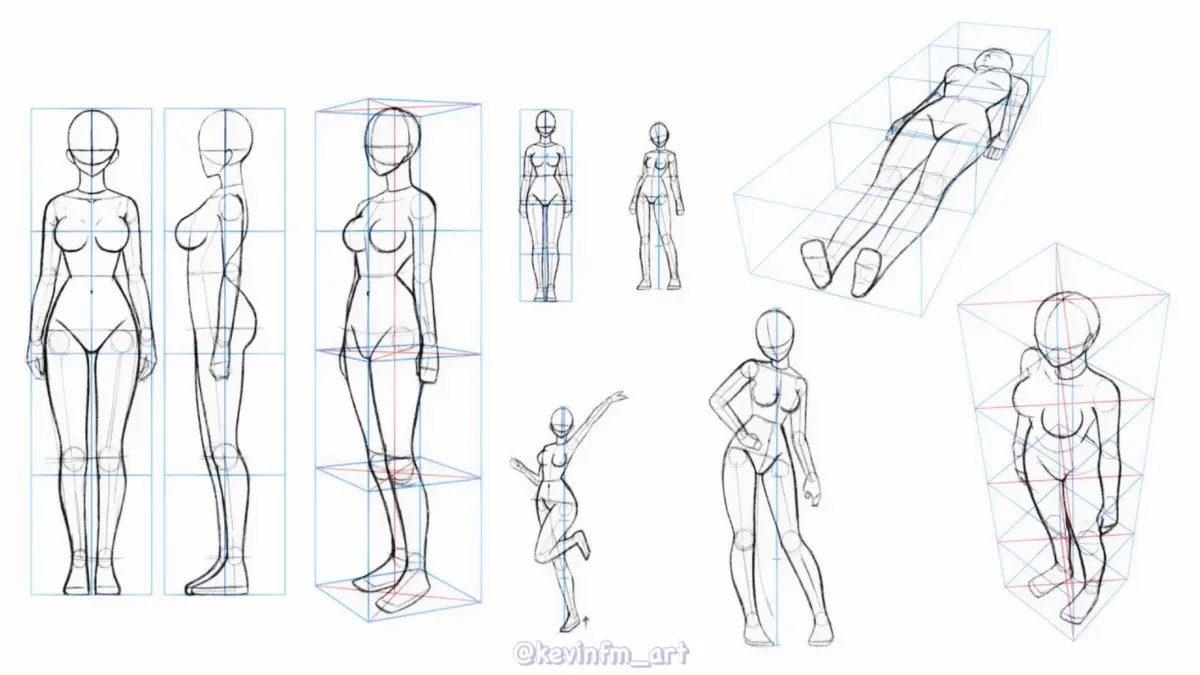
To maintain accuracy, imagine the body as a collection of basic 3D shapes. A torso acts as a box, while arms and legs function as cylinders. When light hits these forms, it creates a predictable pattern of light and dark. You should follow these steps to map your shadows:
- Draw a small arrow on your paper indicating the direction of the light.
- Lightly outline the areas that remain in direct light.
- Identify the "terminator line," which is the boundary where light transitions into shadow.
- Block in the darkest shadow areas first to establish the contrast range.
What are the essential shading values
Shading relies on a transition of values, which are the different degrees of lightness and darkness. A professional drawing typically utilizes at least five distinct values to create depth. The highlight is the brightest point where light hits directly, while the core shadow is the darkest area on the object itself. Midtones provide the transition between these extremes, and reflected light keeps the shadow from looking like a flat black hole.
Reflected light is a crucial, often overlooked element. When light hits the ground or nearby objects, it bounces back into the shadowed side of the body. This subtle glow prevents the shadow from appearing muddy and helps separate the figure from the background. By observing how light interacts with skin, you will notice that shadows are rarely pure black. They contain subtle shifts in color and temperature that add life to the representation.
How to shade muscles and anatomy
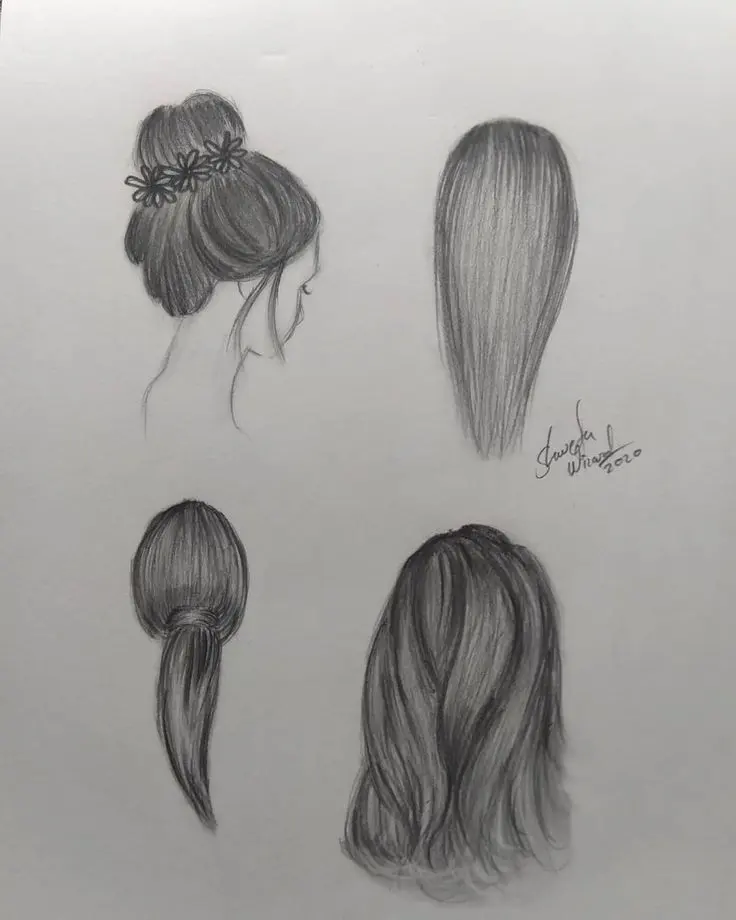
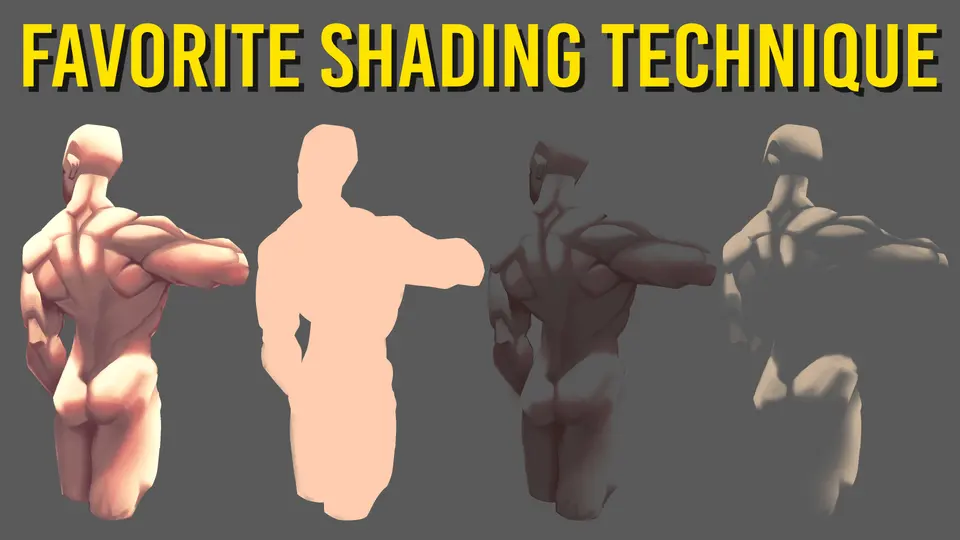
Shading muscles requires an understanding of how skin wraps around bone and tissue. Muscles are not static blocks; they are dynamic forms that bulge and stretch. When shading a bicep or a thigh, follow the curvature of the muscle group rather than using straight, flat strokes. This technique, known as cross-contour shading, reinforces the physical volume of the limb.
Focus on the following areas to enhance anatomical realism:
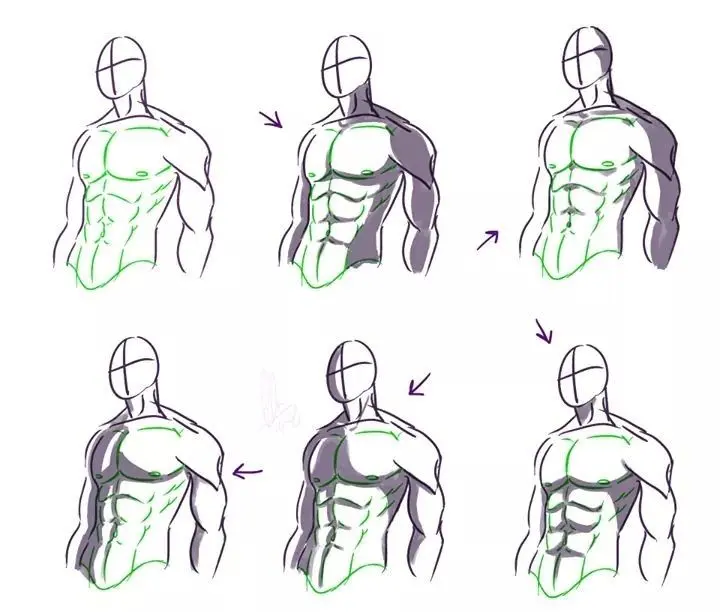
- The clavicle and sternum, which create deep, sharp shadows due to bone proximity.
- The underside of the pectorals, which cast a shadow onto the ribcage.
- The inner thigh, which often contains deep shadows due to the occlusion of light between the legs.
- The joints, such as the elbow or knee, where skin folds create complex, darker value clusters.
Always blend your transitions carefully around these muscle groups to ensure the skin looks soft rather than rigid or metallic.
Common mistakes when shading a body
One of the most frequent errors is using a limited range of values, resulting in a drawing that looks gray or washed out. Beginners often fear making shadows dark enough, which prevents the figure from popping off the page. To fix this, push your darkest shadows to their maximum potential and keep your highlights clean. Another common mistake is outlining every muscle group, which flattens the form.
Instead of outlining, use value changes to define the edges of muscles. If you draw a hard line around a bicep, you destroy the illusion of roundness. Use soft transitions for muscle groups and save hard edges for areas where the body overlaps, such as where an arm crosses in front of the torso. Avoid smudging your shading with your fingers, as the oils from your skin can ruin the paper's texture and create uneven, muddy patches. Use a blending stump or a soft brush instead for a professional, clean finish.
Best tools for shading beginners
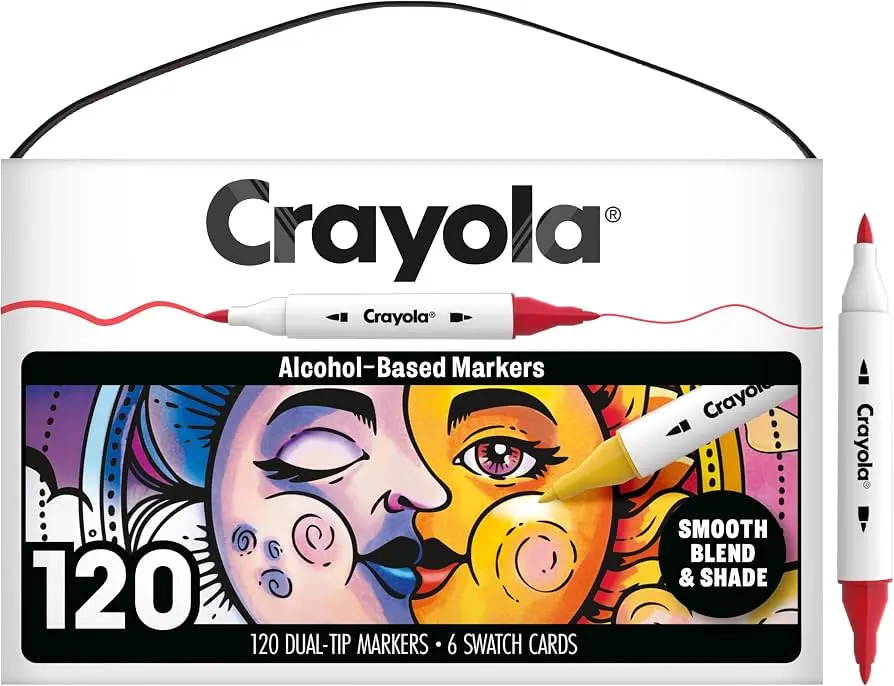
For those starting out, a set of graphite pencils ranging from 2H to 6B is essential. The "H" pencils are harder and produce lighter, sharper lines, while the "B" pencils are softer and create deep, rich blacks. You do not need an expensive kit to achieve professional results. A simple mechanical pencil for details and a soft 4B wood-cased pencil for large shadow areas will suffice for most anatomy studies.
Paper choice also plays a significant role in how your shading appears. A medium-tooth paper is ideal because it holds the graphite well without being too rough. If you are working with charcoal, choose a paper with more texture to grip the medium. Regardless of your tools, remember that shading is a process of layering. Start with light, sweeping strokes and gradually build up your darks. This approach allows you to control the depth of your shadows and correct errors before they become permanent. Practice these techniques consistently to develop a better eye for light.
Key facts
- Light sources create a highlight, a midtone, a core shadow, and a reflected light on the body.
- The core shadow is the darkest area on the object itself, located just before the form turns away from the light.
- Cast shadows, which appear on the surface beneath the body, are usually sharper and darker than shadows on the body itself.
- Use a light touch with your pencil or brush to build up layers gradually rather than applying dark tones immediately.
- Squinting at your subject helps you simplify complex shapes and identify the primary light and shadow patterns.
- Avoid using pure black for shadows, as adding a touch of blue or brown creates a more natural, atmospheric effect.
The bottom line
To effectively shade a body, focus on identifying the primary light source to establish consistent highlights and shadows. Build your values in thin, layered strokes rather than applying heavy pressure at once. By mastering the core shadow and respecting the curvature of the form, you create the illusion of depth. Practice observing how light interacts with surfaces to improve your ability to render realistic, three-dimensional volumes.
People also ask
What is the difference between a core shadow and a cast shadow?
A core shadow exists on the object itself where the light cannot reach, while a cast shadow is projected onto a nearby surface. Core shadows typically have softer edges, whereas cast shadows are often sharper near the base of the object.
Should I shade with a single pencil grade?
You can shade with one pencil, but using a range like HB, 2B, and 4B makes it easier to achieve a full value scale. Harder pencils create light, crisp lines, while softer pencils allow for deep, rich blacks.
How do I prevent smudging my drawing while shading?
Place a clean piece of scrap paper under your drawing hand to protect the graphite from oils and friction. Additionally, try to work from the top left to the bottom right if you are right-handed.
Why does my shading look flat or muddy?
Shading often looks flat when the transition between light and dark is too abrupt or lacks a midtone. Avoid over-blending with your fingers, as this pushes oil into the paper and creates a dull, muddy appearance.
How do I determine where the light is coming from?
Look for the brightest spot on the subject, which indicates the primary light source. Once identified, ensure all highlights and shadows consistently align with that direction to maintain a realistic sense of volume.
Is it better to shade in the direction of the form?
Yes, using "contour shading" where your strokes follow the curvature of the body helps define its three-dimensional shape. This technique emphasizes the volume of the subject compared to flat, vertical, or horizontal hatching.
This answer was created with the help of AI research tools and reference sources. Spotted an error? Let us know — we correct mistakes quickly. See our editorial policy.