How do you draw a harp step by step?
Short answer
Drawing a harp requires capturing its three primary components: the triangular frame, the vertical pillar, and the curved neck. Begin by sketching a tall, thin triangle to establish the main body. Add a gentle curve for the neck, connect it to the base with a sturdy pillar, and draw parallel strings.
On this page
How to structure the harp frame
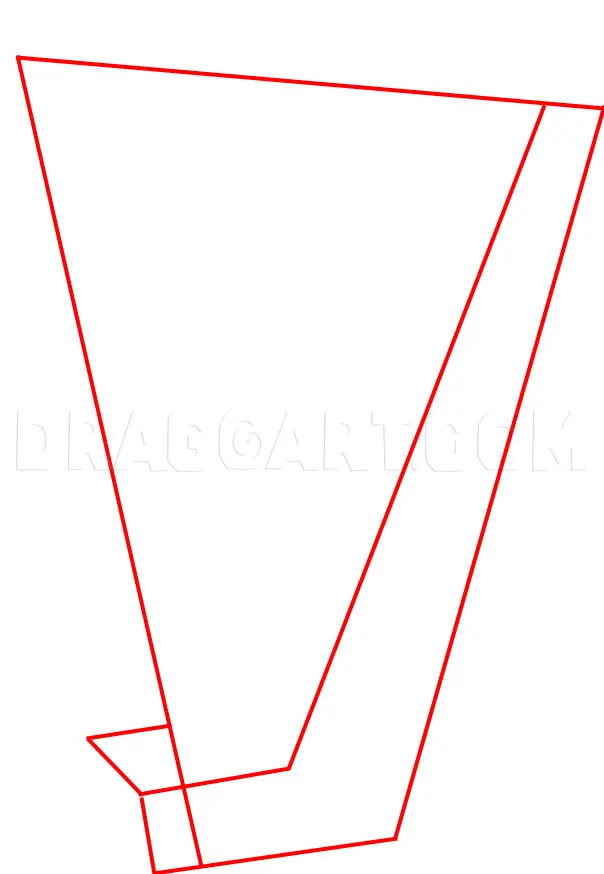
The harp is defined by its elegant, asymmetrical triangular shape. To begin your drawing, sketch a long, slightly curved vertical line to represent the pillar, which acts as the front support of the instrument. Next, draw a base line that extends horizontally from the bottom of the pillar. From the far end of this base, draw a long, sweeping diagonal line that connects back to the top of the pillar. This creates the soundbox, the hollow body that resonates when the strings are plucked.
When sketching these lines, keep your pencil strokes light. The goal is to establish the proportions before committing to darker, permanent lines. Ensure the soundbox is wider at the bottom and tapers as it moves toward the neck. This tapering effect is crucial for accurate anatomy, as it accommodates the varying lengths of the strings. If the frame looks too much like a perfect triangle, adjust the curves to make the instrument appear more organic and graceful.
How to draw the neck and column
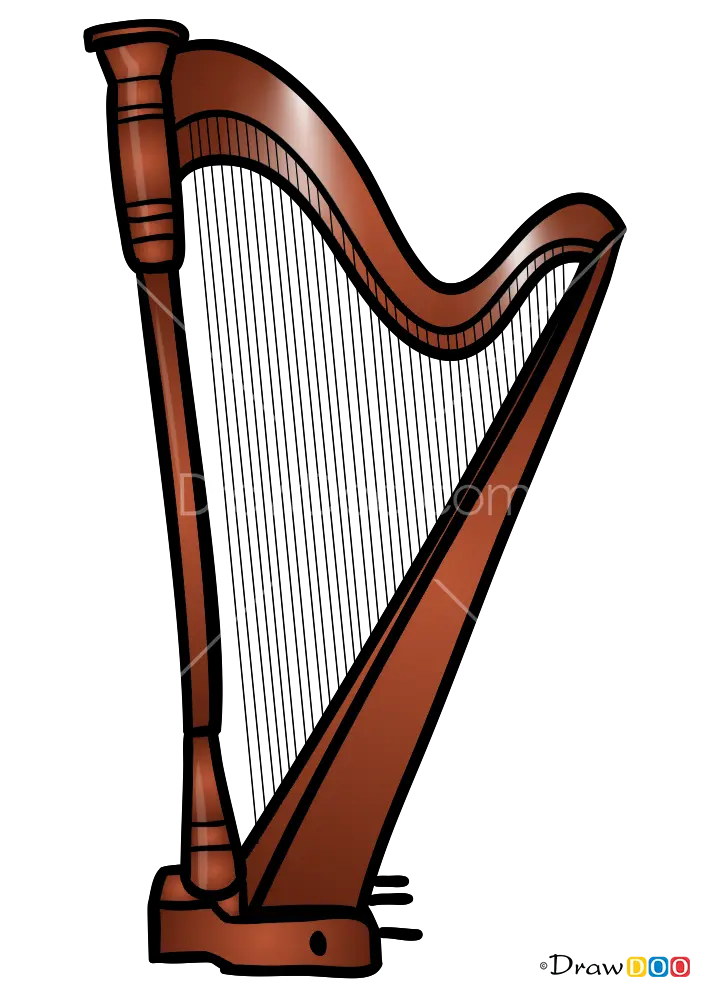
The neck of the harp is the curved piece at the top that anchors the strings. Draw a smooth, arching line extending from the top of the pillar toward the soundbox. This curve should look like a gentle swan’s neck. At the point where the neck meets the soundbox, add a small, rounded block to represent the tuning pins. These pins are essential for holding the tension of the strings and should be spaced evenly along the underside of the neck.
The pillar, or column, should be drawn with a slight taper as well. It provides the structural integrity needed to withstand the immense tension of the strings. You can add decorative details to the pillar, such as fluting or carvings, to give the harp a professional appearance. Remember these steps for a balanced structure:
- Sketch the pillar as a firm, straight line slightly leaning toward the soundbox.
- Extend the neck in a graceful, continuous curve.
- Connect the neck to the soundbox using a sturdy joint.
- Add a decorative base to the bottom of the pillar for visual weight.
How to add strings to a harp
Strings are the most recognizable feature of the harp, but drawing too many can clutter the image. Instead of drawing every single string, focus on creating a sense of rhythm and spacing. Start by drawing thin, vertical lines that connect the neck to the soundbox. Make sure these lines are perfectly straight and parallel to each other. As the strings approach the soundbox, they should become shorter, following the angle of the frame.
To achieve a realistic look, vary the thickness of the lines slightly. Use a sharper pencil for the higher-pitched strings near the pillar and a slightly softer touch for the longer, bass strings. Avoid drawing the strings all the way to the very edge of the frame; leave a small gap to represent the bridge pins. This subtle detail adds a layer of technical accuracy that distinguishes a novice drawing from a more experienced artistic rendering.
Common mistakes when drawing a harp
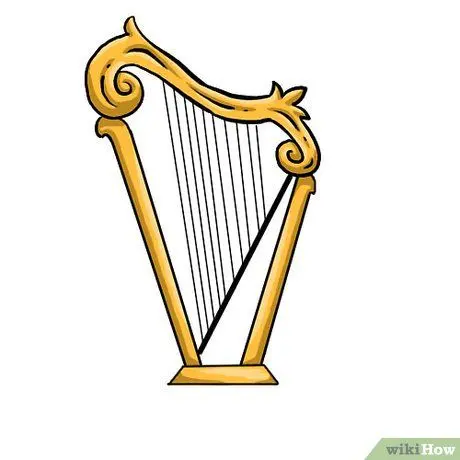
One of the most frequent errors is drawing the soundbox as a flat, two-dimensional shape. To avoid this, add a slight curve to the outer edge of the soundbox to suggest volume and depth. Another common mistake is making the strings look like they are floating in front of the harp. Remember that the strings must be anchored into the soundbox and the neck. Ensure each line starts and ends precisely on these structural components.
Proportion is another area where many artists struggle. If the pillar is too thick, the harp will look heavy and unplayable. If the neck is too short, the strings will lack the necessary length to produce a resonant sound. Keep these tips in mind to maintain balance:
- Keep the pillar thinner than the soundbox to maintain visual elegance.
- Ensure the angle of the neck allows for a logical progression of string lengths.
- Avoid overly complex decorations until the basic geometry is solid and proportional.
- Check the symmetry of the base to ensure the instrument looks stable.
How to add shading and texture
Once the outline is complete, shading brings the harp to life by defining its material, usually wood. Use a soft graphite pencil to apply light shadows along the sides of the soundbox and the pillar. By keeping the center of these components lighter, you create a highlight that suggests a rounded, polished surface. Smooth out your shading with a blending stump or a clean tissue to achieve a soft, professional finish.
Finally, add small, dark dots along the neck to represent the tuning pins and along the soundbox to indicate the string bridge. These small details provide a sense of scale and realism. If you want to emphasize the wood grain, use very light, wavy lines that follow the length of the soundbox. Do not overwork the texture; a few well-placed lines are more effective than a heavily textured surface. With these final touches, your harp drawing will possess both technical accuracy and artistic charm.
Key facts
- A concert harp features a triangular frame consisting of the soundboard, the neck, and the pillar.
- Always draw the pillar as a slightly curved vertical line to provide structural balance to the instrument.
- The neck should be drawn with a gentle downward slope to accommodate the varying lengths of the strings.
- Strings must be drawn as thin, parallel vertical lines connecting the neck to the soundboard.
- Include the base or pedestal at the bottom to ground the instrument visually and provide stability.
- Avoid drawing strings at equal lengths, as a harp’s defining feature is the diagonal arrangement of string sizes.
The bottom line
Drawing a harp requires focusing on its iconic triangular silhouette. Start by sketching the pillar and the neck, then connect them with a sturdy, tapered soundboard. Add the strings as thin, parallel lines that vary in length to create a sense of realism. By maintaining these proportions and ensuring the frame looks stable, you can capture the elegant, classical aesthetic of this complex musical instrument effectively.
People also ask
How many strings does a standard concert harp have?
A modern concert harp typically features 47 strings. These are tuned to the seven notes of the diatonic scale, with pedals used to adjust the pitch.
Why is the harp frame triangular?
The triangular shape is essential for structural integrity, as it allows the frame to withstand the immense tension created by the 47 strings. This geometry distributes the force evenly across the neck and soundboard.
What is the purpose of the pedals on a harp?
Pedals allow the harpist to change the pitch of the strings by a semitone. This mechanism enables the instrument to play in any musical key, which would be impossible with fixed strings alone.
Is it easier to draw a harp from the side or the front?
Drawing a harp from the side is significantly easier because it clearly displays the triangular silhouette and the varying lengths of the strings. A front-facing view often obscures the depth and structural complexity of the frame.
Should the strings be drawn perfectly straight?
While the strings are straight lines, they must be drawn at a slight angle relative to the pillar to reflect the harp's design. Drawing them perfectly vertical will make the instrument look like a cage rather than a musical device.
What is the most common mistake when sketching a harp?
The most frequent error is neglecting the thickness of the soundboard. The soundboard must be drawn as a sturdy, slightly wider body to contrast with the delicate, thin strings attached to it.
This answer was created with the help of AI research tools and reference sources. Spotted an error? Let us know — we correct mistakes quickly. See our editorial policy.