How do you draw a guitar?
Short answer
Drawing a guitar involves creating a figure-eight body shape, a long neck, and a headstock. Start by sketching two overlapping circles for the body, then add a straight neck with frets and a rectangular headstock. Refine the curves, add the bridge and soundhole, and finish with tuning pegs and strings.
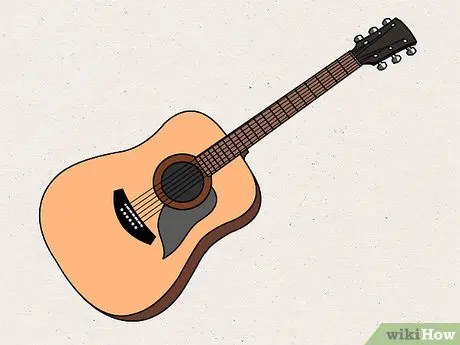
On this page
How to sketch the basic guitar shape
The most effective way to begin your drawing is by establishing the iconic figure-eight silhouette. Start by drawing a smaller circle for the upper bout and a slightly larger circle for the lower bout, overlapping them slightly. Use a light pencil stroke so you can easily erase the internal lines later. Once the circles are placed, connect them with smooth, inward-curving lines to create the "waist" of the guitar. This structure provides the foundational proportions needed for an acoustic or electric instrument.
After establishing the body, attach a long, narrow rectangle to the top of the upper circle to represent the neck. Ensure the neck is centered accurately, as even a slight tilt will make the instrument appear warped. A standard acoustic guitar neck is typically about one-third the length of the entire body. Keep your lines clean and light during this initial phase, as you will need to add more complex details like the soundhole and bridge in the next steps.
How to add details to the guitar body
Once the basic outline is set, you must add the functional components that define the instrument's identity. For an acoustic guitar, draw a circle in the center of the upper body for the soundhole. Below this, place a small rectangular shape for the bridge, which anchors the strings. If you are drawing an electric guitar, replace the soundhole with pickups, which are small rectangular magnets positioned under where the strings will sit.
- Draw the soundhole slightly above the center of the body.
- Place the bridge on the lower bout, ensuring it is perfectly aligned with the neck.
- Add a pickguard, a teardrop-shaped piece of plastic, near the soundhole for added realism.
- Use a dark, bold line to outline the final shape, erasing any overlapping construction circles.
Maintaining symmetry is crucial during this stage. If the bridge or soundhole is off-center, the guitar will look distorted. Take your time to measure the distance from the edges of the body to ensure your components are balanced.
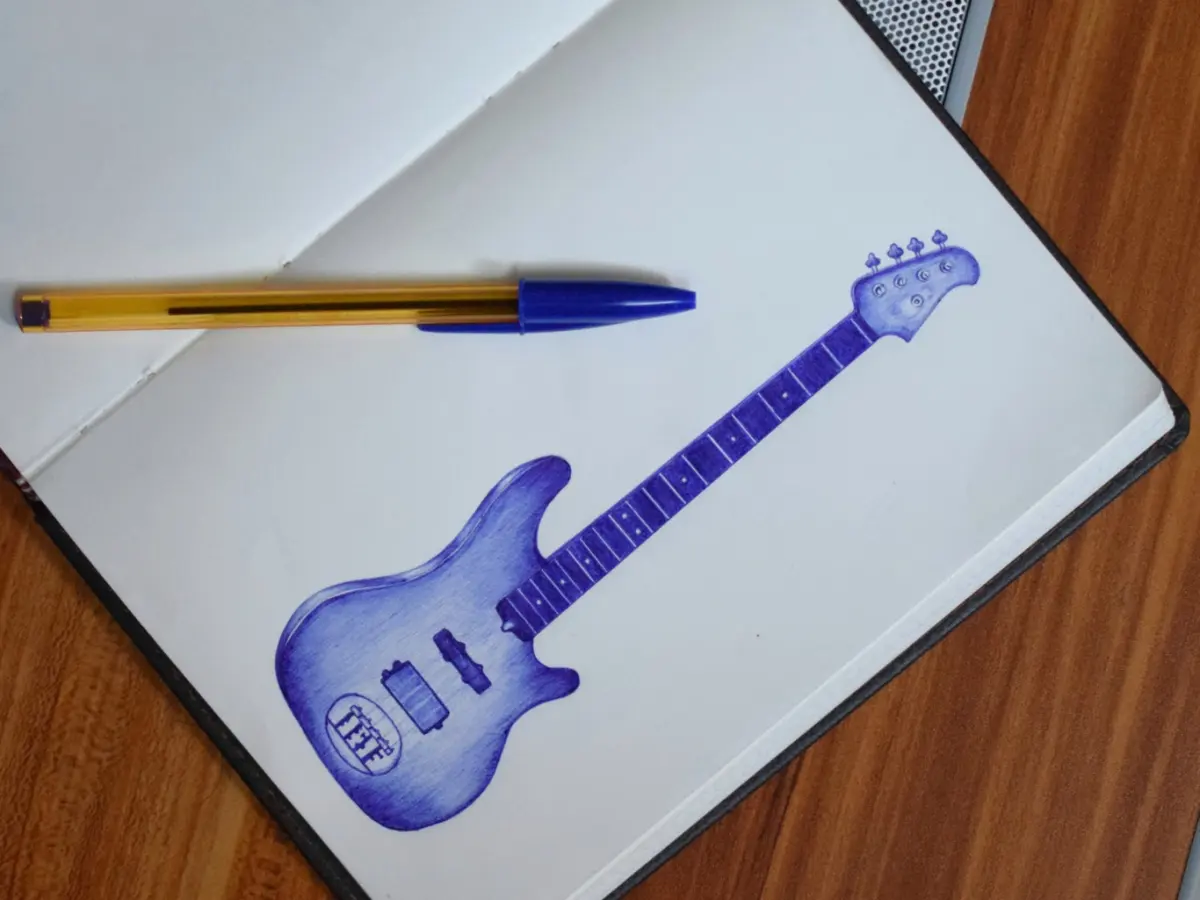
How to draw the guitar neck and headstock
The neck and headstock are where the most intricate details reside. Divide the neck into equal sections using horizontal lines to represent the metal frets. These lines should get progressively closer together as they move toward the body, reflecting the physics of musical pitch. At the top of the neck, draw a slightly wider rectangle or a stylized shape for the headstock. This is where the tuning pegs are located, which are essential for the instrument's function.
- Add six small circles on the headstock to represent the tuning pegs.
- Draw a thin, horizontal line near the headstock to represent the nut, where the strings begin.
- Use a ruler to ensure your fret lines are perfectly straight and parallel to one another.
- Add a slight taper to the neck, making it narrower at the top and wider near the body.
If you are drawing an electric guitar, the headstock shape can vary significantly, ranging from pointed to rounded designs. Researching specific models like the Fender Stratocaster or Gibson Les Paul can provide inspiration for unique headstock silhouettes.
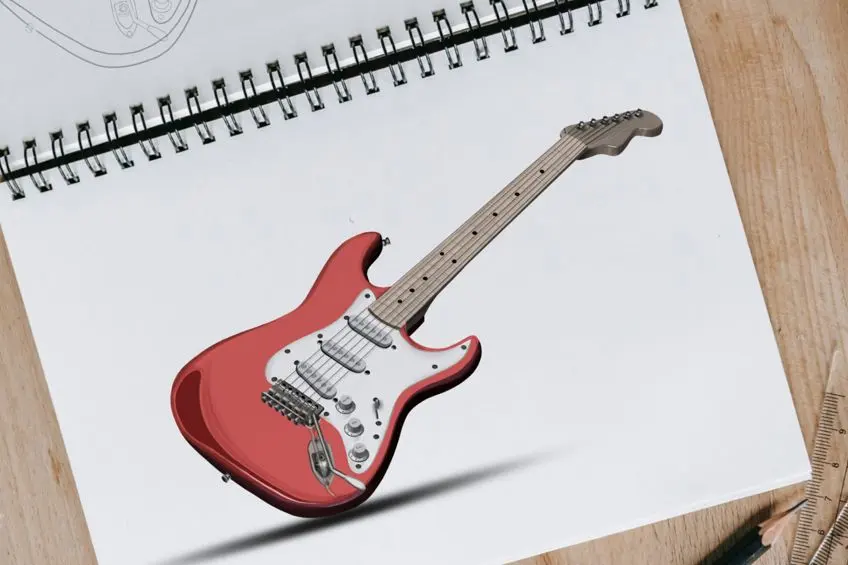
How to add strings and shading
Strings are the final touch that brings the drawing to life. Use a very sharp pencil or a fine-liner pen to draw six thin, straight lines running from the bridge, up the neck, and over the nut to the tuning pegs. Keep these lines perfectly parallel to each other. If the strings are not straight, the guitar will look like it cannot be played. Use a ruler to maintain consistency across the entire length of the instrument.
Shading adds depth and volume to your drawing. Apply darker tones along the edges of the guitar body to create a rounded, three-dimensional effect. Leave a lighter area in the center of the body to suggest a glossy, reflective surface. For the neck, use subtle shading to indicate the wood grain or the metallic texture of the frets. These small adjustments transform a flat outline into a realistic representation of an instrument that appears to have weight and texture.
Common mistakes when drawing guitars
One of the most frequent errors is failing to maintain the correct proportions between the body and the neck. Beginners often draw the neck too short or too thick, which makes the guitar look like a toy. Another common issue is inconsistent fret spacing. If the frets remain the same distance apart all the way up the neck, the perspective will look incorrect. Always remember that the distance between frets should decrease as you move toward the body.
- Avoid drawing the body too round; remember the inward curve at the waist.
- Do not forget to align the tuning pegs with the strings on the headstock.
- Prevent "floating" components by ensuring the bridge and pickups are firmly anchored to the body.
- Refrain from using overly heavy lines for the strings, as they should appear delicate and taut.
By focusing on these structural details and practicing consistent line work, you can create a highly accurate drawing. Always step back from your work periodically to check the overall balance, as this helps you spot errors that are not visible when looking closely at the paper. With patience and attention to these specific proportions, you will successfully capture the essence of the guitar.
Key facts
- Start by drawing a large figure-eight shape, with the bottom curve significantly wider than the top to represent the body.
- Draw a long, thin rectangle extending from the center of the top curve to serve as the neck.
- Place the bridge, a small rectangle, near the bottom of the body to anchor the strings.
- Add a circular sound hole in the center of the body, just below where the neck meets the frame.
- Include six small circles at the top of the headstock to represent the tuning pegs.
- Use horizontal lines across the neck to indicate frets, spacing them closer together as they approach the body.
The bottom line
Drawing a guitar requires careful attention to the instrument's unique proportions and structural components. By establishing the figure-eight body shape first, you create a solid foundation for the neck, bridge, and strings. Focus on maintaining symmetry and using light guidelines to ensure your perspective remains accurate. With consistent practice and attention to detail, you can capture the classic aesthetic of this iconic musical instrument effectively.
People also ask
Should I use a ruler for the neck of the guitar?
Using a ruler is recommended for the neck to ensure the lines are perfectly straight and parallel. A crooked neck will make the instrument look structurally unsound and unrealistic.
How do I make the guitar look three-dimensional?
Add subtle shading along the edges of the curves and underneath the bridge. Highlighting the center of the body and the strings creates the illusion of depth and volume.
What is the most common mistake when drawing a guitar?
Beginners often make the neck too short or the headstock too small. Always ensure the neck is at least as long as the body for proper proportions.
Do I need to draw all six strings?
Drawing all six strings is essential for accuracy, but keep them very thin. Use a sharp pencil or fine-liner to prevent the strings from looking like thick bars.
What is the purpose of the headstock?
The headstock is the area at the top of the neck where the tuning pegs are located. It is usually wider than the neck and provides the necessary tension for the strings.
How do I draw the curve of the body accurately?
Sketch the body using light, overlapping circles before refining the outline. This helps you achieve a symmetrical shape without committing to heavy, permanent lines too early.
This answer was created with the help of AI research tools and reference sources. Spotted an error? Let us know — we correct mistakes quickly. See our editorial policy.