How do you draw a spine step by step?
Short answer
Drawing a human spine requires mapping the natural S-curve and individual vertebrae segments. Start by sketching a vertical centerline, then block out the three primary regions—cervical, thoracic, and lumbar—before adding the distinct bony protrusions. Focus on maintaining the rhythmic, fluid curvature of the column rather than drawing every individual bone perfectly.
On this page
How to draw a spine step by step
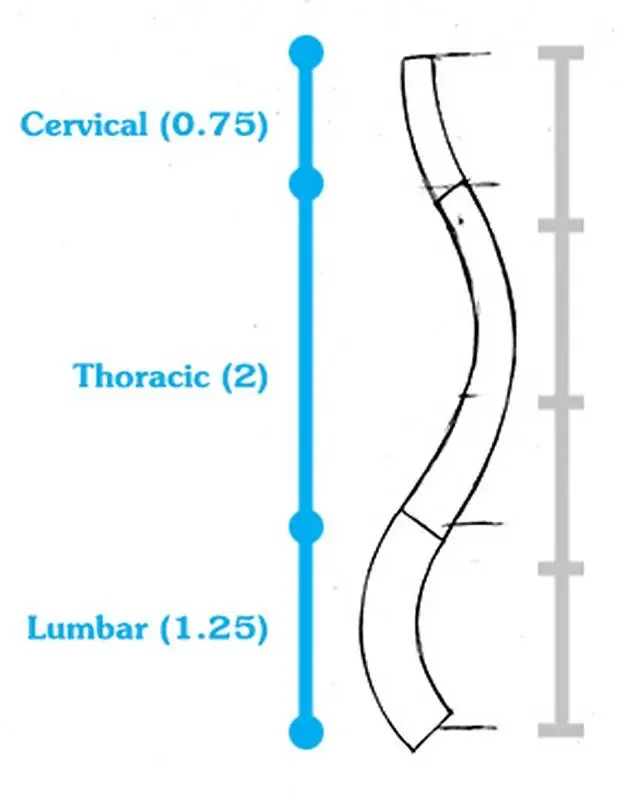
To begin, draw a light, vertical guide line that represents the central axis of the back. Mark the top for the base of the skull and the bottom for the sacrum. The spine is not a straight pole; it features a natural, gentle S-shape that balances the body's weight. Sketch a slight inward curve at the neck, an outward curve at the mid-back, and an inward curve at the lower back.
Once the curve is established, divide the column into its three functional sections. The cervical spine consists of seven vertebrae, the thoracic has twelve, and the lumbar has five. Use these steps to build the structure:
- Sketch a series of stacked, blocky shapes along your guide line to represent the vertebral bodies.
- Ensure the blocks become progressively larger as you move from the neck down to the lumbar region.
- Add small, triangular protrusions on the back of each block to represent the spinous processes.
- Connect these shapes with smooth, rhythmic lines to suggest the surrounding muscle and ligament attachments.
What are the parts of the human spine
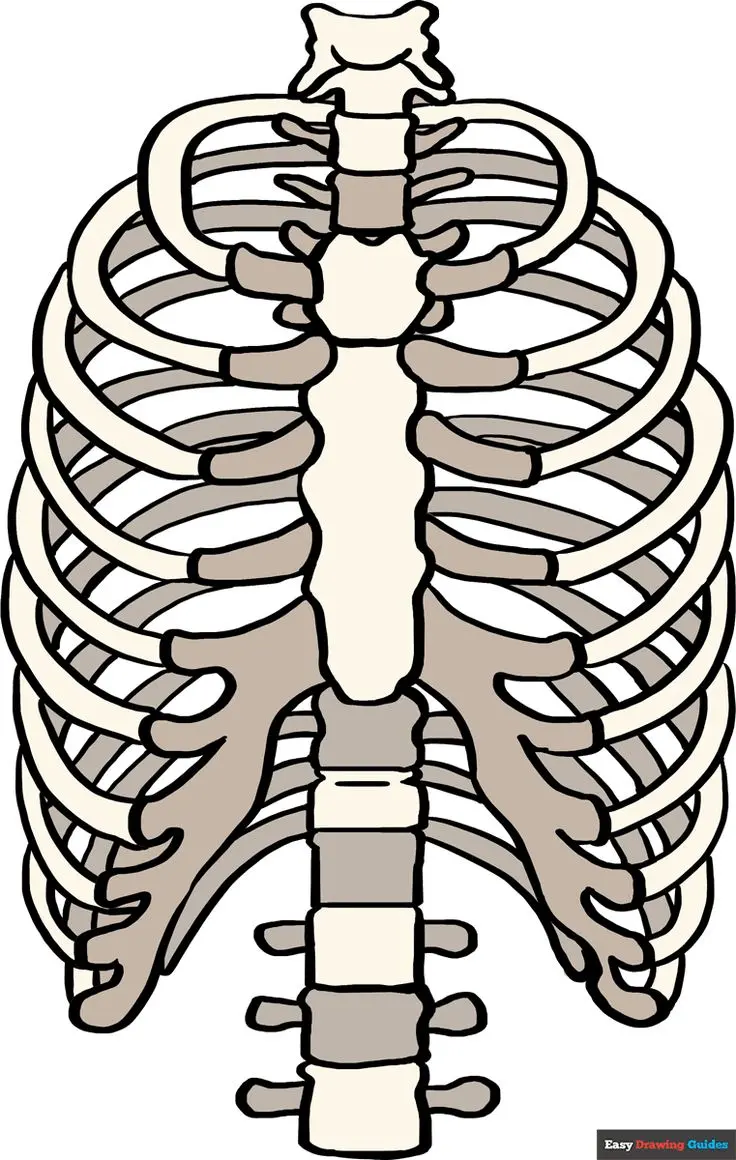
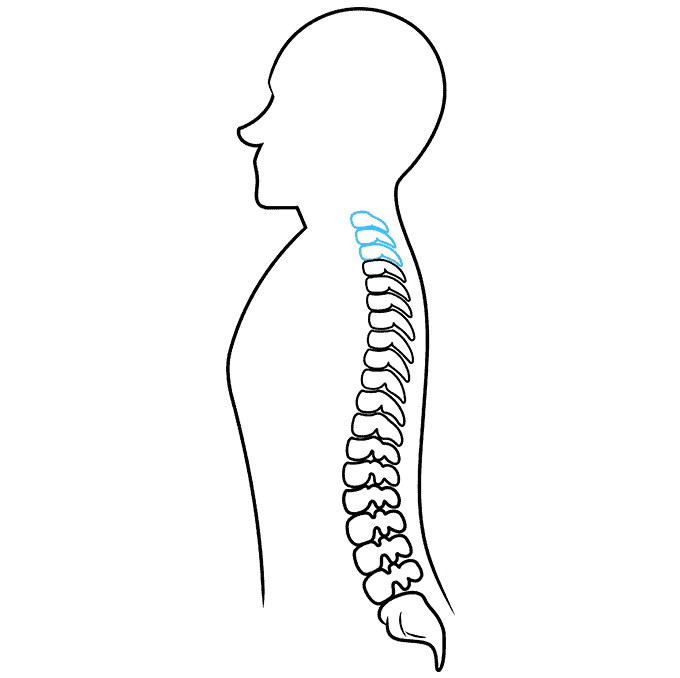
The human vertebral column is a complex structure consisting of 33 individual vertebrae in infants, which eventually fuse into 26 bones in adults. Understanding these segments is essential for accurate anatomical drawing. The cervical region supports the head’s weight and allows for rotation. The thoracic region provides an anchor for the rib cage, limiting movement to protect the heart and lungs. The lumbar region is the thickest part, designed to support the majority of the body’s vertical load.
Beyond these primary bones, the sacrum and coccyx form the base of the spine. The sacrum is a large, triangular bone that connects the spine to the pelvis, while the coccyx, or tailbone, is the final, vestigial segment. When drawing, remember that the thickness of the spine increases significantly as you descend. This anatomical progression is crucial for creating a realistic sense of weight and structural integrity in your artwork.
How to capture the curvature of the spine
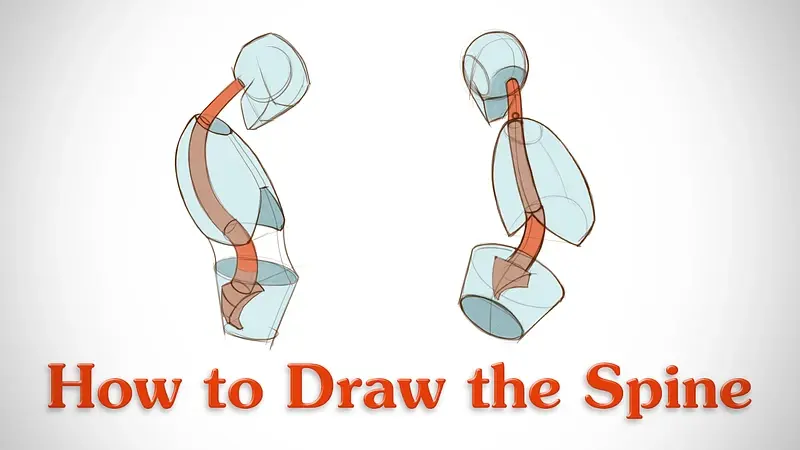
The curvature of the spine is the most important element for creating a dynamic, lifelike figure. A common mistake is drawing the spine as a stiff, rigid line, which makes the human body appear robotic. Instead, observe how the spine shifts when a person leans, twists, or walks. The S-curve is flexible, and its intensity changes depending on the person’s posture. Use a "line of action" to establish the flow of the torso before you start detailing the individual vertebrae.
When the figure is in motion, the spine acts as a kinetic chain. If the shoulders tilt to the left, the hips will often tilt to the right to maintain balance. To illustrate this:
- Draw the line of the shoulders and the line of the hips as two opposing angles.
- Connect these lines with a curved spine that bridges the gap between the upper and lower torso.
- Use shading to emphasize the depth of the curves, placing highlights on the protruding spinous processes.
Common mistakes when drawing the spine
Many beginners struggle with the relative proportions of the vertebral segments. A frequent error is making the cervical vertebrae too long or the lumbar vertebrae too thin. Remember that the lumbar region must appear robust and stable, as it bears the most stress. Another common mistake is neglecting the space between the vertebrae. While you do not need to draw every disc, leaving no gaps makes the spine look like a solid, unmoving rod rather than a flexible chain of bones.
Another issue involves the placement of the spine relative to the skin surface. In most people, the spine is not visible as a continuous line of bumps. Only the spinous processes are palpable under the skin, appearing as a series of small, rhythmic marks along the back. Avoid drawing a hard, dark line down the entire length of the back. Instead, use soft, broken lines to suggest the presence of the spine beneath the muscles of the erector spinae.
Best tools for drawing anatomical structures
For those learning to draw the human form, starting with graphite pencils is highly recommended. Pencils allow for varying line weights, which are necessary for distinguishing between the hard edges of bone and the softer contours of muscle. Use a 2H pencil for your initial, light construction lines and a 2B or 4B pencil for defining the final shapes and adding shadows. A kneaded eraser is also essential, as it allows you to lift graphite gently to create highlights on the bony protrusions.
If you prefer digital media, use a pressure-sensitive tablet to mimic the feel of traditional sketching. Focus on using layers to separate your guide lines from your final anatomical details. Regardless of the medium, the best way to improve is to study anatomical diagrams alongside your drawing. By comparing your work to medical references, you will gain a deeper understanding of how the bones fit together, allowing you to draw the spine with greater confidence and anatomical accuracy.
Key facts
- The human spine consists of 33 vertebrae divided into cervical, thoracic, lumbar, sacral, and coccygeal regions.
- When drawing the spine from a side profile, it forms a distinct "S" shape rather than a straight vertical line.
- The cervical spine has seven vertebrae, while the thoracic region contains twelve, and the lumbar region has five.
- Always start by sketching a light, curved centerline to establish the natural posture and flow of the back.
- Use simple geometric shapes like stacked cylinders or blocks to represent the thickness of the individual vertebrae.
- Avoid drawing the spine as a single rigid rod; it is a flexible column that compresses and extends with movement.
The bottom line
Drawing a spine requires understanding its natural "S" curve and the varying sizes of the vertebrae. By establishing a flexible centerline and using simple geometric shapes, you can create a realistic foundation for any figure. Focus on the relationship between the shoulders and hips to capture movement correctly. Practicing these anatomical proportions ensures your drawings remain structurally sound and expressive, regardless of the pose or perspective.
People also ask
How do I make the spine look realistic in a dynamic pose?
Focus on the "line of action" by curving the spine to match the character's movement. Ensure the shoulders and pelvis tilt in opposite directions to maintain anatomical balance.
Should I draw every individual vertebra in a sketch?
No, drawing every detail often makes the drawing look cluttered. Focus on the major curves and the bony landmarks like the prominent C7 vertebra at the base of the neck.
What is the most common mistake when drawing a spine?
Beginners often draw the spine too straight or centered, which makes the figure appear stiff. Always account for the natural inward curve of the lower back and outward curve of the upper back.
How does the spine change when a person bends over?
The vertebrae separate slightly on the outer curve and compress on the inner curve. The spinous processes—the bony bumps—become more visible along the back as the skin stretches.
Are the vertebrae all the same size?
No, the vertebrae increase in size as you move downward toward the lumbar region. The lumbar vertebrae are the largest because they must support the majority of the body's weight.
How do I indicate the spine on a clothed figure?
Use subtle shading or a faint indentation line to suggest the spinal column. Do not draw a hard, dark line down the back, as this will make the figure look like it has an exposed skeleton.
This answer was created with the help of AI research tools and reference sources. Spotted an error? Let us know — we correct mistakes quickly. See our editorial policy.