How do you draw a person sitting?
Short answer
Drawing a person sitting requires establishing the chair’s perspective before mapping the body’s weight distribution. Focus on the triangular shape formed by the torso, thighs, and lower legs. By anchoring the figure to the seat using clear points of contact, you create a convincing sense of gravity and structural stability.
On this page
How to structure the human form in a seated position
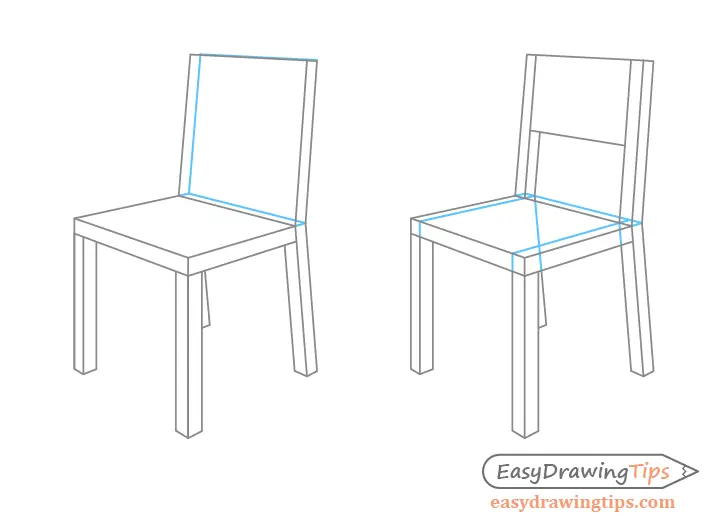
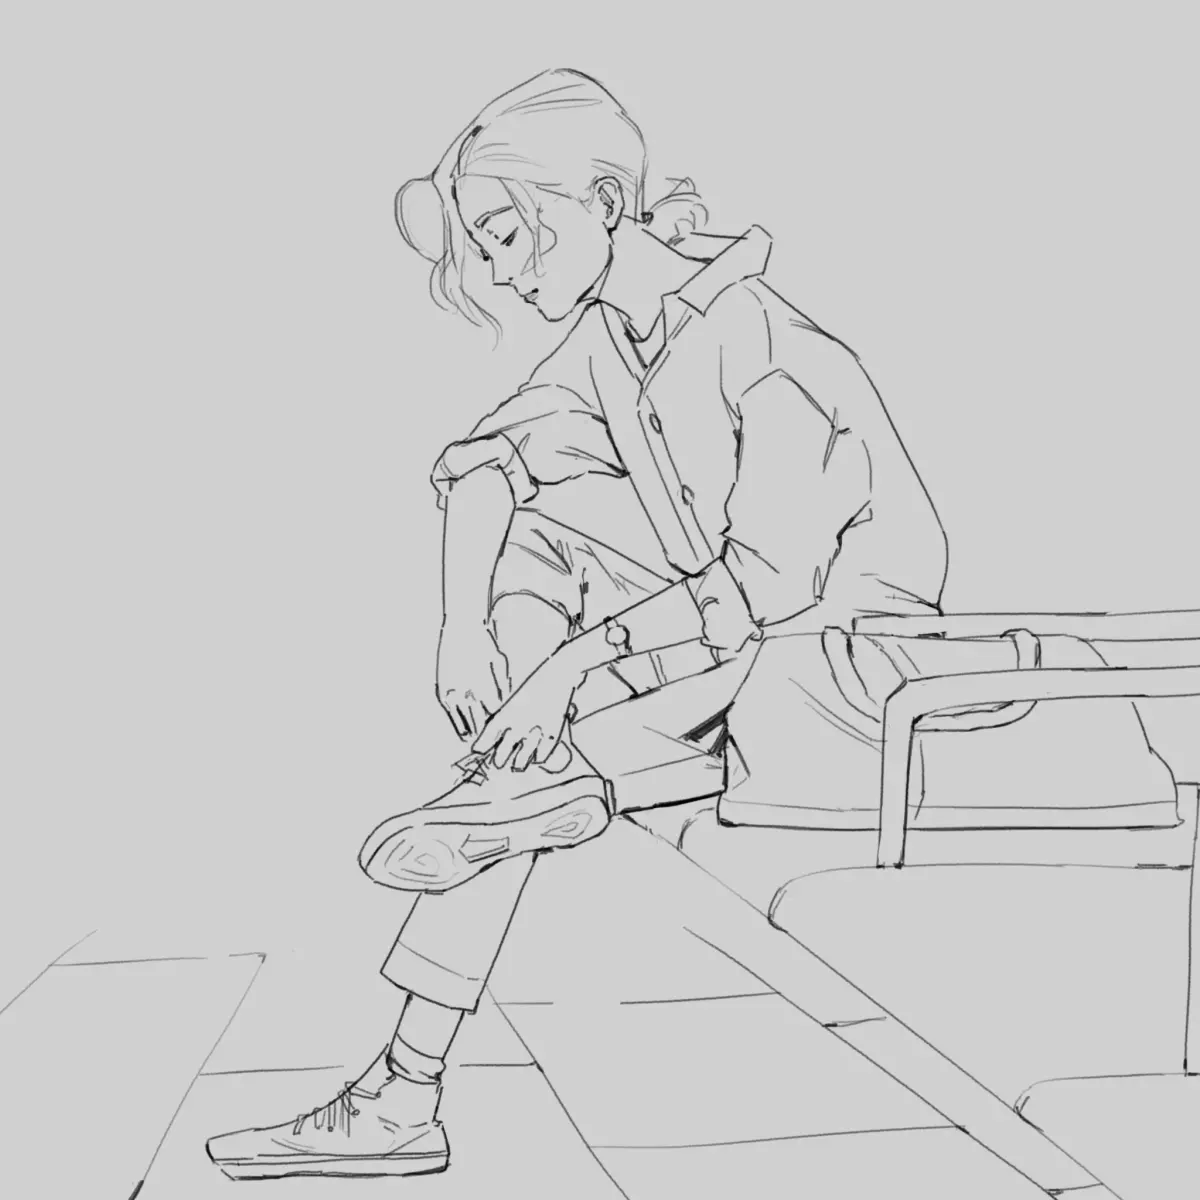
When drawing a seated figure, you must first define the relationship between the body and the furniture. Begin by sketching the chair or bench as a simple geometric volume to establish a solid foundation. Once the seat is placed, identify the "seat bones" of the model, as these points act as the primary anchor for the entire composition. The torso will naturally lean forward or backward depending on the chair's backrest, so observe the angle of the spine relative to the vertical axis.
To ensure the figure looks grounded, follow these foundational steps:
- Sketch the seat height and depth to determine where the hips will rest.
- Plot the position of the feet, noting if they are flat on the floor or tucked under the chair.
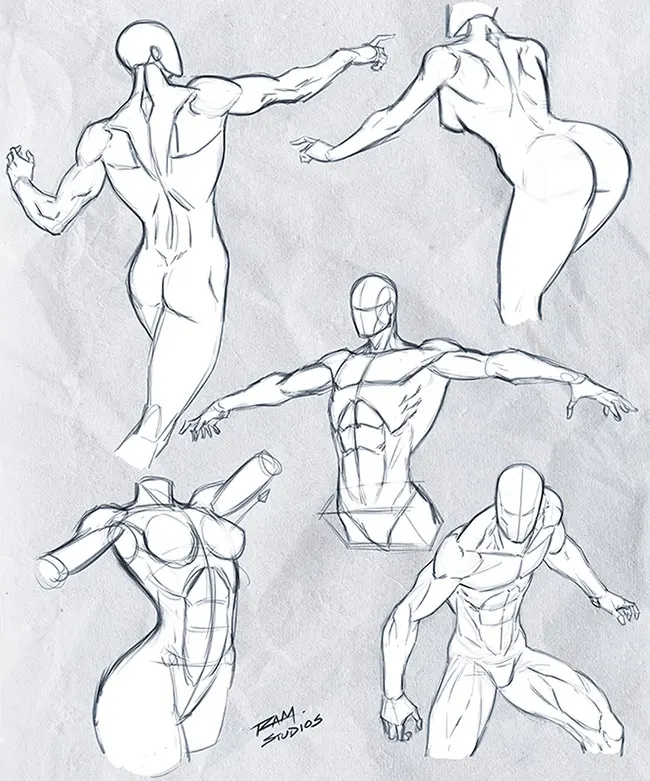
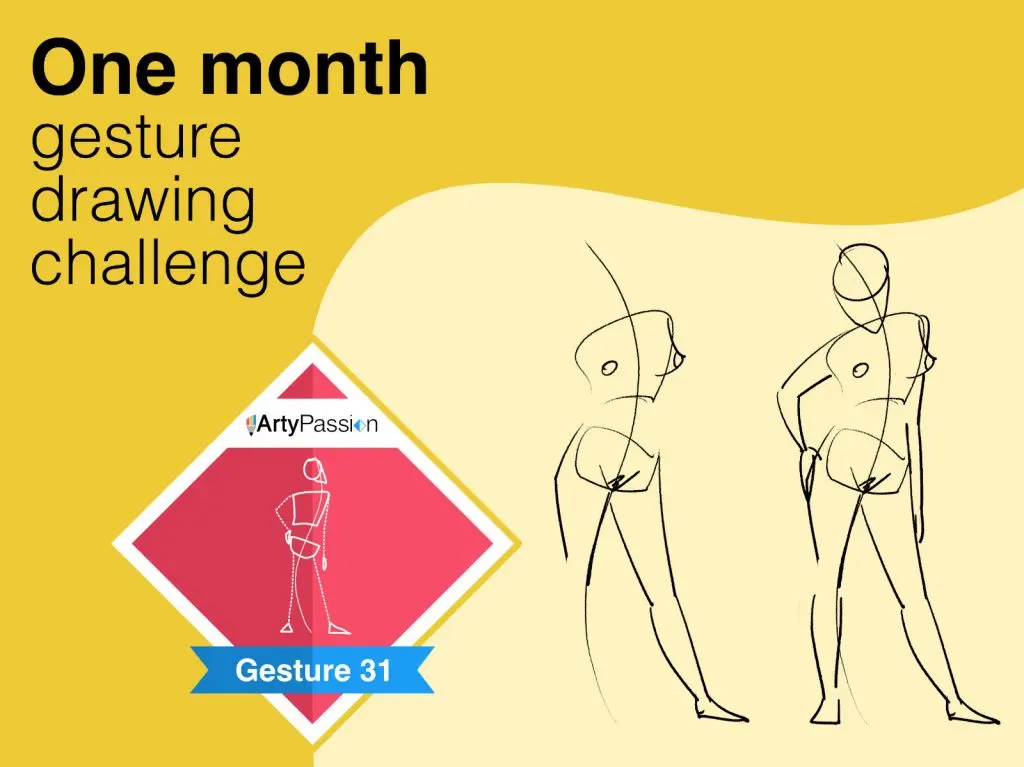
- Draw a simplified line of action that follows the spine from the neck down to the pelvis.
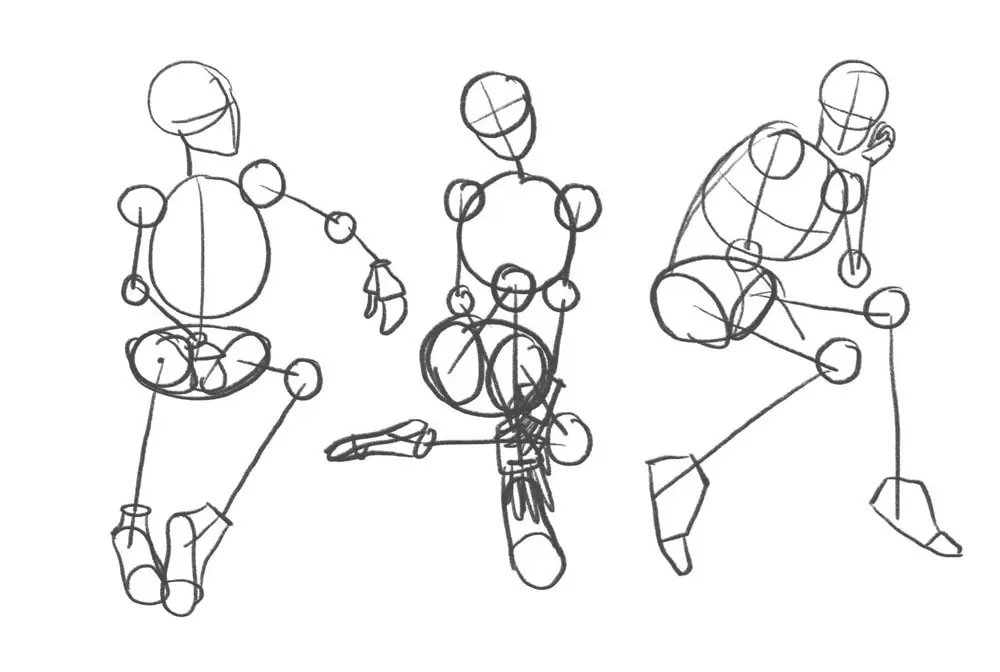
- Add the limbs, treating the thighs as cylinders that recede into space toward the knees.
- Connect the torso to the pelvis, noting how the ribcage tilts to maintain balance.
Best techniques for capturing weight and balance
A common error in figure drawing is making a seated person appear as if they are floating. To avoid this, emphasize the compression of the body where it meets the chair. The weight of the upper body forces the soft tissues of the thighs to flatten against the seat, creating a distinct visual weight. You should also observe how the shoulders shift to compensate for the center of gravity. If the person is leaning back, the shoulders will likely be lower than the hips, creating a relaxed, reclining silhouette.
Focusing on the negative space between the legs and the chair is a highly effective technique for beginners. By drawing the empty shapes created by the bent knees and the floor, you often capture the correct proportions more accurately than by drawing the limbs themselves. Always look for the "triangulation" of the limbs; the way the knees, ankles, and hips form connected triangles is the key to achieving a natural, anatomical look that feels physically plausible.
Common mistakes when drawing seated poses
Many artists struggle with foreshortening, particularly when the legs extend toward the viewer. When a person sits, the lower legs often appear shorter than they are because they are angled toward the observer. Beginners frequently draw legs that are far too long, which breaks the illusion of three-dimensional depth. To correct this, use your pencil to measure the proportions of the thigh versus the lower leg from your specific vantage point. Do not rely on your memory of how long a leg should be; trust the visual evidence provided by your current perspective.
Another frequent mistake is neglecting the chair’s influence on the body’s posture. If the chair is too high, the feet will dangle, creating a sense of instability. If the chair is too low, the knees will rise above the hips, causing the torso to hunch. Always sketch the chair first, even if you plan to erase it later. If you draw the person without establishing the seat, the figure will inevitably look like it is suspended in mid-air rather than resting firmly upon a surface.
Essential tools for figure drawing practice
For those starting out, a simple graphite pencil set ranging from HB to 4B is ideal for capturing both light structural lines and deep shadows. Using a larger sketchbook allows you to draw with your whole arm rather than just your wrist, which helps in creating fluid, organic lines. Avoid using erasers too early in the process, as the initial "ghost" lines help you understand the flow of the body. If you are drawing from life, a sturdy drawing board is necessary to keep your paper stable while you adjust your own seating position.
Consider these tools for improving your accuracy:
- A kneaded eraser, which allows you to lift graphite gently without damaging the paper surface.
- A viewfinder, which helps you crop the scene and focus on the essential shapes of the pose.
- A plumb line or a piece of string to check the vertical alignment of the head, spine, and feet.
- Charcoal sticks for practicing quick, gesture-based sketches that emphasize movement over detail.
- Smooth-finish paper, which allows for easier blending and more precise line work during the final stages.
How to add detail to seated figures
Once the structure and weight are established, focus on the folds of clothing and the interaction of the body with the seat. Fabric will naturally bunch up at the joints, such as the back of the knees and the crotch area, due to the compression of the seated pose. Use these folds to indicate the direction of the body's tension. Adding subtle shading under the thighs and around the chair legs will help push the figure back into the space, creating a clear distinction between the person and the background. Finally, refine the facial features and hands, ensuring they match the relaxed or active mood of the overall posture. By maintaining a consistent light source, you can effectively model the volume of the figure, giving the seated person a sense of true, tangible presence.
Key facts
- Use a "bean" shape to represent the torso, capturing the natural curve of the spine when seated.
- Align the hips and shoulders at opposing angles to create a dynamic, realistic posture.
- Remember that the knees should be higher than the hips if the person is sitting in a low chair.
- Establish the center of gravity by drawing a vertical line from the head through the seat.
- Keep the feet firmly planted on the ground or resting on a support to anchor the figure.
- Observe the negative space between the legs and the chair to ensure accurate proportions.
The bottom line
Drawing a seated person requires balancing the figure's weight against the structure of the chair. By focusing on the curvature of the spine and the angles of the joints, you can create a pose that feels grounded rather than floating. Always prioritize the relationship between the hips and the seat, as this connection defines the stability and realism of your final sketch in any artistic medium.
People also ask
How do I draw clothing folds on a seated person?
Focus on the points of tension, specifically the elbows, knees, and the seat where the fabric stretches. Gravity pulls fabric downward, so draw heavier, deeper folds near the bottom of the body.
Should I draw the chair first or the person?
Always sketch the person first to establish their weight and volume within the space. Once the figure is blocked in, draw the chair around them to ensure the proportions match.
How do I keep the figure from looking stiff?
Incorporate the "line of action," which is the invisible curve running through the spine and neck. Avoid perfectly vertical or horizontal lines, as natural human poses involve subtle tilts and rotations.
What is the biggest mistake beginners make when drawing seated figures?
Beginners often miscalculate the length of the thighs, making them look too short. Ensure the thighs occupy roughly the same visual space as the torso to maintain anatomical balance.
How do I draw hands resting on a lap?
Simplify the hands into basic geometric shapes like wedges or blocks before adding fingers. Use the lap as a platform, allowing the weight of the arms to press slightly into the fabric.
Can I use a mannequin to help me draw?
A wooden artist’s mannequin is an excellent tool for understanding how joints pivot in a seated position. Use it to study how the pelvis tilts when a person leans forward or backward.
This answer was created with the help of AI research tools and reference sources. Spotted an error? Let us know — we correct mistakes quickly. See our editorial policy.