How do you draw action poses?
Short answer
Drawing action poses requires establishing a strong line of action, balancing weight, and utilizing anatomical landmarks. You must prioritize the gesture—the rhythmic flow of the body—over rigid outlines. By simplifying complex forms into basic geometric shapes, you can capture dynamic movement while maintaining correct proportions and believable physical tension.
On this page
How to establish the line of action
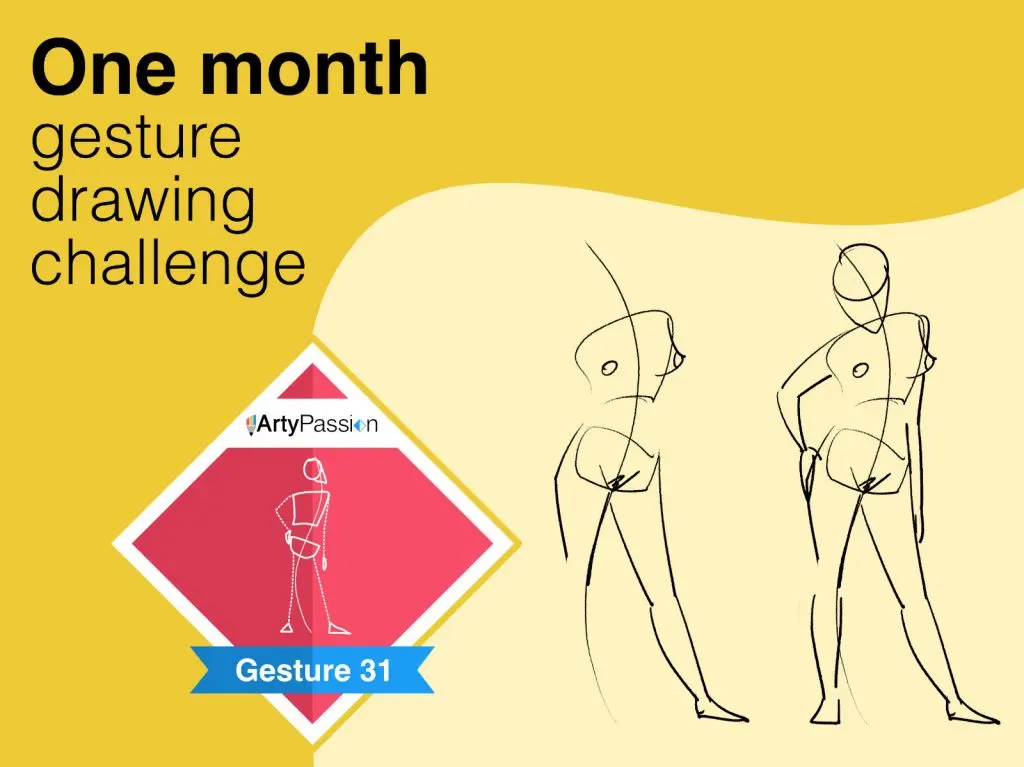
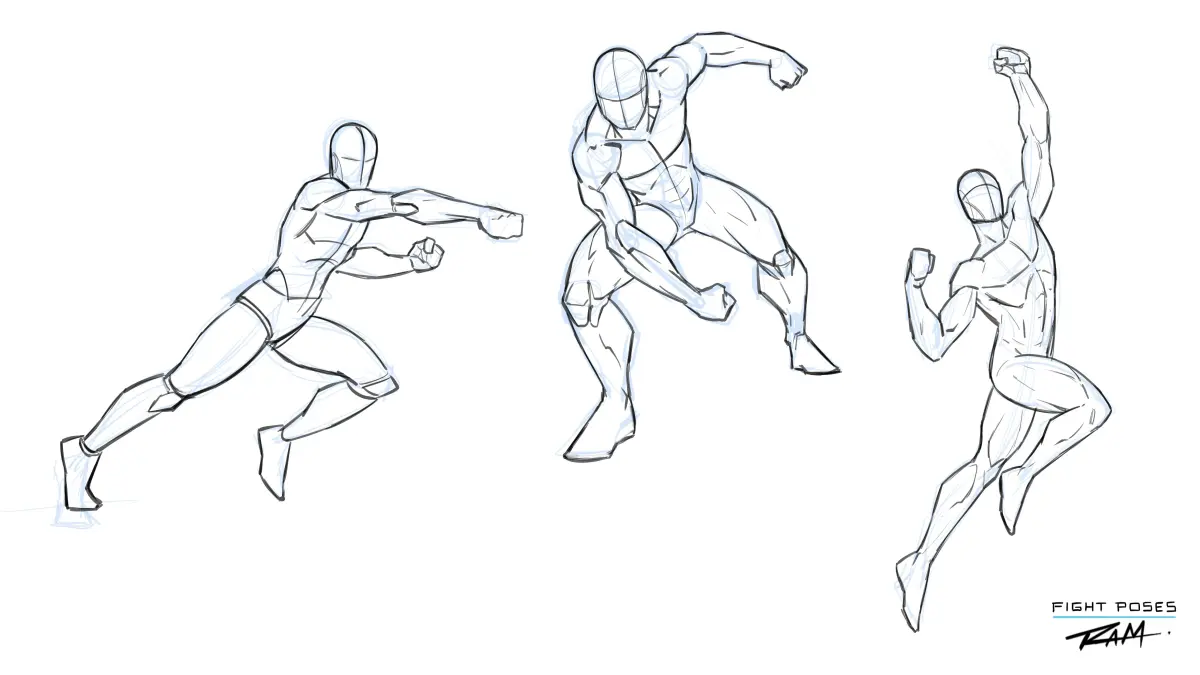
The line of action is the invisible curve that dictates the flow and energy of a pose. It serves as the backbone of your drawing, connecting the head to the feet through the spine. Without this foundational curve, figures often appear stiff, static, or unnatural. To find it, look for the longest, most continuous arc in the body’s movement, such as the sweep from a reaching hand down to a planted foot.
When practicing, keep your initial sketches loose and rapid. Aim to capture the essence of the motion in under thirty seconds. Focus on the arc of the spine rather than individual muscles or facial features. This phase is about rhythm and direction, not detail. If your line of action is weak or straight, your final drawing will lack the necessary impact to convey speed or intensity.
How to simplify anatomy with basic shapes
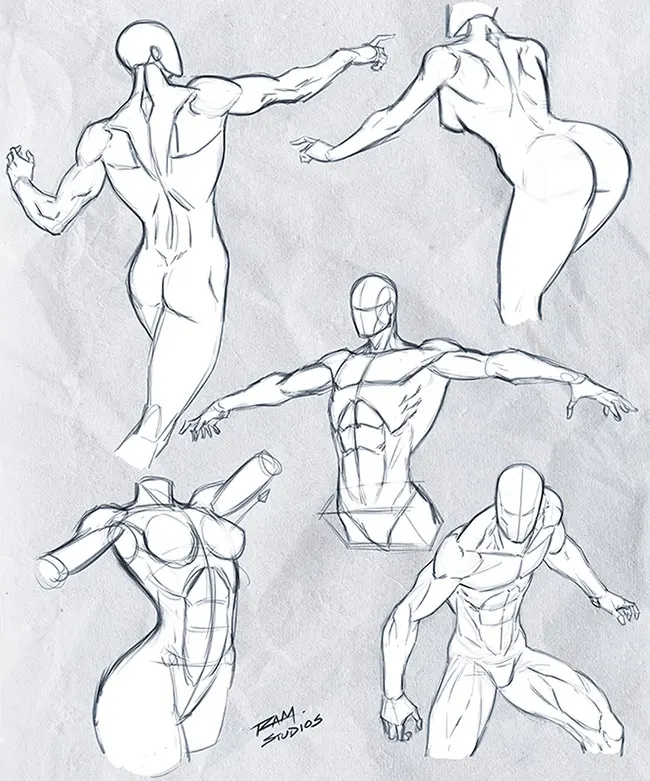
Professional artists rarely start by drawing skin or muscles. Instead, they break the human figure down into primitive geometric forms like spheres, cylinders, and boxes. This method allows you to manipulate the body in three-dimensional space without getting bogged down by anatomical complexity. For example, the rib cage can be represented as an egg shape, while the pelvis is often viewed as a tilted box.
- Draw the rib cage and pelvis as two distinct masses.
- Connect them with a line representing the spine to establish the torso's twist.
- Use cylinders to represent the limbs, ensuring they taper toward the joints.
- Add spheres at the shoulders, elbows, and knees to define pivot points.
- Refine the silhouettes by wrapping the contour lines around these basic volumes.
By mastering these simple volumes, you ensure that your character occupies space convincingly. This technique also helps in foreshortening, where limbs appear to move toward or away from the viewer.
Why weight and balance matter in action
An action pose is only believable if the viewer perceives that the character is subject to gravity. If a character is mid-stride, their center of gravity must align correctly with their base of support. If the weight is not properly distributed, the character will appear to be floating or falling over. Always identify which foot is bearing the weight and ensure the torso is positioned to support that balance.
Consider the "squash and stretch" principle, which is essential for conveying force. When a character prepares to jump, their body compresses (squash); when they are mid-air, the body extends (stretch). This dynamic contrast highlights the energy of the movement. Observe how the shoulders and hips tilt in opposite directions to maintain balance during complex maneuvers. If the hips tilt right, the shoulders usually tilt left to counterbalance the torso, creating a natural, rhythmic tension.
Common mistakes when drawing action
Many beginners make the mistake of drawing "tangents," where two lines touch in a way that flattens the image. Avoid having a limb perfectly overlap another or having a joint align exactly with a contour line, as this hides the depth of the pose. Another common error is "stiffening," where the artist draws the limbs as straight, rigid lines. Even in a straight-armed pose, there should be a slight bend to imply potential energy and flexibility.
- Drawing limbs that are too short or poorly proportioned.
- Ignoring the tilt of the pelvis, which dictates the angle of the legs.
- Over-detailing the drawing before the gesture is finalized.
- Forgetting to use reference photos to understand how joints actually rotate.
- Neglecting the "silhouette test," where you fill the figure with black to see if the pose is readable.
If the pose is not immediately recognizable as an action, simplify the silhouette even further to emphasize the movement.
Best tools and practices for beginners
Consistency is the most important factor in improving your drawing skills. Dedicate fifteen minutes daily to "gesture drawing," which involves sketching live models or athletes in motion. Websites that provide randomized timers for figure drawing are excellent for this purpose. Use a soft pencil or a digital brush with low opacity to keep your initial lines light and erasable. As you progress, move toward using ink or darker pencils to define the final, strongest lines.
Focus on volume and flow rather than perfection. It is better to have a messy, energetic sketch that feels alive than a clean, precise drawing that feels frozen. Study the work of master animators and comic book artists to see how they exaggerate poses to tell a story. By analyzing the tension and release in their work, you will learn to imbue your own figures with a sense of life, weight, and purpose that elevates your artistic practice.
Key facts
- Use the "line of action" technique by drawing a single, sweeping curve that defines the flow and direction of the body's movement.
- Maintain balance by aligning the pit of the neck over the supporting foot to ensure the figure does not appear to be falling.
- Utilize simple geometric shapes like spheres for joints and cylinders for limbs to establish volume before adding anatomical details.
- Exaggerate the tilt of the shoulders and hips in opposite directions, known as contrapposto, to create a dynamic sense of weight distribution.
- Study the "squash and stretch" principle, which involves compressing parts of the body during impact and elongating them during rapid motion.
- Practice gesture drawing with short time limits, such as 30 to 60 seconds, to prioritize the overall essence of the pose over minor details.
The bottom line
Drawing compelling action poses requires prioritizing the "line of action" and the overall gesture over individual anatomical details. By mastering balance, contrapposto, and the principles of squash and stretch, you can infuse your figures with energy and weight. Consistent practice with timed gesture sketches will help you internalize these rhythms, allowing you to create dynamic, lifelike characters that effectively communicate movement and intent to the viewer.
People also ask
How do I make my action poses look less stiff?
Avoid drawing straight lines for limbs, as natural movement involves subtle curves and bends. Focus on the arc of the spine and ensure that joints are not perfectly aligned, which adds a sense of organic fluidity.
What is the best way to practice drawing dynamic figures?
Use reference photos of athletes or dancers in motion to understand how muscles contract and limbs extend. Sketching from live models or sports broadcasts helps you capture the fleeting nature of high-speed movement.
Should I focus on anatomy before learning action poses?
While anatomy is important, gesture drawing should come first to establish the silhouette and energy of the pose. Once the movement is captured, you can refine the underlying muscle structure and bone placement.
How do I show weight in a drawing?
Place the center of gravity directly over the point of contact with the ground, such as a foot or a hand. When a character carries heavy objects, show the body leaning away or compressing to compensate for the added mass.
What are common mistakes when drawing action?
A frequent error is "tangent" lines, where different parts of the body touch or overlap in a way that flattens the image. Another mistake is ignoring the foreshortening of limbs moving toward the viewer, which makes the figure look two-dimensional.
How do I draw foreshortening effectively?
Imagine the limb as a series of overlapping cylinders that get larger as they approach the viewer. Use perspective grids to guide the placement of these shapes to ensure the depth remains consistent throughout the pose.
This answer was created with the help of AI research tools and reference sources. Spotted an error? Let us know — we correct mistakes quickly. See our editorial policy.