How do you draw a dancer step by step?
Short answer
Drawing a dancer requires capturing the fluidity of human motion through gesture drawing. By focusing on the line of action, establishing anatomical proportions, and refining the silhouette, you can translate dynamic energy onto paper. Start with simple shapes to map the pose before adding muscle definition, clothing, and final expressive details.
On this page
How to capture the line of action
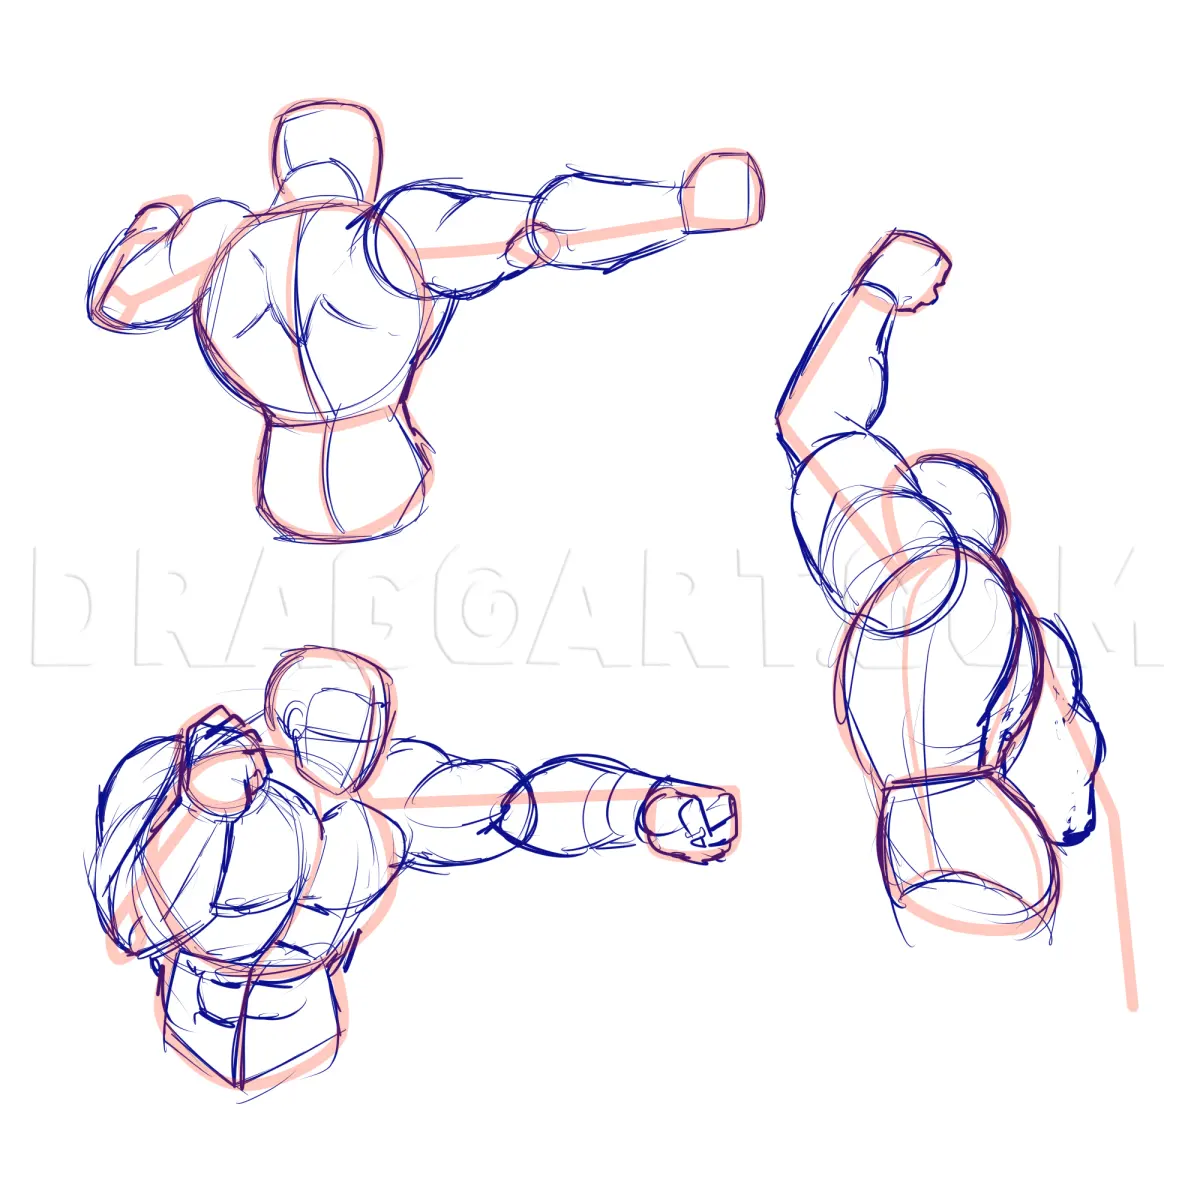
The most critical element in drawing a dancer is the line of action, an imaginary curve that runs through the spine and dictates the flow of the entire movement. Before worrying about limbs or facial features, sketch a single, sweeping stroke that represents the primary direction of the pose. This line anchors the figure and prevents the drawing from appearing stiff or static.
To build the form around this line, use simple geometric shapes like circles for the ribcage and pelvis. These shapes should tilt according to the dancer's movement, creating a sense of weight distribution. Remember that a dancer’s center of gravity often shifts significantly during leaps or turns. By establishing this foundation first, you ensure that the final drawing maintains a sense of balance and authentic kinetic energy.
How to use basic proportions for dancers
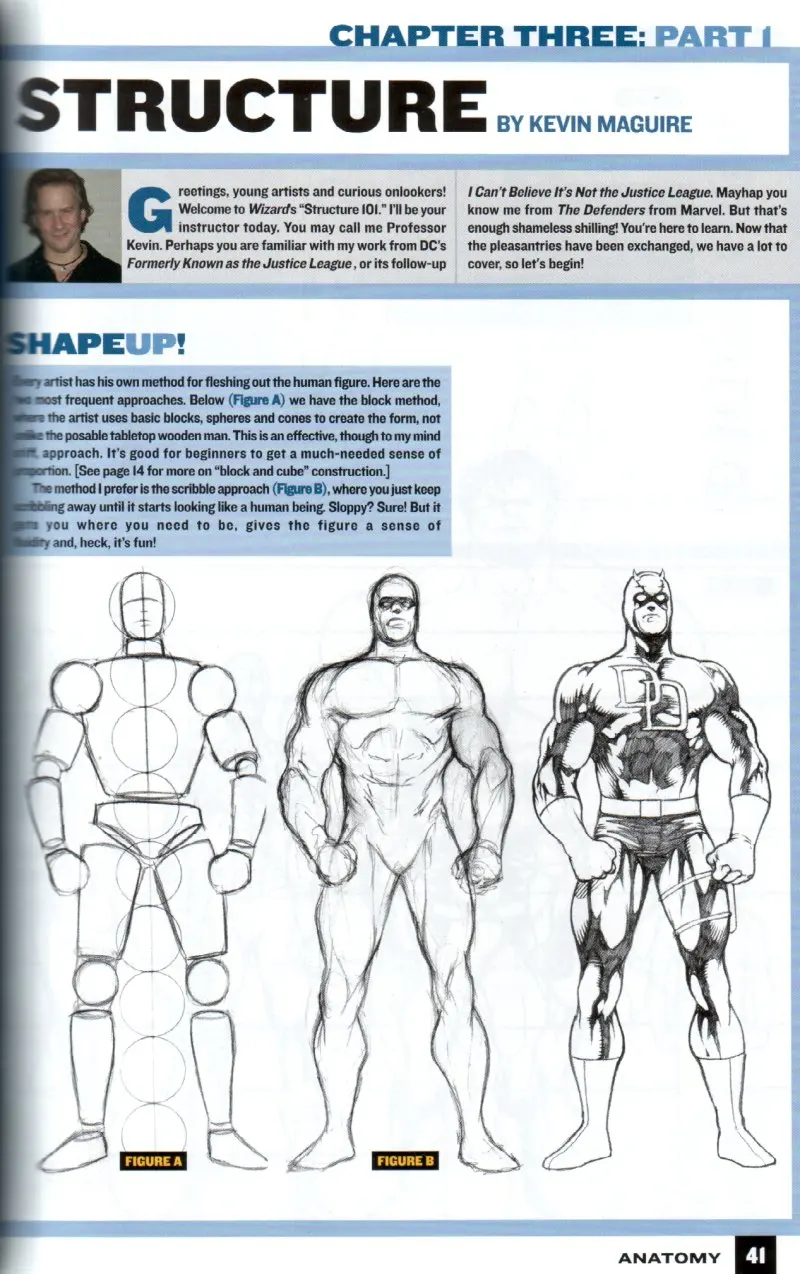
Human proportions are typically measured by the height of the head, with an average adult standing about seven to eight heads tall. When drawing a dancer, however, these proportions often appear elongated due to the aesthetic requirements of ballet or contemporary dance. Use a light pencil to mark these head units down your page to ensure the limbs remain proportional to the torso.
Follow these steps to map the body accurately:
- Draw a vertical line and divide it into eight equal segments.
- Place the head in the first segment and the pelvis near the fourth segment.
- Position the shoulders at the top of the third segment.
- Extend the legs from the pelvis to the eighth segment.
- Add the arms, noting that the elbows typically align with the waist.
By adhering to these structural markers, you create a realistic framework that supports the complex, stretched poses common in professional dance.
Best tools for beginner figure drawing
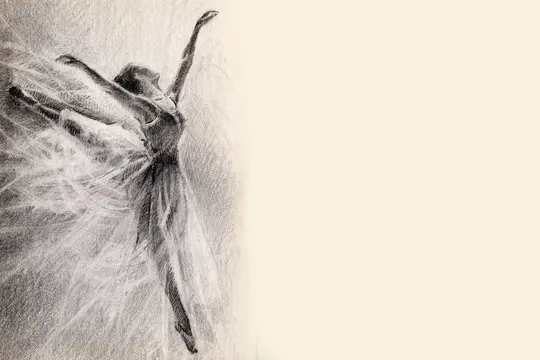
For those starting out, graphite pencils ranging from HB to 4B are ideal because they allow for both light, structural sketching and darker, expressive shading. HB pencils are perfect for the initial gesture lines, while 4B pencils provide the depth needed to define shadows and emphasize muscle tone. Use a kneaded eraser to lift graphite gently without damaging the paper texture.
Choose a smooth, medium-weight paper that can handle multiple layers of sketching and erasing. Avoid overly textured surfaces, as they can make fine lines appear jagged or inconsistent. Many artists prefer charcoal for dance drawings because it allows for rapid, fluid strokes that mimic the speed of a dancer’s movement. Experimenting with different pressures will help you master the balance between structural accuracy and the soft, organic curves of a human body in motion.
Common mistakes when drawing dancers
A frequent error is focusing too heavily on individual muscle groups before establishing the overall flow of the pose. This often results in a "lumpy" appearance where the figure looks more like a collection of parts rather than a cohesive, moving entity. Always prioritize the silhouette and the negative space around the limbs, as these elements define the dancer’s shape more effectively than internal details.
Another common mistake involves ignoring the weight of the limbs, leading to figures that look like they are floating rather than grounded. Even in a jump, a dancer’s body reacts to gravity through tension and muscle engagement. Ensure that the joints—knees, elbows, and ankles—are articulated correctly, as these are the pivot points that communicate the intensity of the performance. If the joints appear disconnected or misaligned, the entire motion will lose its credibility and grace.
How to add detail and movement
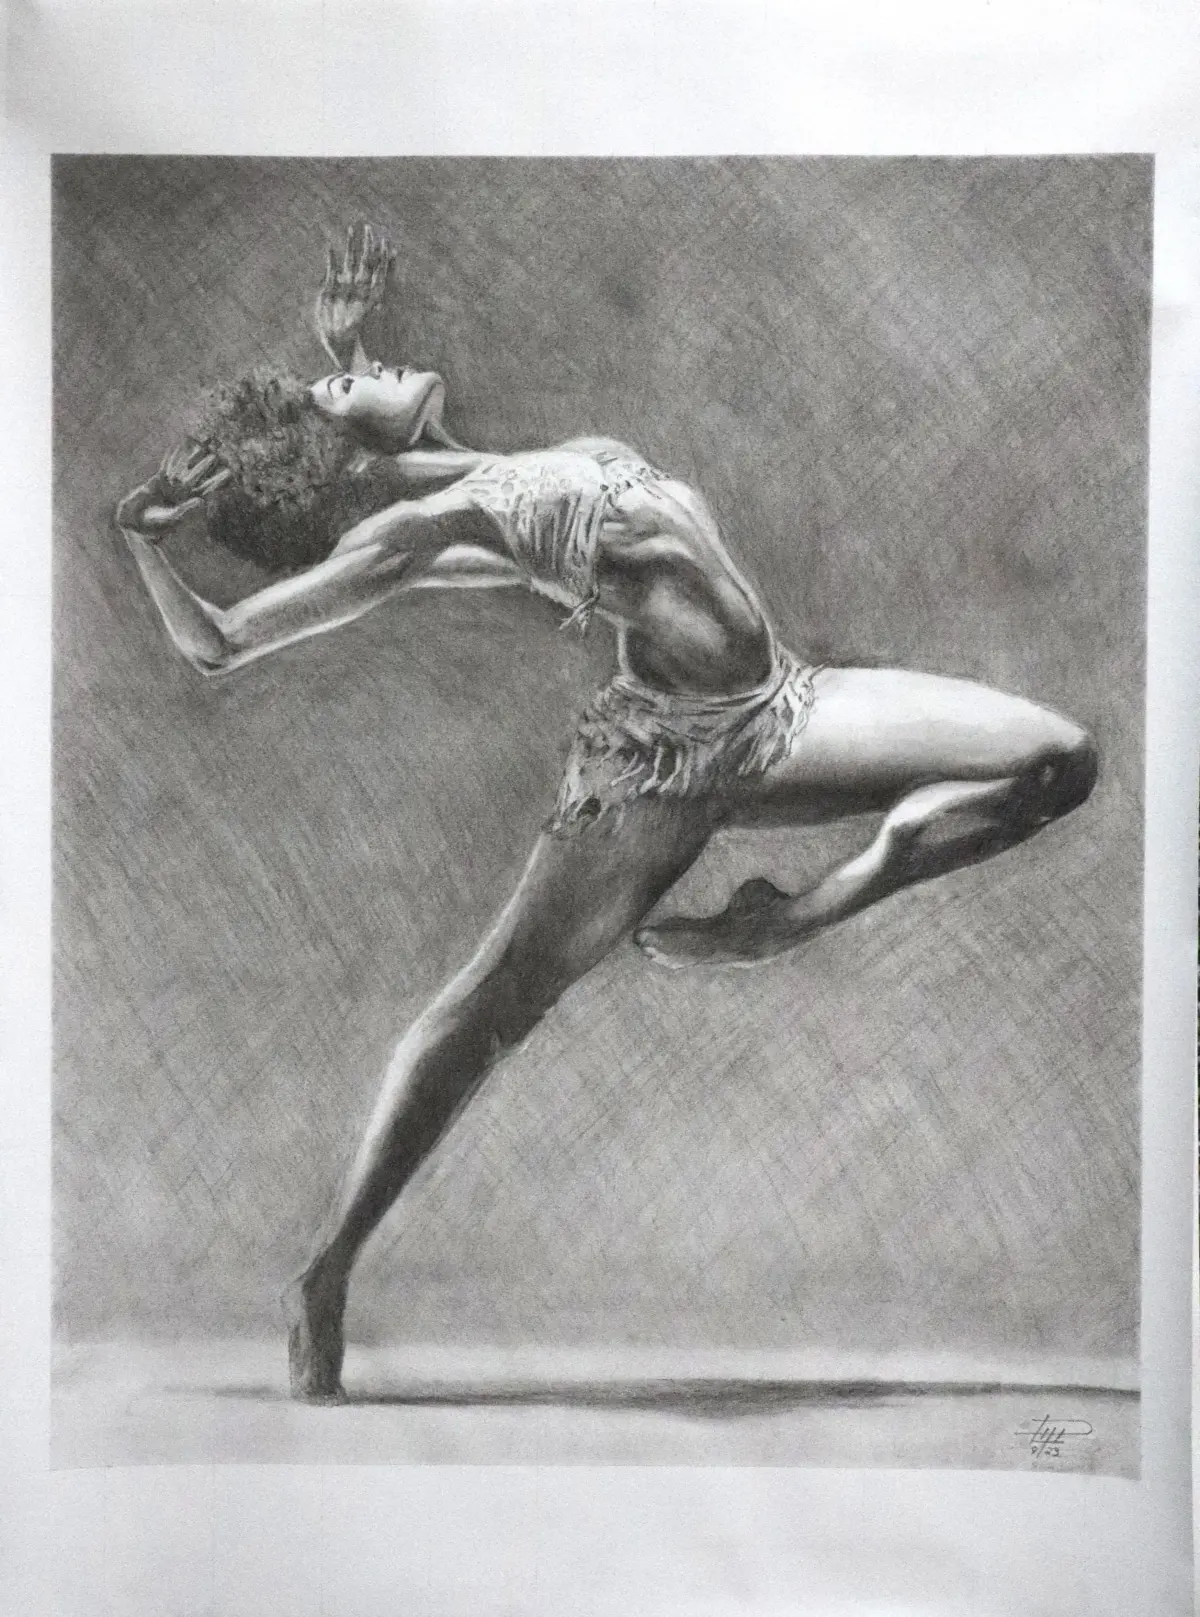
Once the structural foundation is solid, you can begin refining the drawing by adding clothing, hair, and shading. Use long, sweeping lines to suggest the movement of fabric, such as a skirt or a flowing costume, which helps emphasize the direction of the dancer's momentum. Shading should follow the contours of the muscles, with darker values placed on the underside of limbs to create a three-dimensional effect.
To enhance the feeling of motion, consider these final touches:
- Use "speed lines" or blurred edges to suggest rapid movement in specific limbs.
- Keep your lines loose and avoid over-detailing the face, as the body’s posture conveys more emotion.
- Vary your line weight by pressing harder on the underside of the figure to ground it.
- Use cross-hatching to define shadows created by dramatic stage lighting.
By focusing on these final details, you transform a simple anatomical study into a vibrant, expressive piece of art that truly honors the dancer's craft.
Key facts
- Use a "mannequin" approach by drawing a vertical line for the spine and circles for the head, chest, and hips to establish the pose.
- The human head is a consistent unit of measurement; an adult dancer is typically seven to eight heads tall.
- Focus on the "line of action," a curved or diagonal line that captures the direction and energy of the dancer’s movement.
- Draw joints as small circles to maintain correct limb proportions and ensure the limbs do not appear disjointed or broken.
- Study the "contrapposto" stance, where the weight shifts onto one leg, causing the hips and shoulders to tilt in opposite directions.
- Avoid drawing stiff, straight lines; prioritize fluid, rhythmic curves to convey the grace and elasticity inherent in dance.
The bottom line
Drawing a dancer requires transitioning from rigid anatomical structures to fluid, expressive lines. By establishing a central line of action and using basic geometric shapes to map the body’s proportions, you create a solid foundation for movement. Always prioritize the weight distribution and the natural curve of the spine. With consistent practice observing human kinetics, your sketches will capture the grace and dynamic energy of dance.
People also ask
How do I make a dancer's limbs look natural?
Focus on the joints and muscle groups rather than drawing simple tubes. Observe how limbs taper at the wrists and ankles and widen at the calves and biceps to create realistic volume.
What is the best way to draw fabric in motion?
Sketch the body first, then add the clothing as a secondary layer that follows the momentum of the movement. Use long, sweeping lines to indicate how fabric pulls or ripples away from the direction of the dancer’s turn.
Should I use a reference photo?
Using reference photos is essential for understanding complex anatomy and foreshortening. Professional artists frequently use live models or high-speed photography to capture the precise tension in a dancer's muscles.
How do I draw hands and feet in dance?
Simplify hands into basic shapes like mittens or wedges before adding finger details. For feet, focus on the arch and the extension of the toes, which are critical for expressing the dancer's point of balance.
Why do my drawings look stiff?
Stiffness often results from drawing parallel lines or perfectly symmetrical poses. Introduce asymmetry and slight bends in the knees or elbows to suggest potential energy and readiness for movement.
What pencils should I use for sketching?
Start with a hard pencil, such as an HB or 2H, for light construction lines that are easy to erase. Switch to a softer 2B or 4B pencil to define the final contours and add shading.
This answer was created with the help of AI research tools and reference sources. Spotted an error? Let us know — we correct mistakes quickly. See our editorial policy.